Setting Up Interactive Messages
Create engaging interactive messages—such as menus, quick replies, or direct links to Mini Apps—to send to your customers.
1. Create a New Template & Choose Type
- Start by defining the purpose of your message.
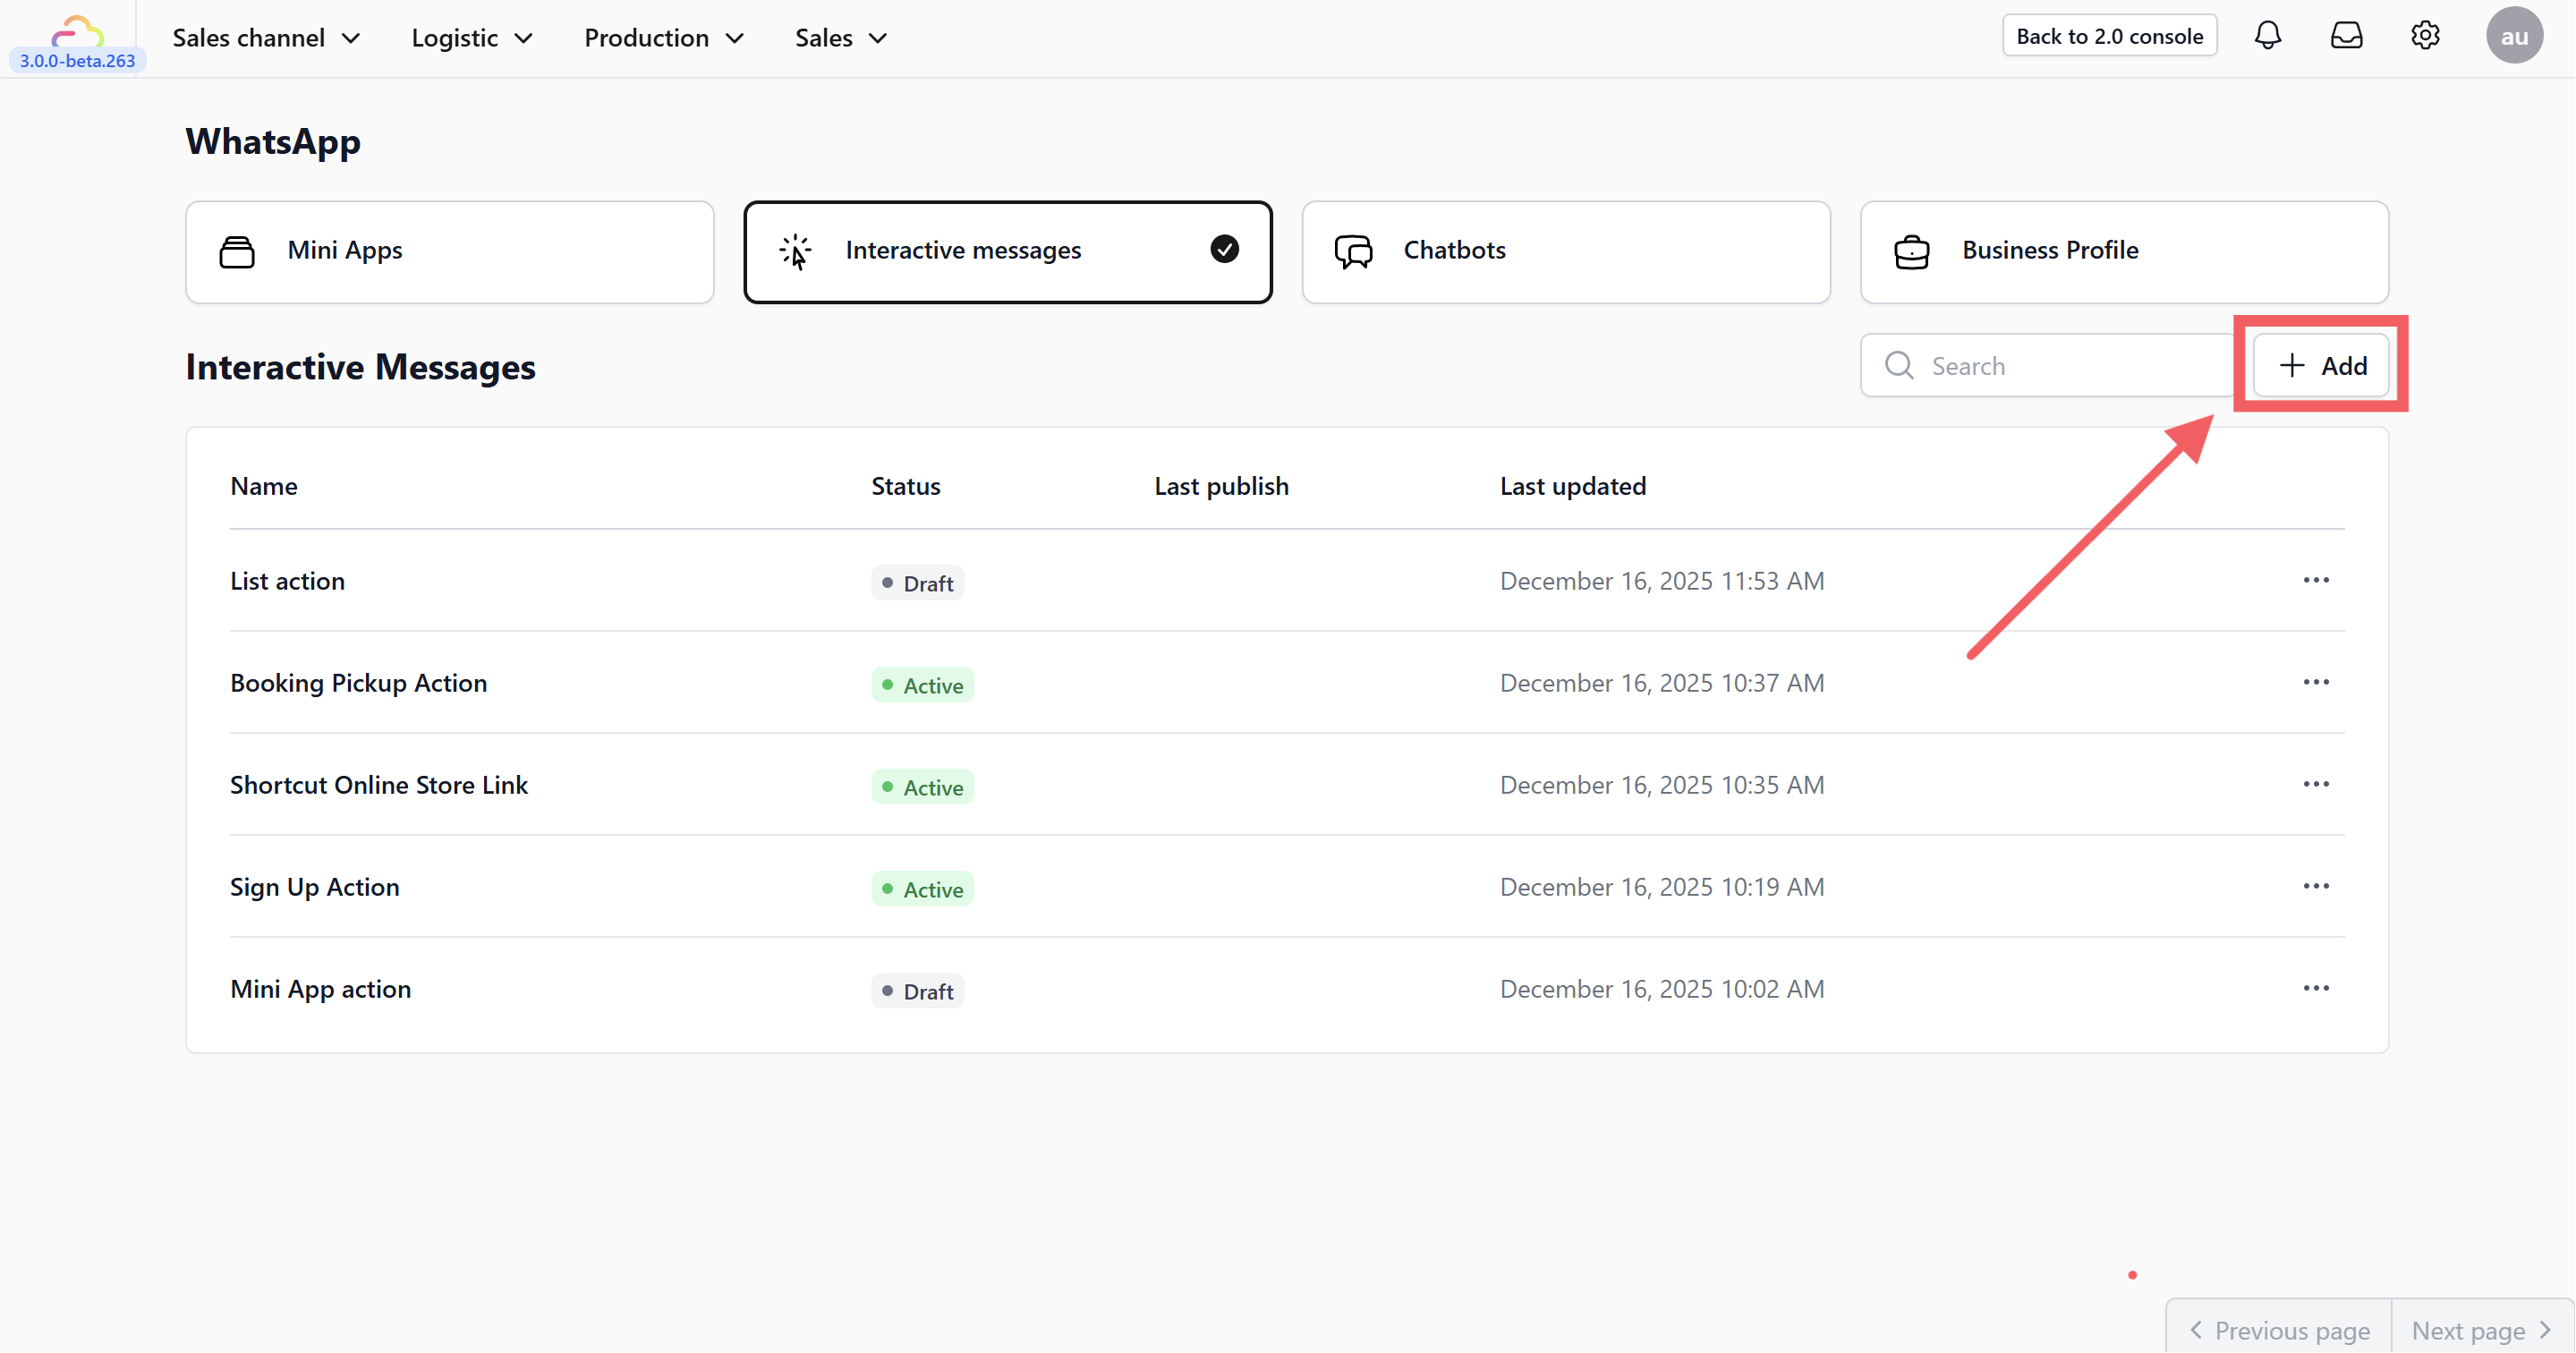
- Navigate to the Interactive messages tab and click + Add.
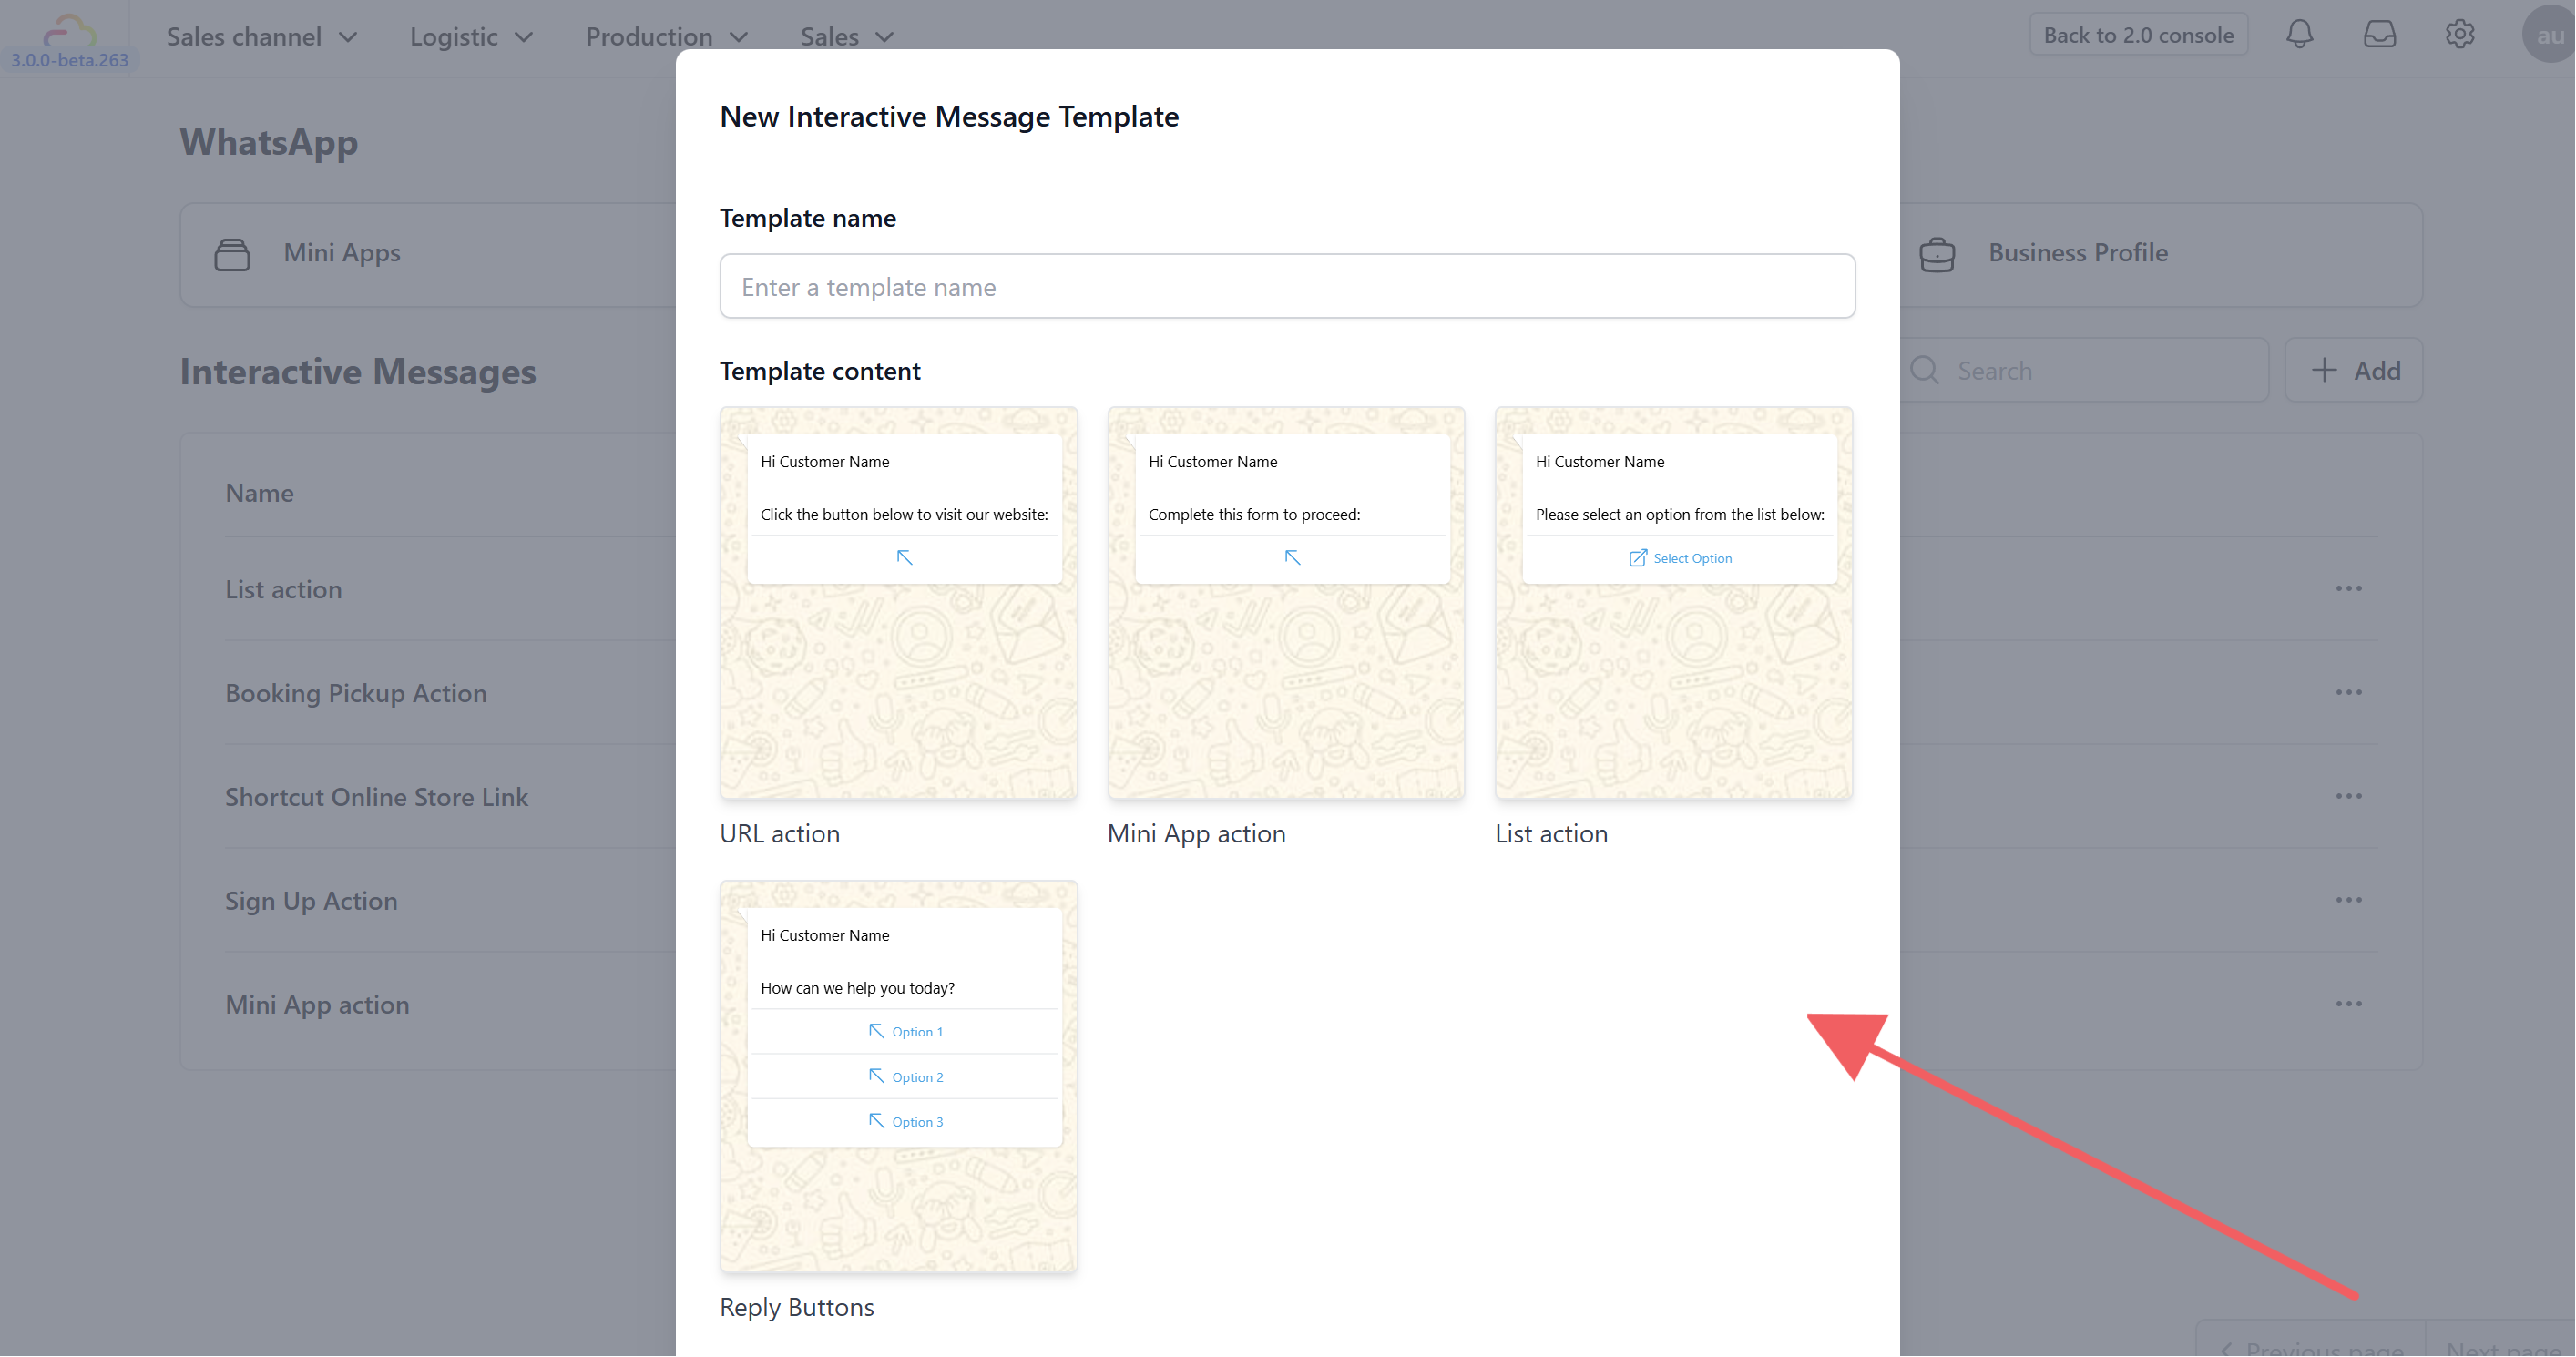
-
In the popup window, enter a Template name for internal reference.
-
Select the Template content type based on your goal:
-
URL action: Directs users to an external website.
-
Mini App action: Launches an interactive WhatsApp Flow.
-
List action: Presents a menu of up to 10 options for the user to select.
-
Reply Buttons: Offers up to 3 quick response buttons.
-
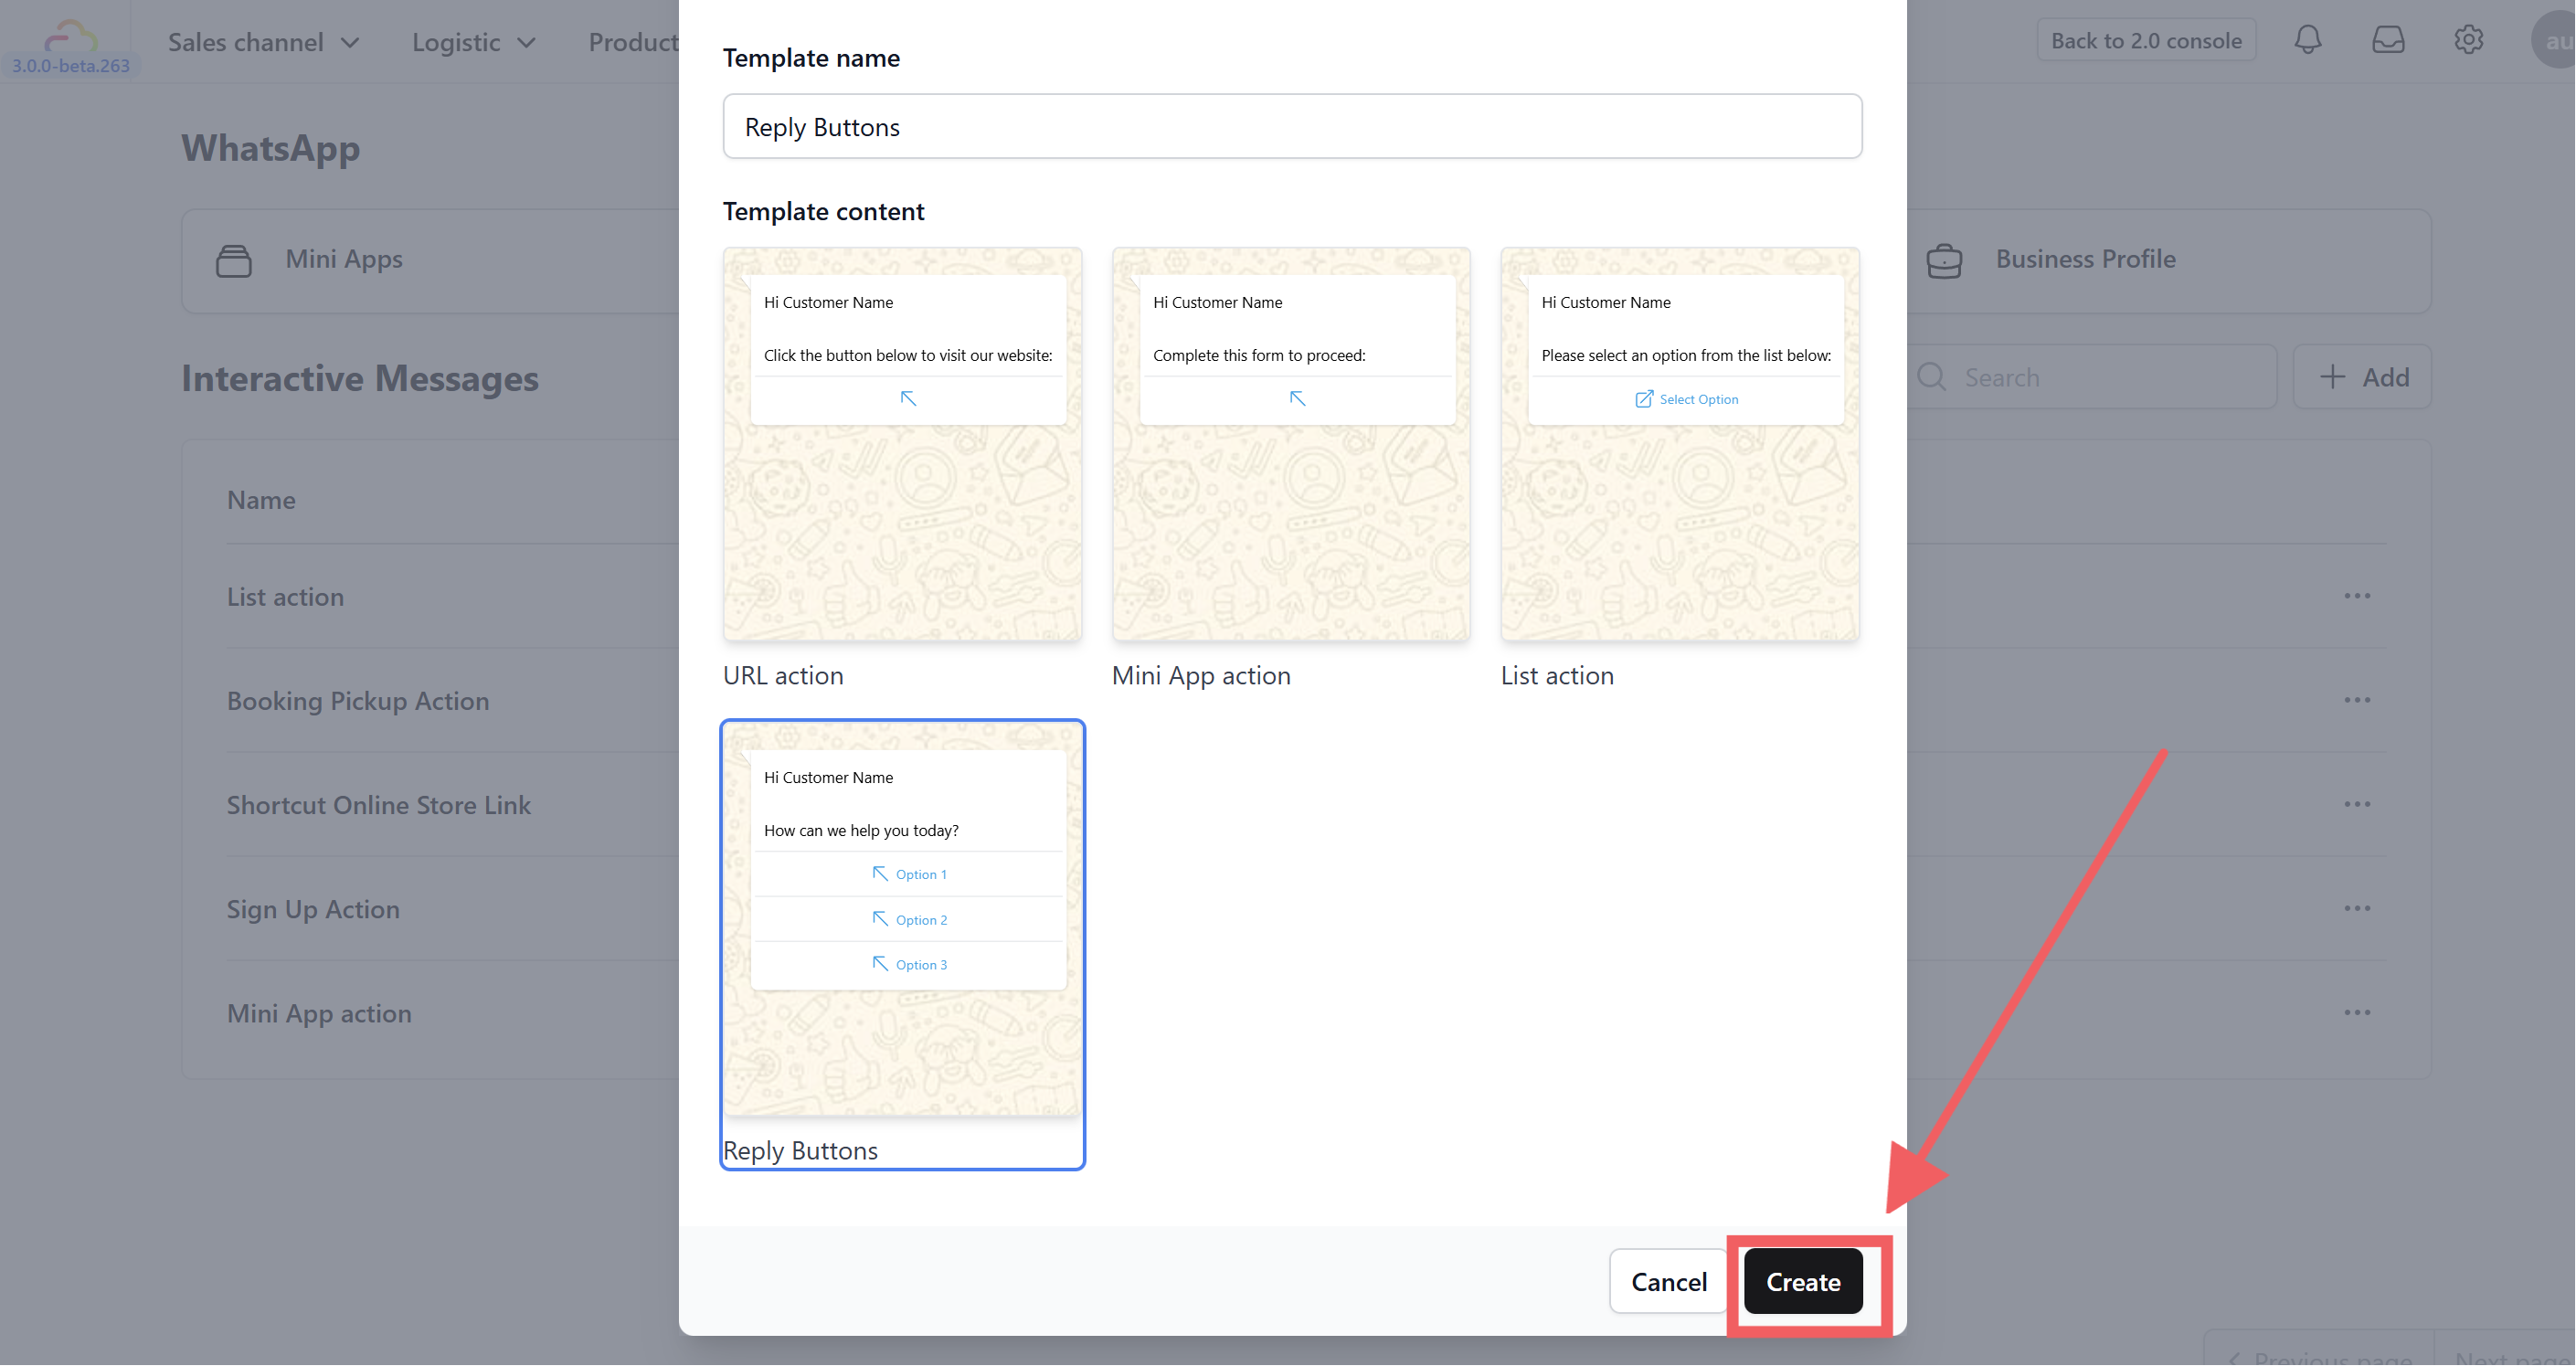
- Click Create.
2. Configure Message Content
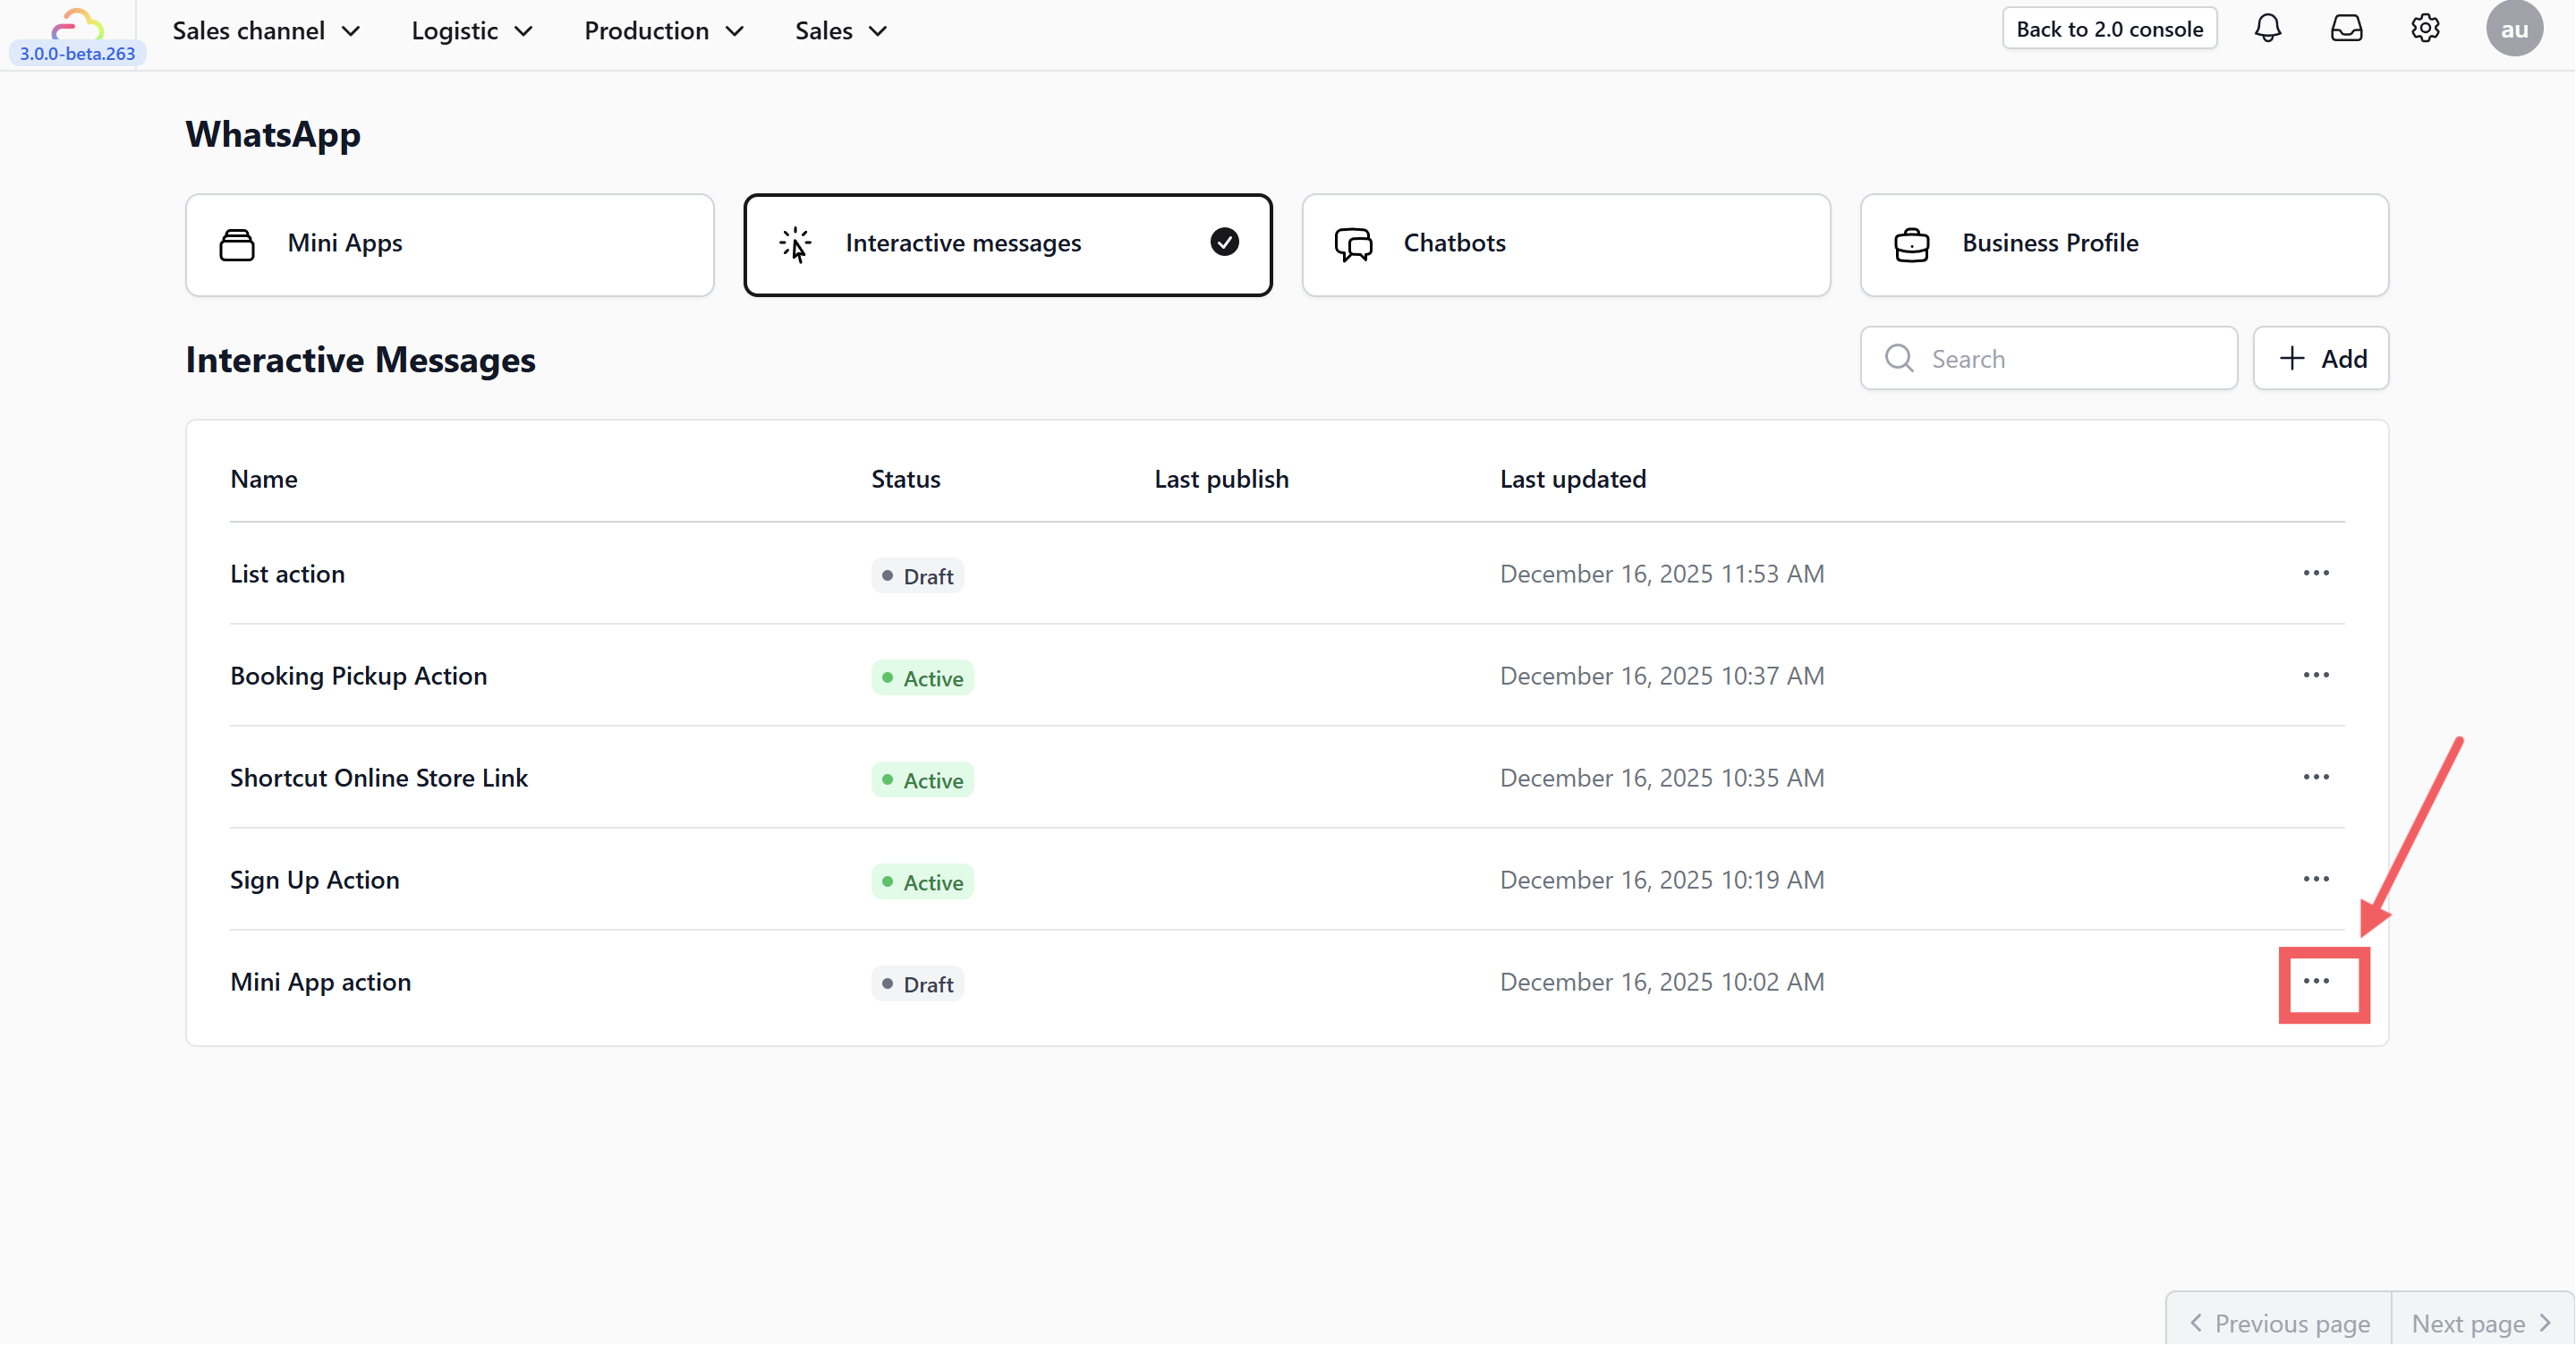
1.Click the three dots next to the template you want to configure.
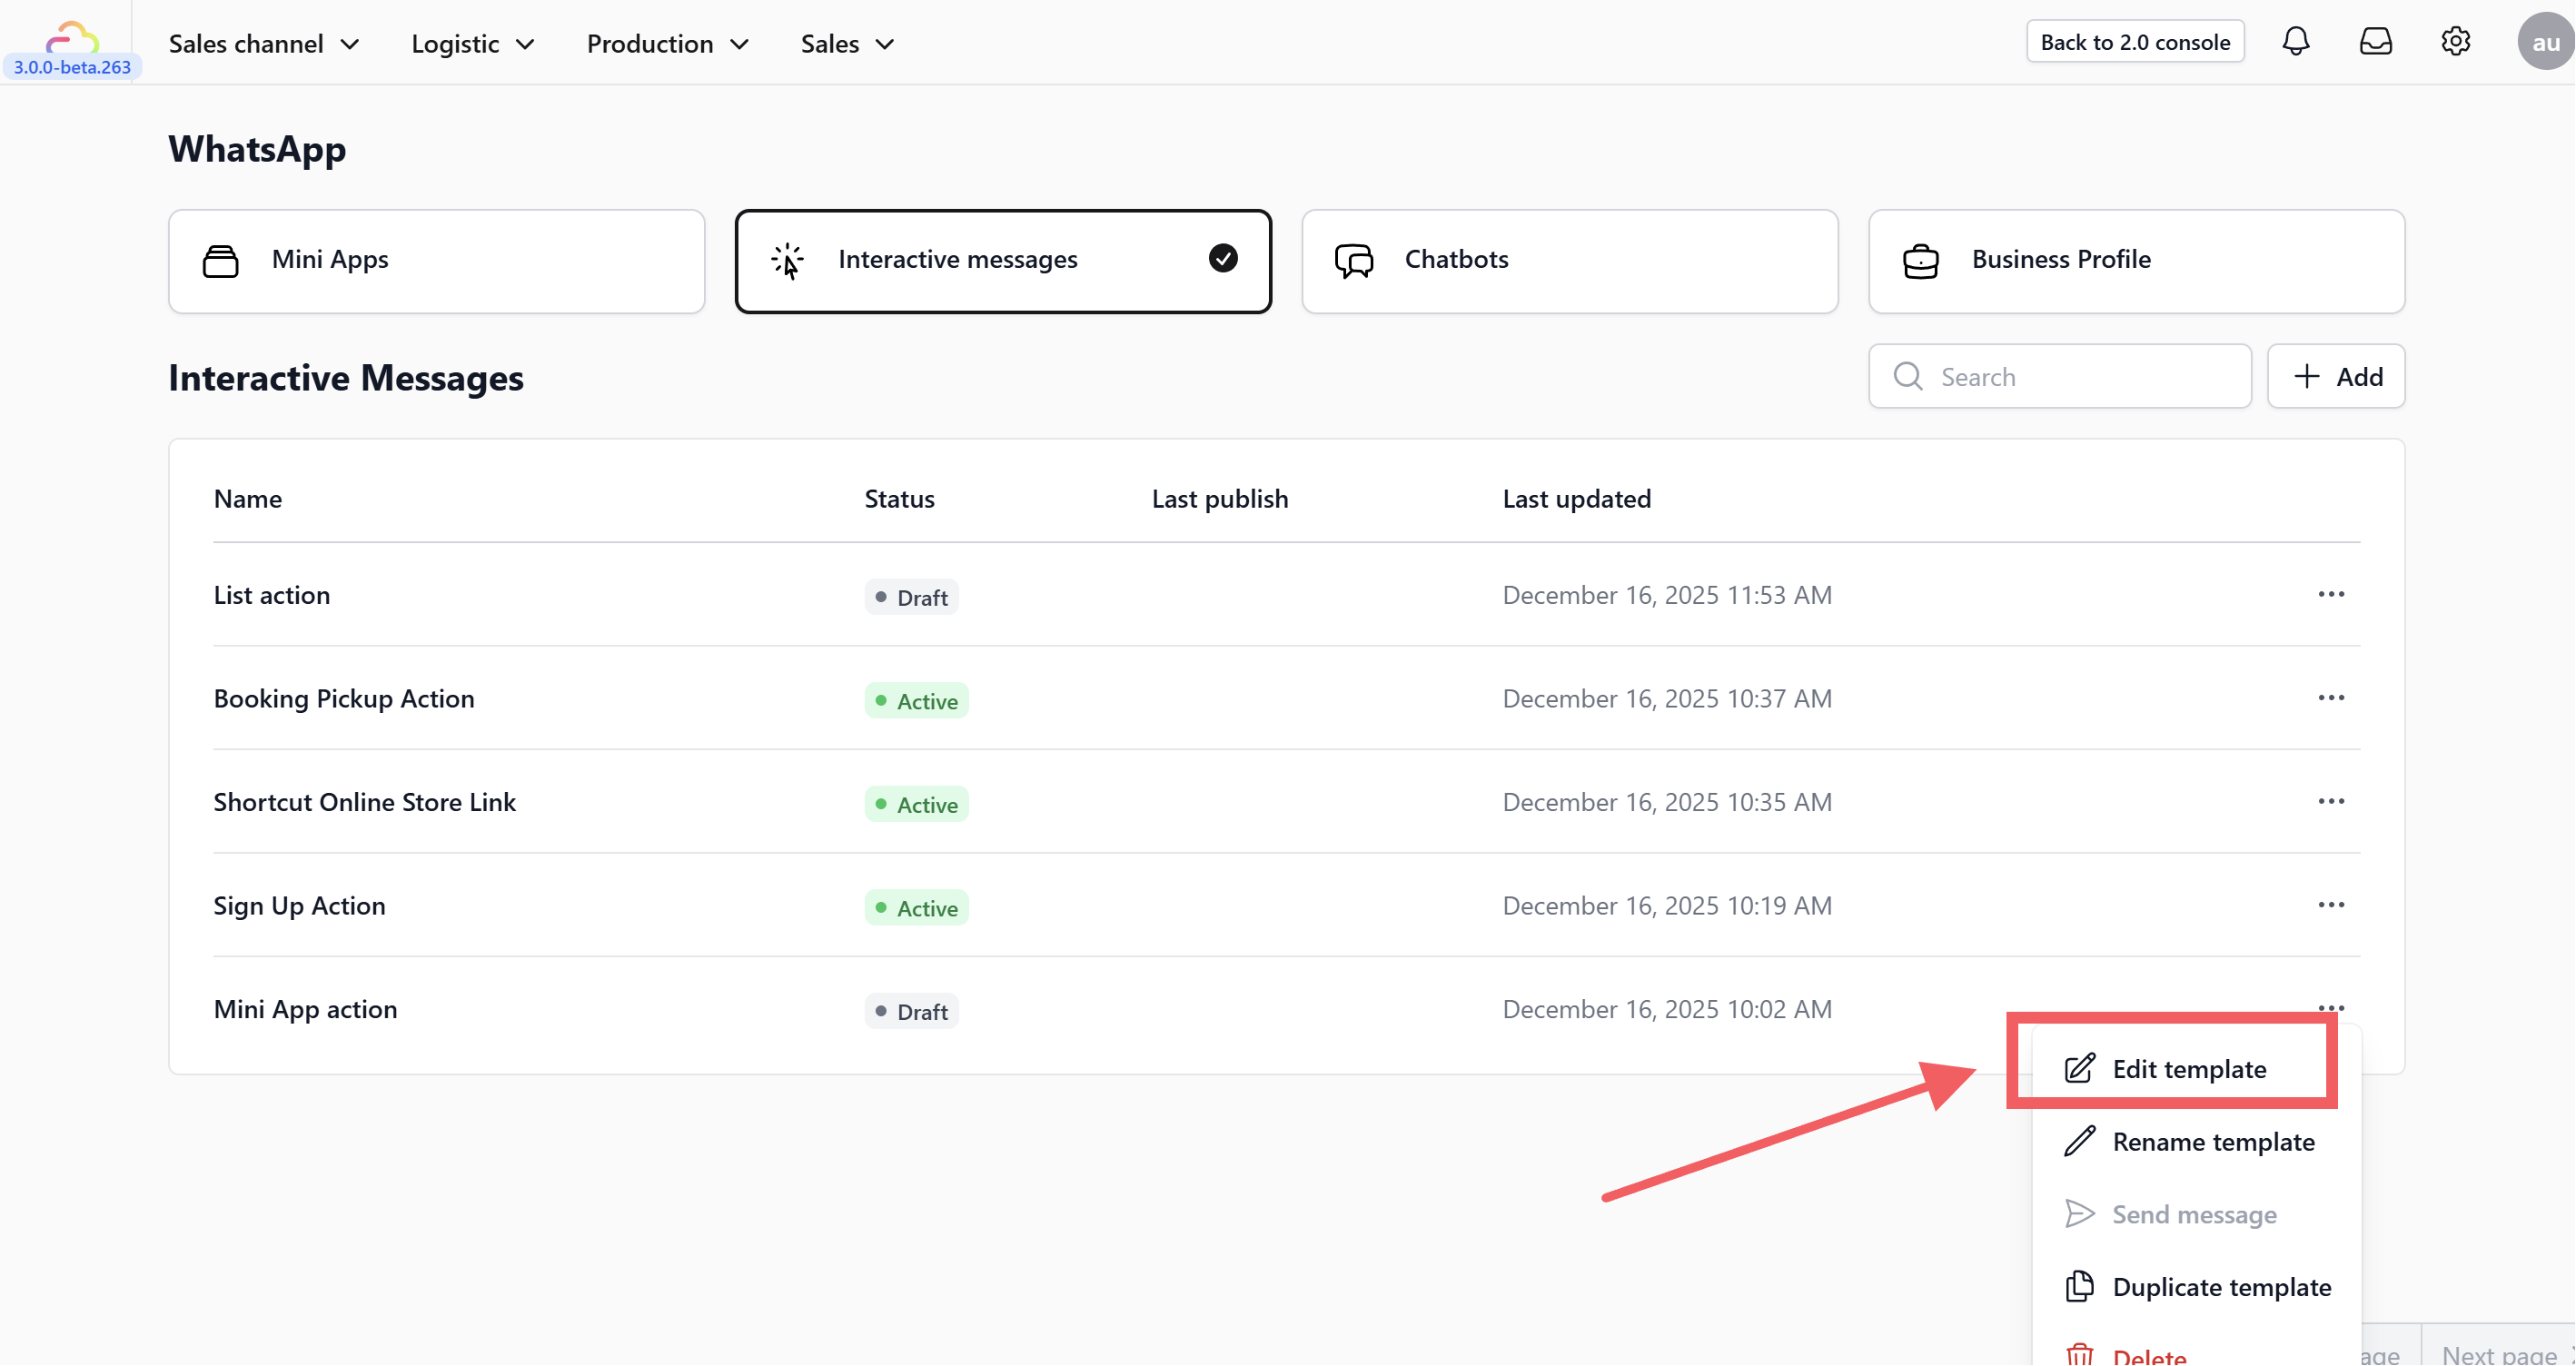
2.Select “Edit Template.”
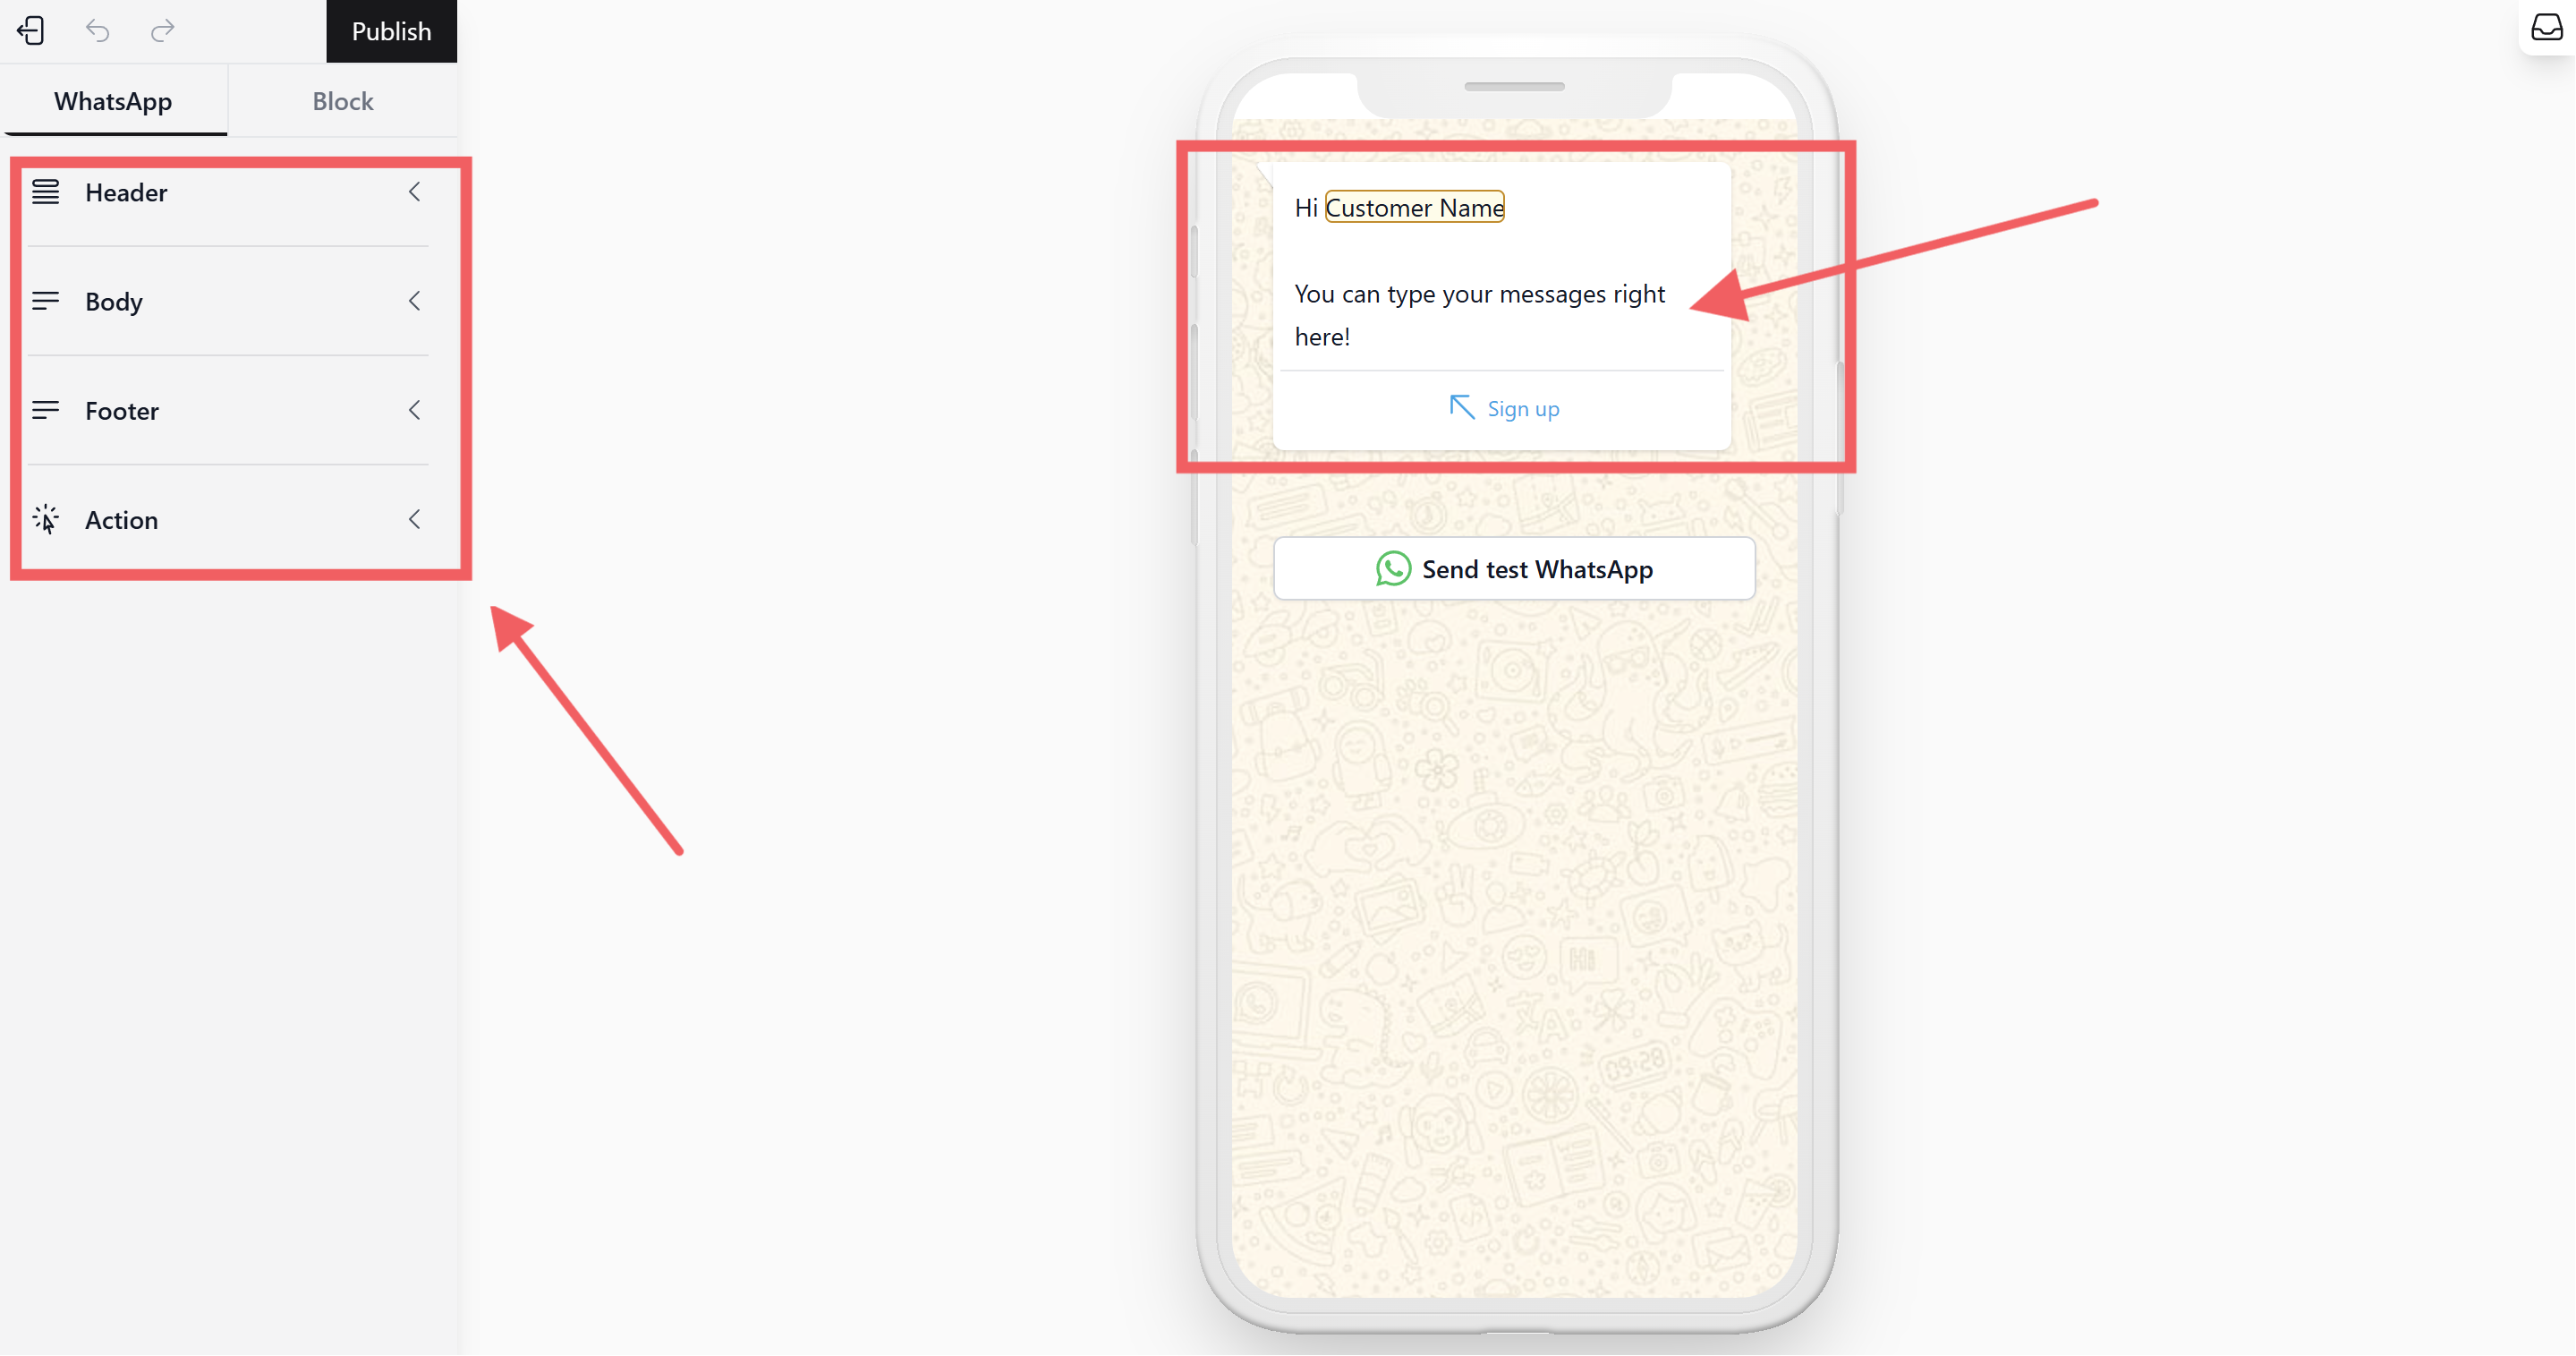
3.You will see that the message is fully customizable, including the header, body, footer, and actions.
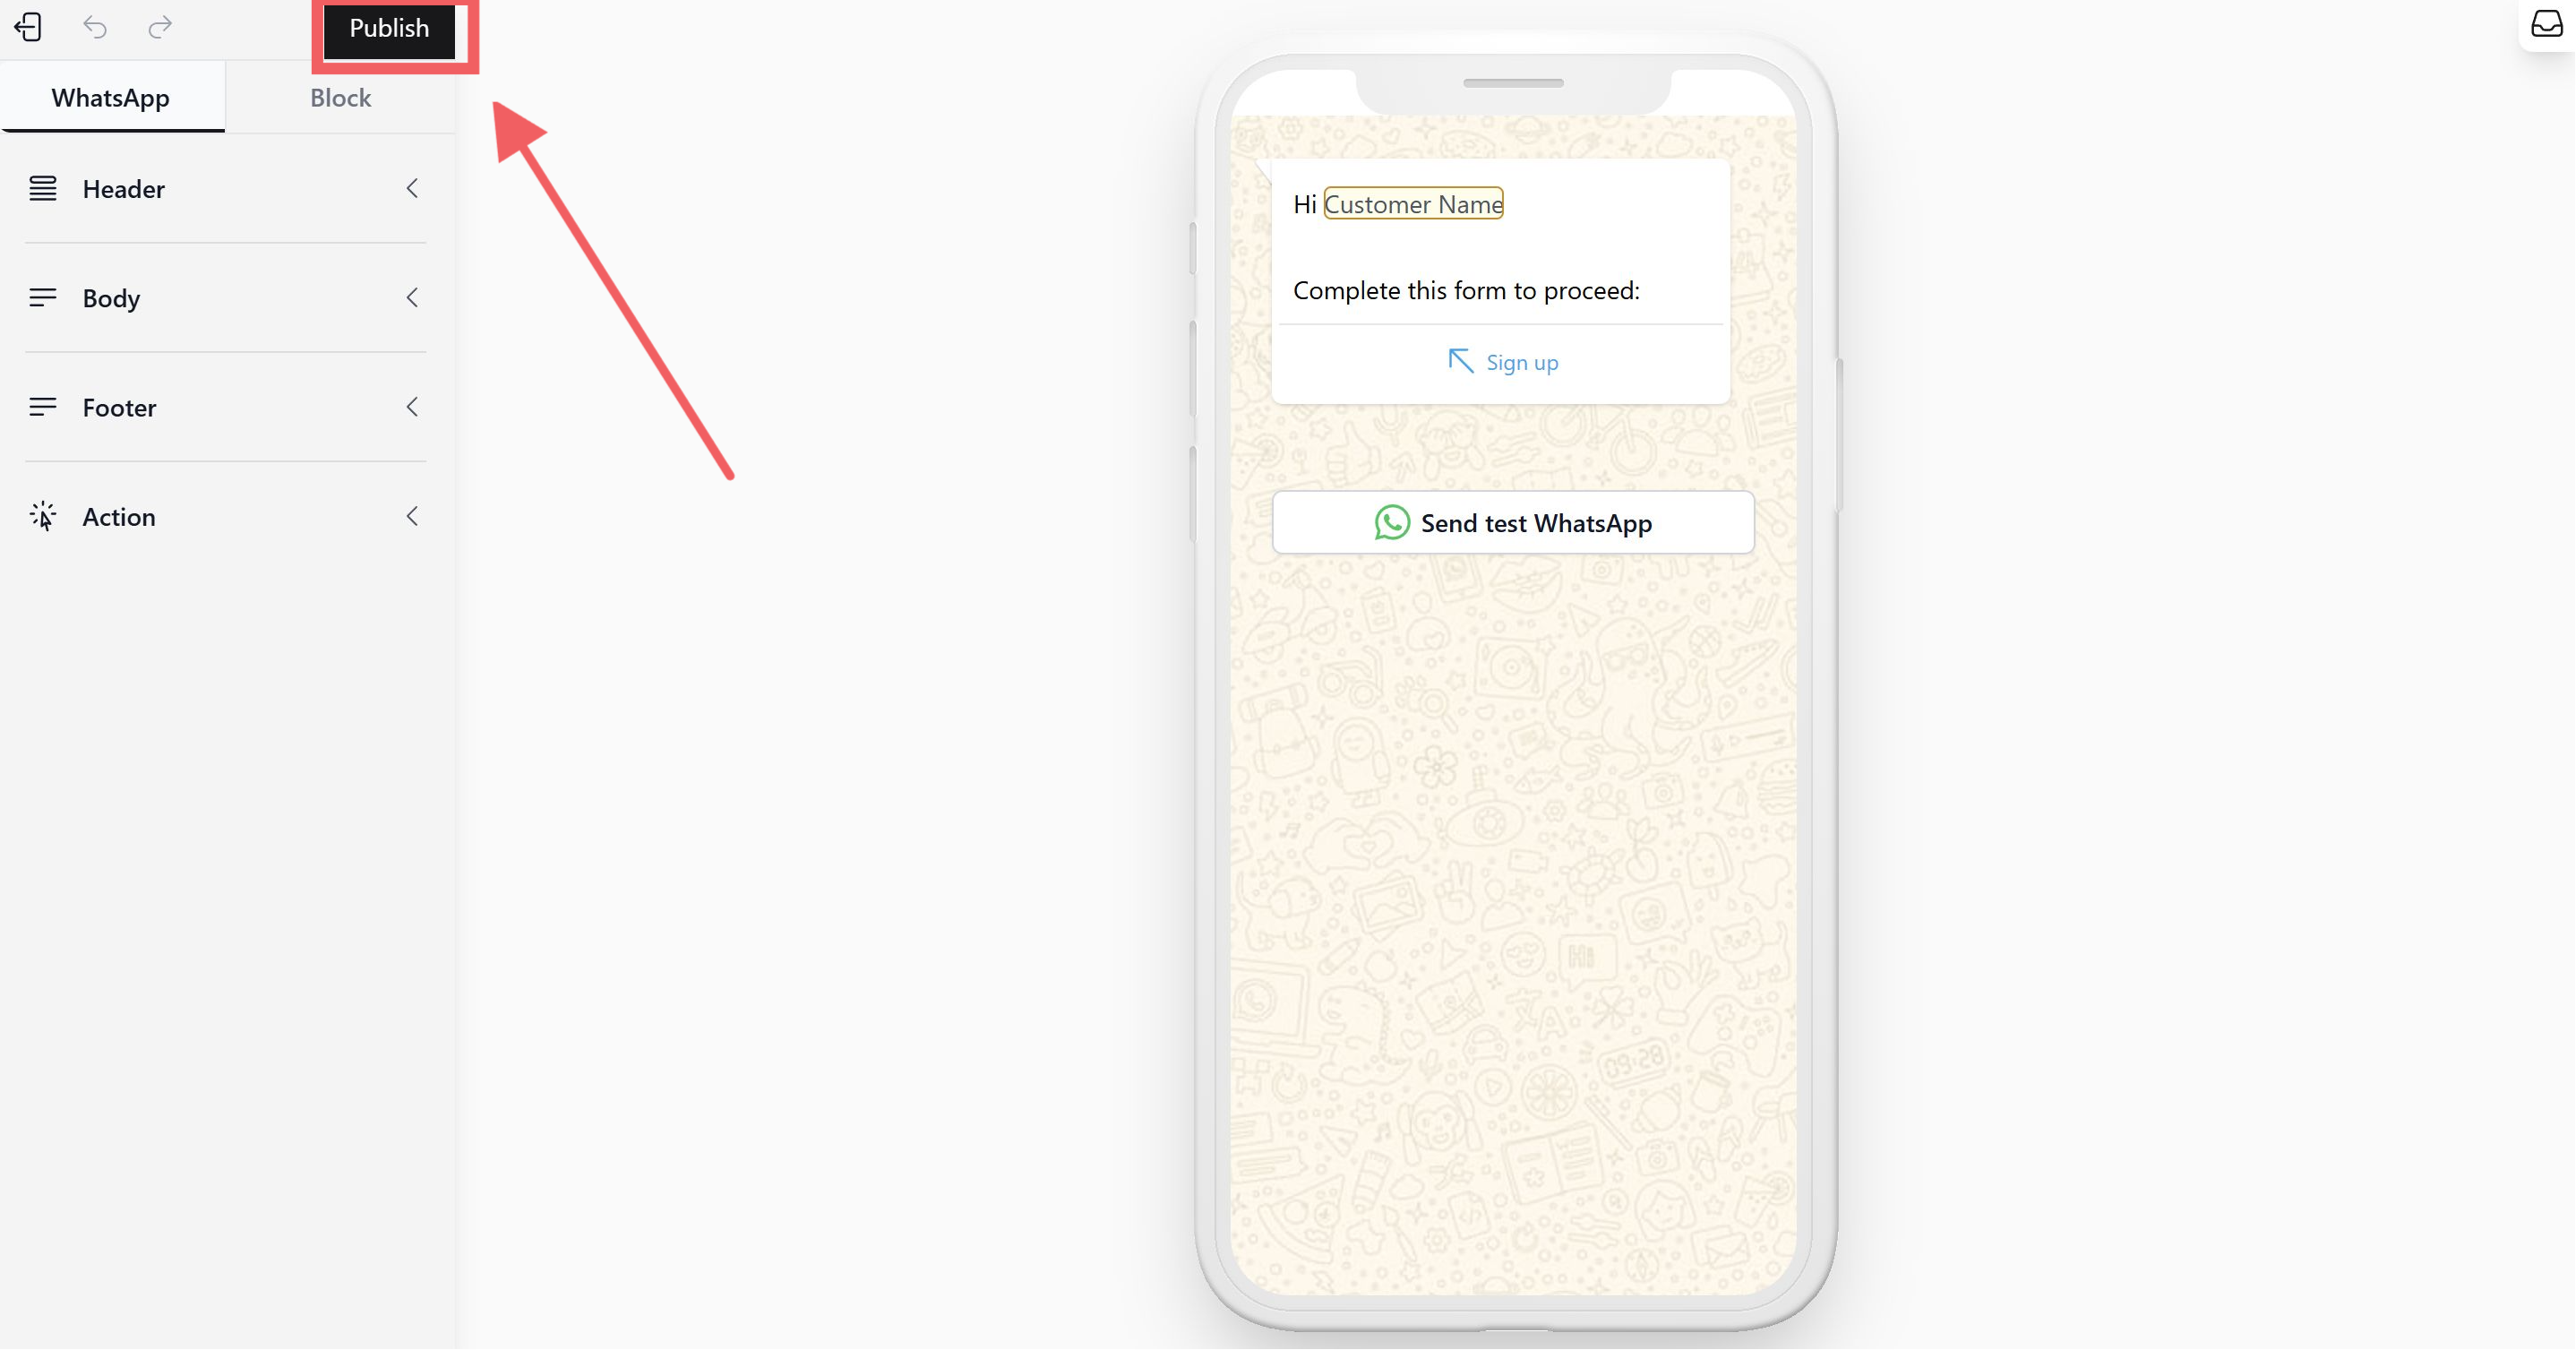
4.Once you have finished customizing, remember to click the “Publish” button.
Regardless of the template type chosen, configure the main visual elements using the left sidebar.
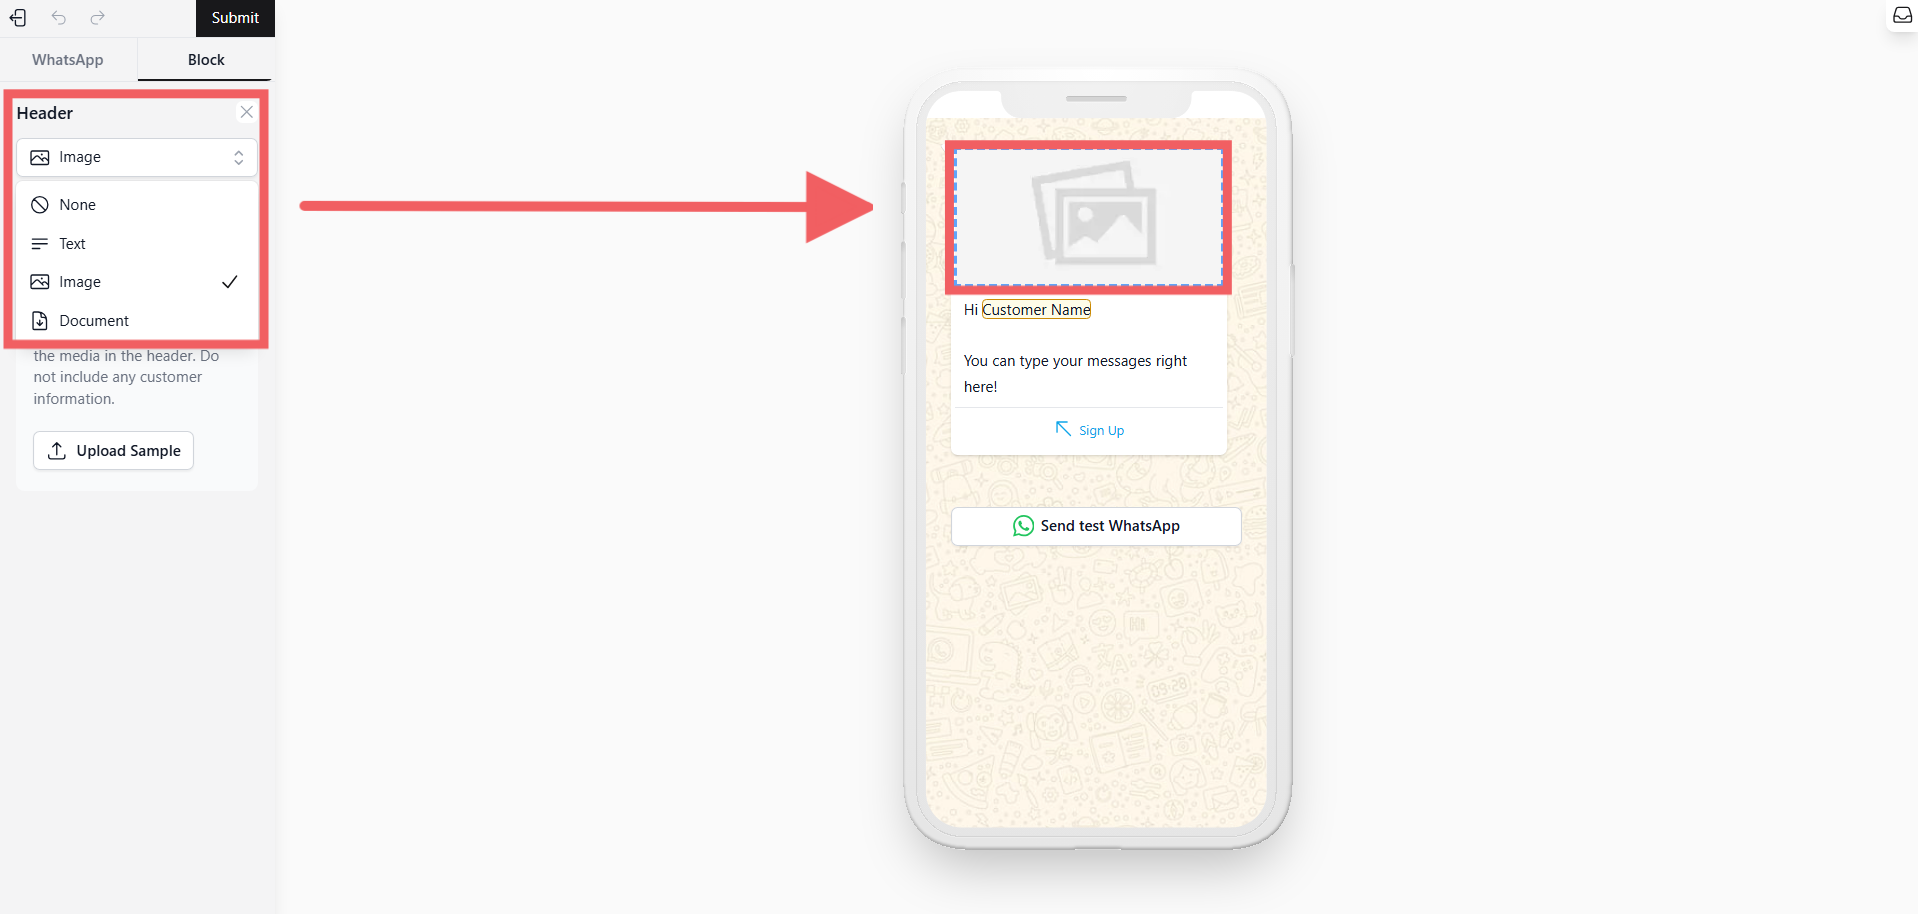
- Header: Choose to display Text, an Image, a Document, or keep it as None at the top of your message.
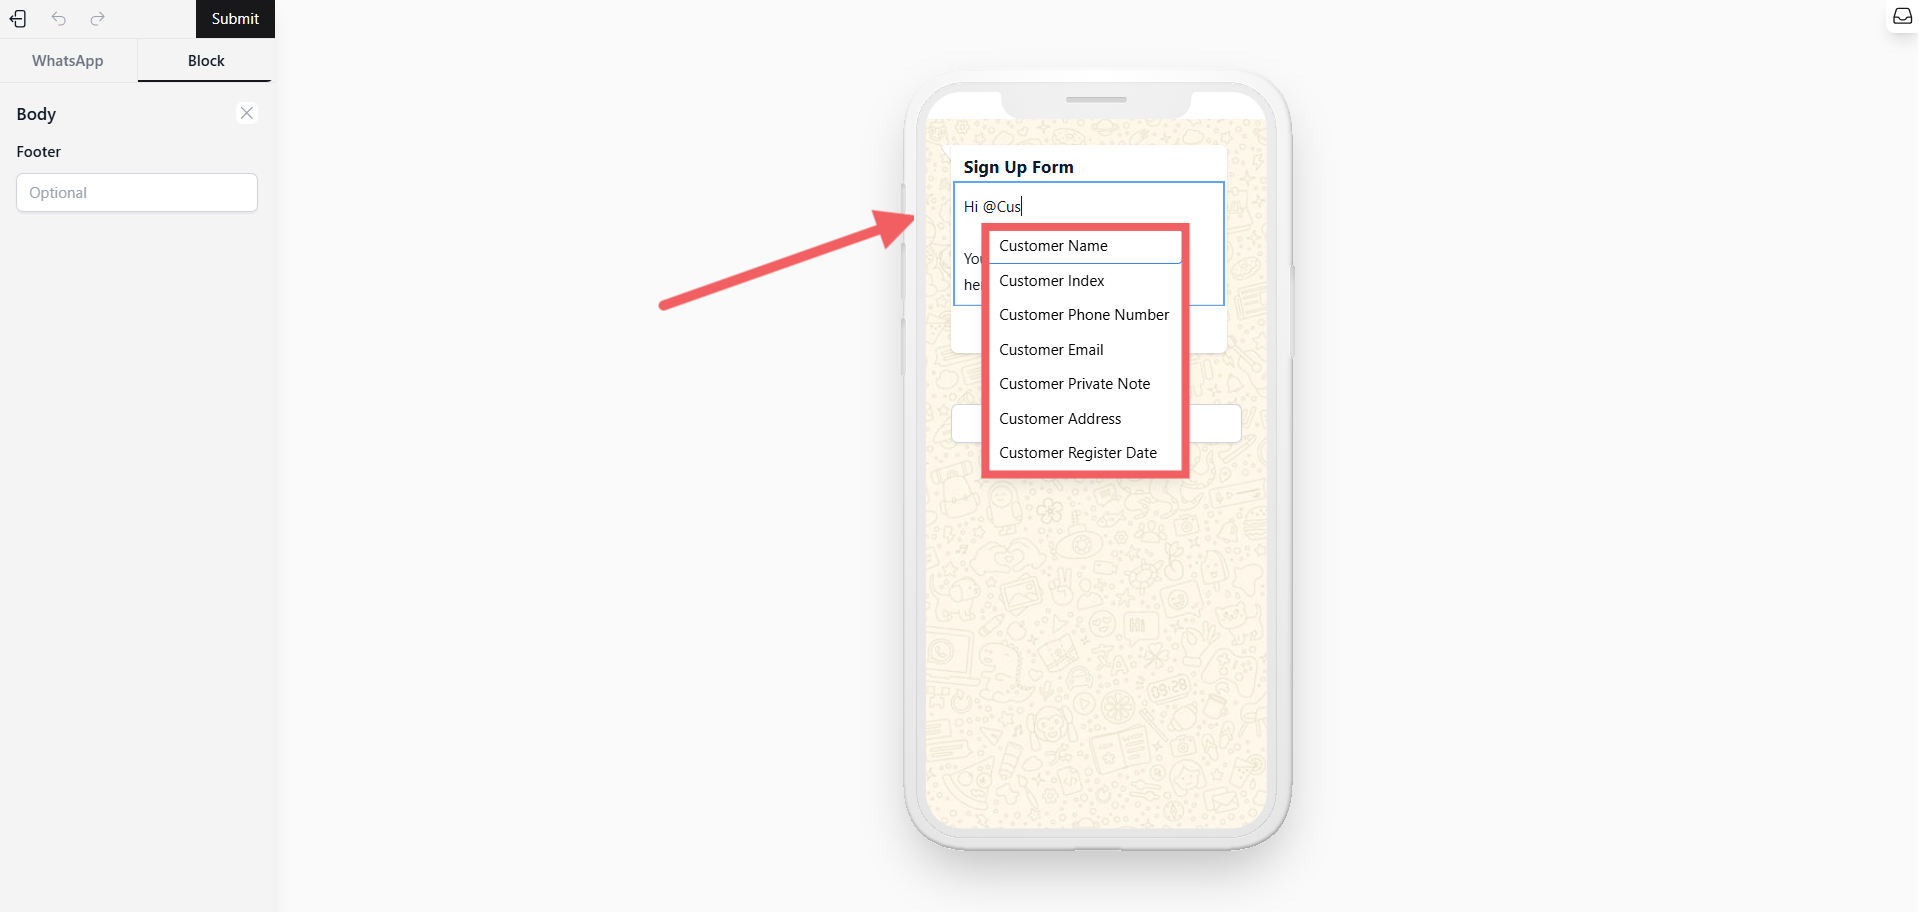
- Body: Type your main message. To make it personal, type @ where a dropdown list will appear to insert dynamic variables like {{Customer Name}} or {{Order Number}}.
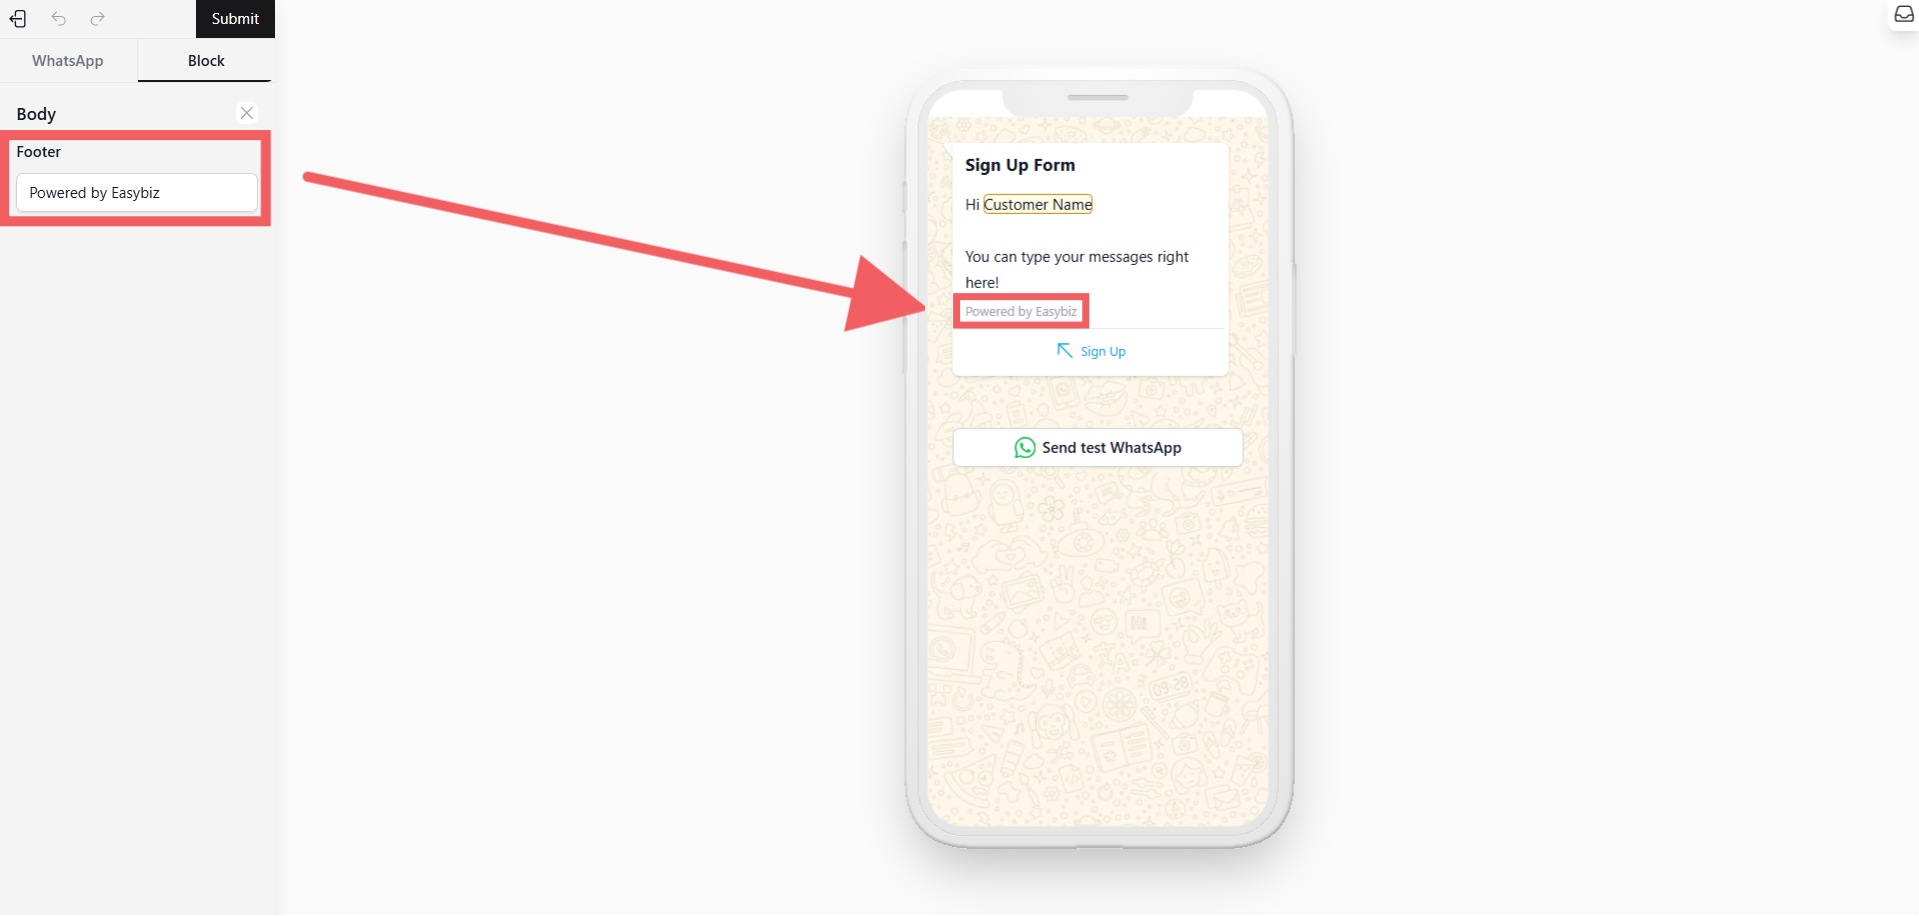
- Footer Add a short, fixed text at the very bottom. This is optional and cannot contain variables.
3. Configure the Action
-
Click on the Action section in the sidebar. The settings here depend on the template type you selected in Step 1.
-
Option A: If using “Mini App action”
-
Action Type: Ensure Open mini App is selected.
-
Button Text: Enter the label for the button (e.g., “Sign Up Now”).
-
Mini App: Select the specific, published Mini App you want to link to.
-
-
Option B: If using “URL action”
-
Action Type: Ensure Open Website is selected.
-
Button Text: Enter the label for the button (e.g., “Visit Website”).
-
URL type: Select Static (fixed URL) or Dynamic (URL with variables), and enter the website address.
-
-
Option C: If using “Reply Buttons” (Quick Replies)
-
Action Type: Ensure Quick Replies is selected.
-
Click + Add button.
-
Select the Button type (Quick reply) and enter the text for the button.
-
Repeat up to 3 times.
-
-
Option D: If using “List action” (Select options)
-
Action Type: Ensure Select options is selected.
-
Button Text: Enter the text for the main button that opens the menu (e.g., “View Menu”).
-
List options: Click + Add item to define the menu choices.
-
For each item, enter a Title (required) and a Description (optional), then click Save. You can add up to 10 items.
-
-
4. Send Message
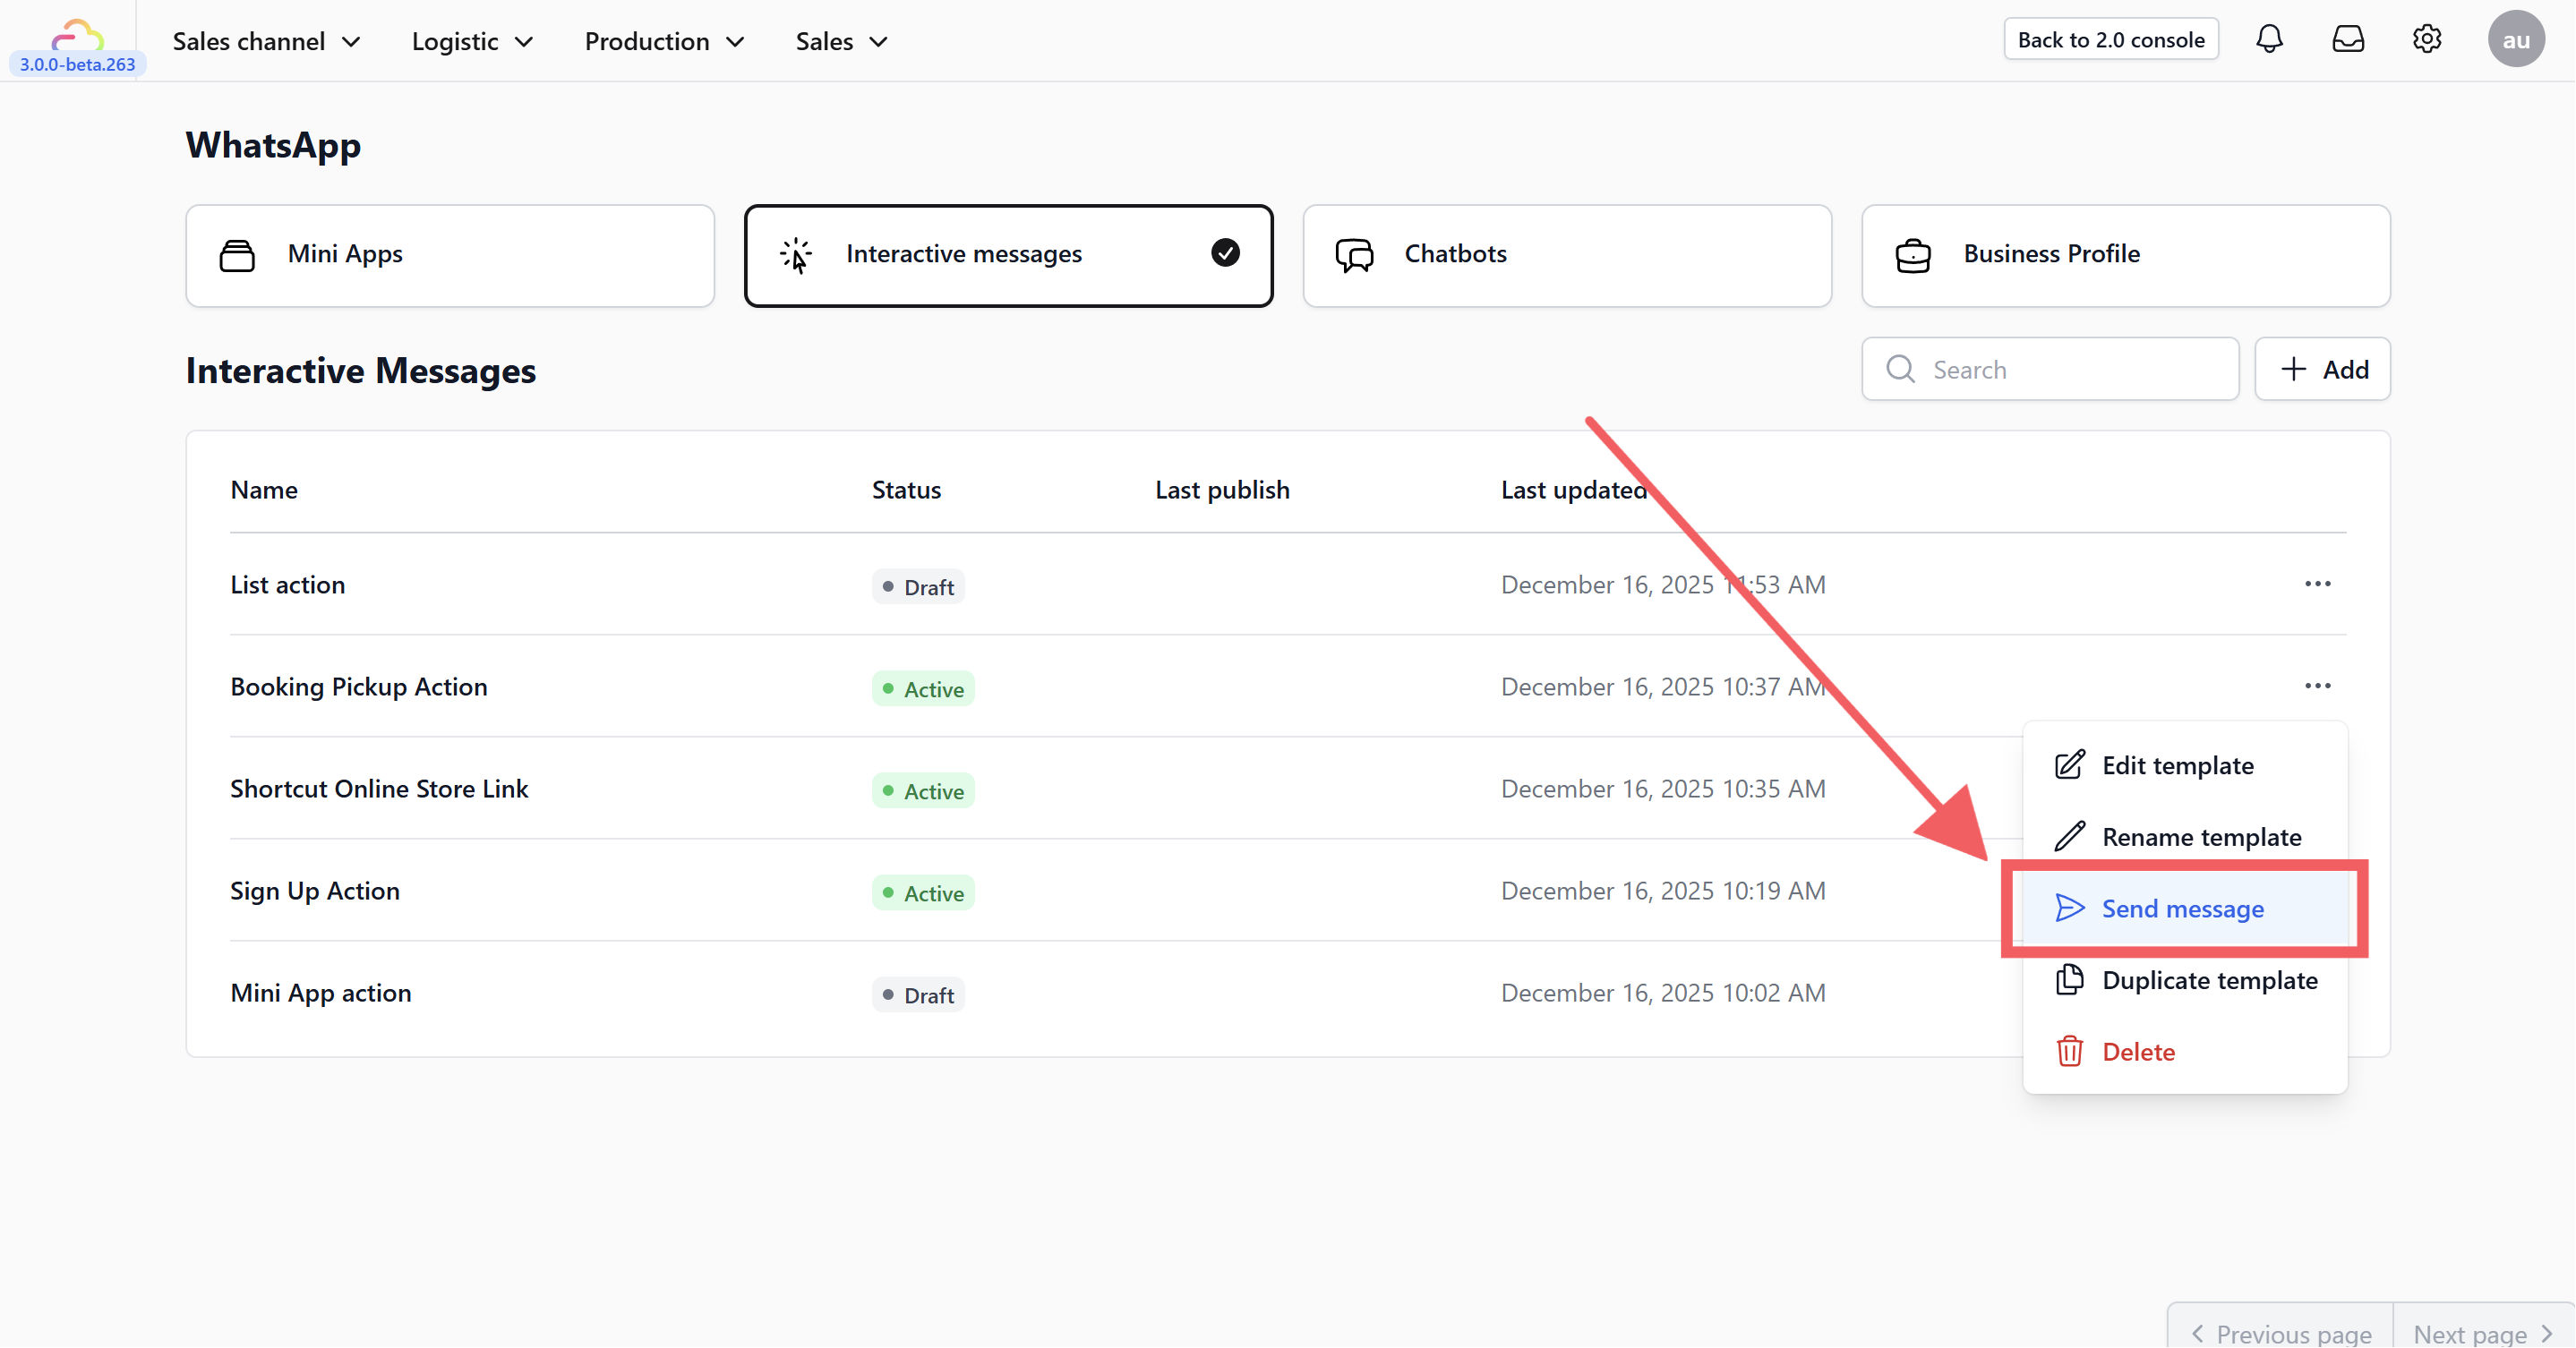
Once you are done, you can send the template message to WhatsApp by clicking the three dots next to the template.