
Before You Start
Have these ready — the whole signup takes about five minutes:
Your business name — the name of your shop or company as customers know it.
An email address you can access, or a Google account. You will verify your email as part of signup, so make sure you can open that inbox.
Where you operate — your country and city. EasyBiz currently supports signup in Singapore, Indonesia, Malaysia, Thailand, the Philippines, Vietnam, Brunei, Australia, and New Zealand.
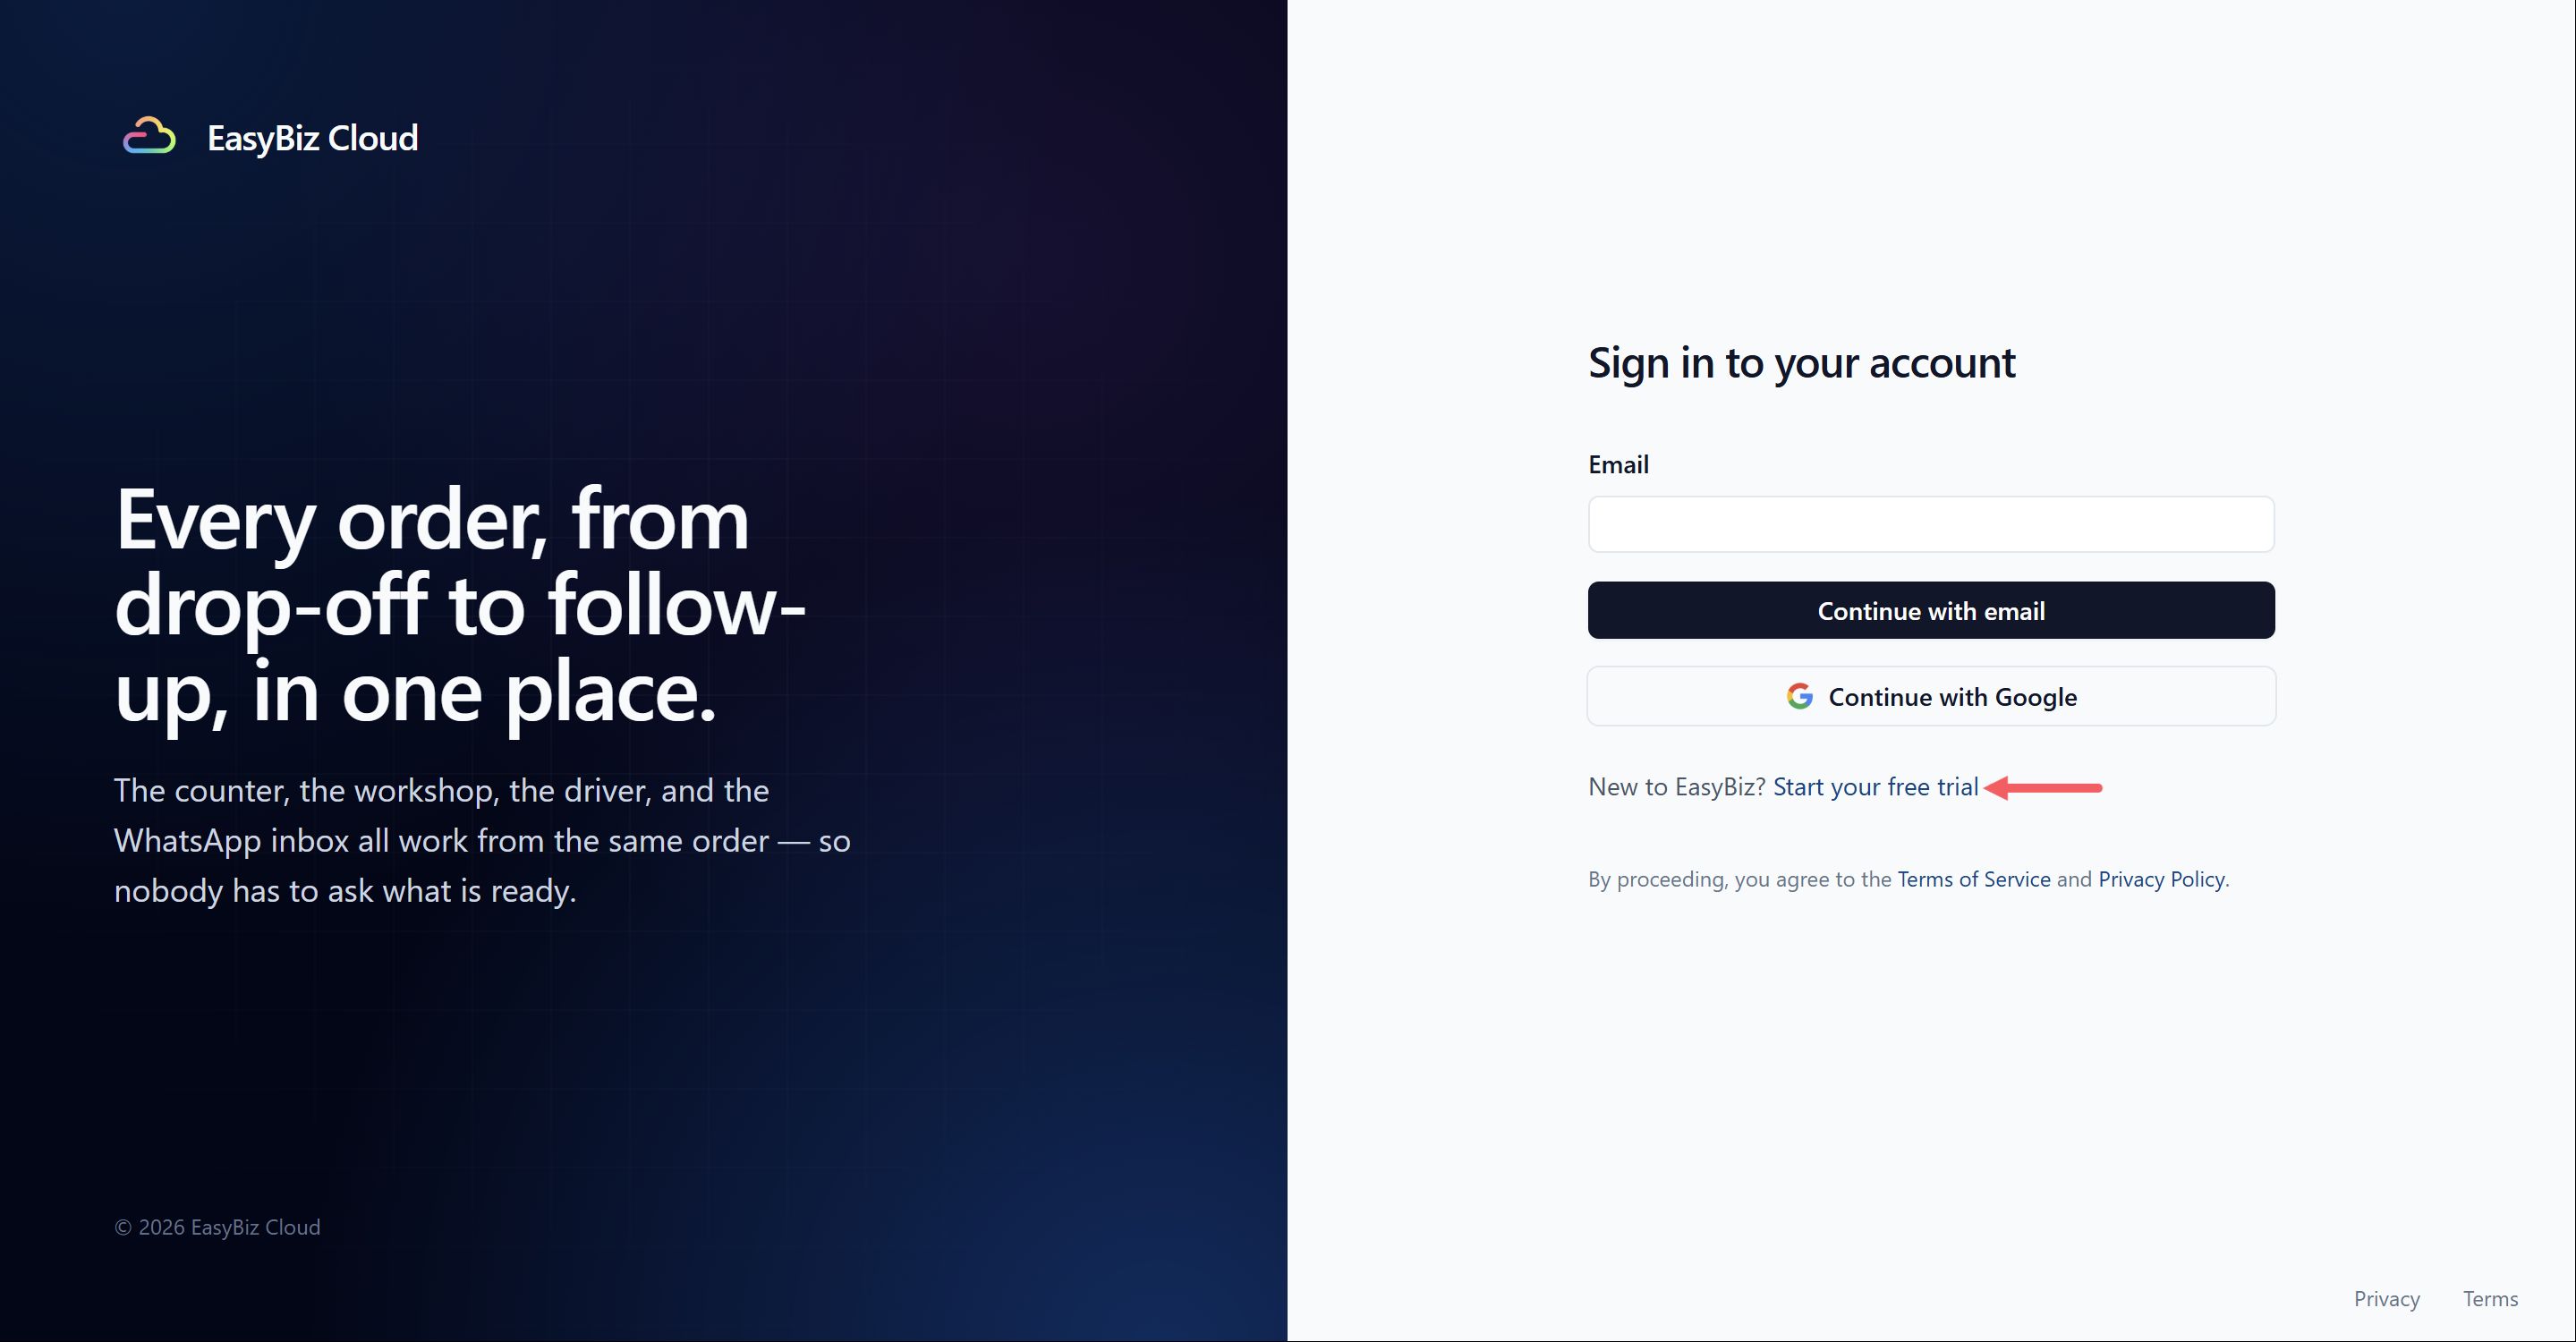
Step 1: Open the Signup Page
Open the EasyBiz signup page.
You can also visit the EasyBiz website and click Start free trial.
Step 2: Create Your Account
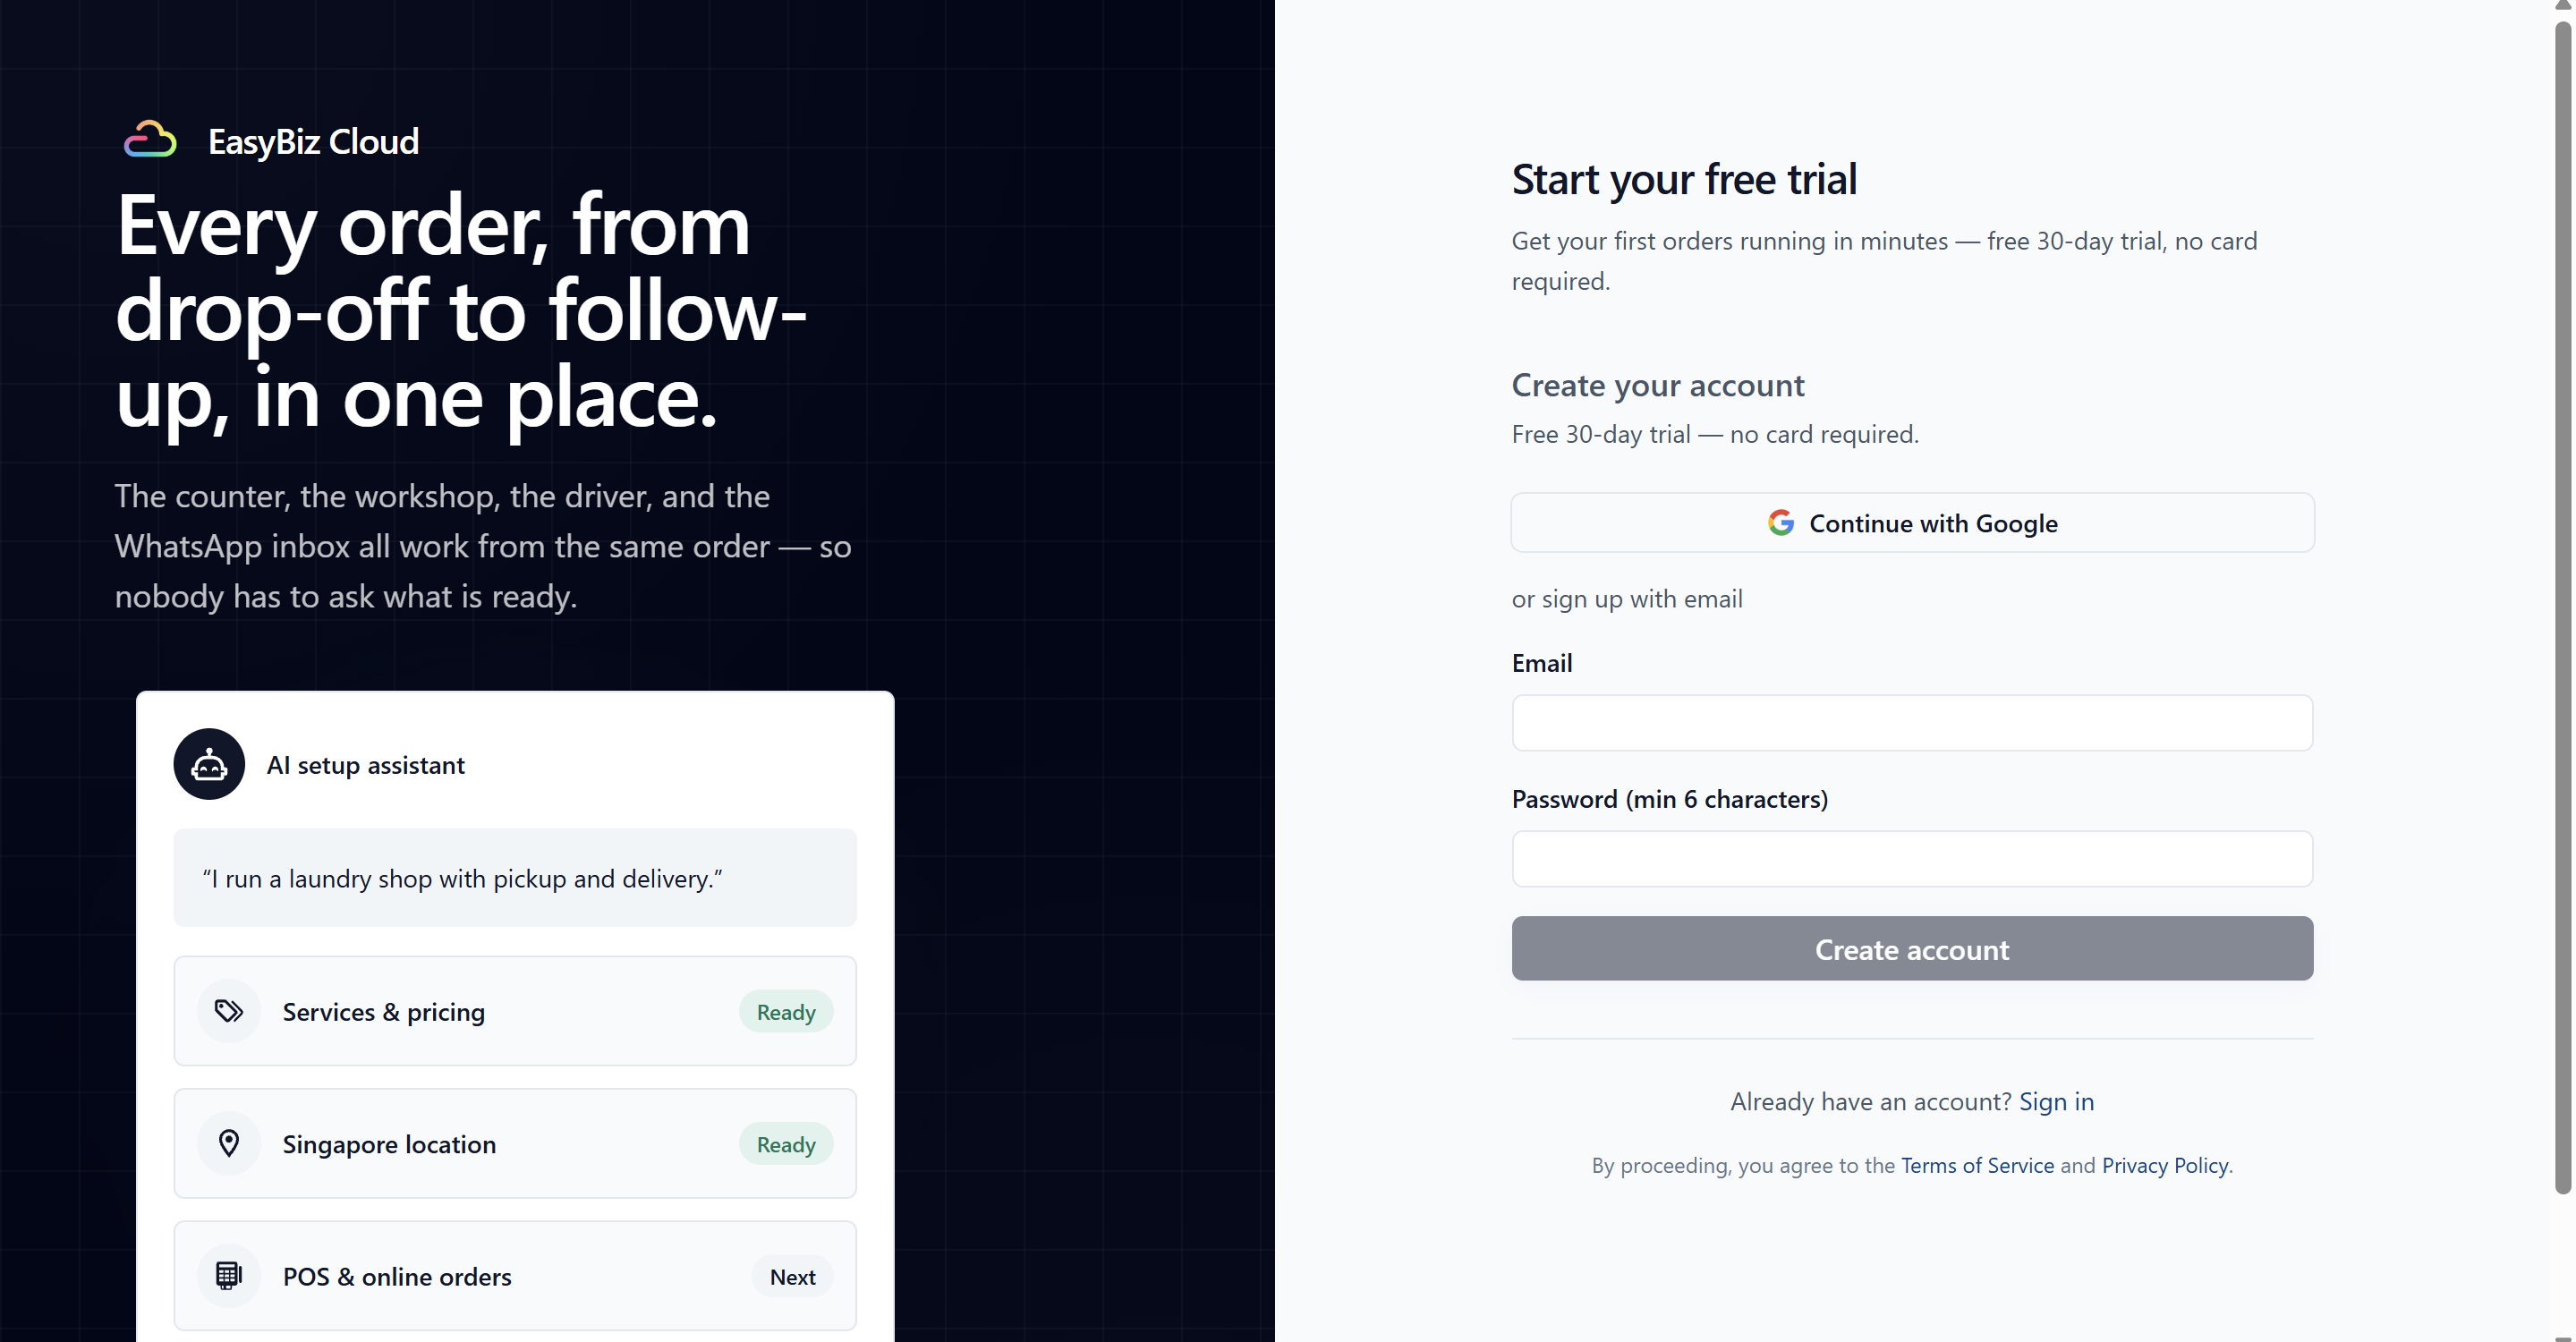
You can sign up in one of two ways:
With Google — click Continue with Google and choose your Google account.
With email — enter your Email and create a Password of at least 6 characters. Then click Create account.
Step 3: Tell Us About Your Business
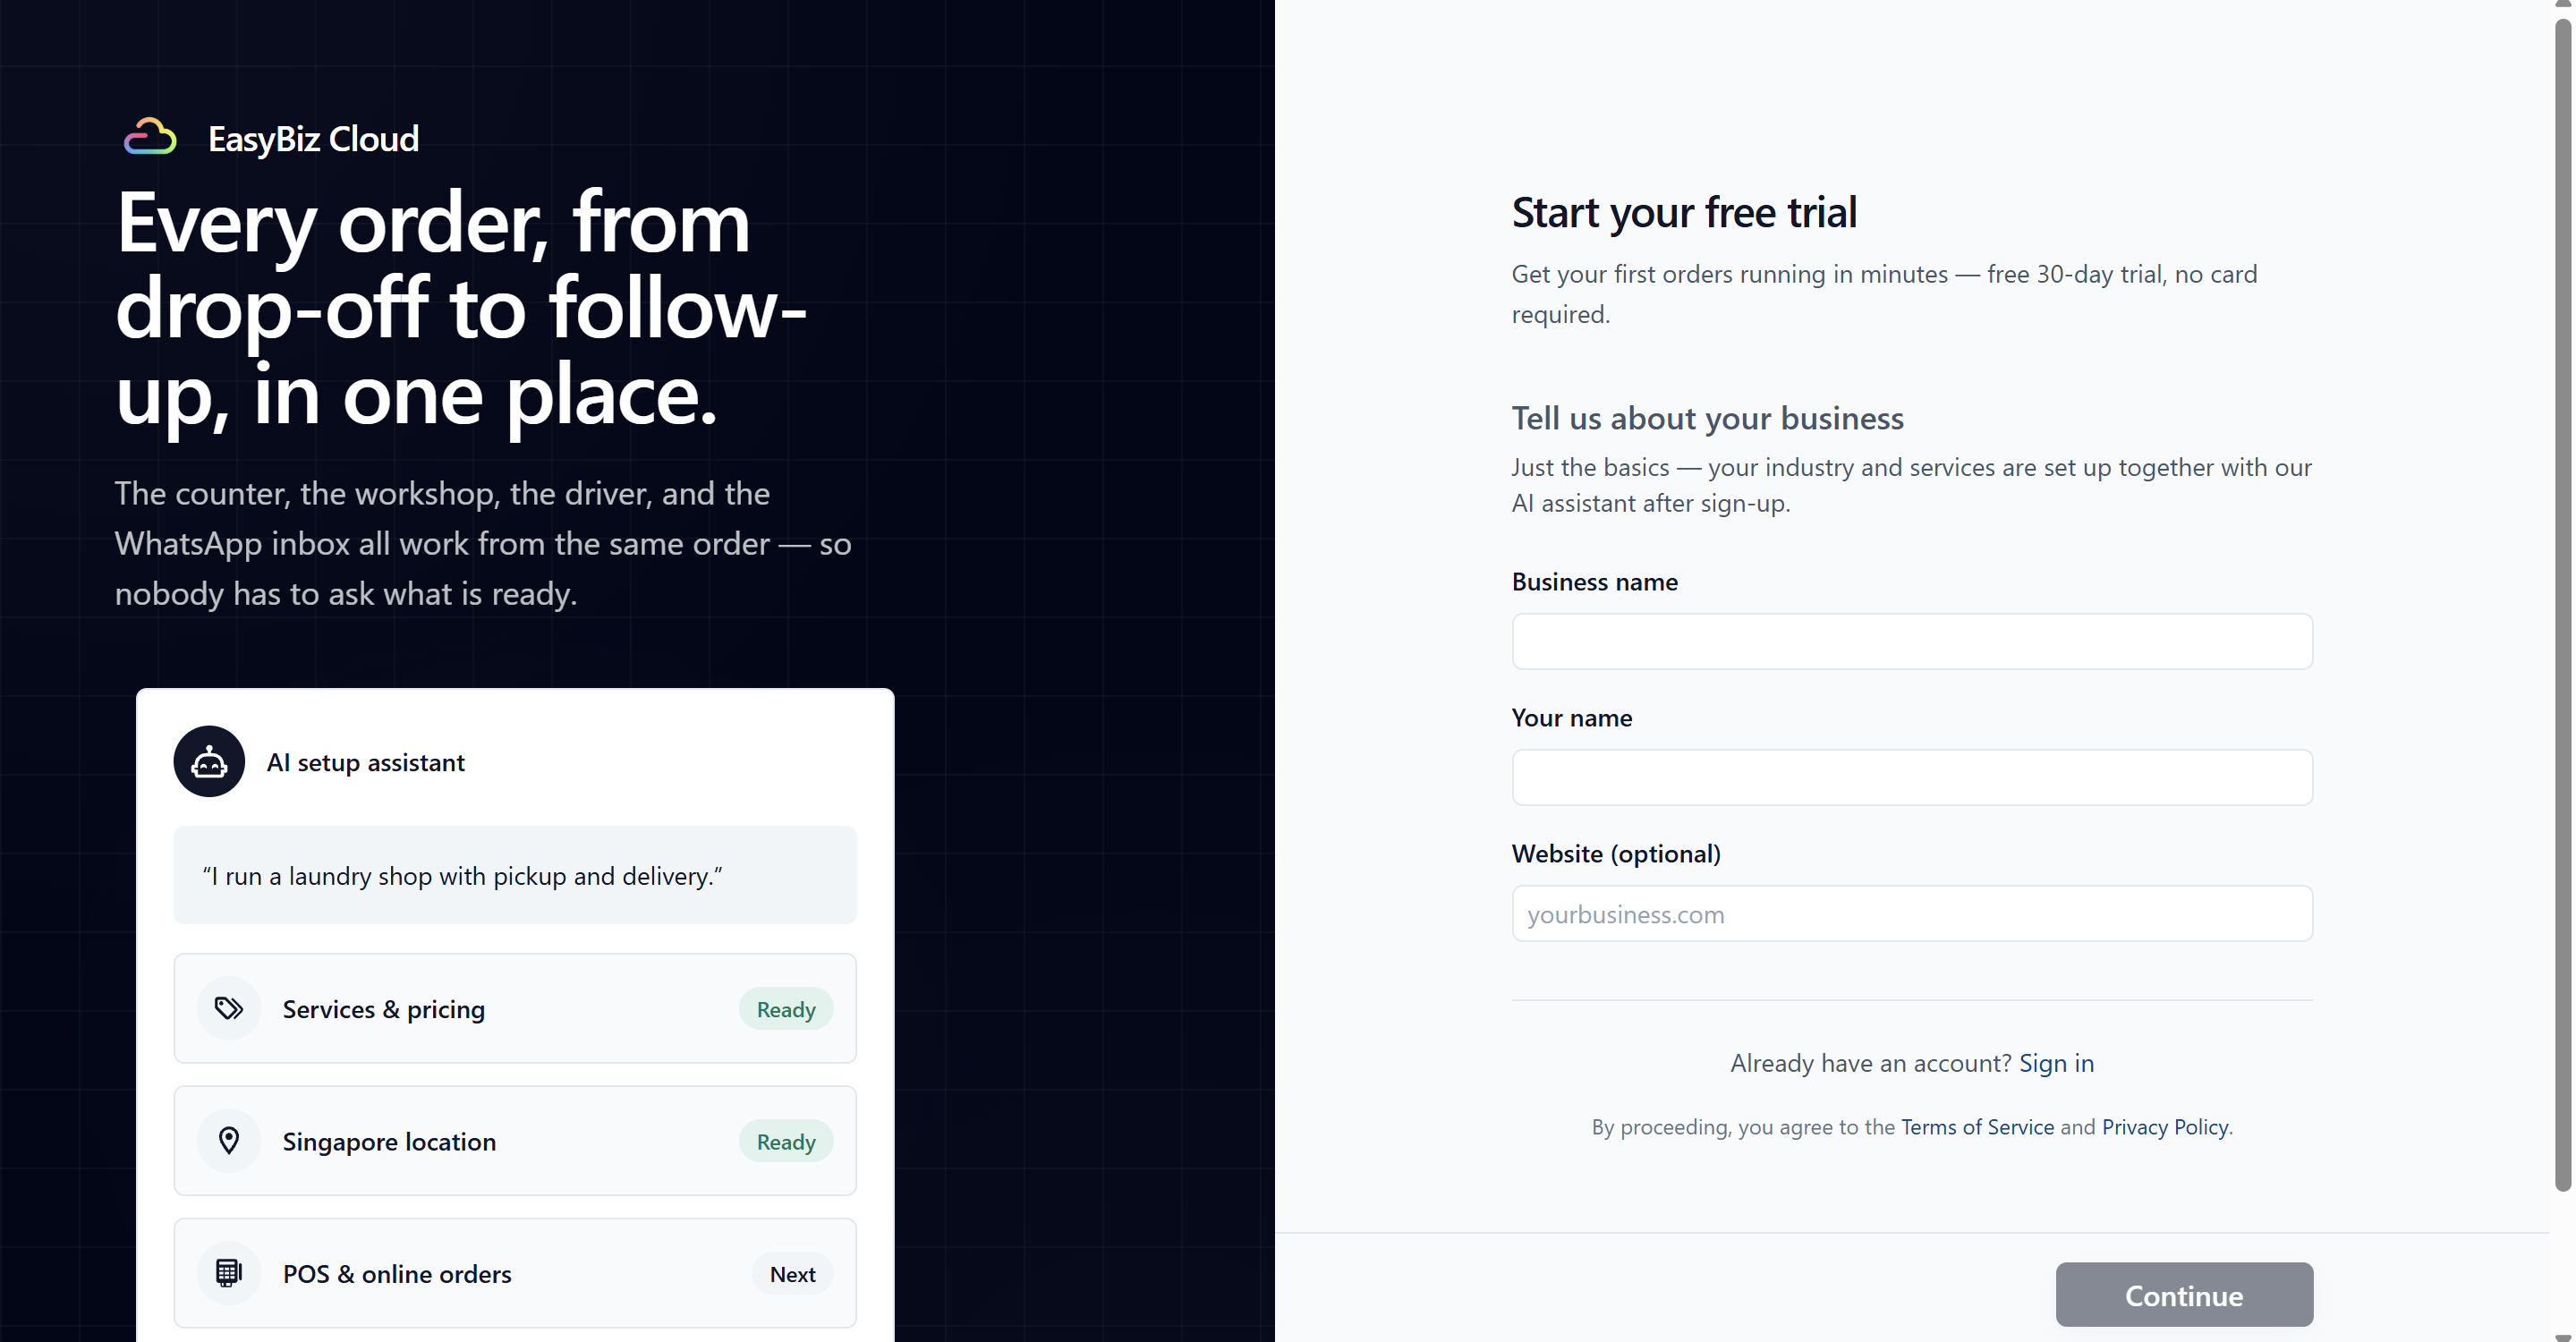
Enter your Business name — for example, "CleanFast Laundry".
Enter Your name.
Add your Website (optional), or leave it blank.
Click Continue.
Step 4: Choose Where You Operate
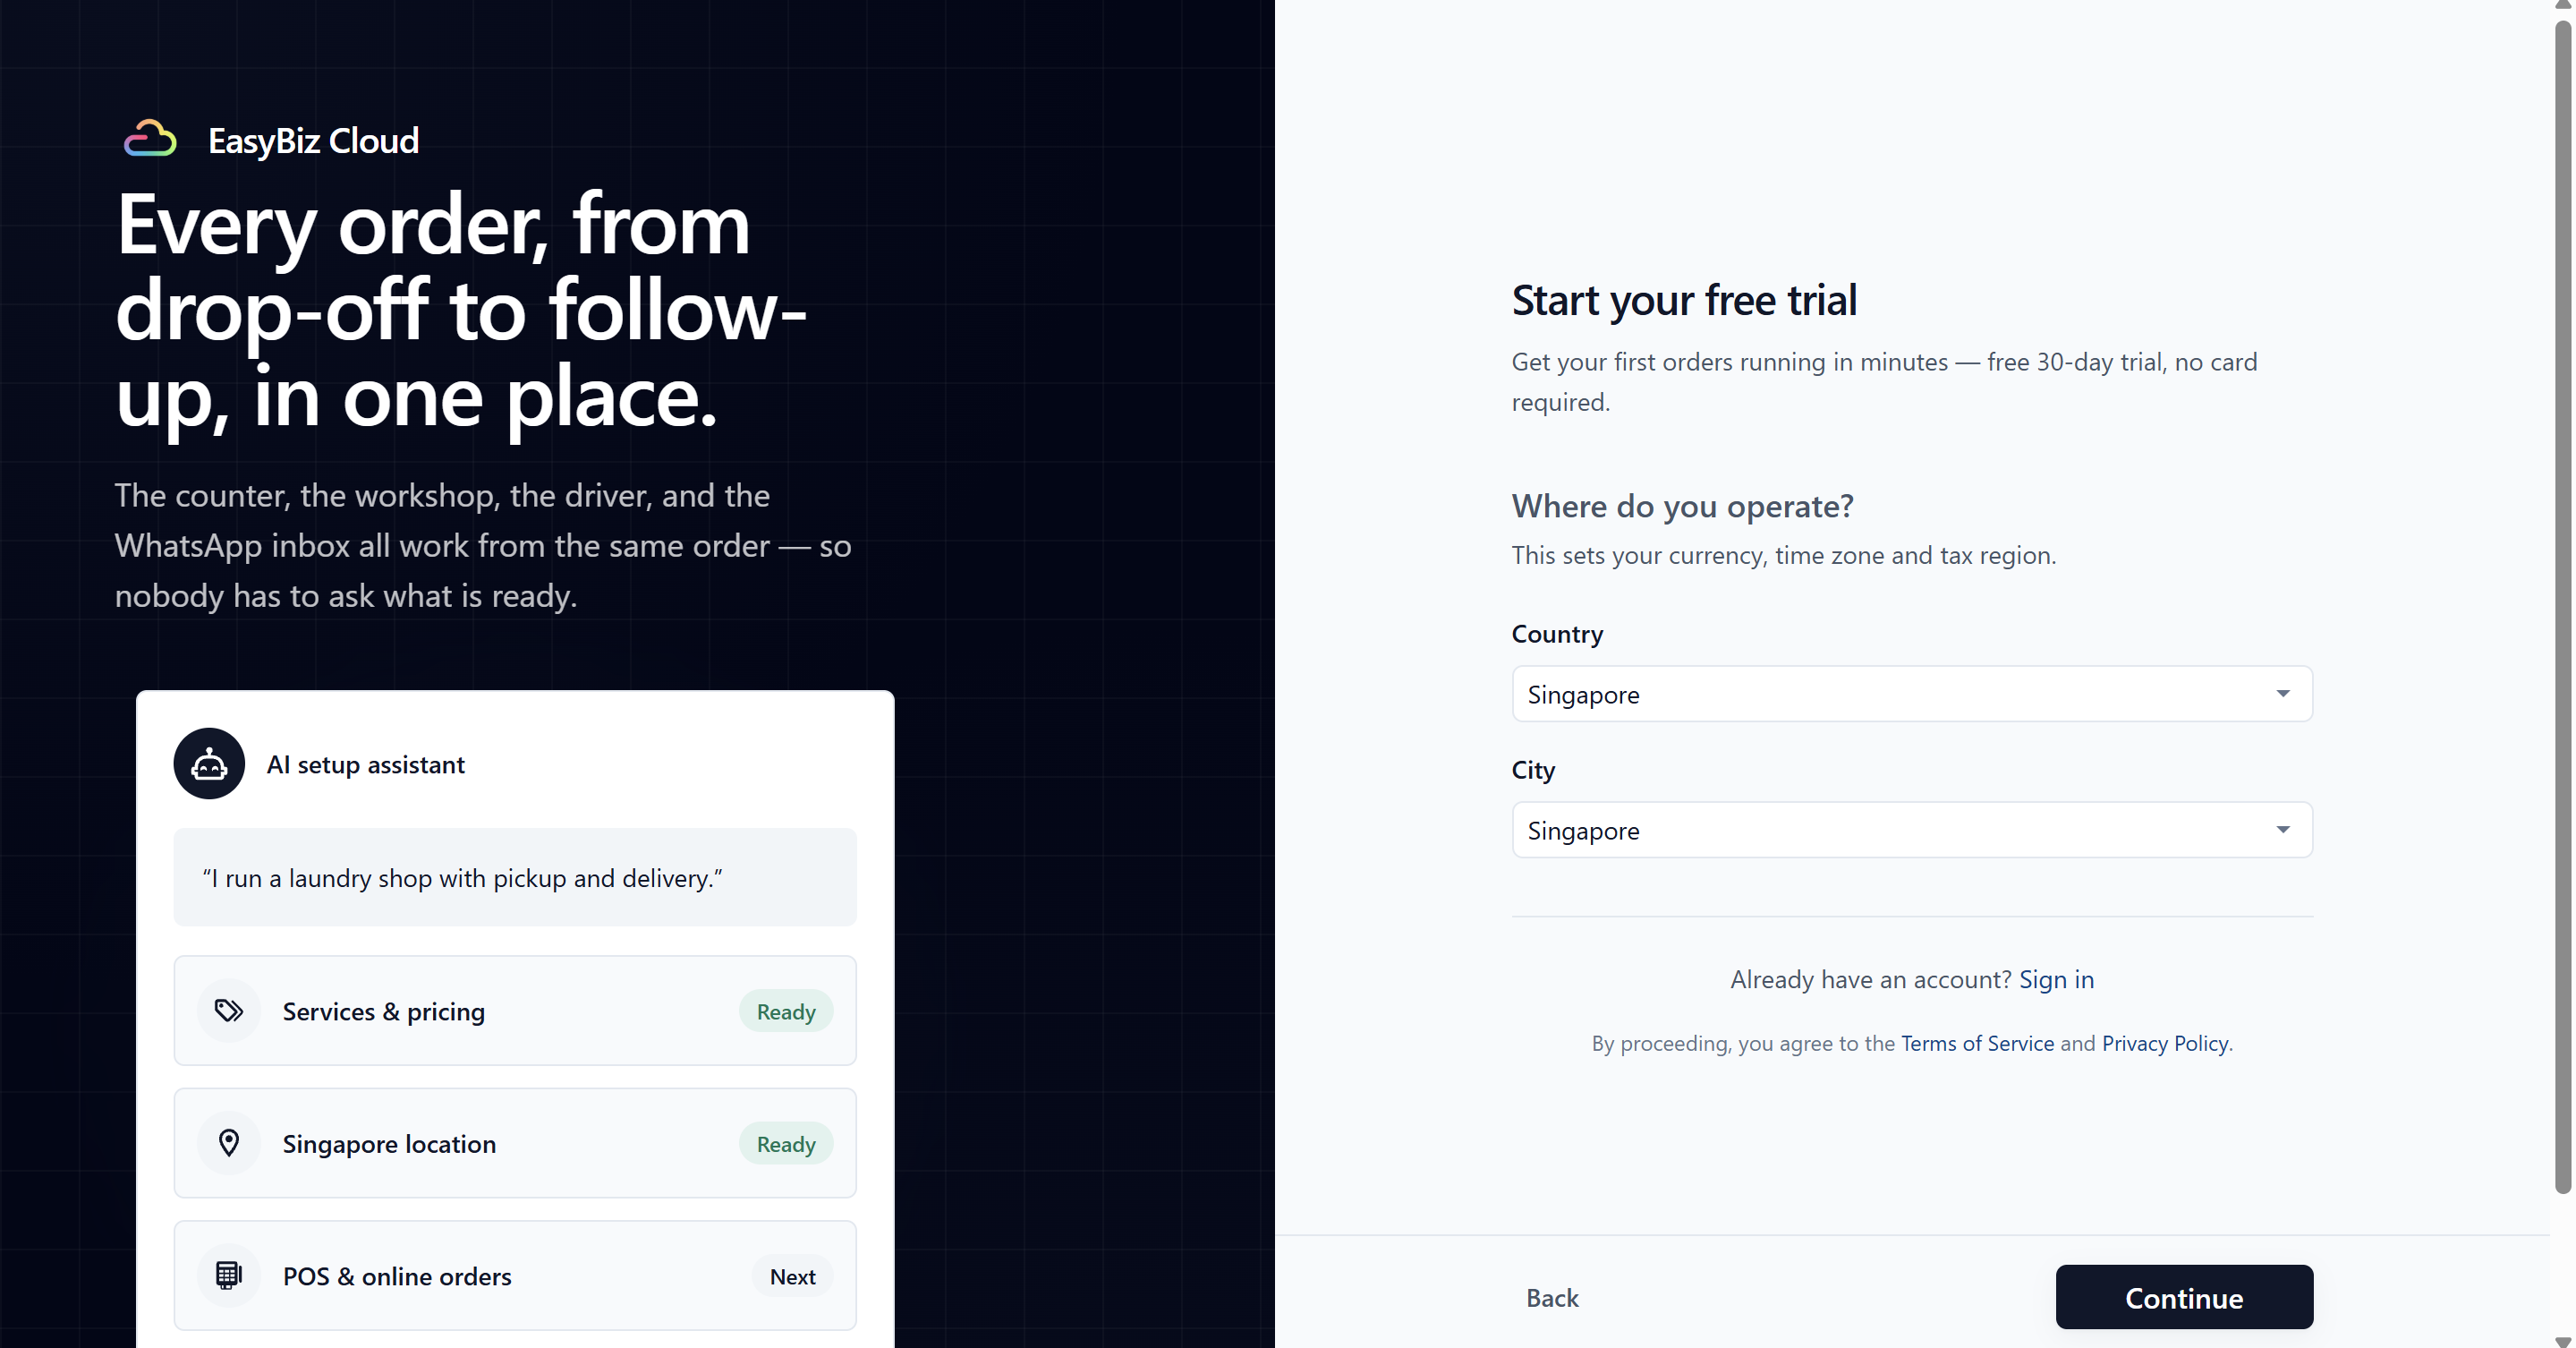
Choose your Country from the list. You can use the search box to find it.
Choose your City from the list.
Click Continue.
EasyBiz uses this information to set up your currency, time zone, and tax region.
Step 5: Verify Your Email
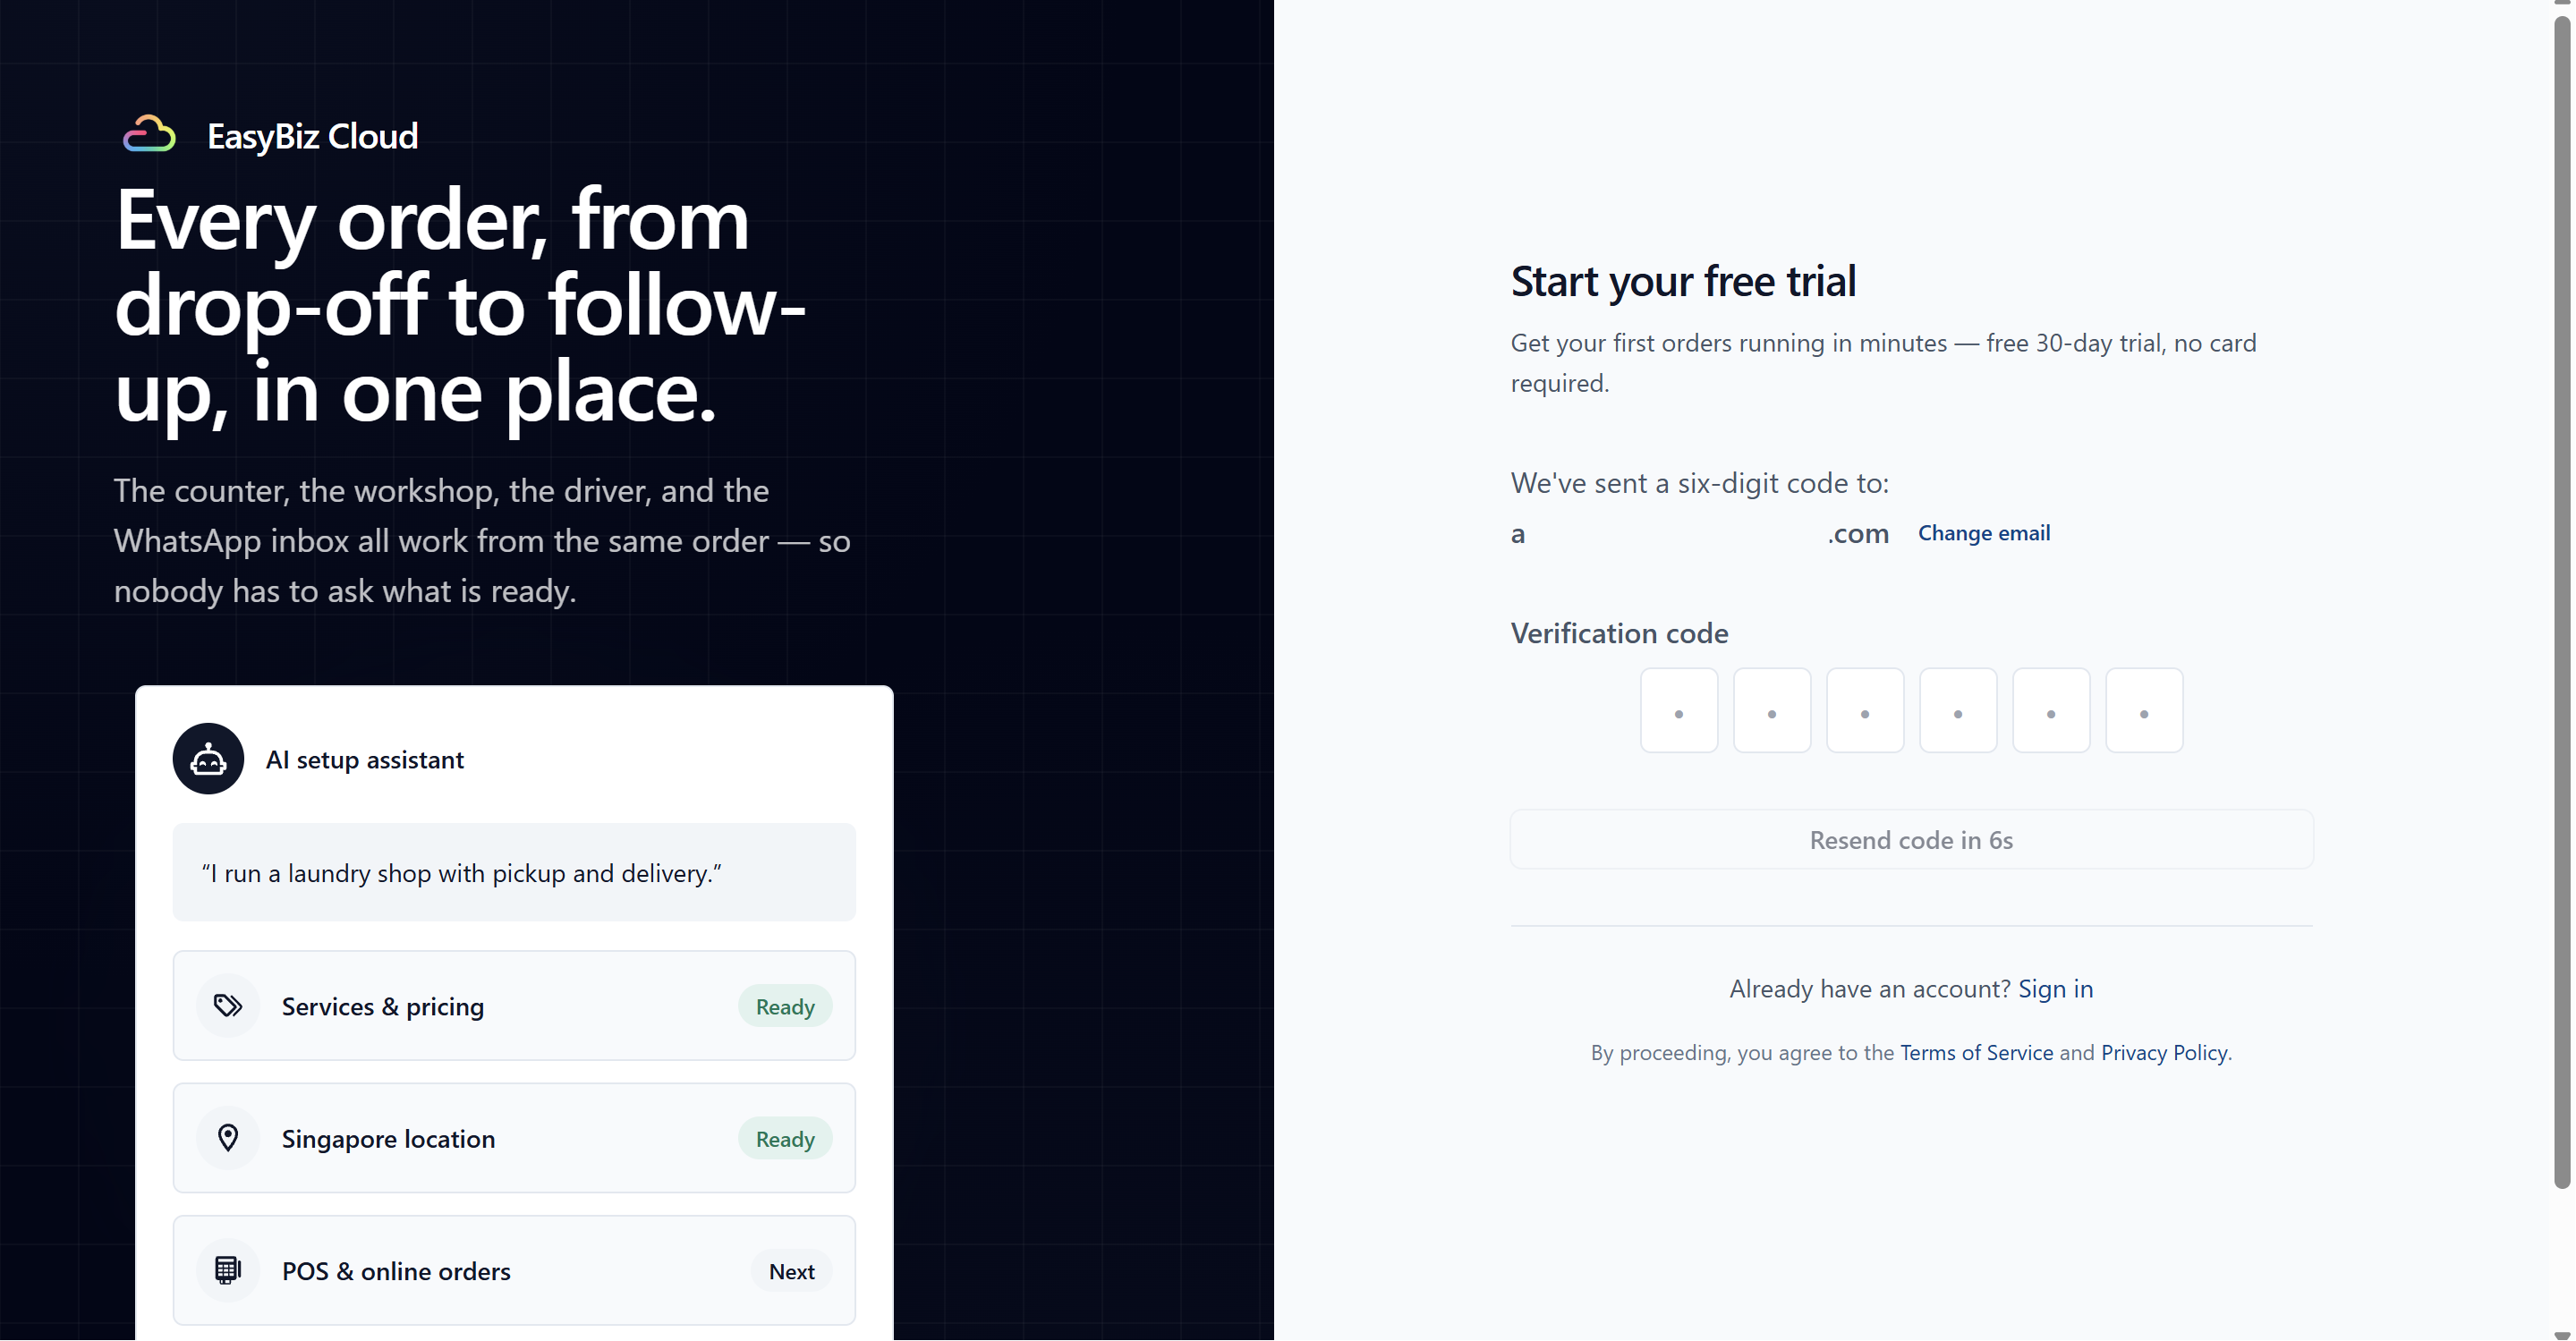
If you signed up with email and password, EasyBiz sends a six-digit verification code to your email.
Enter the code on the signup page to continue. If you signed up with Google, this step is skipped because your email is already verified.
Step 6: Let EasyBiz Set Up Your Workspace
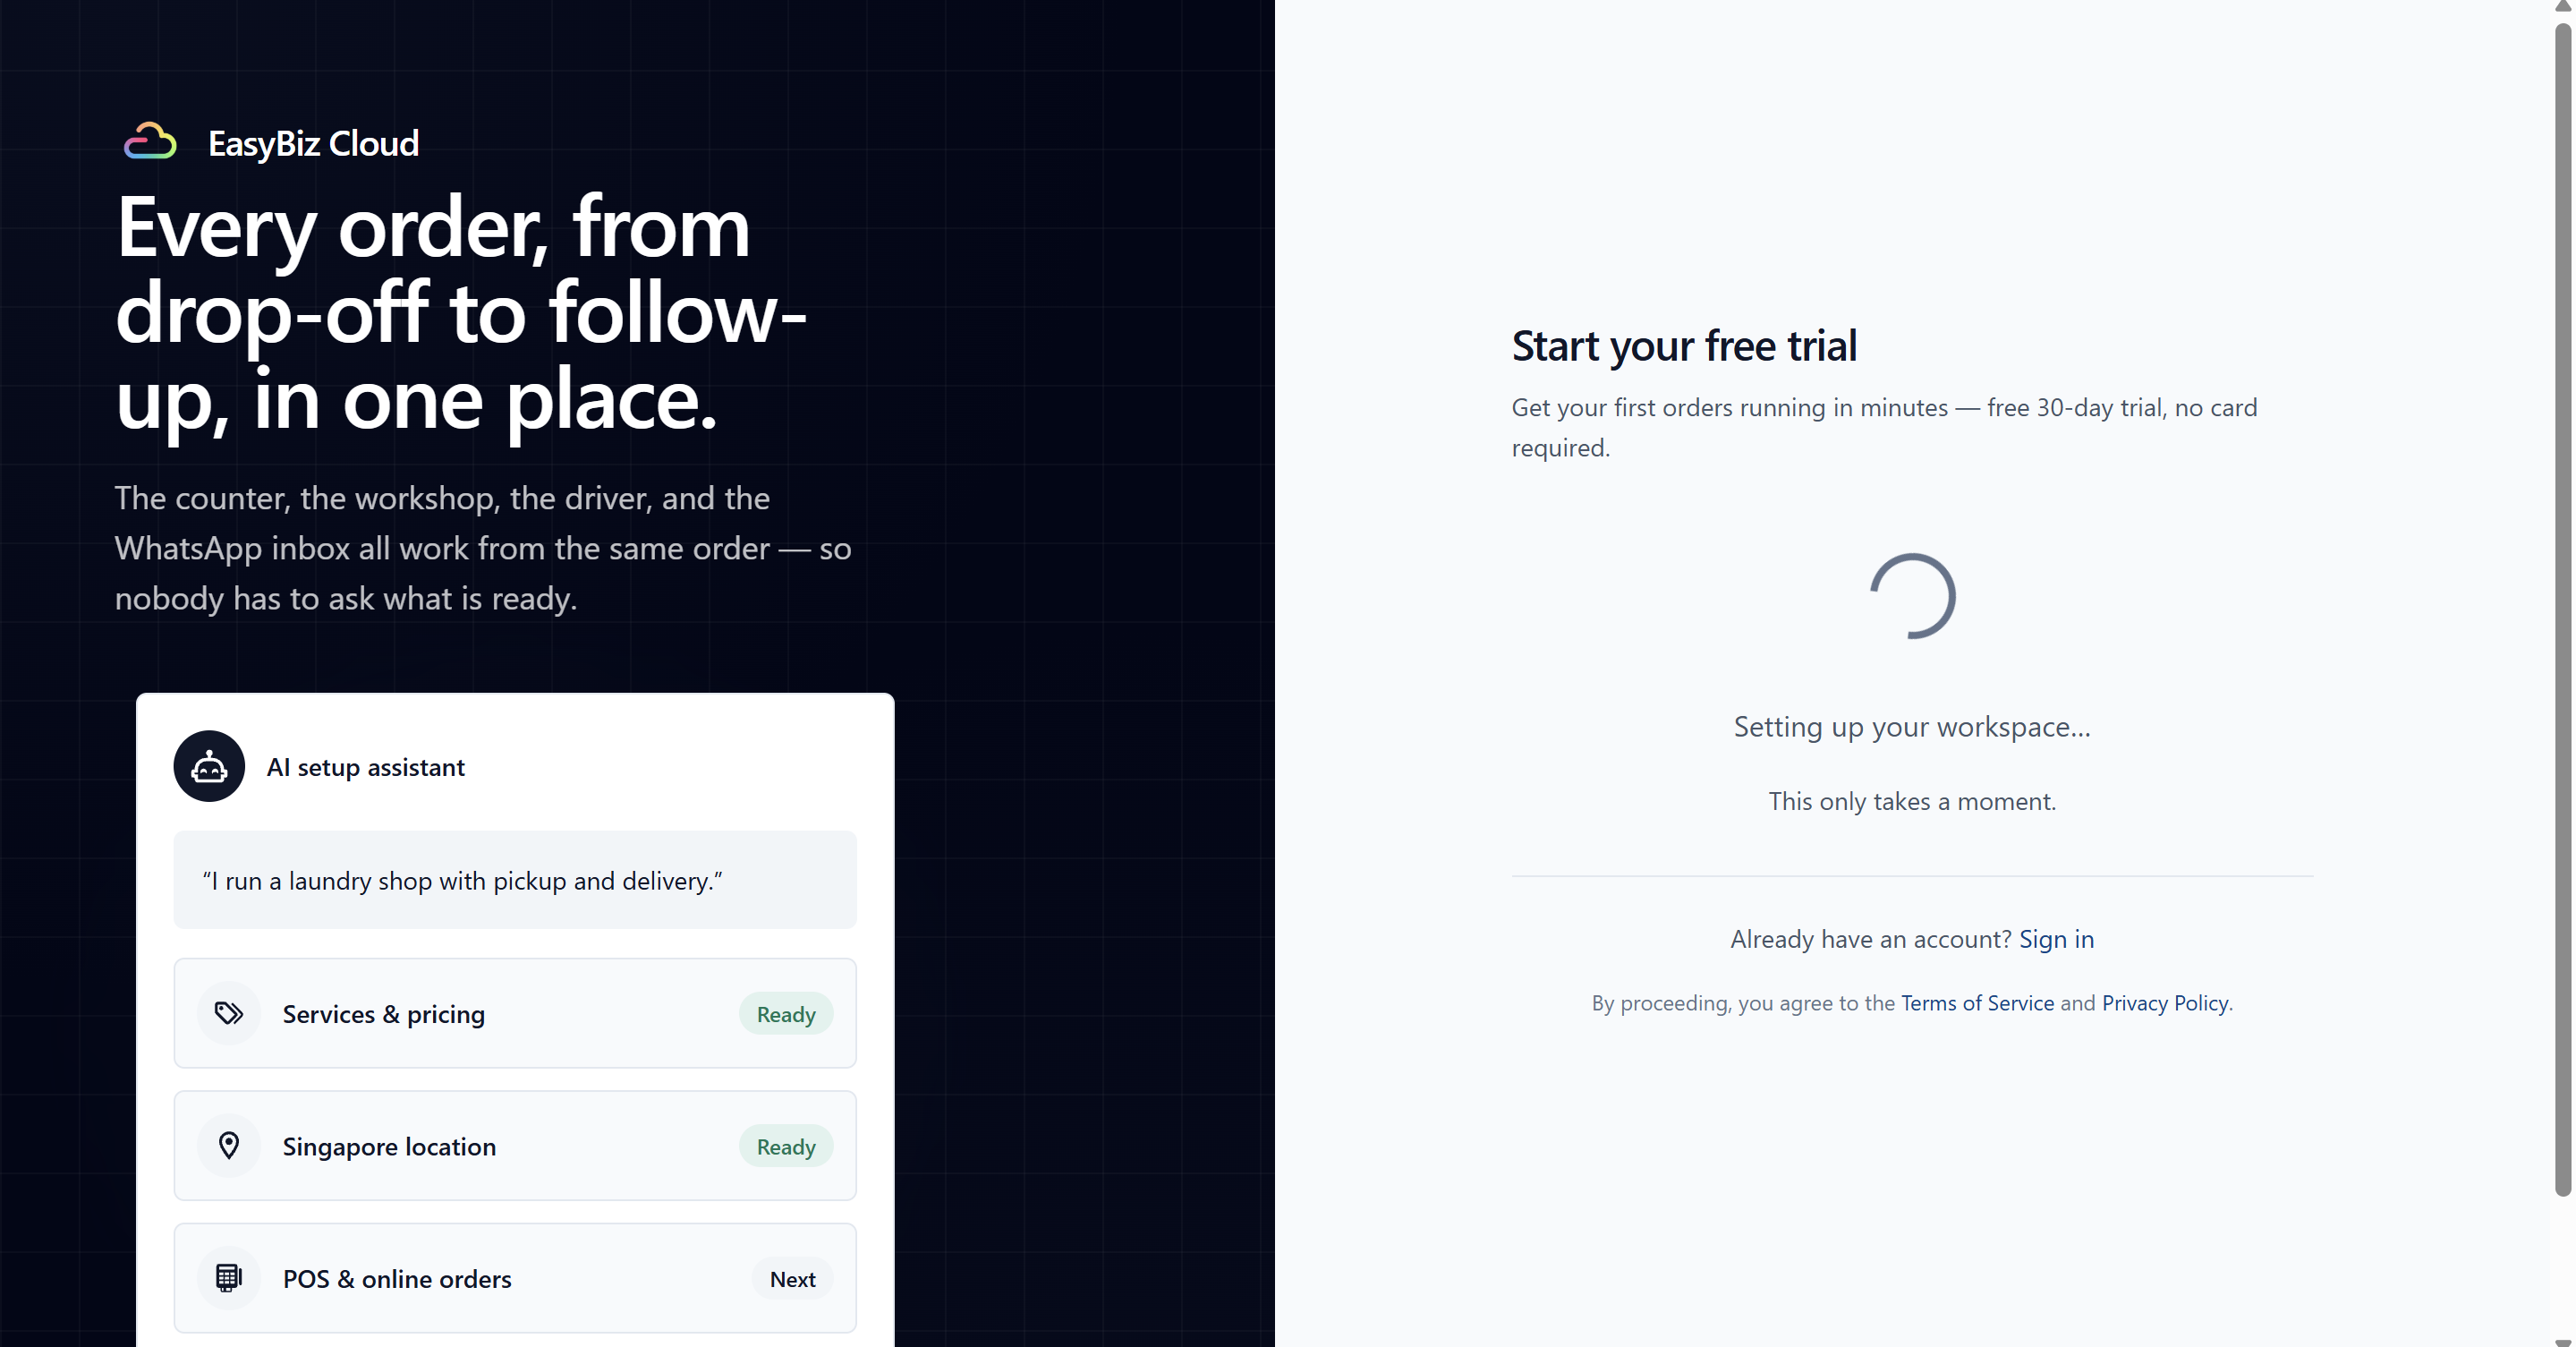 EasyBiz will now prepare your workspace. You may see Setting up your workspace…, followed by Getting your AI assistant ready….
This may take a moment. When setup is complete, you will see You're all set! and EasyBiz will open your dashboard.
What Happens After Signup
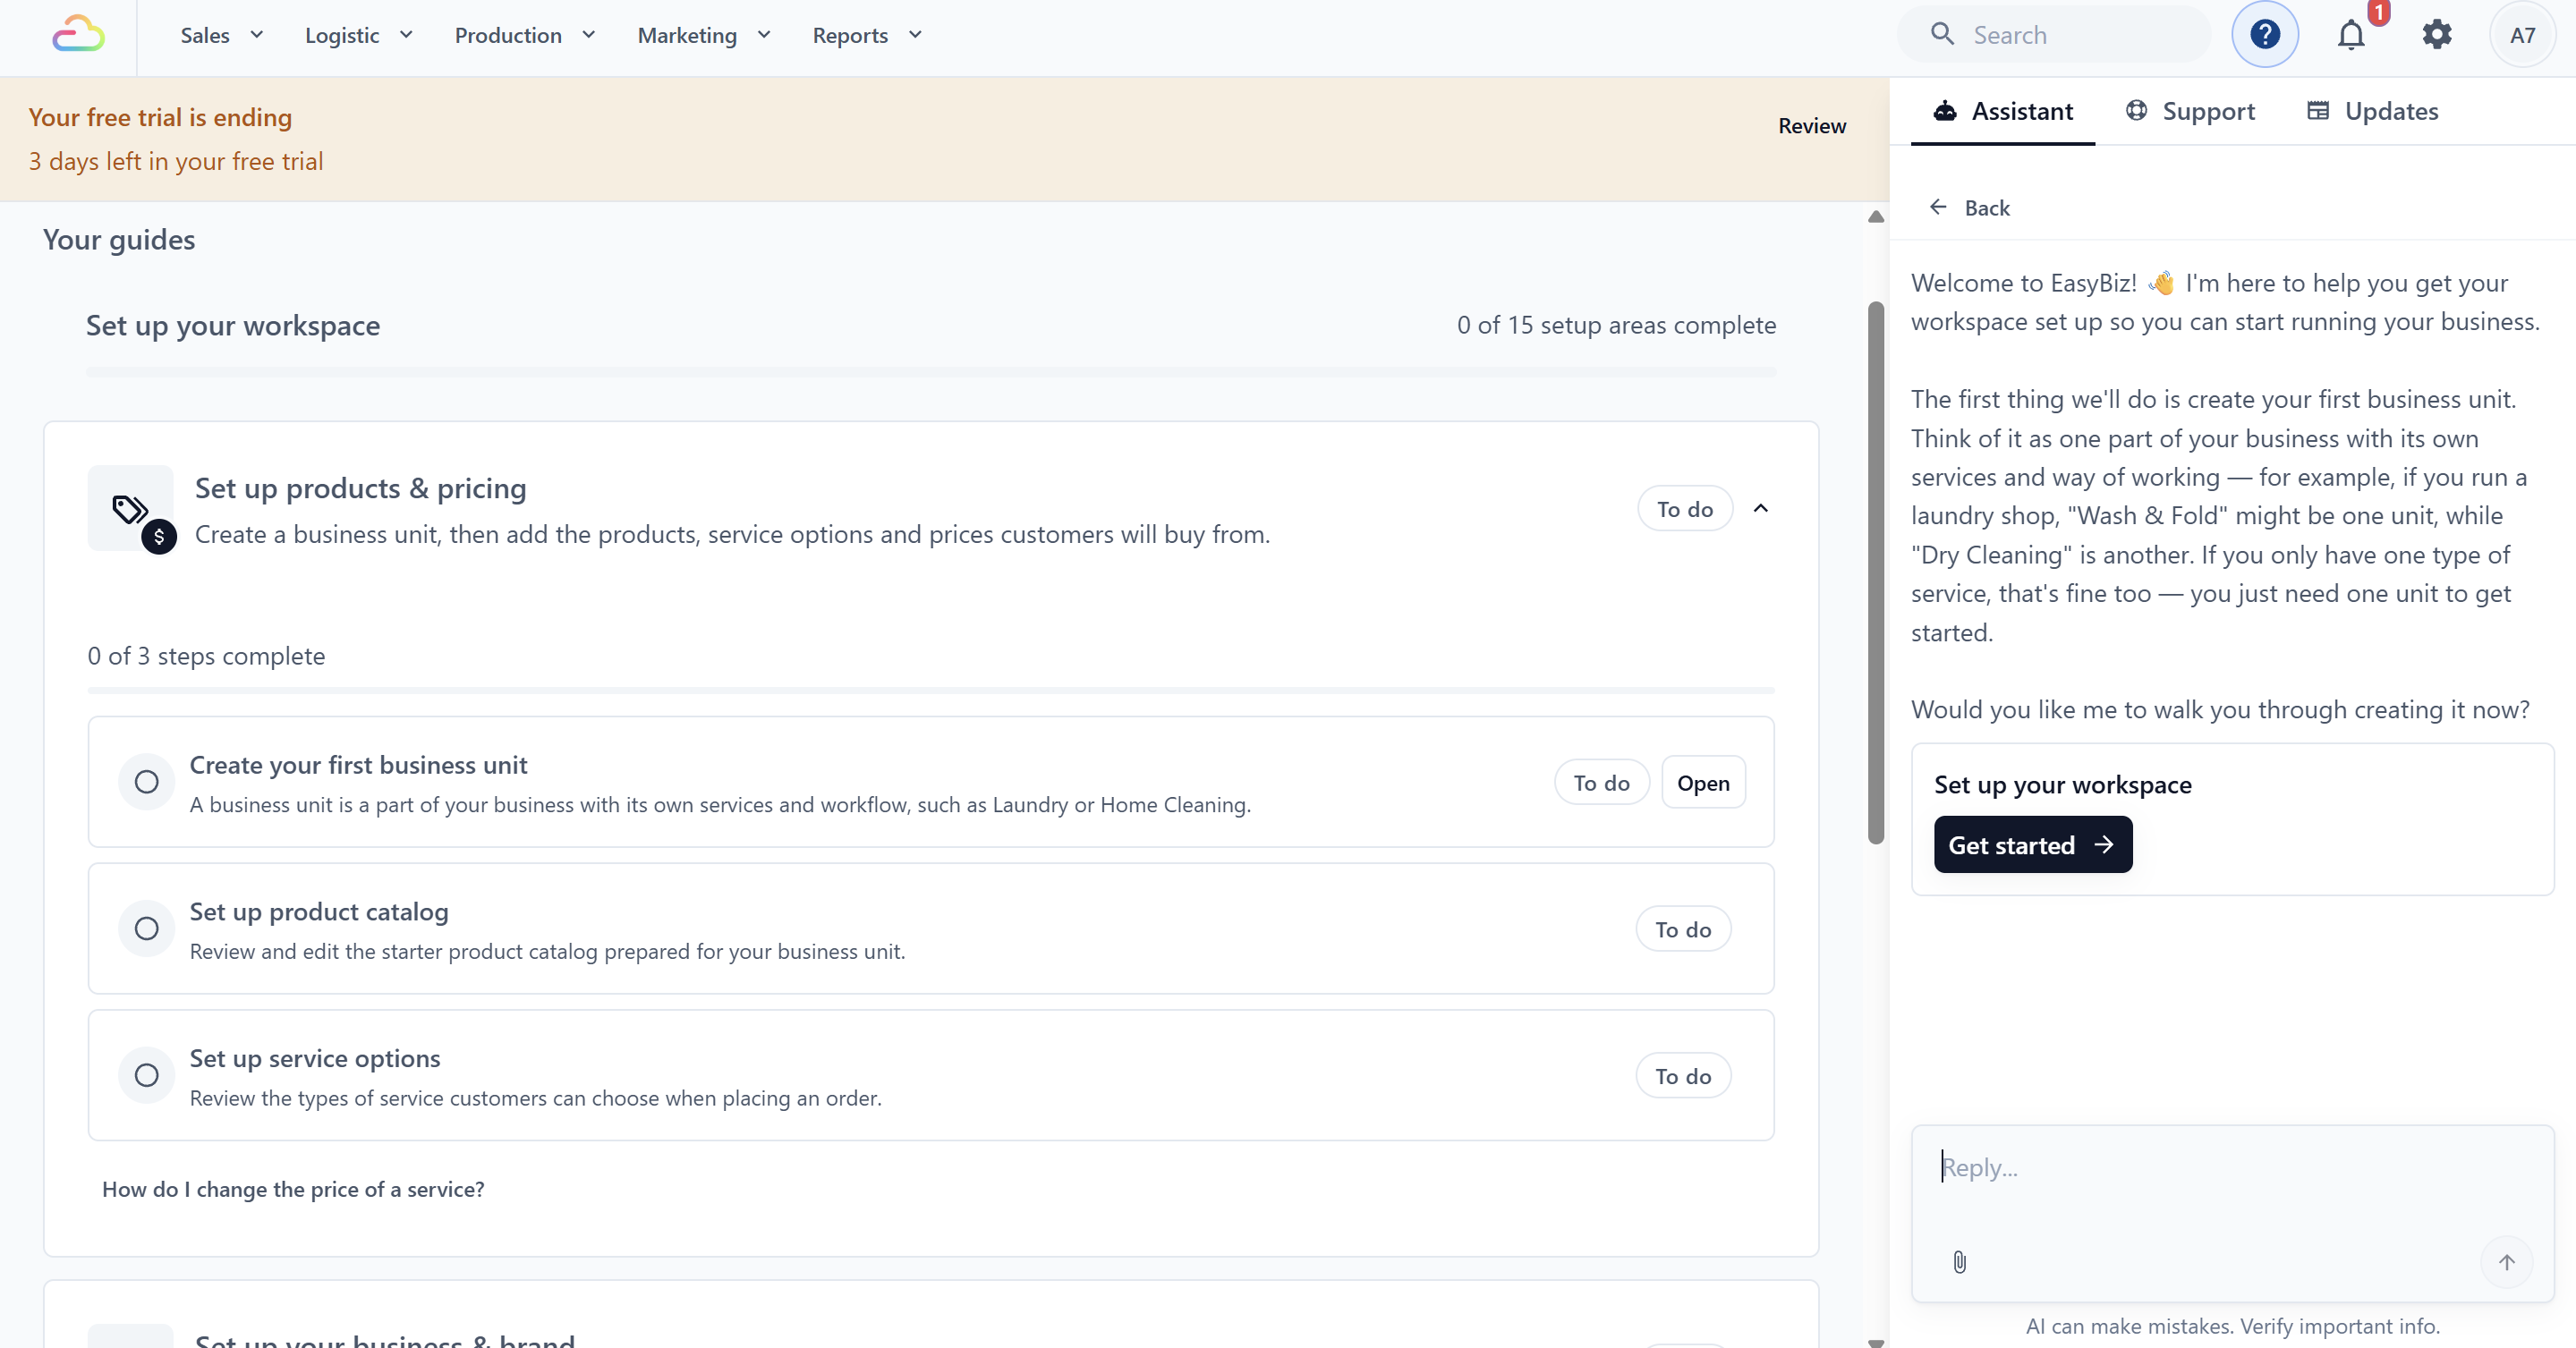 Your dashboard opens with the AI assistant ready to guide you. You will also see setup tasks for areas such as products and pricing, business details, sales channels, and POS.
You can complete these tasks yourself or ask the AI assistant to help.
How the Trial Works
Your free trial lasts 30 days and requires no credit card.
Nothing is charged until you choose to subscribe.
If you do not subscribe before the trial ends, your workspace is paused, not deleted.
To restore access, click Go to billing and subscribe. You can then continue where you left off.
Connected services, such as WhatsApp or payment providers, may have their own charges.
FAQs
Do I need a credit card to start?
No. The 30-day trial requires no credit card, and nothing is charged until you subscribe.
Can I sign up with my Google account?
Yes. Click Continue with Google at the account step. Your email is verified automatically, so signup is one step shorter.
I did not receive the verification email. What do I do?
Check your spam or junk folder first. If it is not there, request the code again from the signup window. If it still does not arrive, try signing up with Google instead, or contact support.
Which countries does EasyBiz support?
At signup you can choose Singapore, Indonesia, Malaysia, Thailand, the Philippines, Vietnam, Brunei, Australia, or New Zealand.
I already have an EasyBiz account. Should I sign up again?
No — sign in with your existing email or Google account instead. If you cannot get in, see Trouble Signing In.
Can my staff use my account?
Everyone should have their own login. After signup, add each team member as their own user — see Inviting Your Team and Managing Access.
I did not receive the verification code. What should I do?
Check your spam or junk folder first. If it is not there, click Resend code on the signup page. You can also check that the email address shown is correct.
What's Next
Once you are in, follow the setup checklist on your dashboard. If you run a shop counter, start with What You Need Before Setting Up Your POS and then Setting Up a New POS Shop.