
Before You Start
You will need the following ready before adding a team member:
The right permission. The account owner (the person who created the EasyBiz account) can always manage users. Other users need the Manage Users & Access permission — and to add a new billed user, the Manage Billing permission as well.
An email address for the person. Each Console user signs in with their own email and password. If a staff member has no inbox, you can use a unique sign-in-only address — just remember an admin must reset the password if they forget it.
A decision on what they should access. A Full seat covers every product your account owns. Permissions control what the person can see and do. Think about what they need for their role, such as customer service, administration, or delivery jobs.
Console Users vs POS Staff
EasyBiz has two different ways to represent your team, and it is important not to mix them up:
| Console user | POS staff member | |
|---|---|---|
| Signs in with | Email and password | A short passcode at the POS counter |
| Can open the Console | Yes — with a Full seat and the right permissions | No |
| Billed | One Full seat per person; it covers every product the account owns | Free |
| Set up in | Settings → Users & Access | Settings → Point of Sale → POS Staff Management |
If you just want the POS to record which staff member rang up each sale, set up POS staff with passcodes instead — see Set Up POS Staff Management. A Console user can also be given a POS clock-in PIN, so one person can appear in both places.
How to Add a Team Member
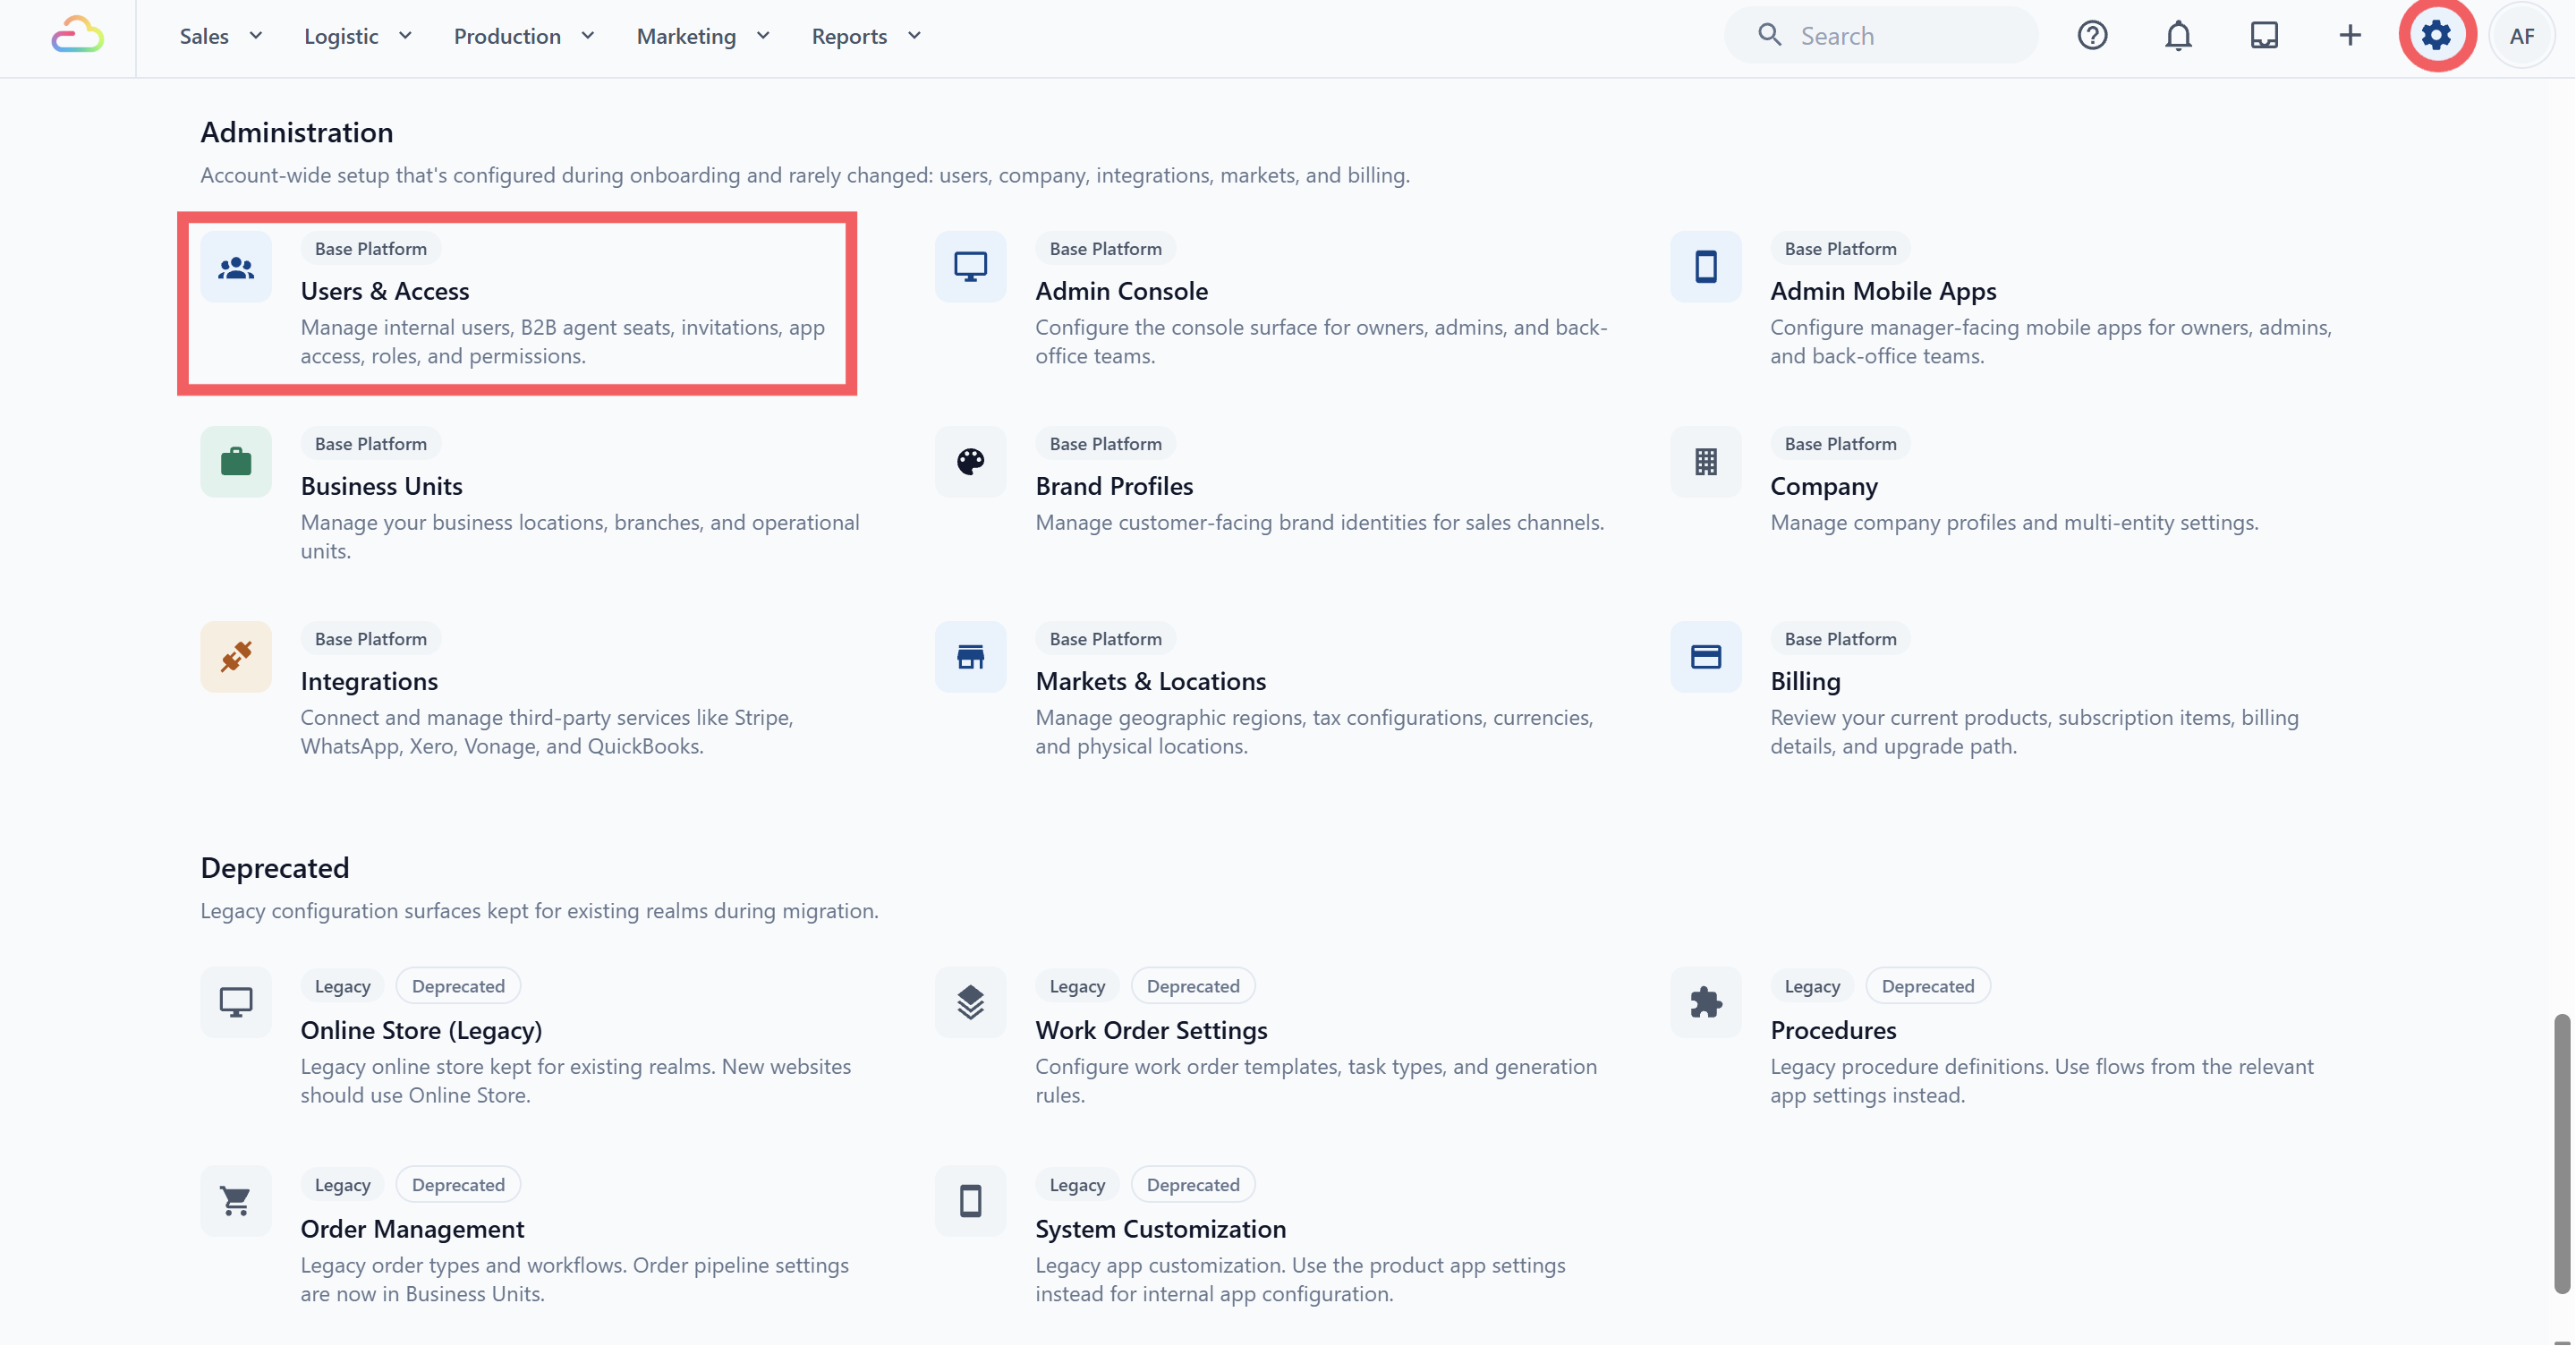
Click the ⚙️ Settings icon in the top-right corner of your EasyBiz Console.
Under the Administration section, click Users & Access.
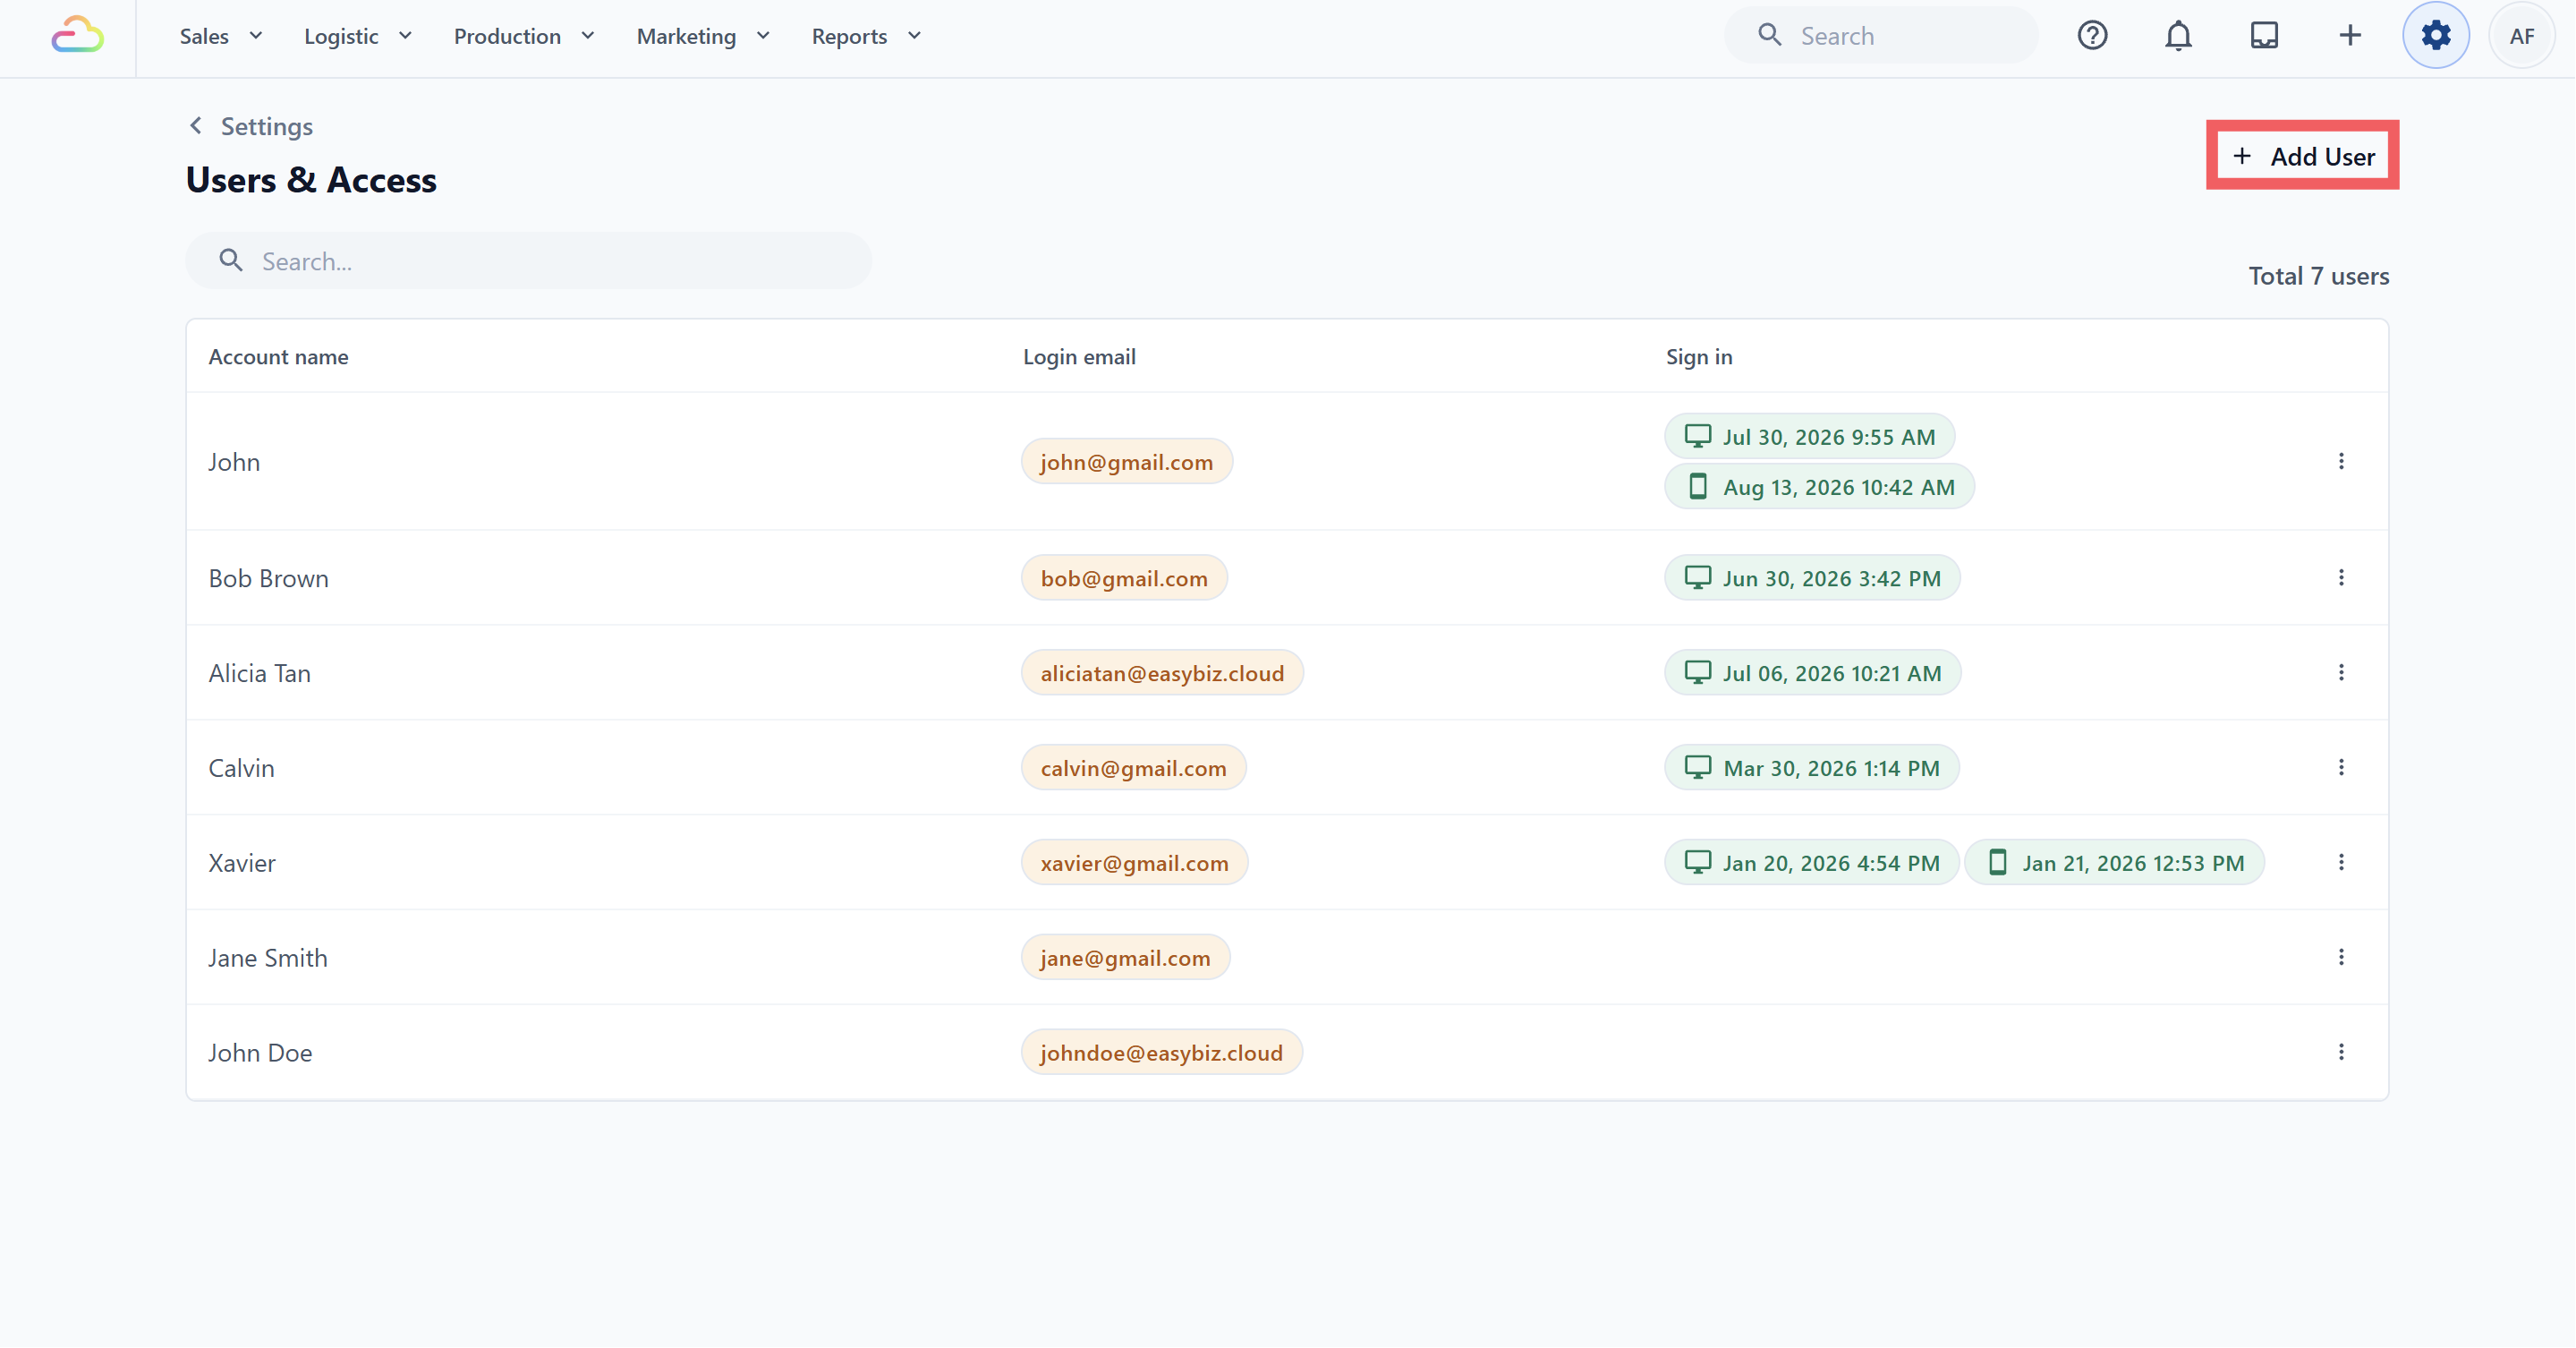
Click Add User.
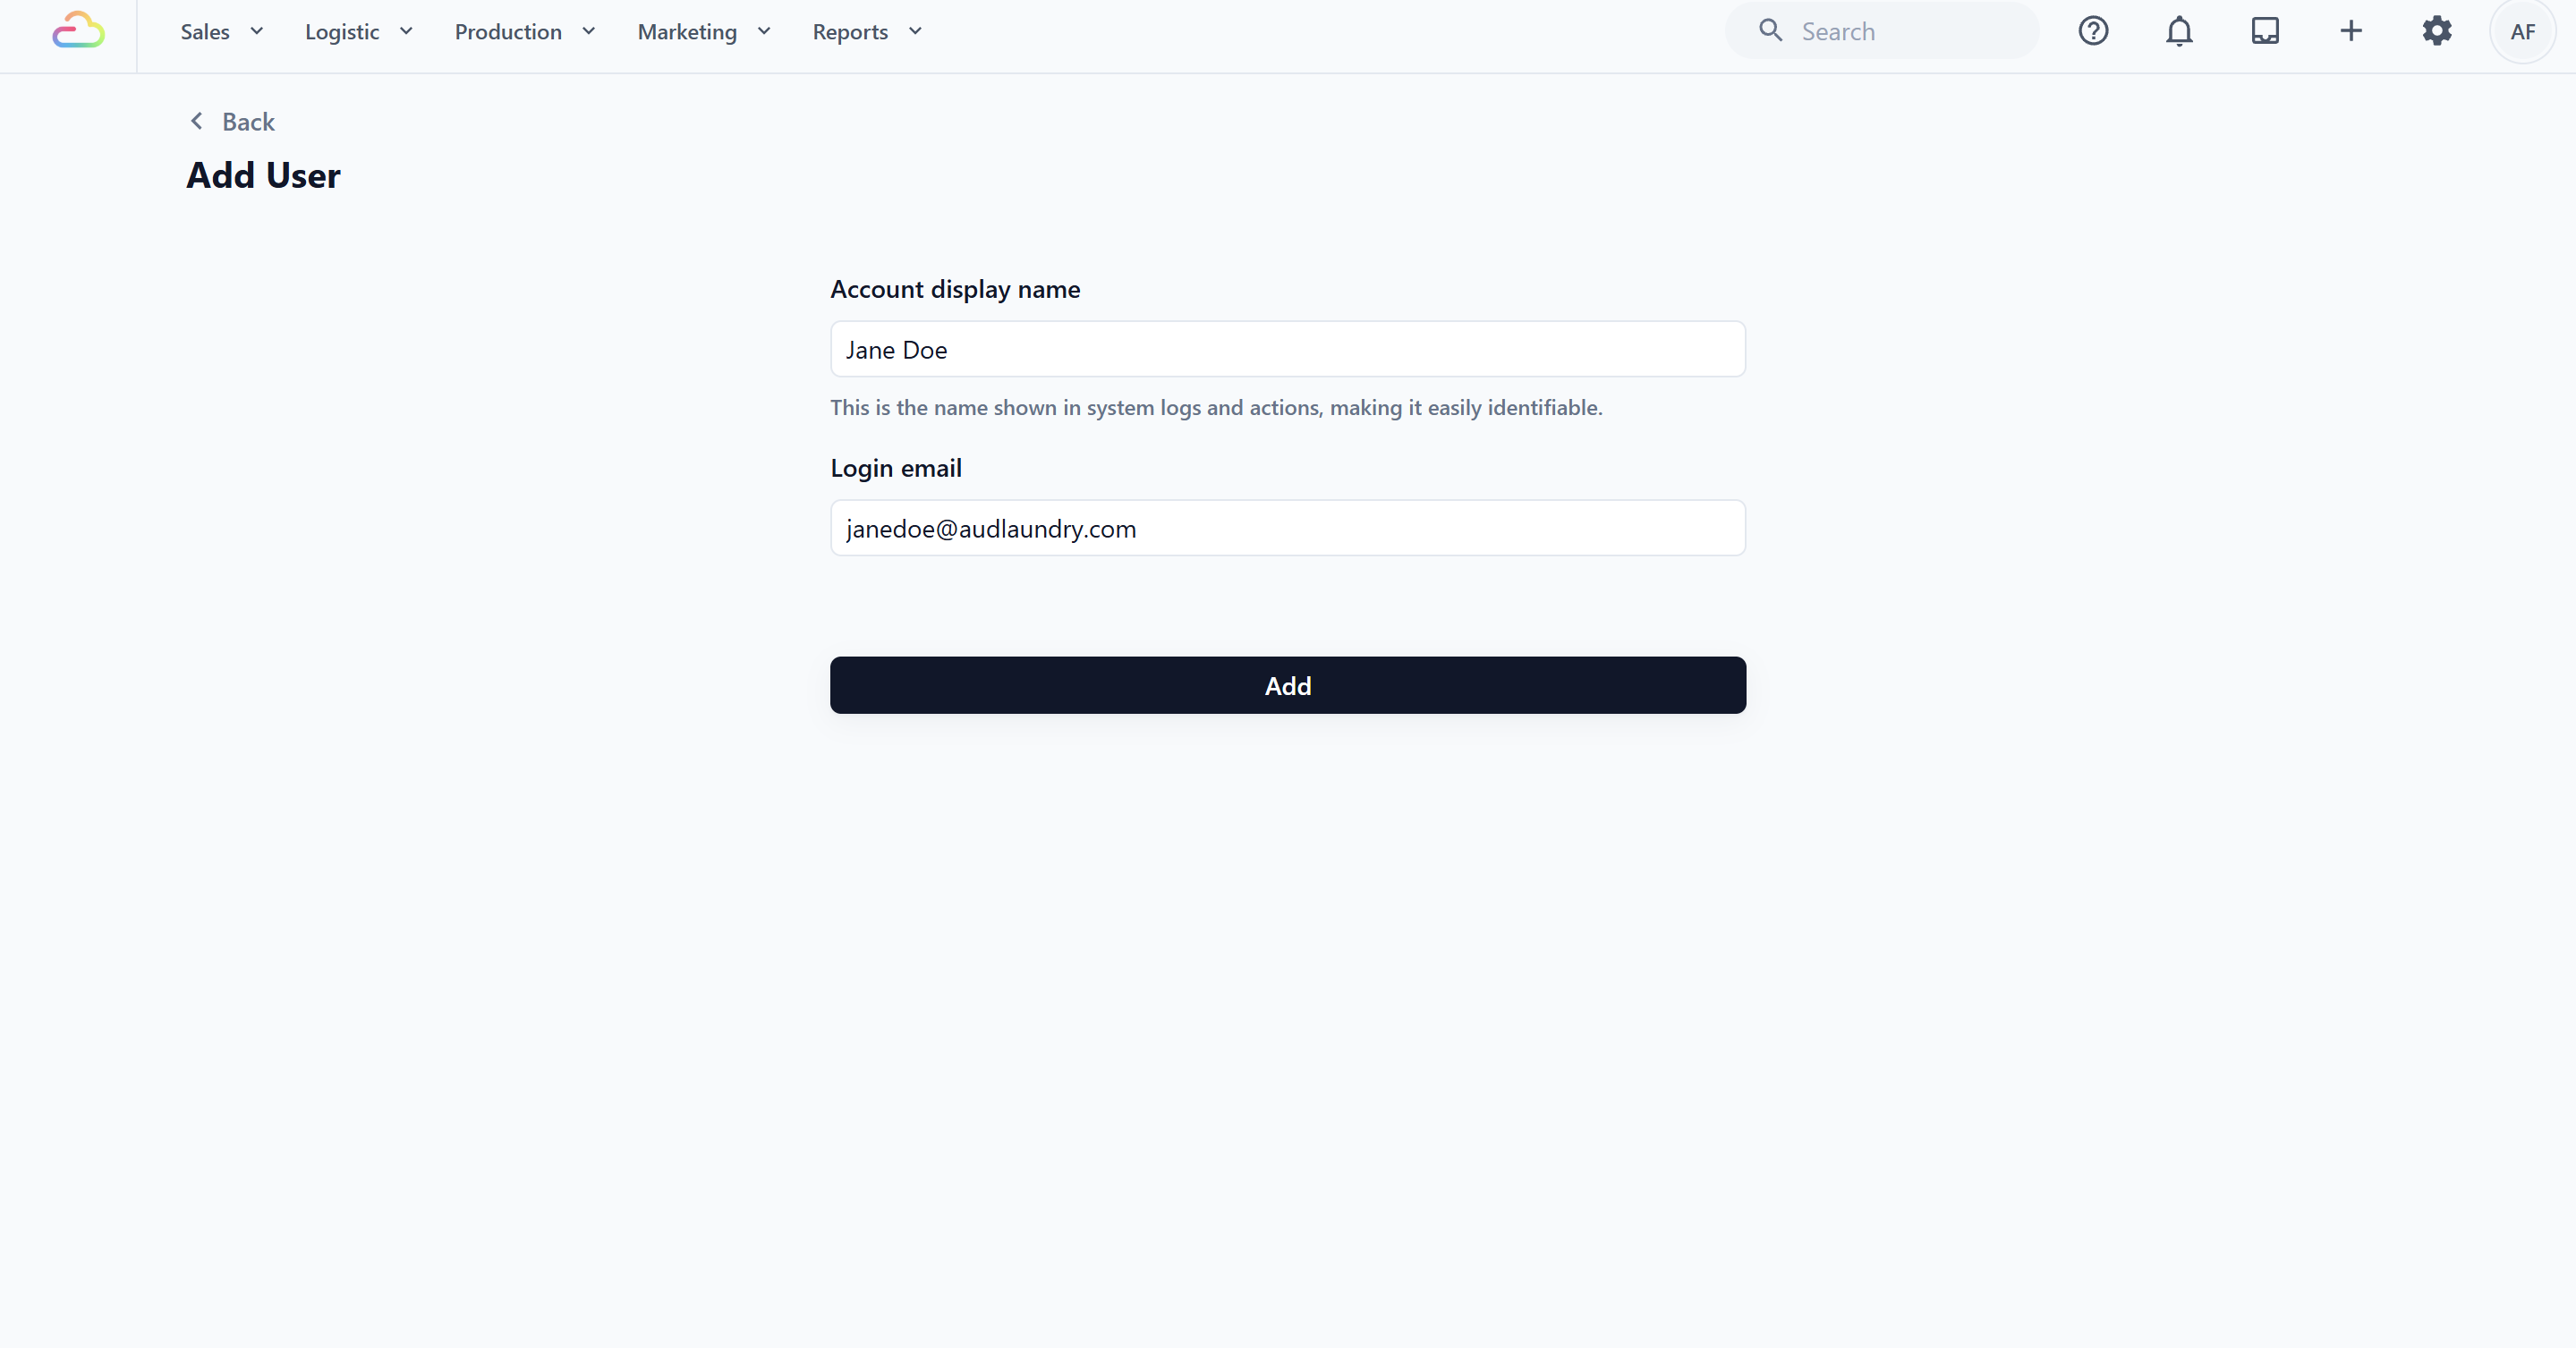
Enter the person's Display name — this is the name your team sees inside EasyBiz.
Enter their Login email. This is the address they will use to sign in.
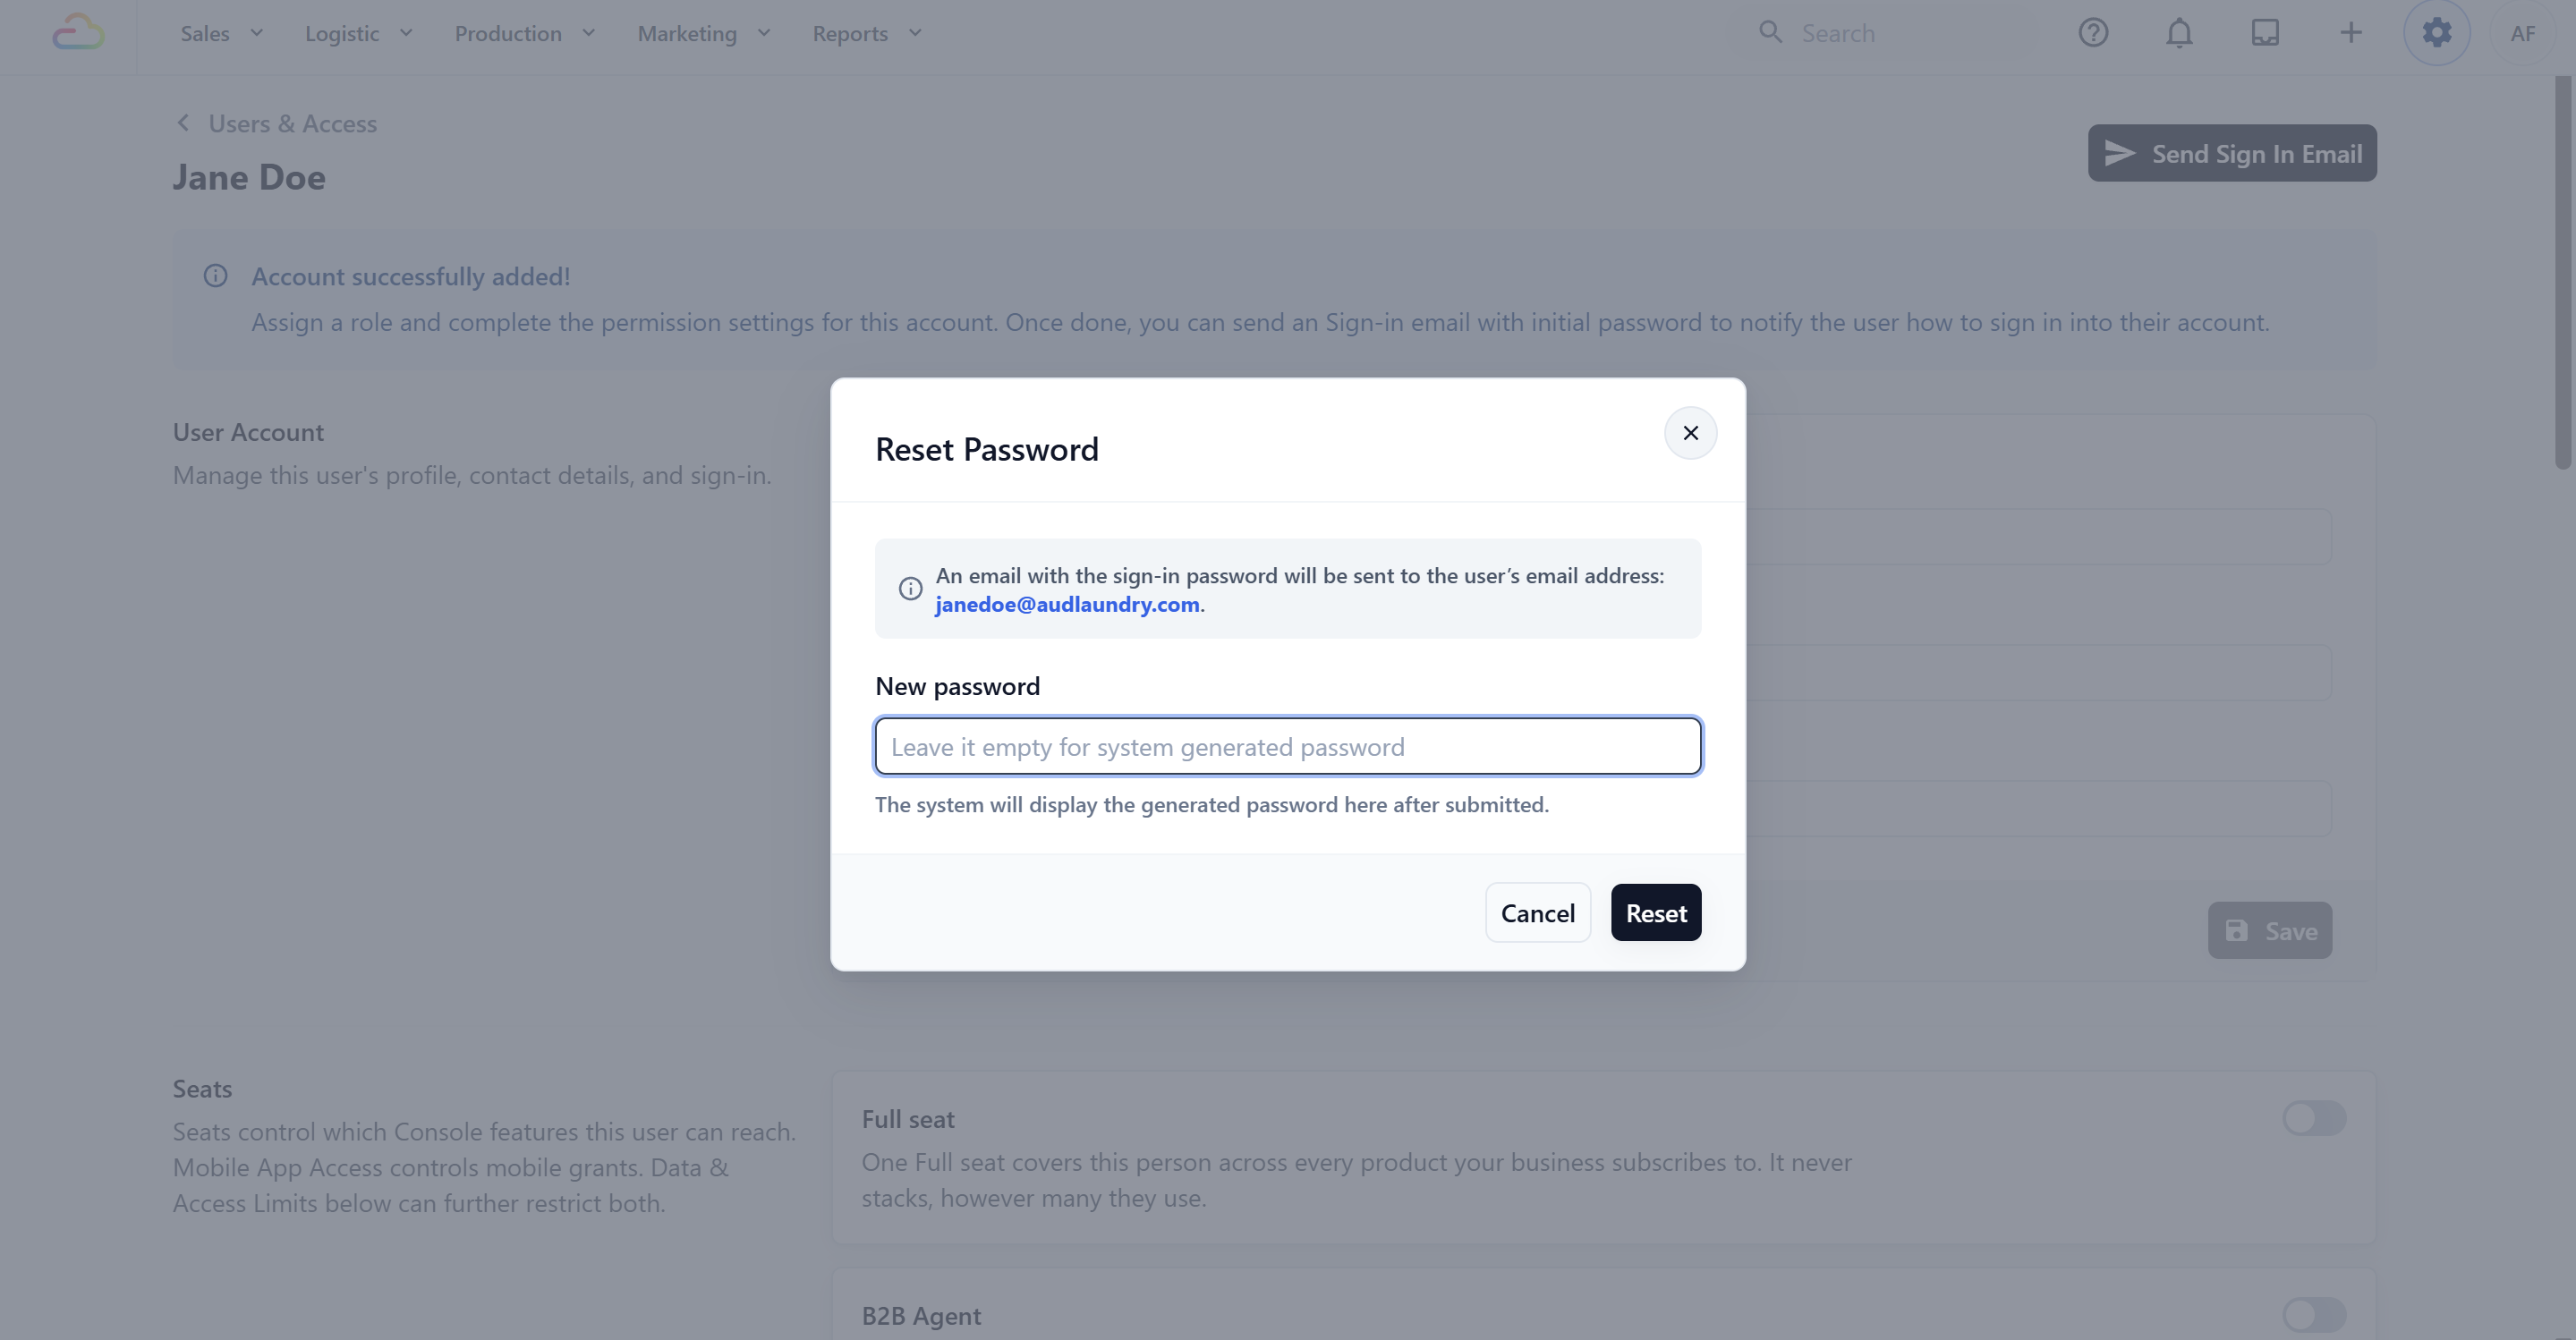
Set an Initial password. Type one yourself or use the option to generate a random password. Share it with the person securely — they can change it after signing in.
Assign the Full seat if this person needs to use the Console or a worker app. One Full seat covers every product your account owns.
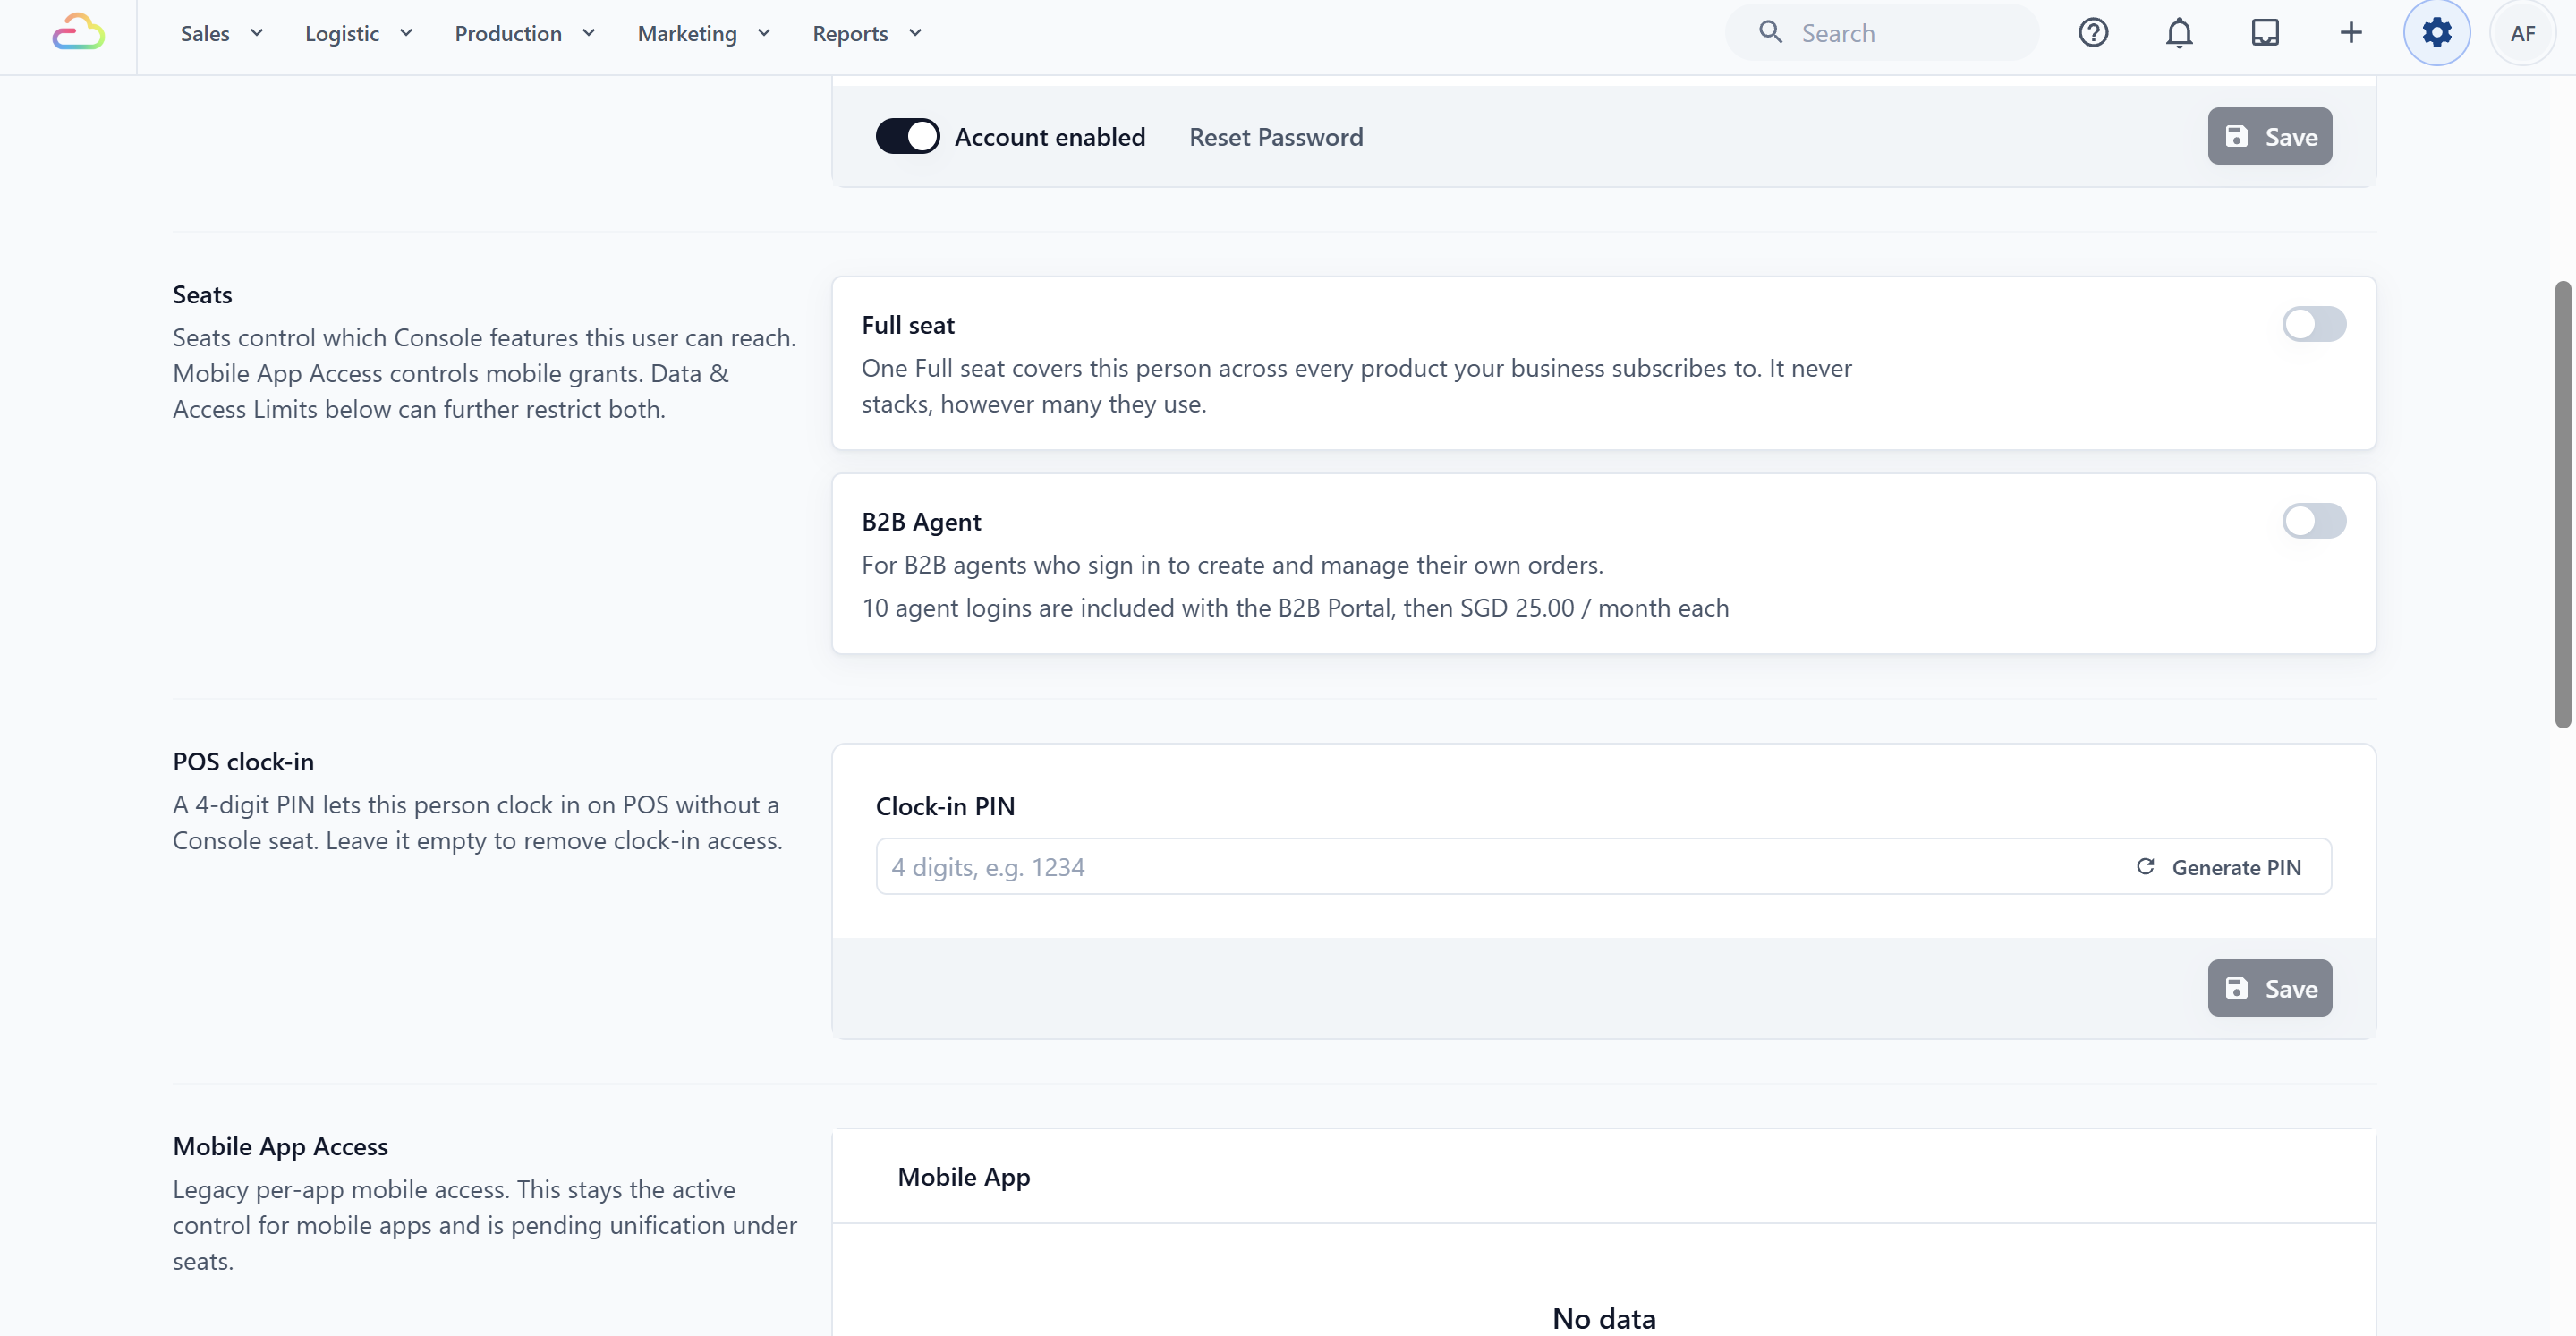
If this person also works at the counter, you can optionally add a POS clock-in PIN so they can clock in on the POS without a Full seat for that work.
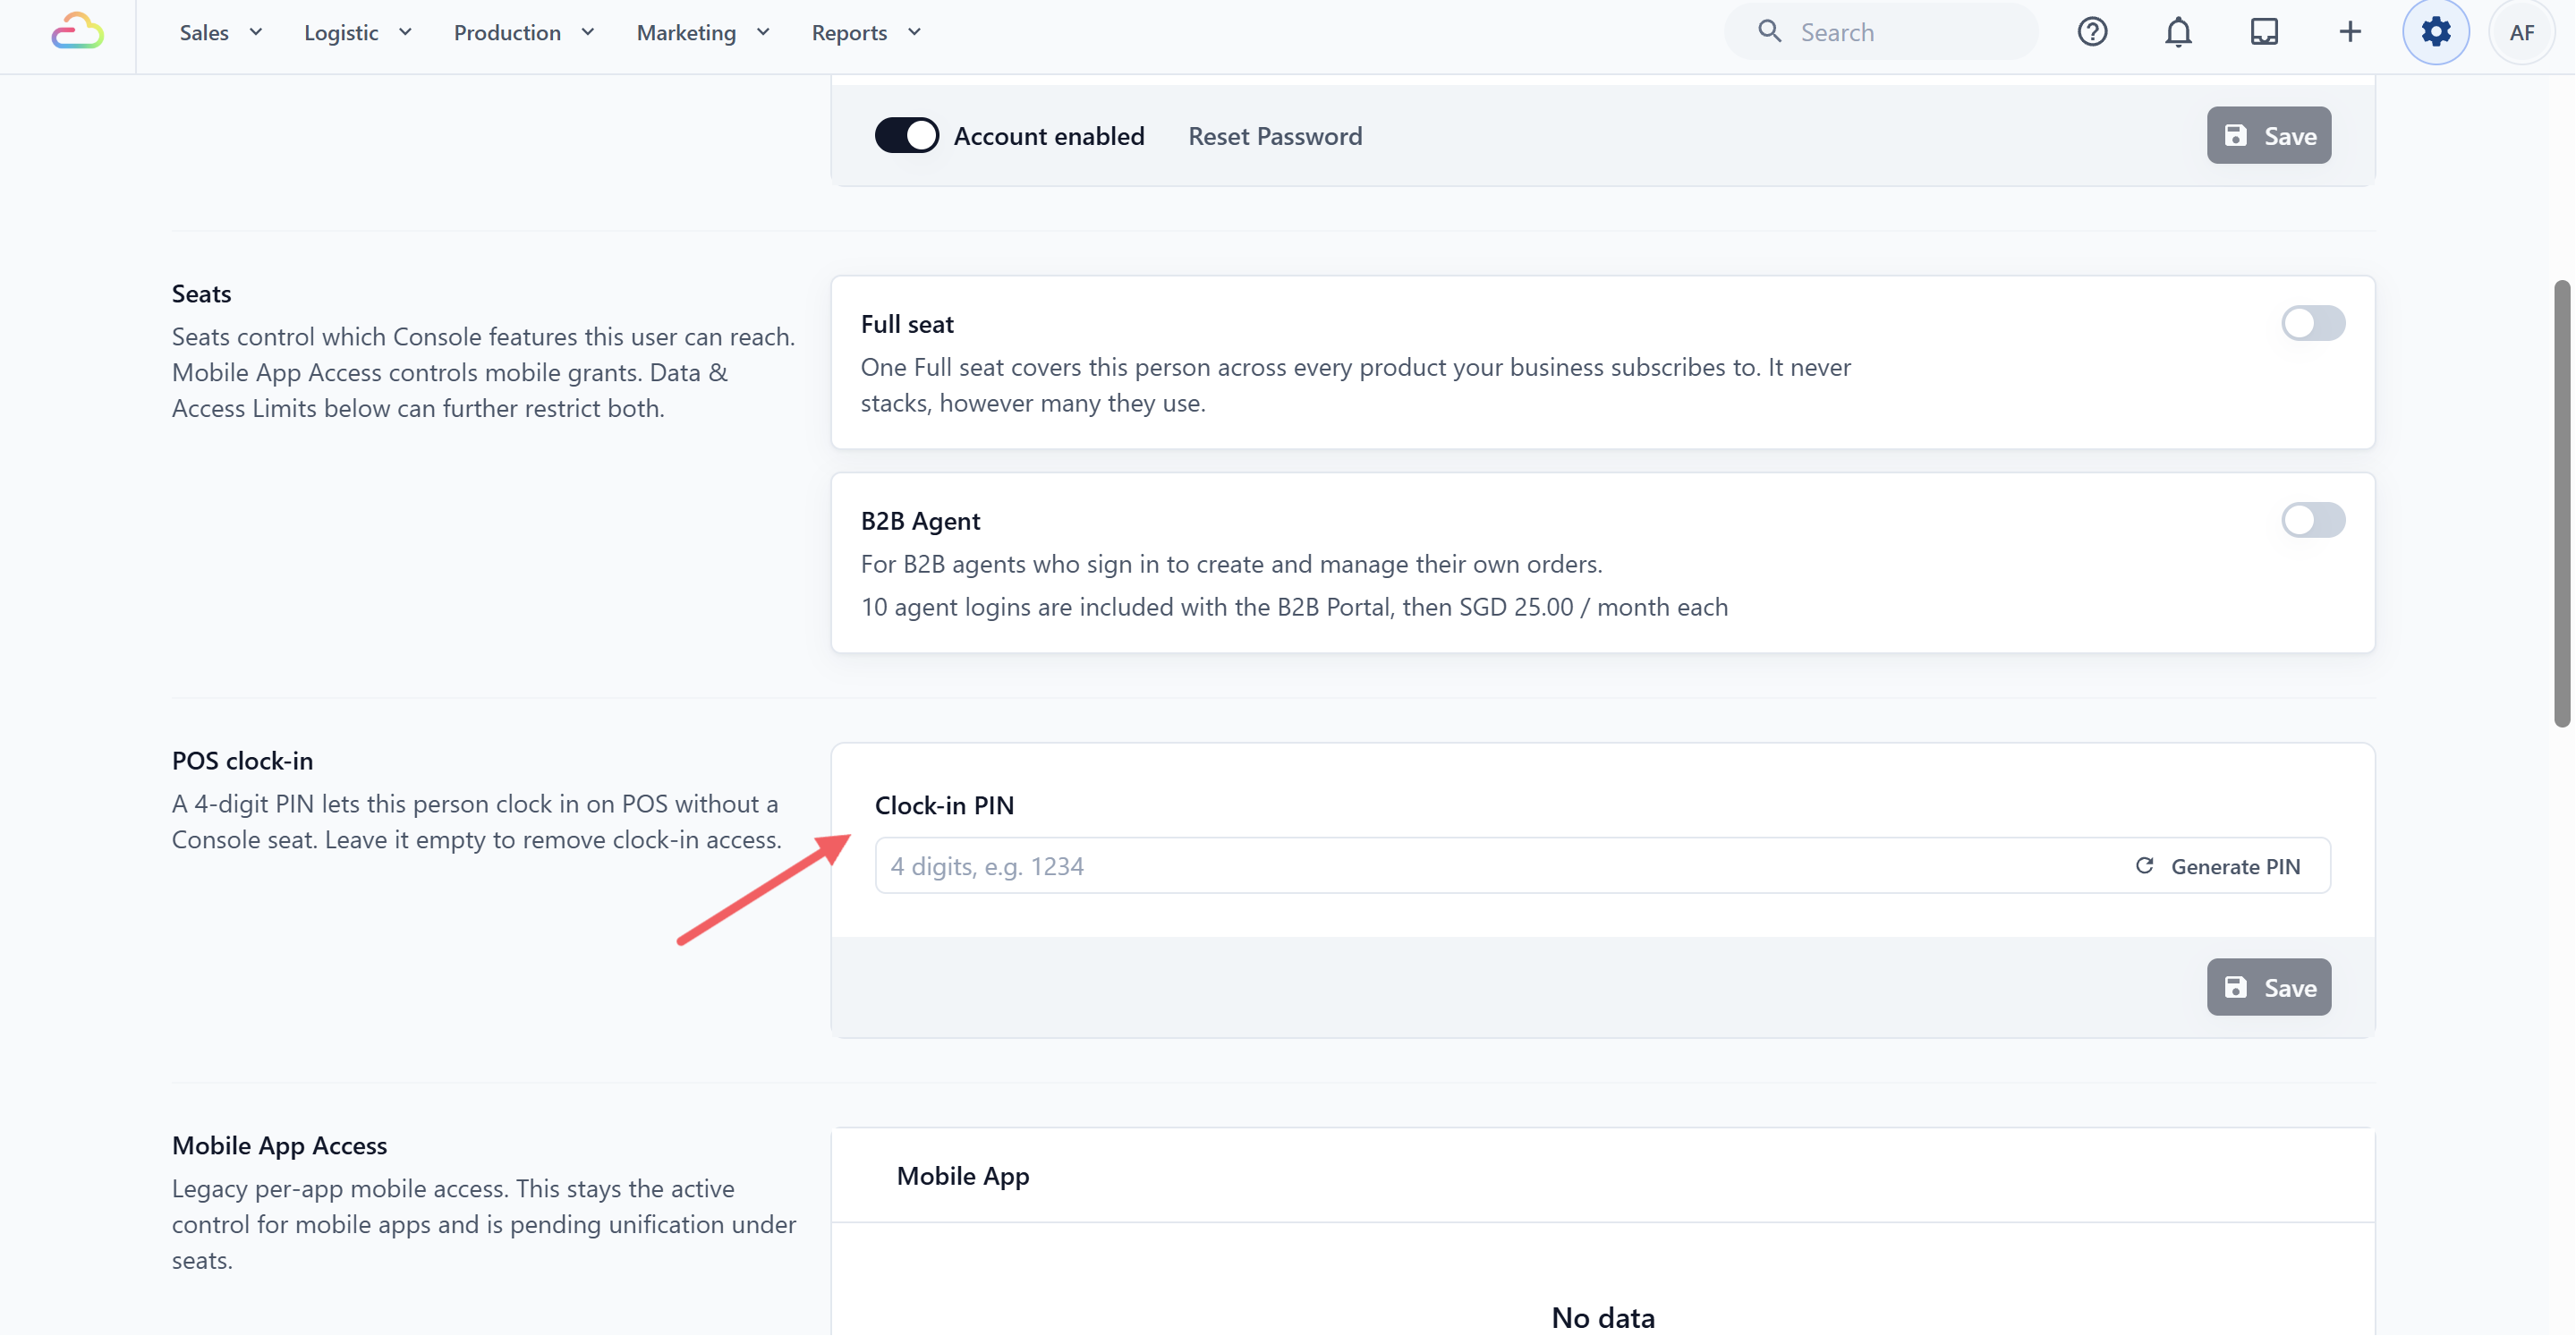
Save the new user.
You should now see the new person listed in your Users & Access table. Their row will not show any sign-in activity yet — that appears after they log in for the first time.
Help Them Sign In for the First Time
There are two ways to get your new team member signed in:
Send a sign-in email. Open the person's page in Users & Access and click Send Sign In Email. EasyBiz emails them a welcome message with their login email and password. This button is available until they sign in for the first time.
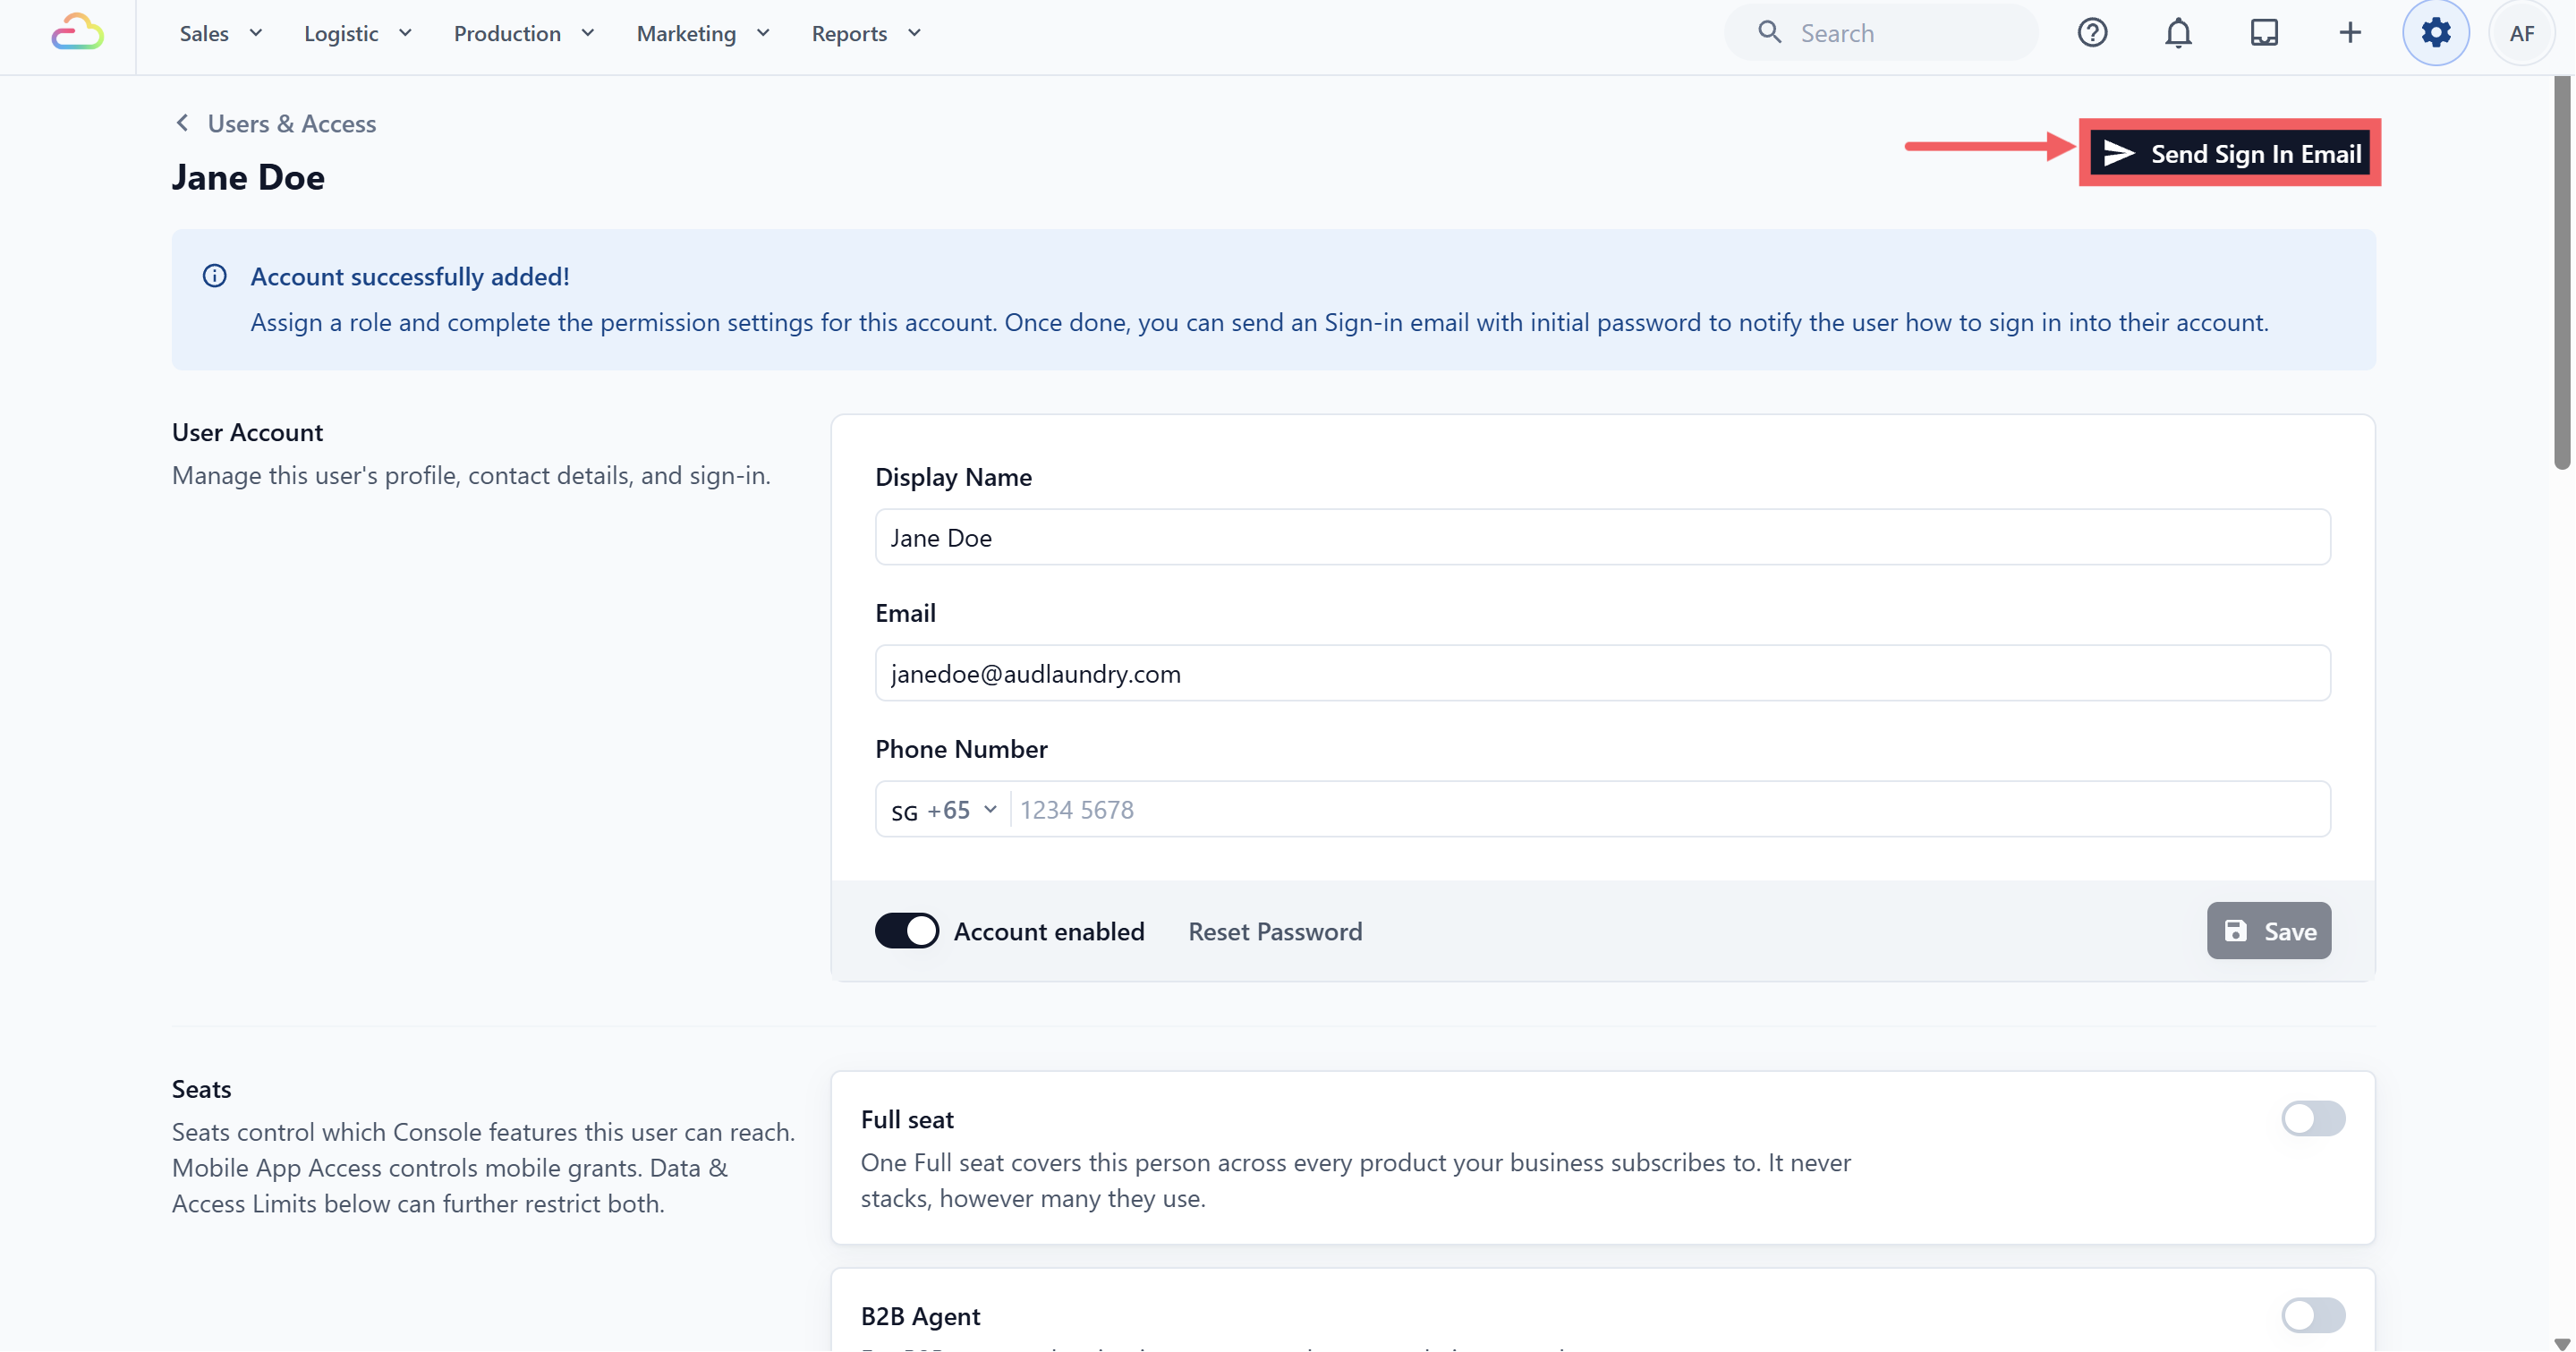
Share the password directly. Tell them their login email and the initial password you set, and ask them to sign in at the Console login page.
Either way, encourage them to change their password after their first sign-in. If they run into trouble, see Trouble Signing In.
Understanding Seats
A seat is what gives a person access to EasyBiz. Creating user accounts is free, and the account owner's Full seat is included automatically. [10:46 AM]There is one seat for your team: the Full seat. It covers every product your account owns. Someone working in Sales and CRM holds one seat, not two. A manager planning work and a driver completing jobs also use the same seat at the same rate. You are charged per person, not per product.
Full seat — access to the products your account owns: orders, jobs, scheduling, dispatch, invoices, payments, contacts, the shared inbox, reports, and permitted settings. Permissions control what each person can reach, so a driver can still be limited to their own assigned jobs.
Agent seat — a separate, external login for B2B agents who sign in to create and manage their own orders. It is not a Full seat and is priced on its own.
Counter staff carry no seat at all — a POS location covers unlimited counter staff, who sign in with a clock-in PIN.
The Full seat rate follows your account's highest tier among Sales, CRM, Production and Field Service. If any of these products moves to Professional, every Full seat moves to the Professional rate. Products priced per location, site, brand, or phone number do not change the Full seat rate. For example, upgrading POS to Professional does not change what you pay for your team.
Every Full seat on an account uses the same tier. You cannot place some people on Professional and keep others on Standard. If only one or two people need a particular capability, ask us. It is usually available as a separately priced product or add-on. For current prices, check your billing page or the EasyBiz pricing page. See Understanding Your Subscription and Billing for where the Full seat appears on your bill.
Fine-Tuning Permissions
The Full seat covers every product your account owns. Product access lets you turn off products this person should not use. Permissions decide what they can see and do inside the products left on.
Open the person's page in Users & Access.
In the Full seat section, turn off any product this person should not access. This does not change the Full seat price.
For a product you want to adjust, click Advanced settings.
A permissions dialog opens with four groups:
Feature management — which settings areas they can manage, for example Manage Sales Channels or Manage Point of Sale.
Sensitive account controls — powerful permissions such as Manage Billing and Manage Users & Access. Give these only to people you trust to manage money and team access.
Data visibility — which data they can see, for example order data, sales reports, or payment reports. Some of these can be limited in scope, such as showing only selected sales channels or only jobs assigned to them.
Allowed actions — day-to-day actions like recording payments, cancelling orders, applying discounts, or overriding prices.
- Adjust the toggles and save.
Removing Access
When someone changes role or leaves your business, you have three options, from lightest to most permanent:
Turn off the Full seat. On the person's page, switch off their Full seat and confirm. They lose access, but their saved permission settings are kept in case you turn it on again later.
Remove mobile app access. In the Mobile App Access section of their page, choose Remove access next to the app they should no longer use.
Delete the user. At the bottom of the person's page, use Delete User. The user is removed from your subscription and permanently deleted. This cannot be undone, so use it only when someone has left for good.
FAQs
Do I pay for every person I add?
Creating the account itself is free, and the account owner's Full seat is included. You pay for each additional person you assign a Full seat to. Counter staff who only have a POS clock-in PIN add no seat charge, and someone using several products still counts once.
Can my staff sign themselves up?
No. You (or a user with the Manage Users & Access permission) create the account and set the initial password. Your staff member then signs in with the email and password you give them.
What is the difference between a Full seat and a permission?
A Full seat makes a person a paid user and covers every product your account owns. Permissions control which products, outlets, data, and actions that person can access.
My staff member forgot their password. What do I do?
If their login email is a real inbox, they can reset it themselves from the sign-in screen. If you gave them a sign-in-only address without an inbox, an admin must set a new password for them. See Trouble Signing In.
Someone left the company. Should I delete their user or turn off their Full seat?
If they might come back or you want to keep their history tidy while you hand over their work, turn off their Full seat first — access stops immediately. Delete the user once you are sure the account is no longer needed. Deleting is permanent.
Does adding a Console user let them use the POS?
The POS counter itself is used by your staff at that location — register counter staff in POS Staff Management with a passcode. A Console user only needs a Full seat if they also manage things through the Console or a worker app.