How to Add a New Business Unit
Step 1: Navigate to the Console
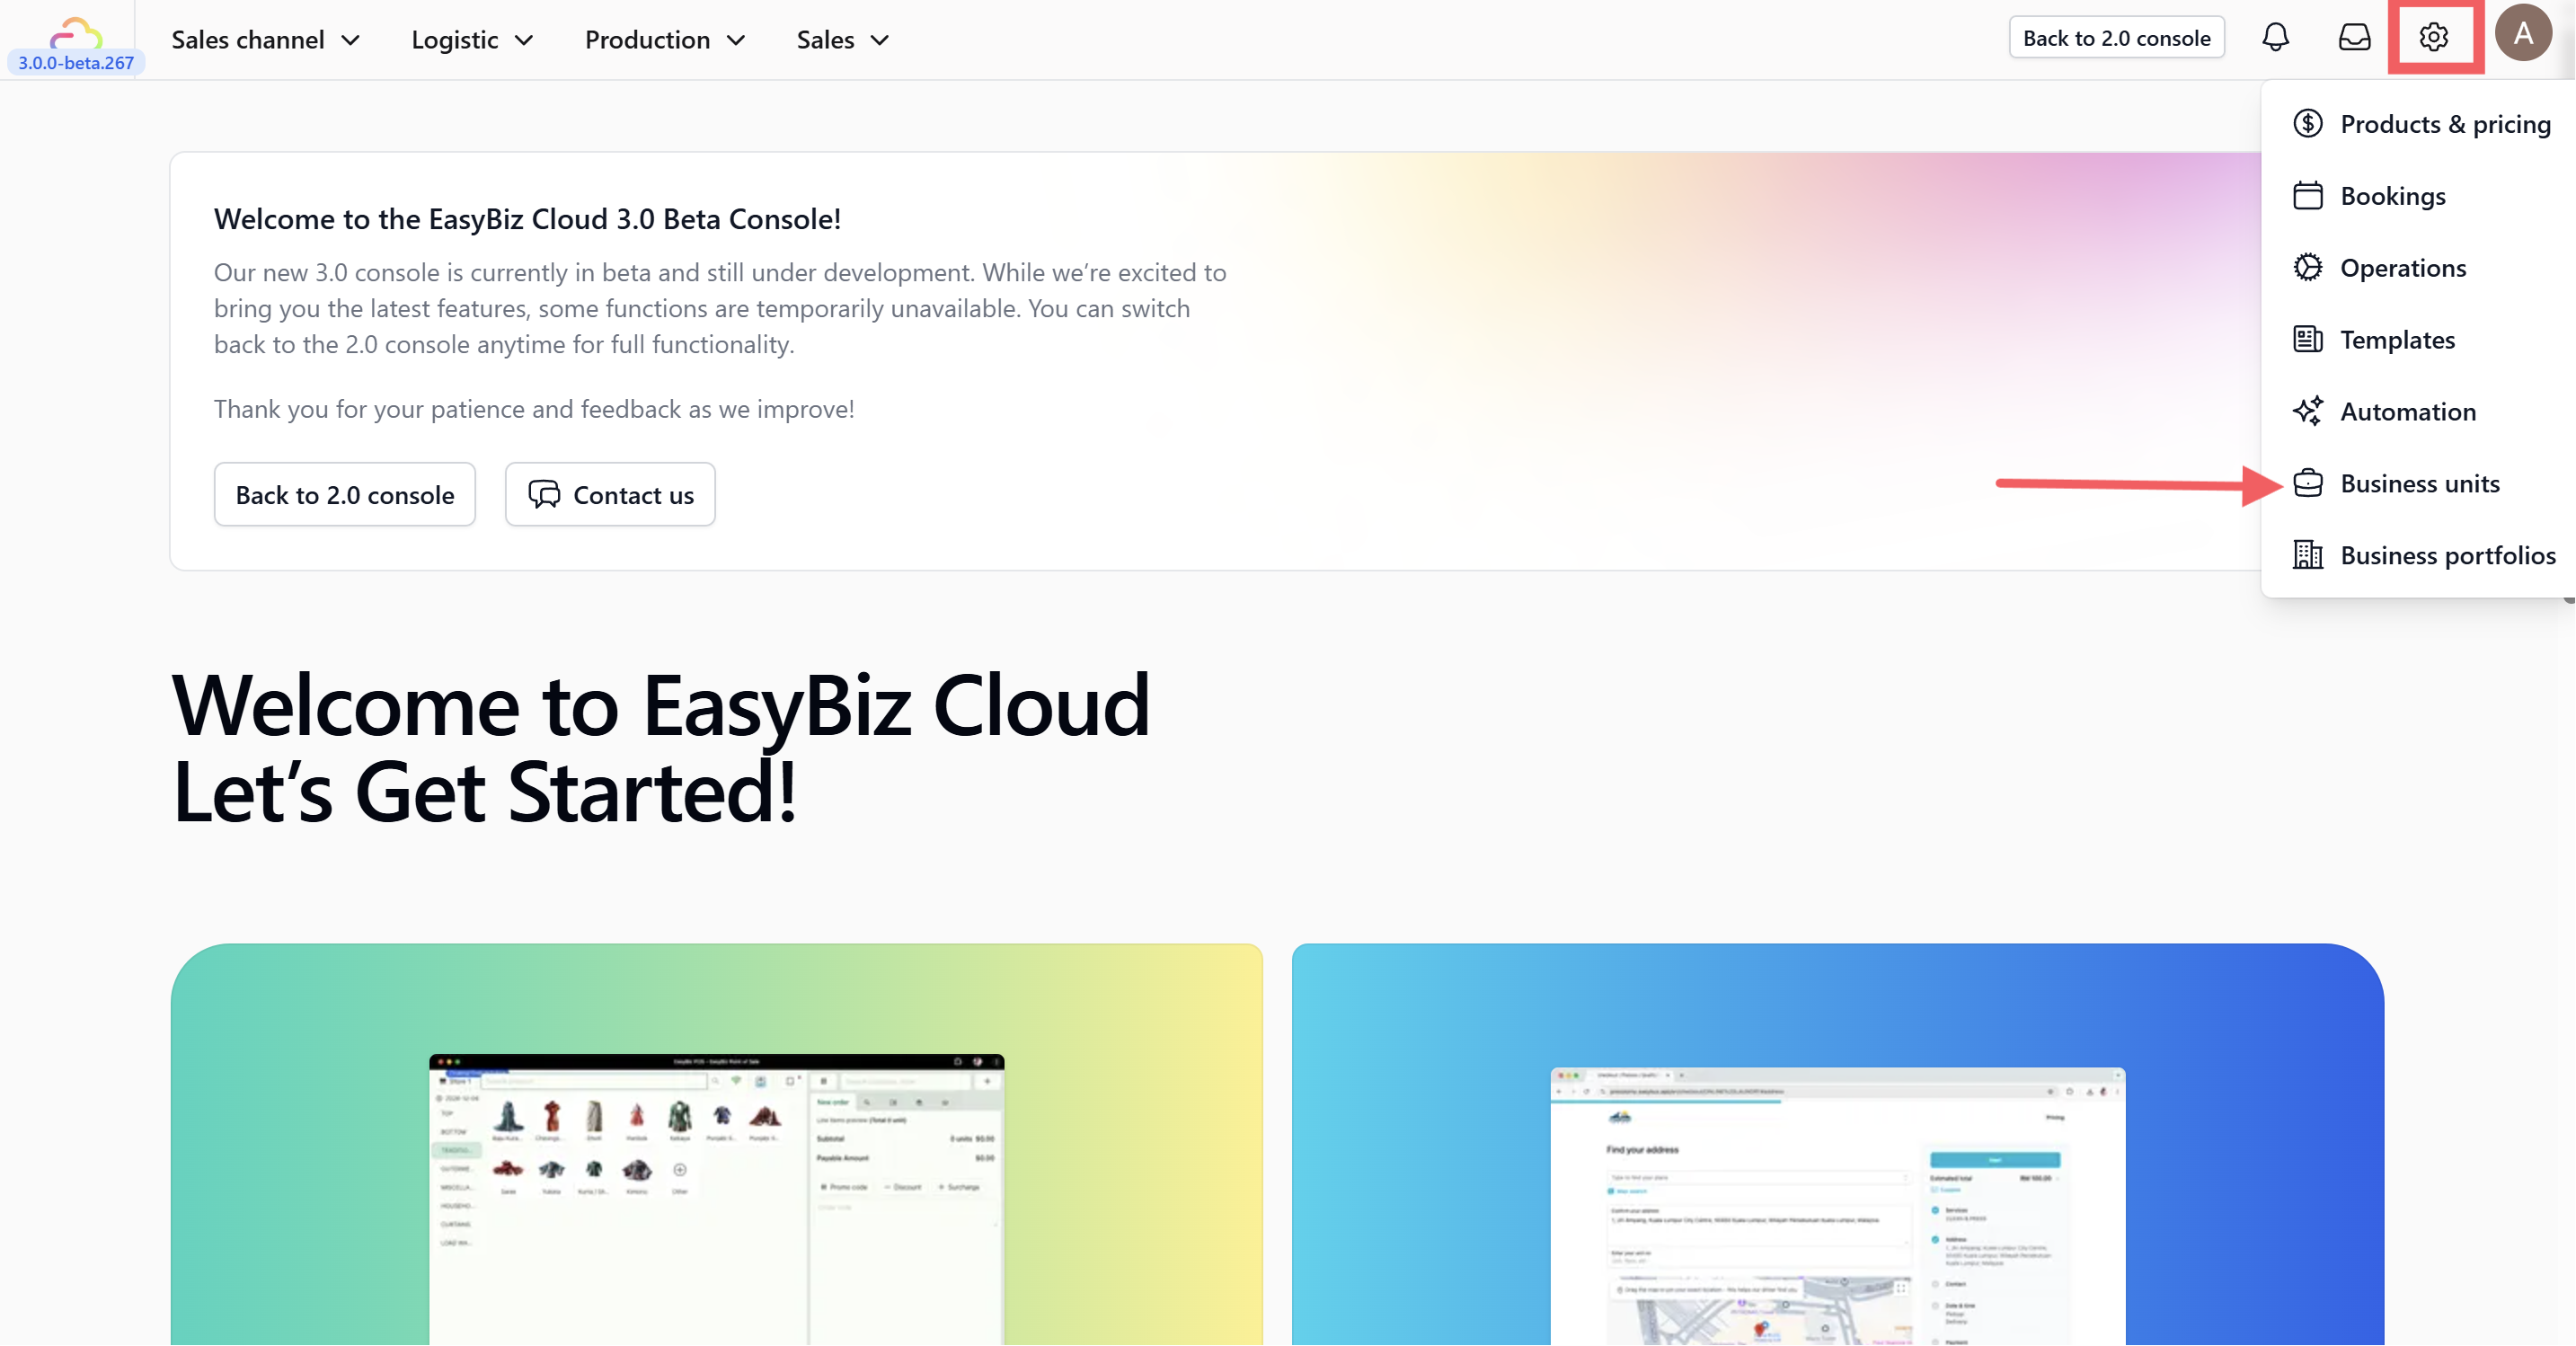
Click on the Settings button and select Business Unit.
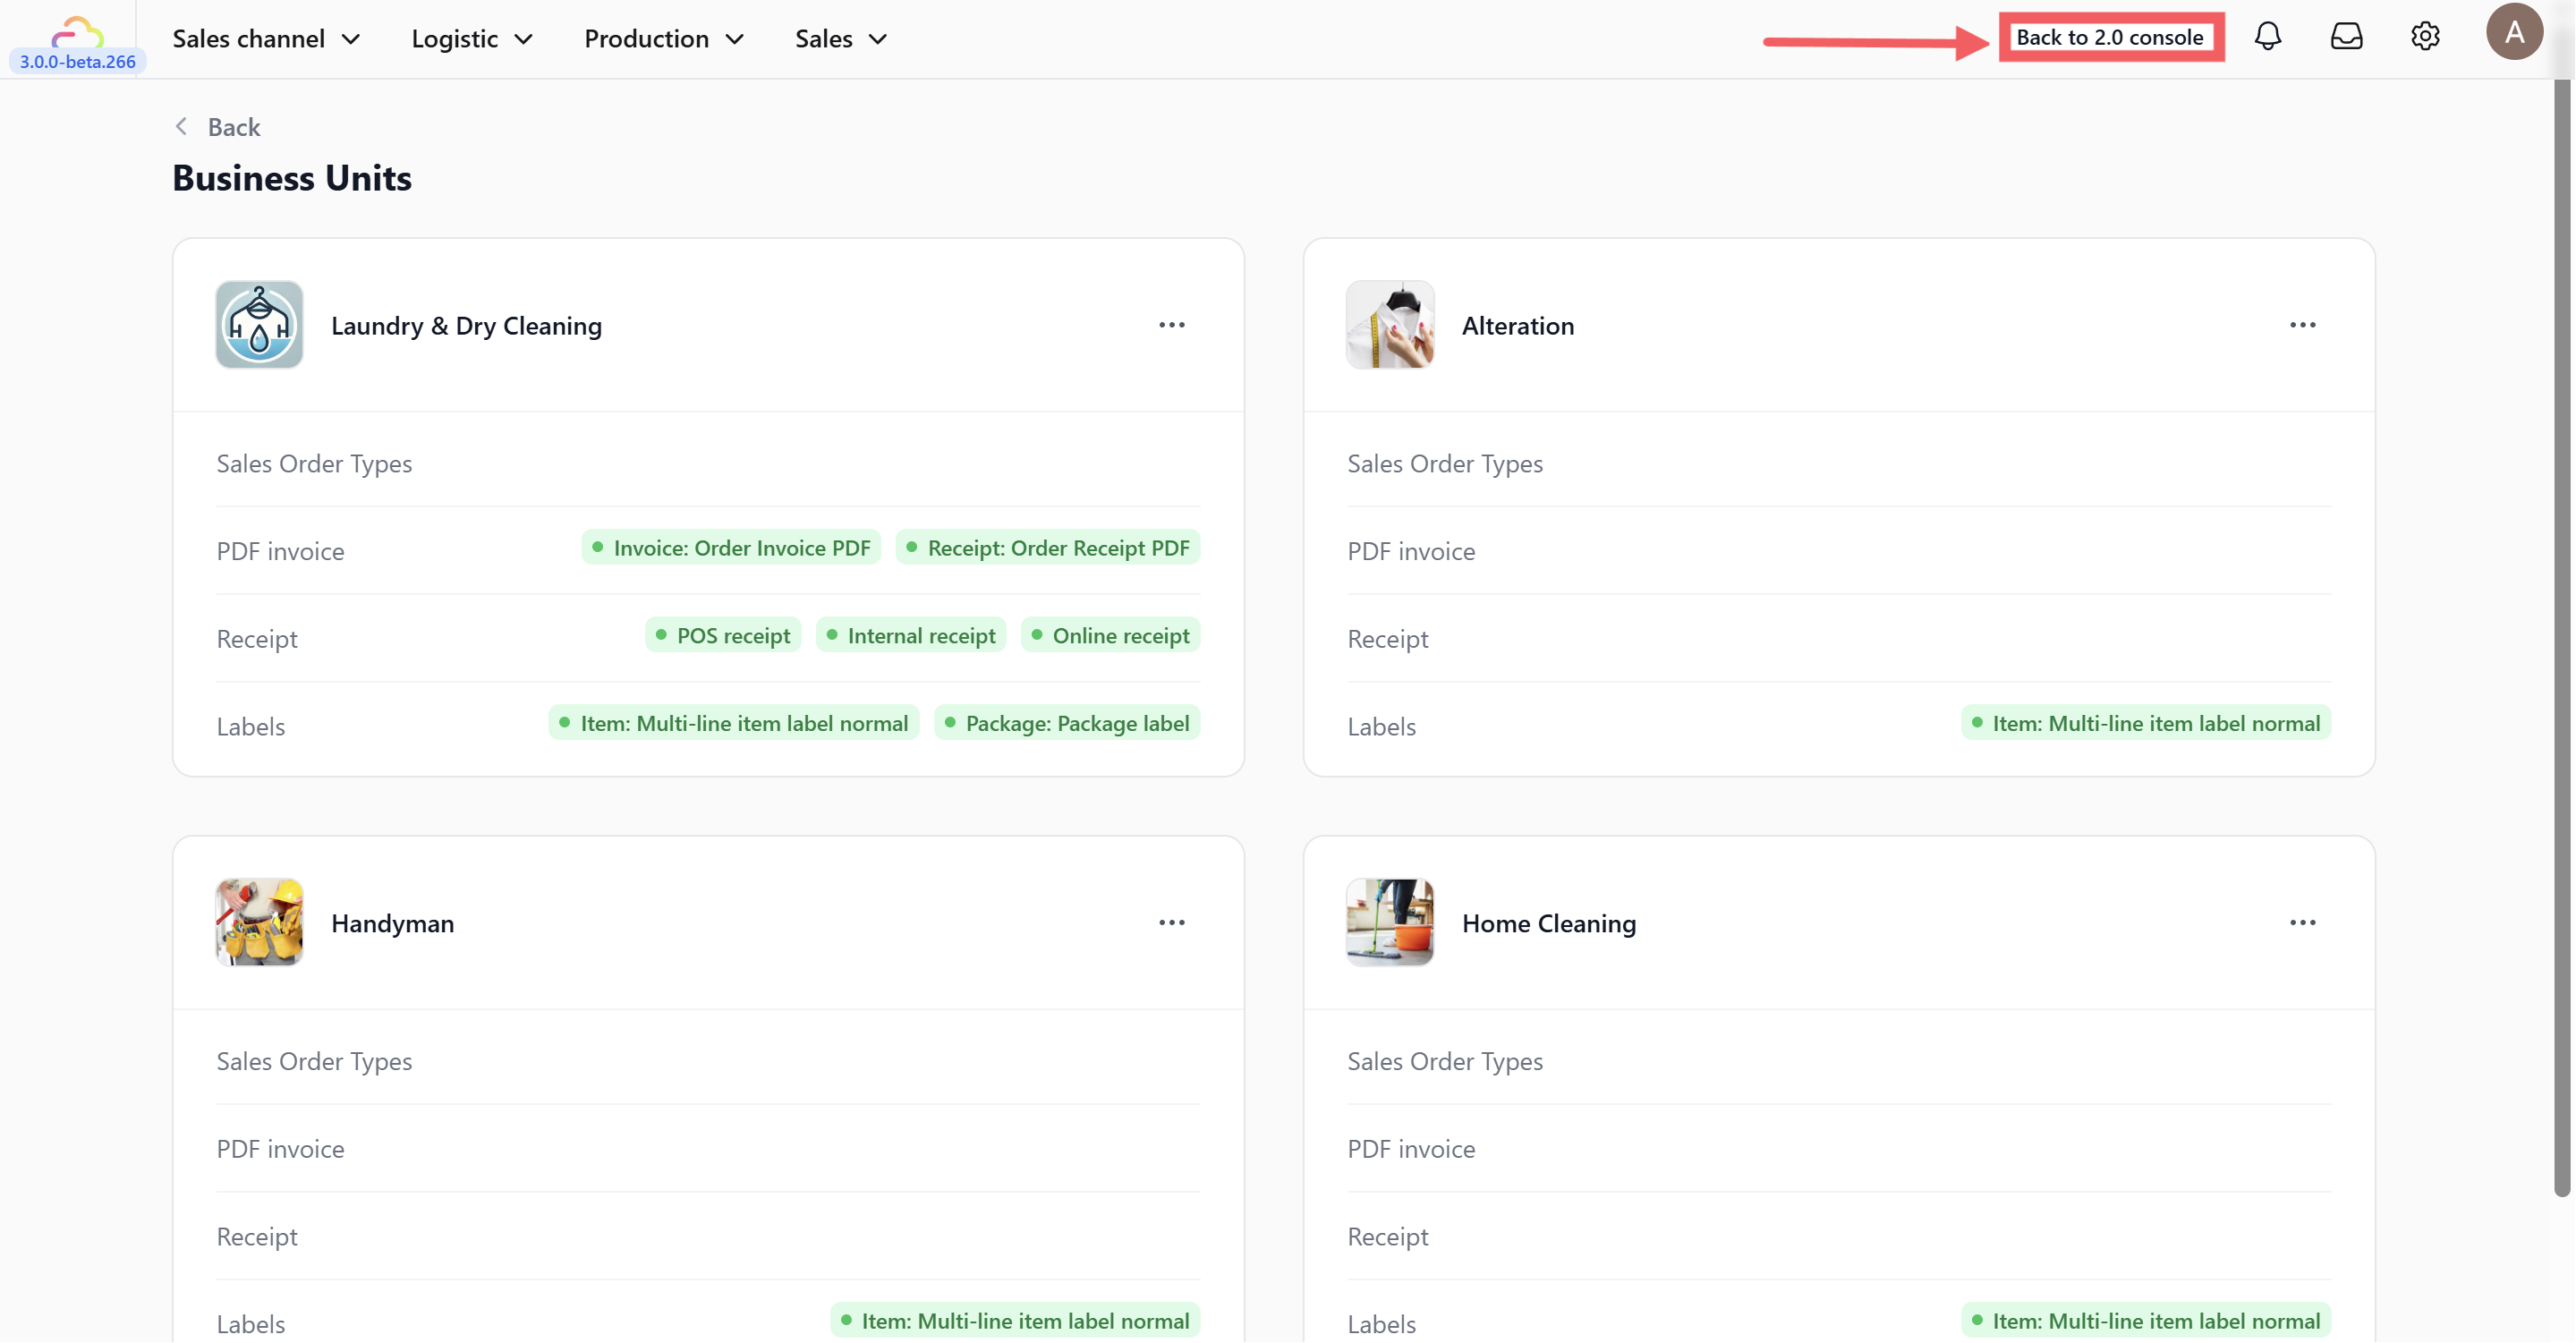
You will see a list of your current business units. To add a new one, you must switch to the 2.0 Console.
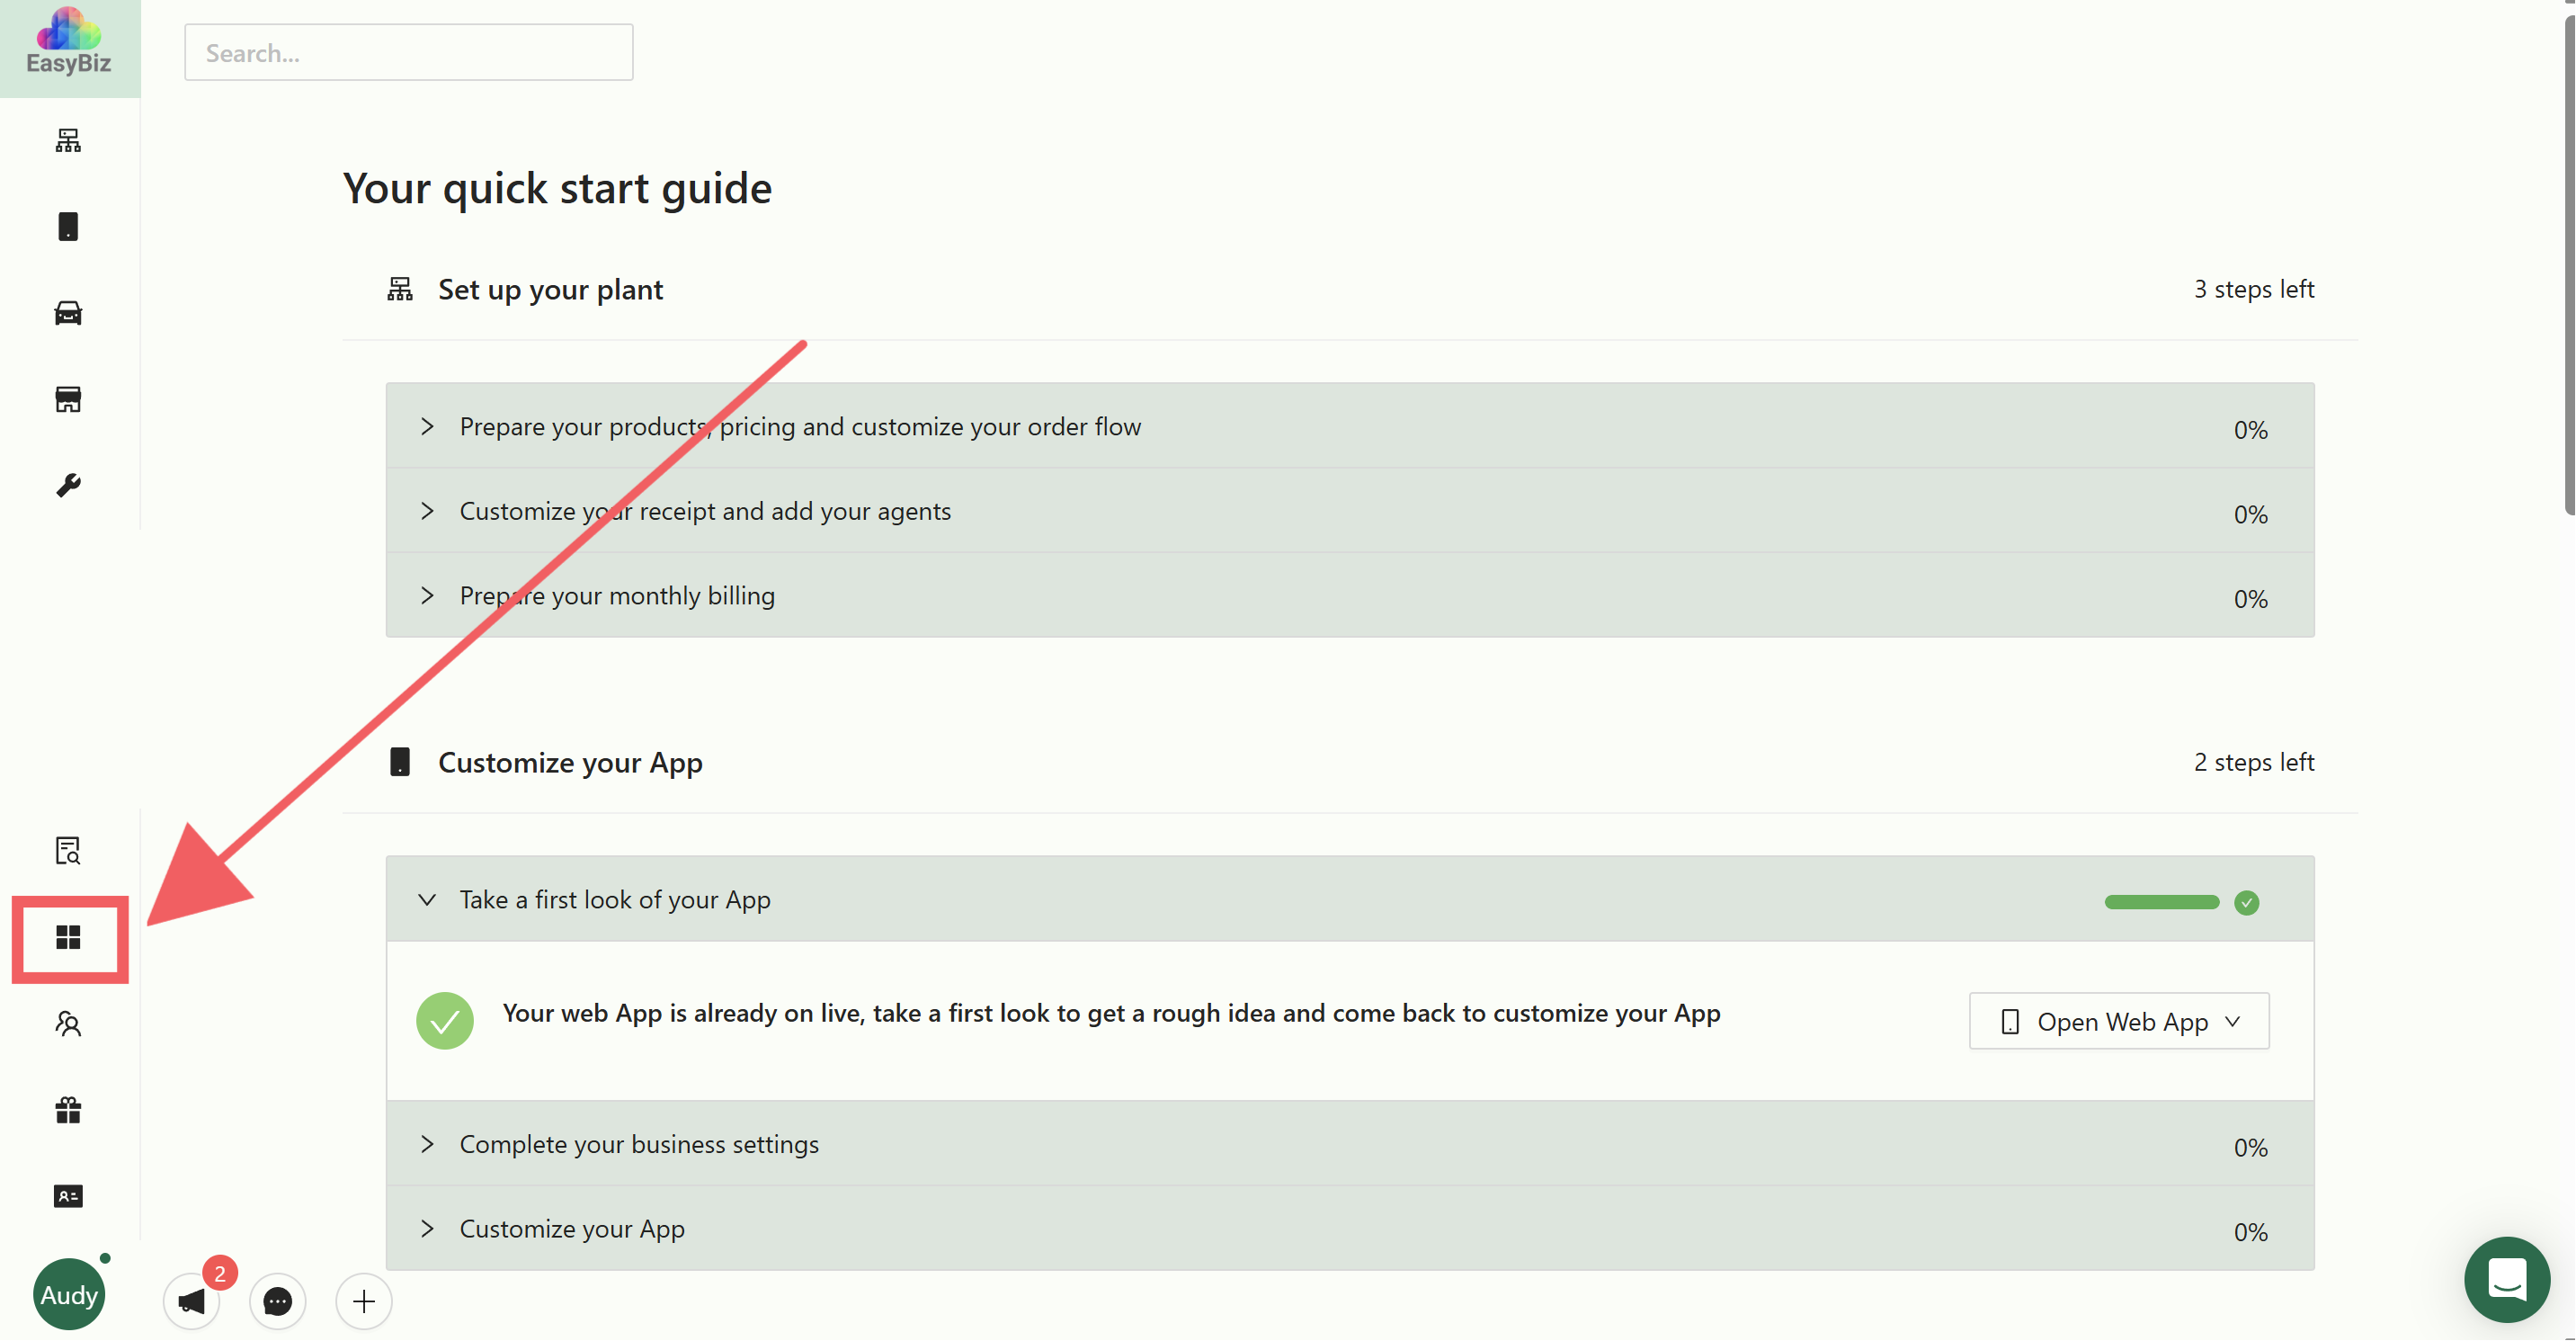
Click on the Business Icon located on the sidebar.
Step 2: Create the New Unit
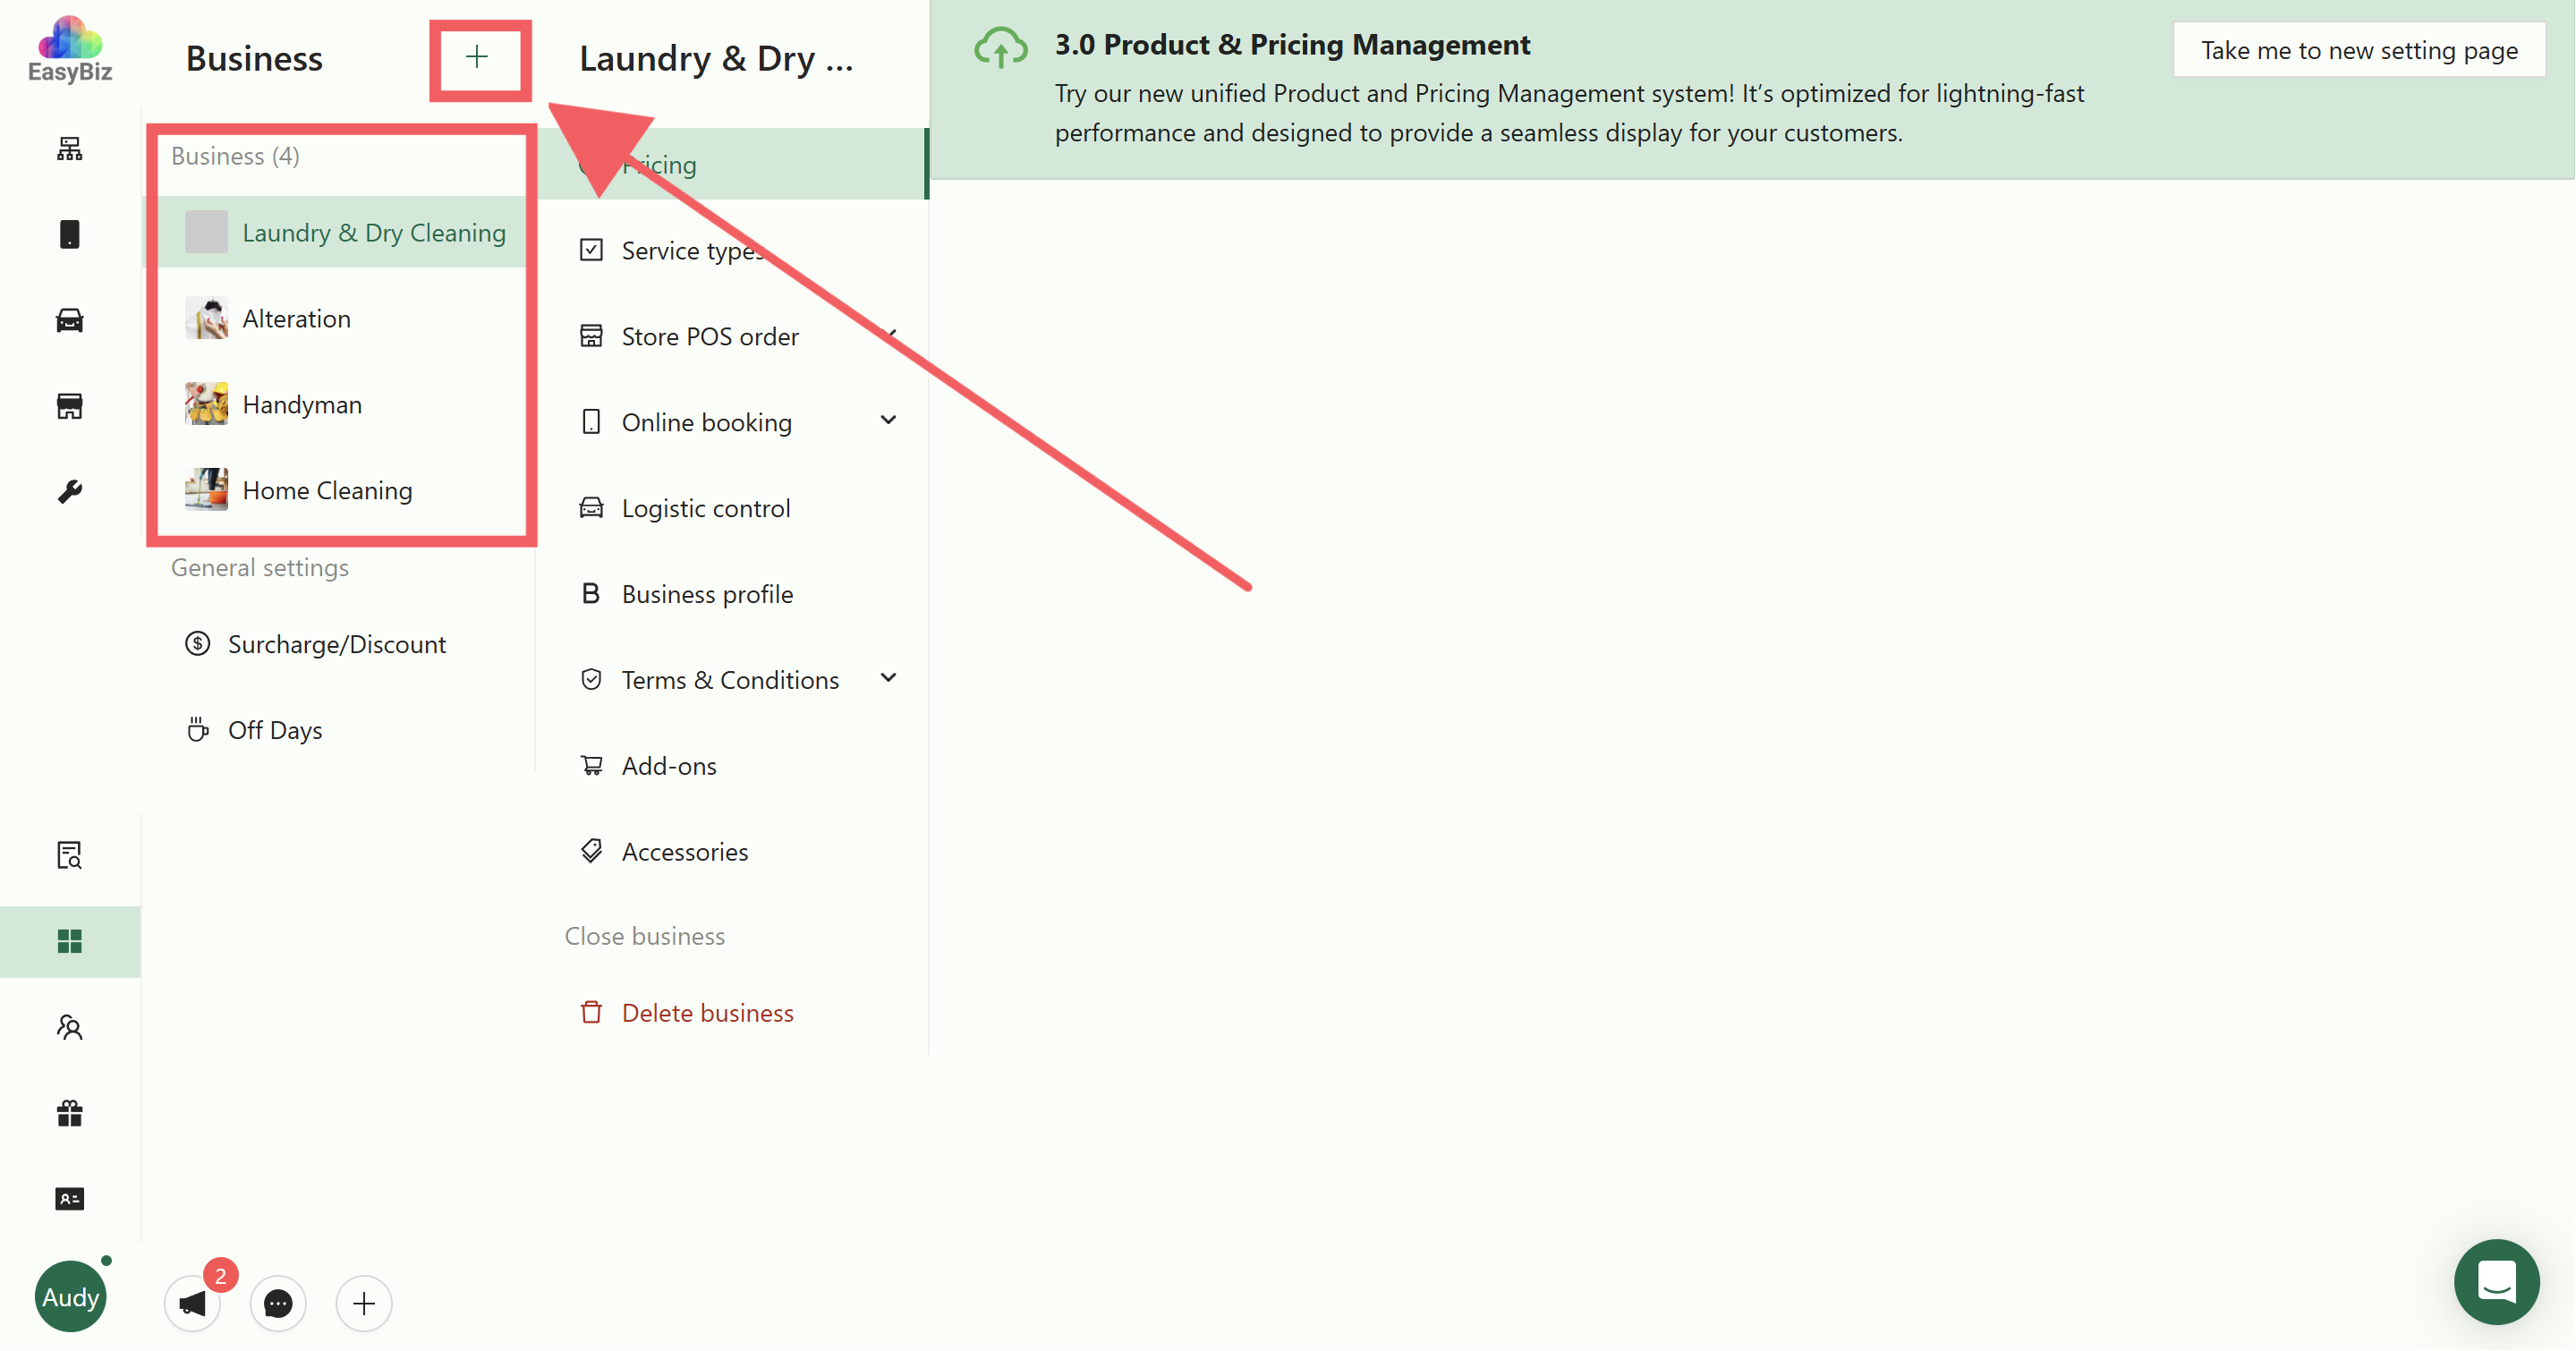
In the 2.0 Console Business Unit page, click the Plus (+) button to add a new unit.
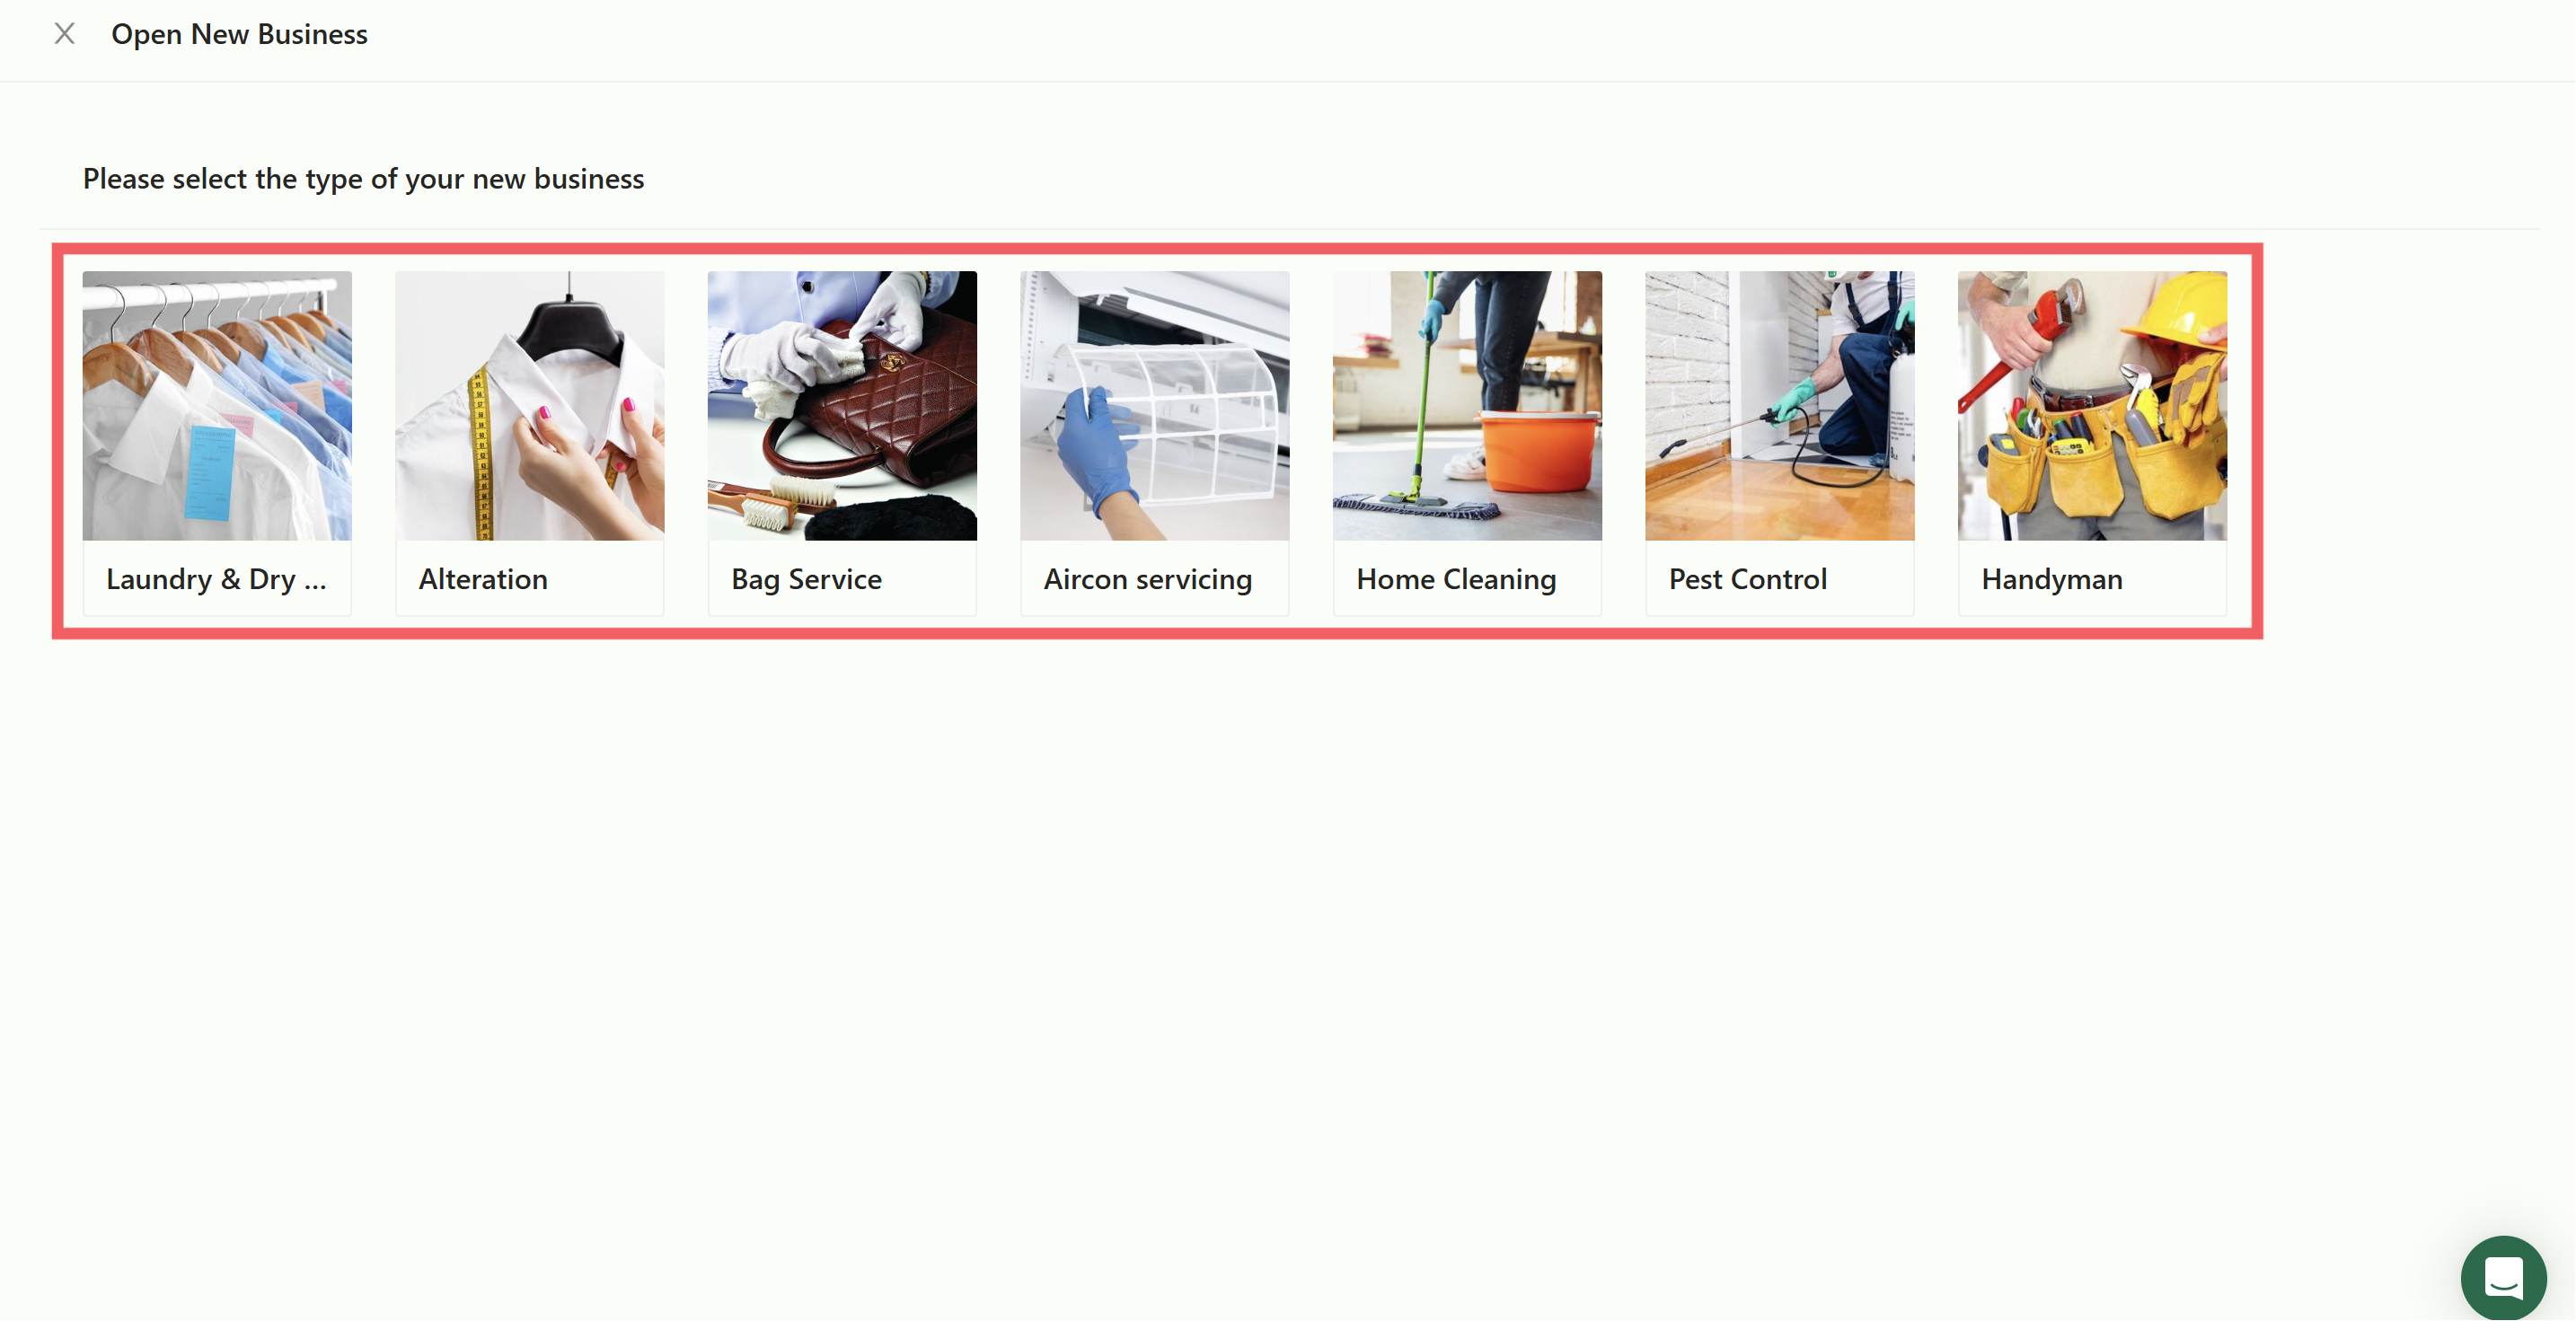
Several business type options will appear; select the service that matches your business needs.
Once created, return to the 3.0 Console or use this link: Business Units Settings.
Step 3: Configure Your Business Unit
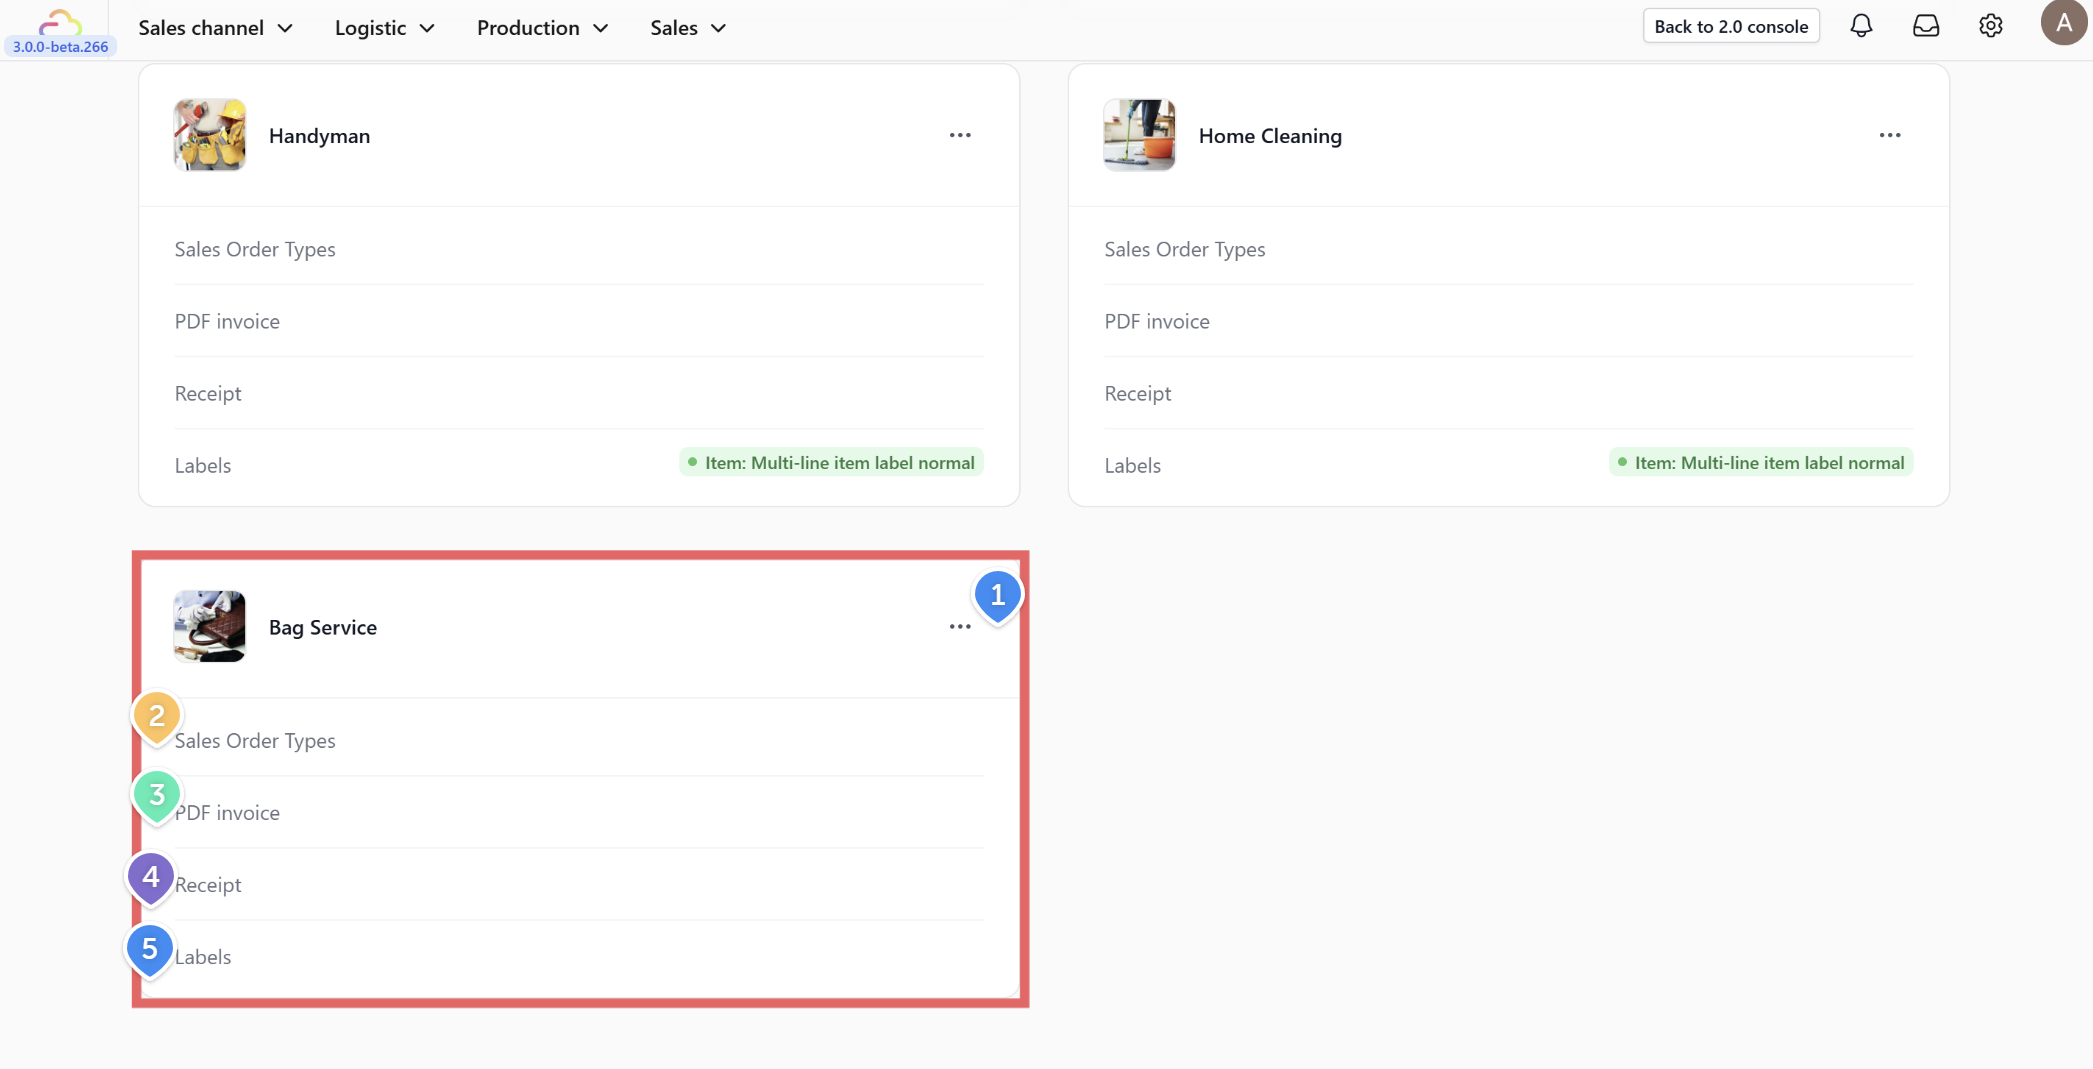
On the Business unit page, you can manage the following:
-
Three-Dot Menu: Click this to edit the Business Name, Logo, or Code, or to delete the unit.
-
Sales Order Types: Choose your preferred order type template.
-
PDF Invoice: Select the template used for digital invoices.
-
Receipt: Select the template for customer receipts.
-
Labels: Choose the template for items and packaging.
Template Configuration Guides
Sales Order Types
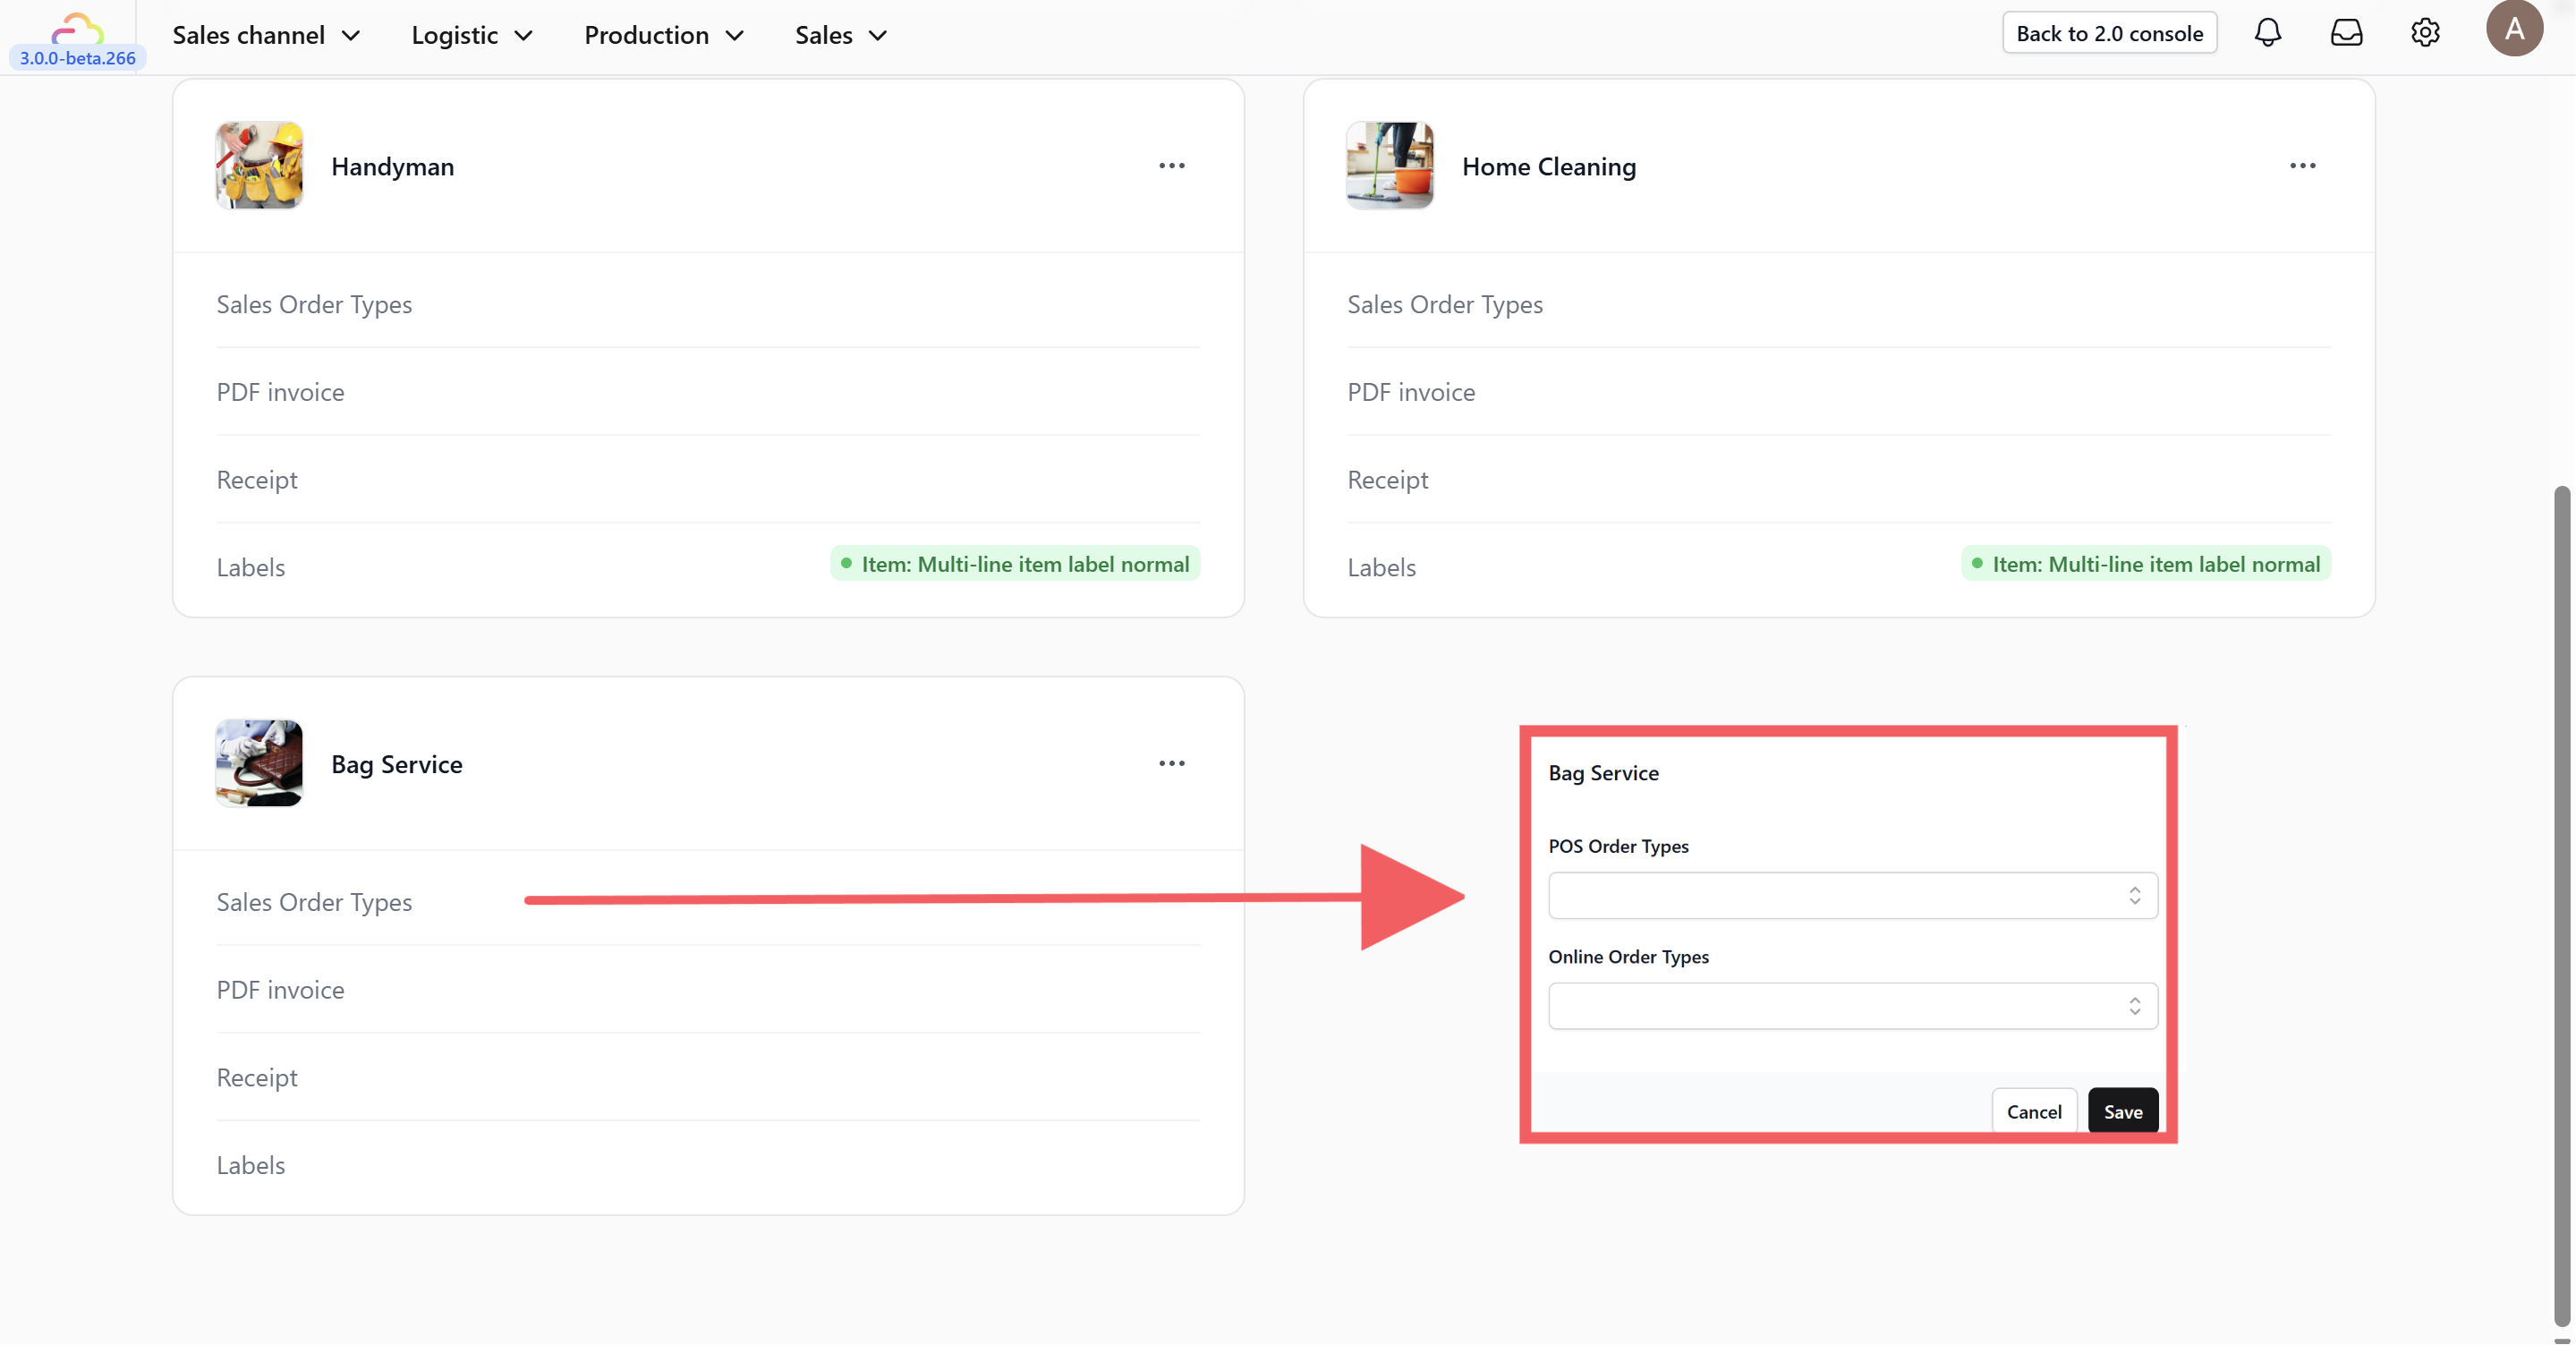
Select the order types for your POS or Online Store. Note that templates must be created before they can be selected.
PDF Invoice
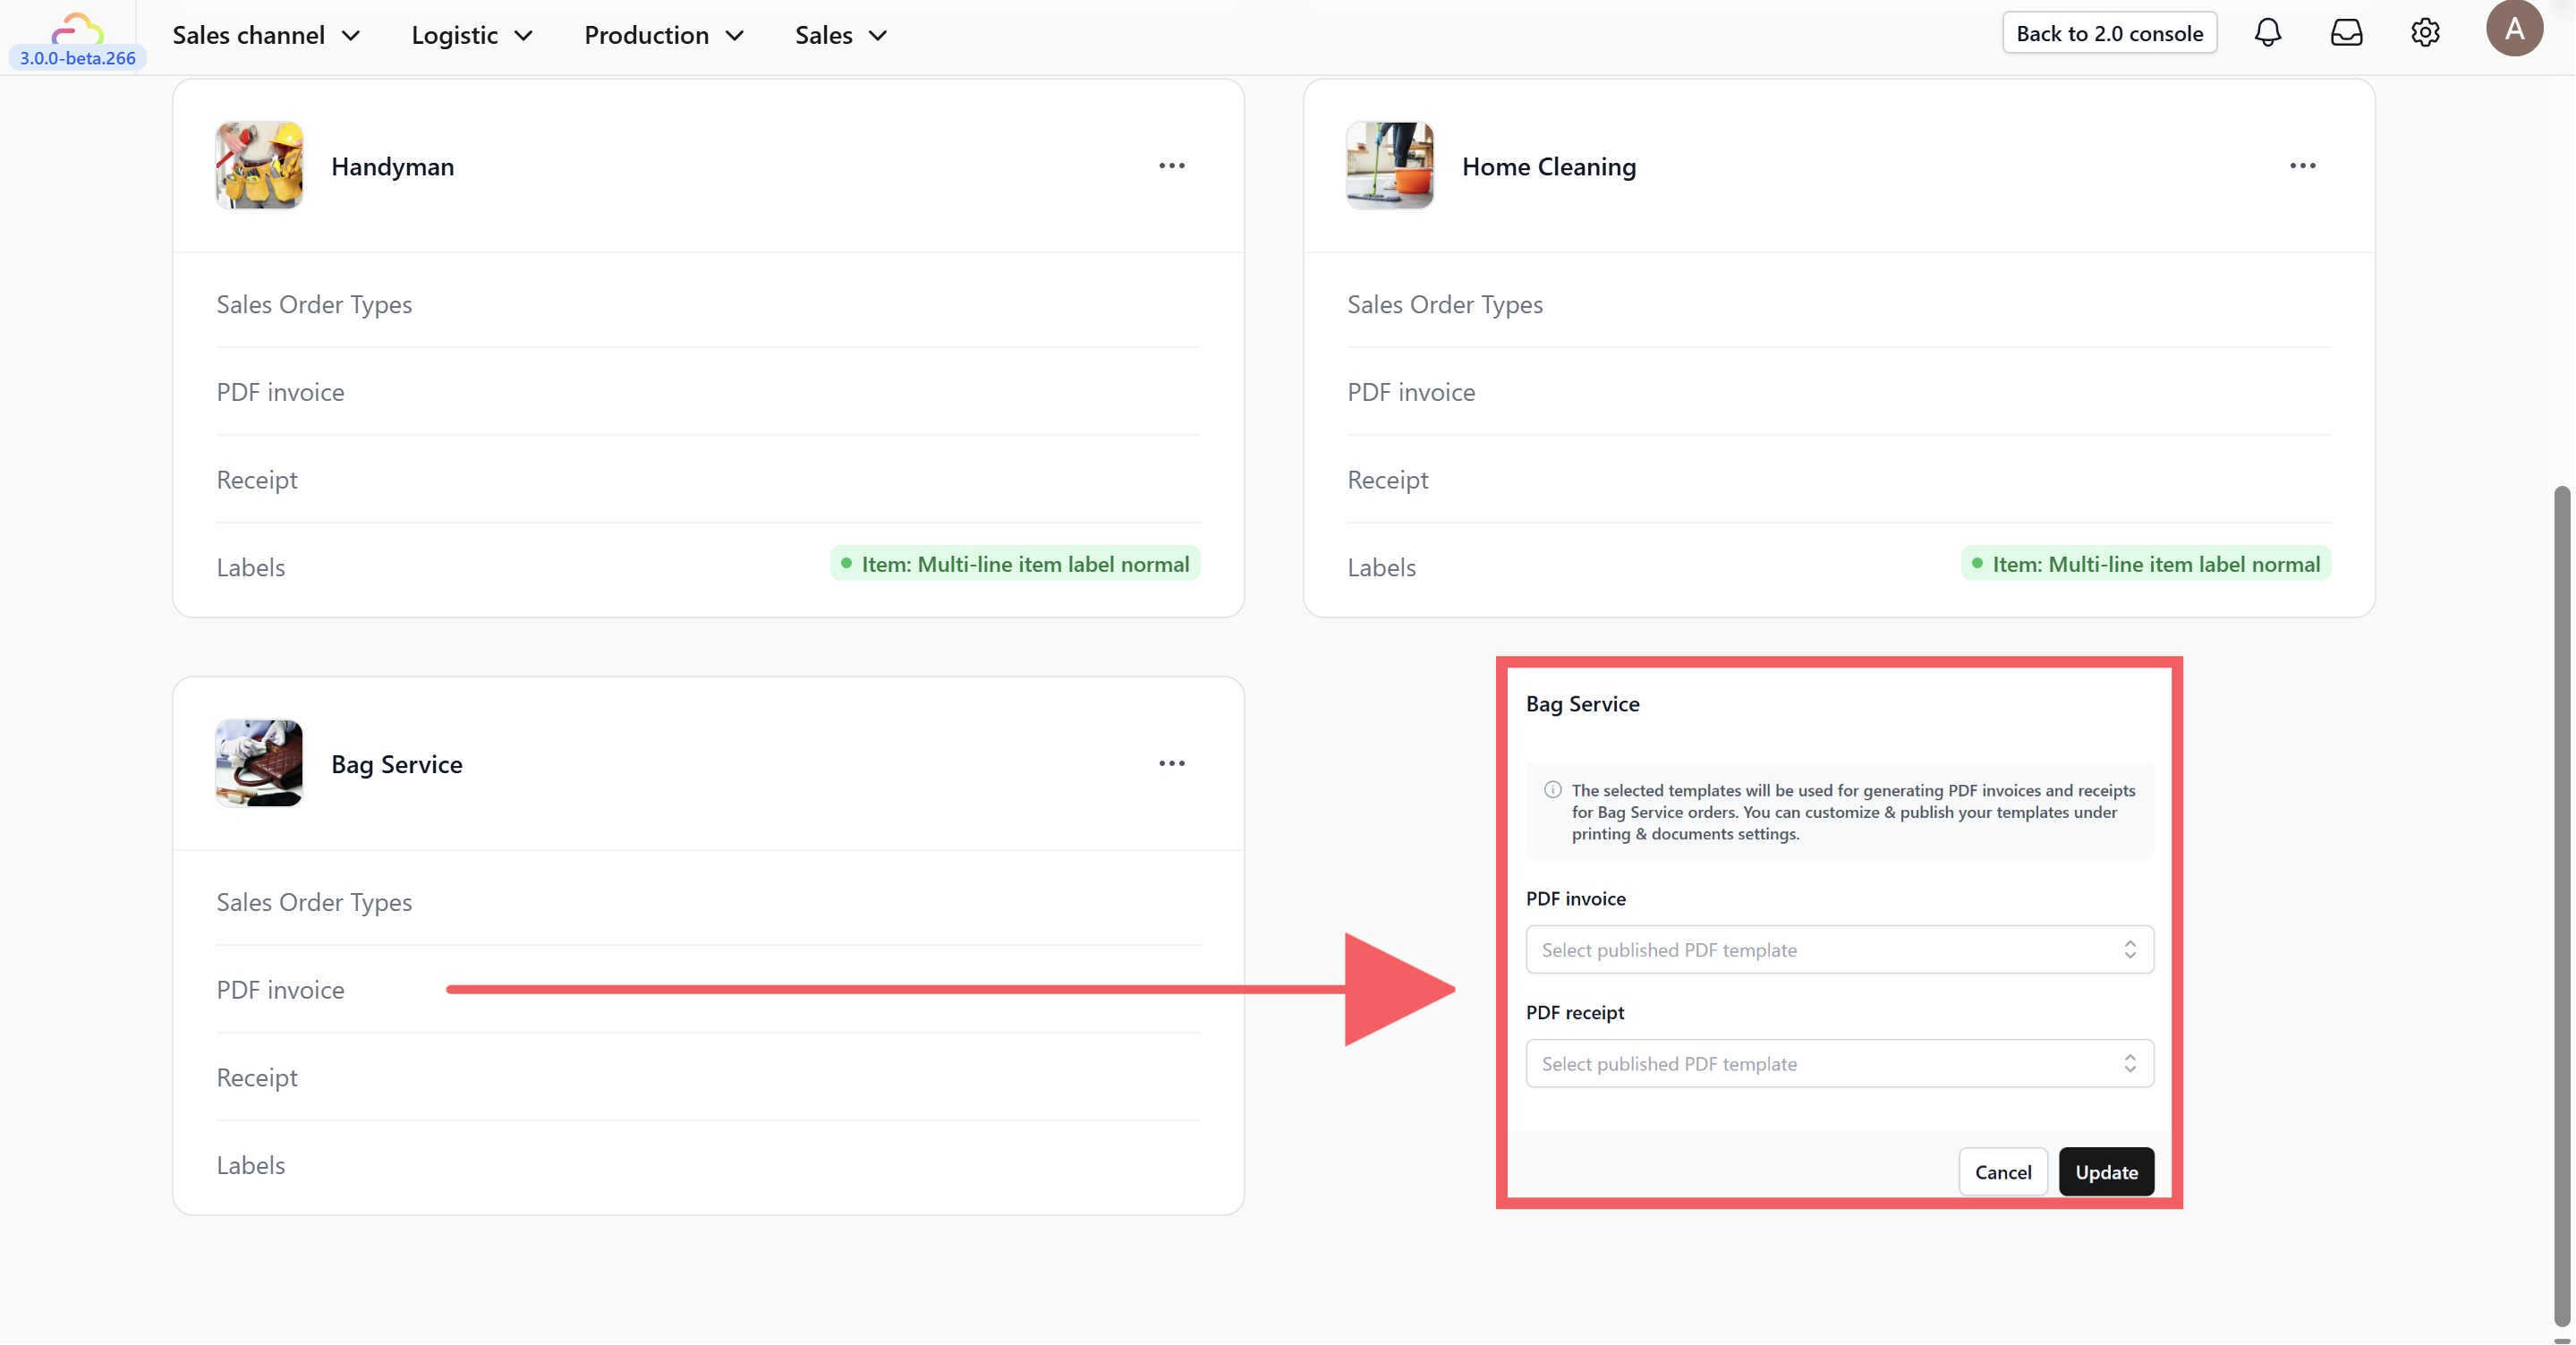
Choose the PDF template for invoices and receipts used in your store.
Receipt
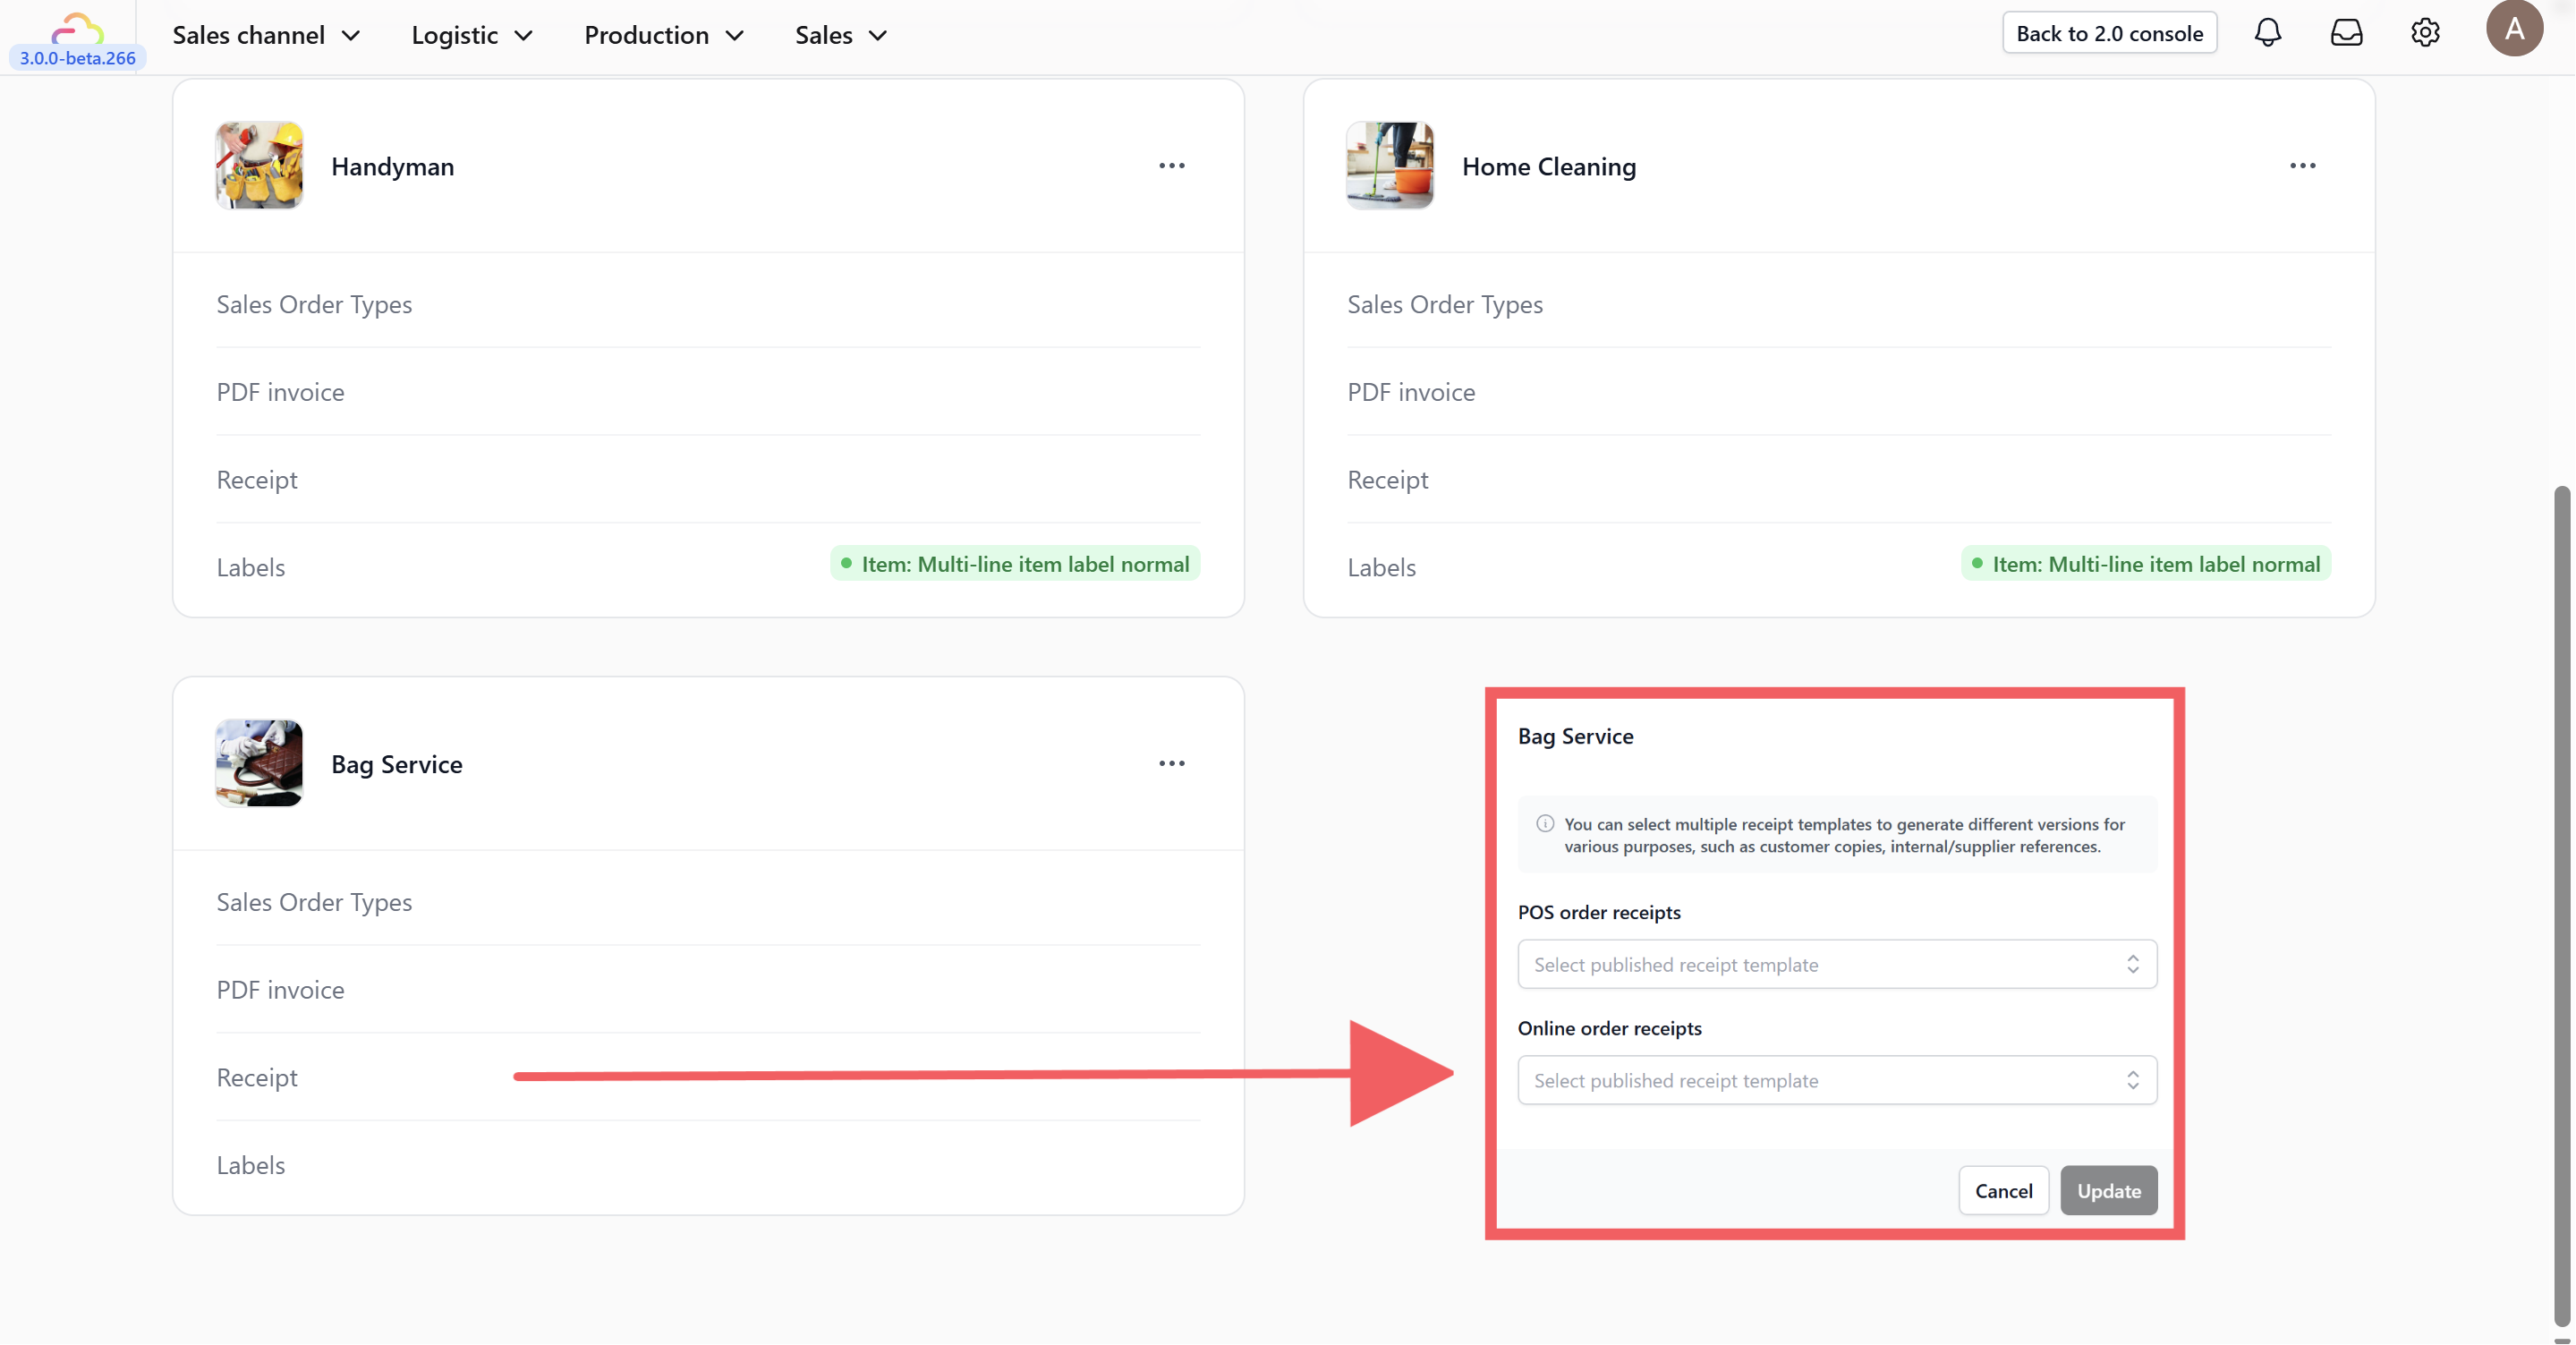
Select the receipt templates for POS and Online orders.
Labels
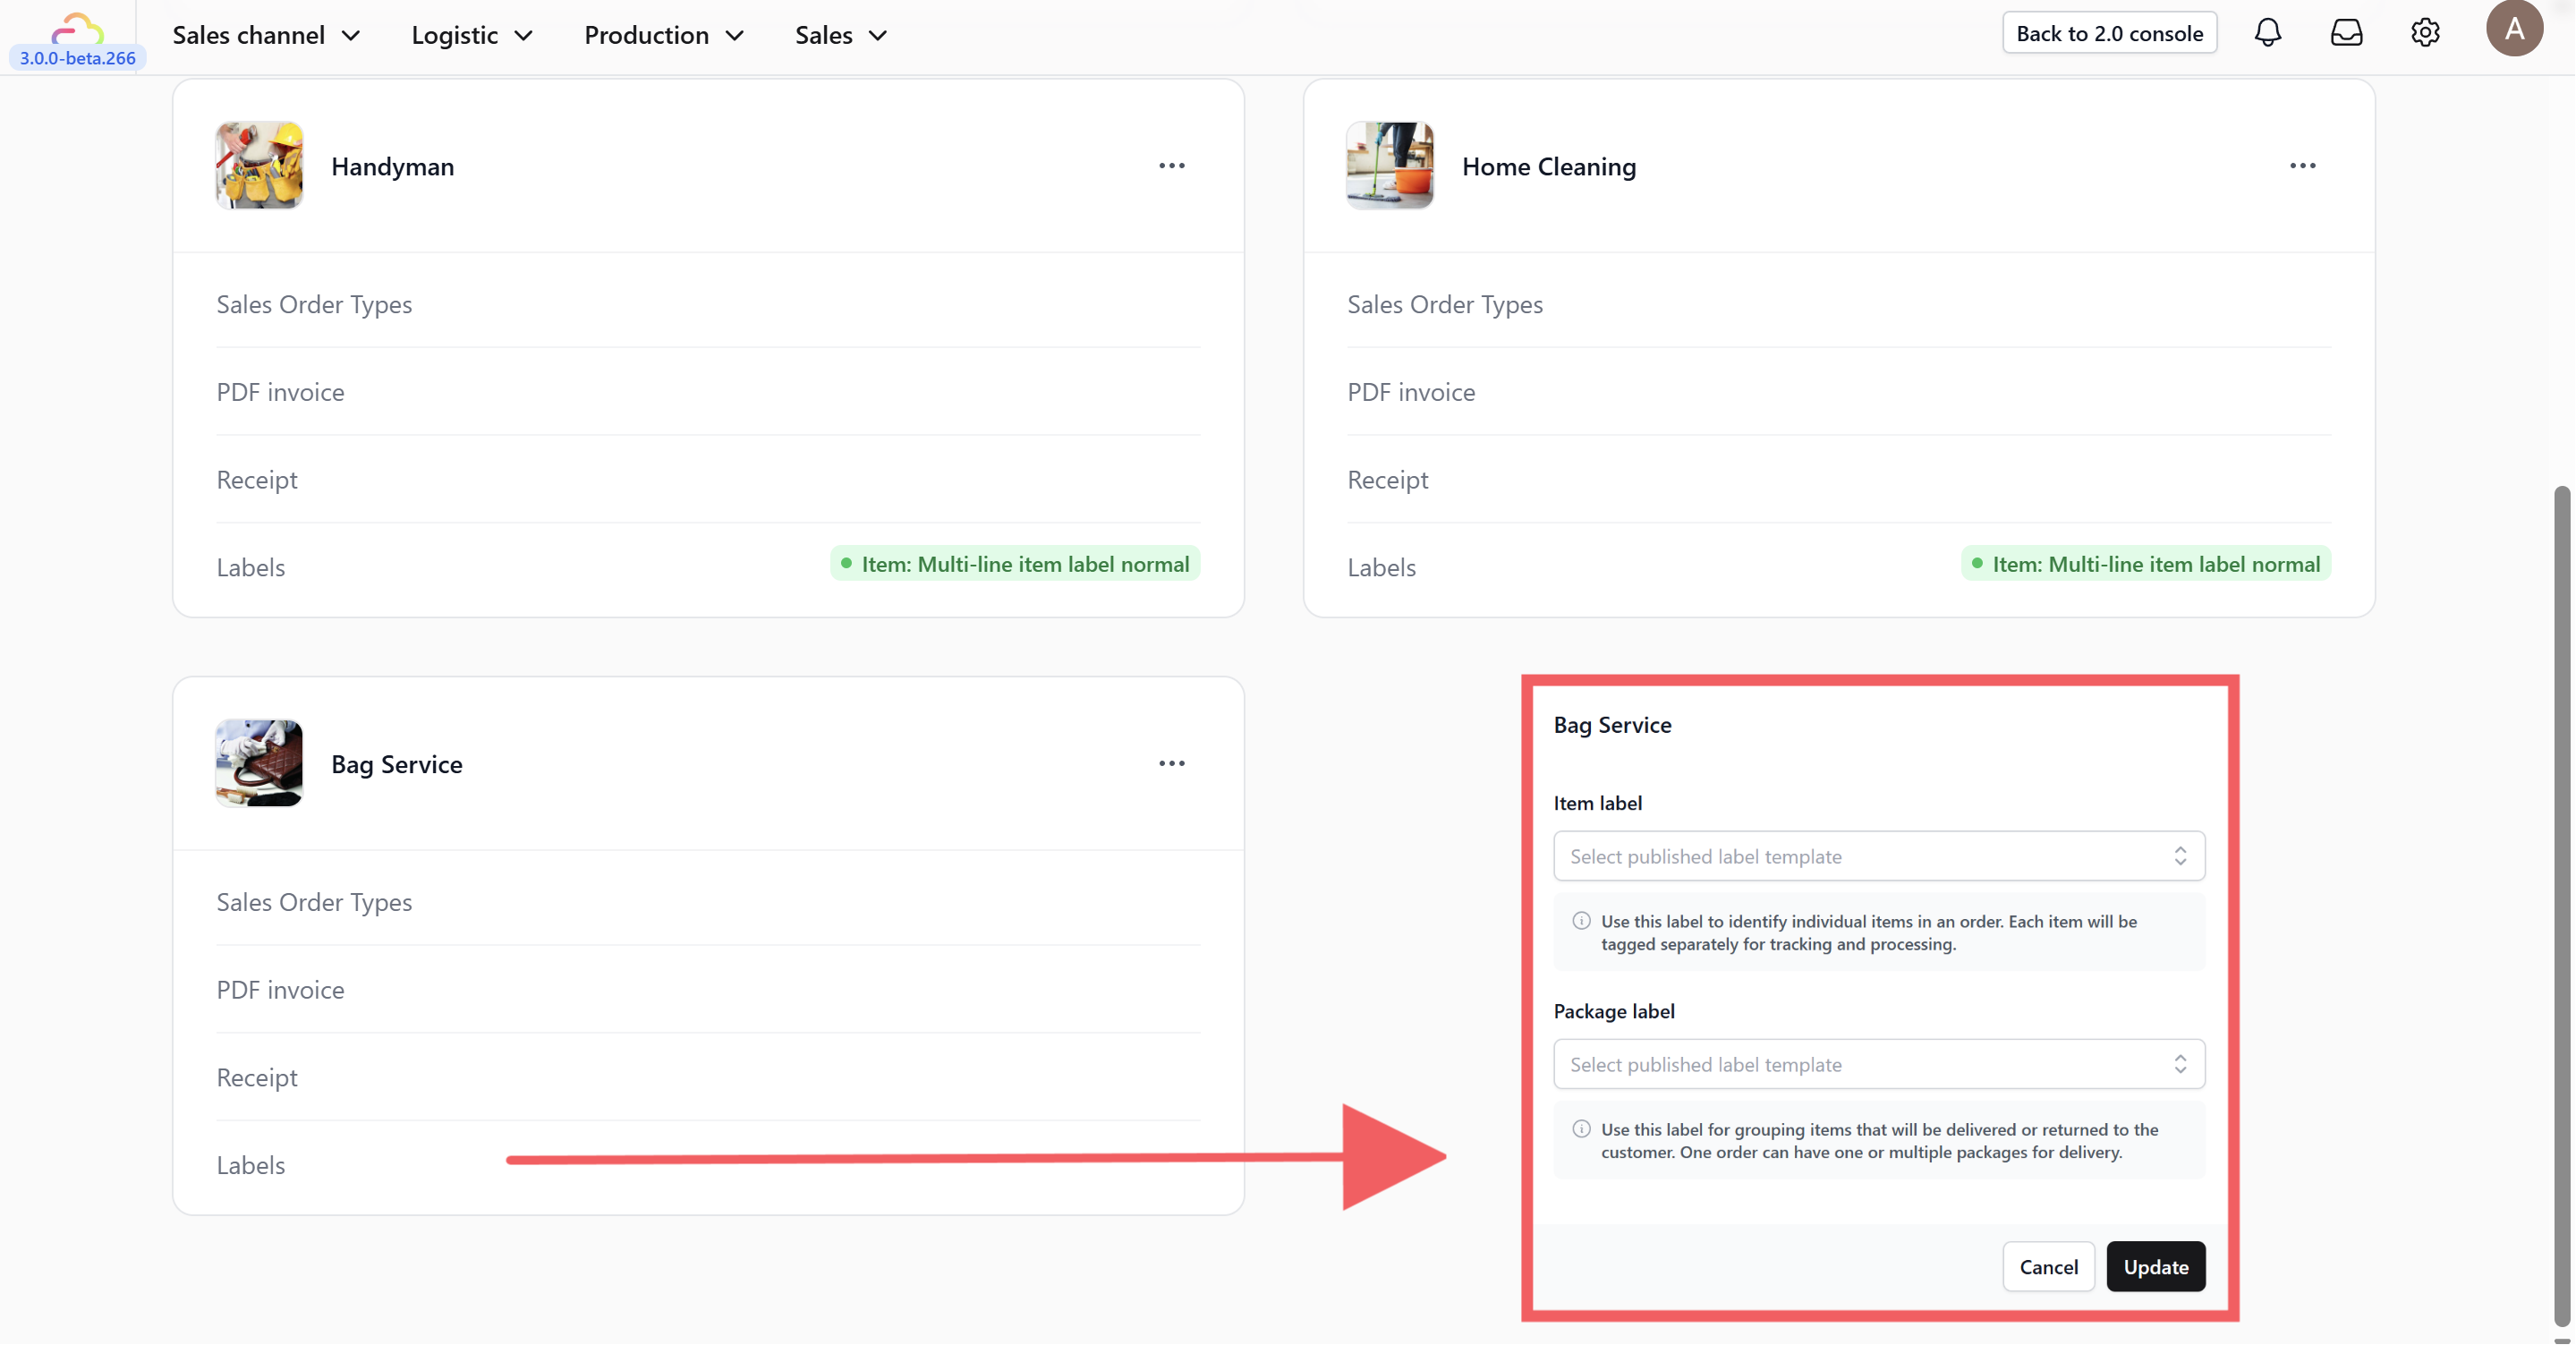
Choose the specific templates for Item Labels and Package Labels.
Guide: Configuring Label Templates