Configuring Your Mini Apps (WhatsApp Flows)
This guide walks you through the steps of creating fully interactive Mini Apps—from selecting a category to building the layout with blocks and actions.
1. Create a New Mini App
- Start by defining the purpose of your Mini App.
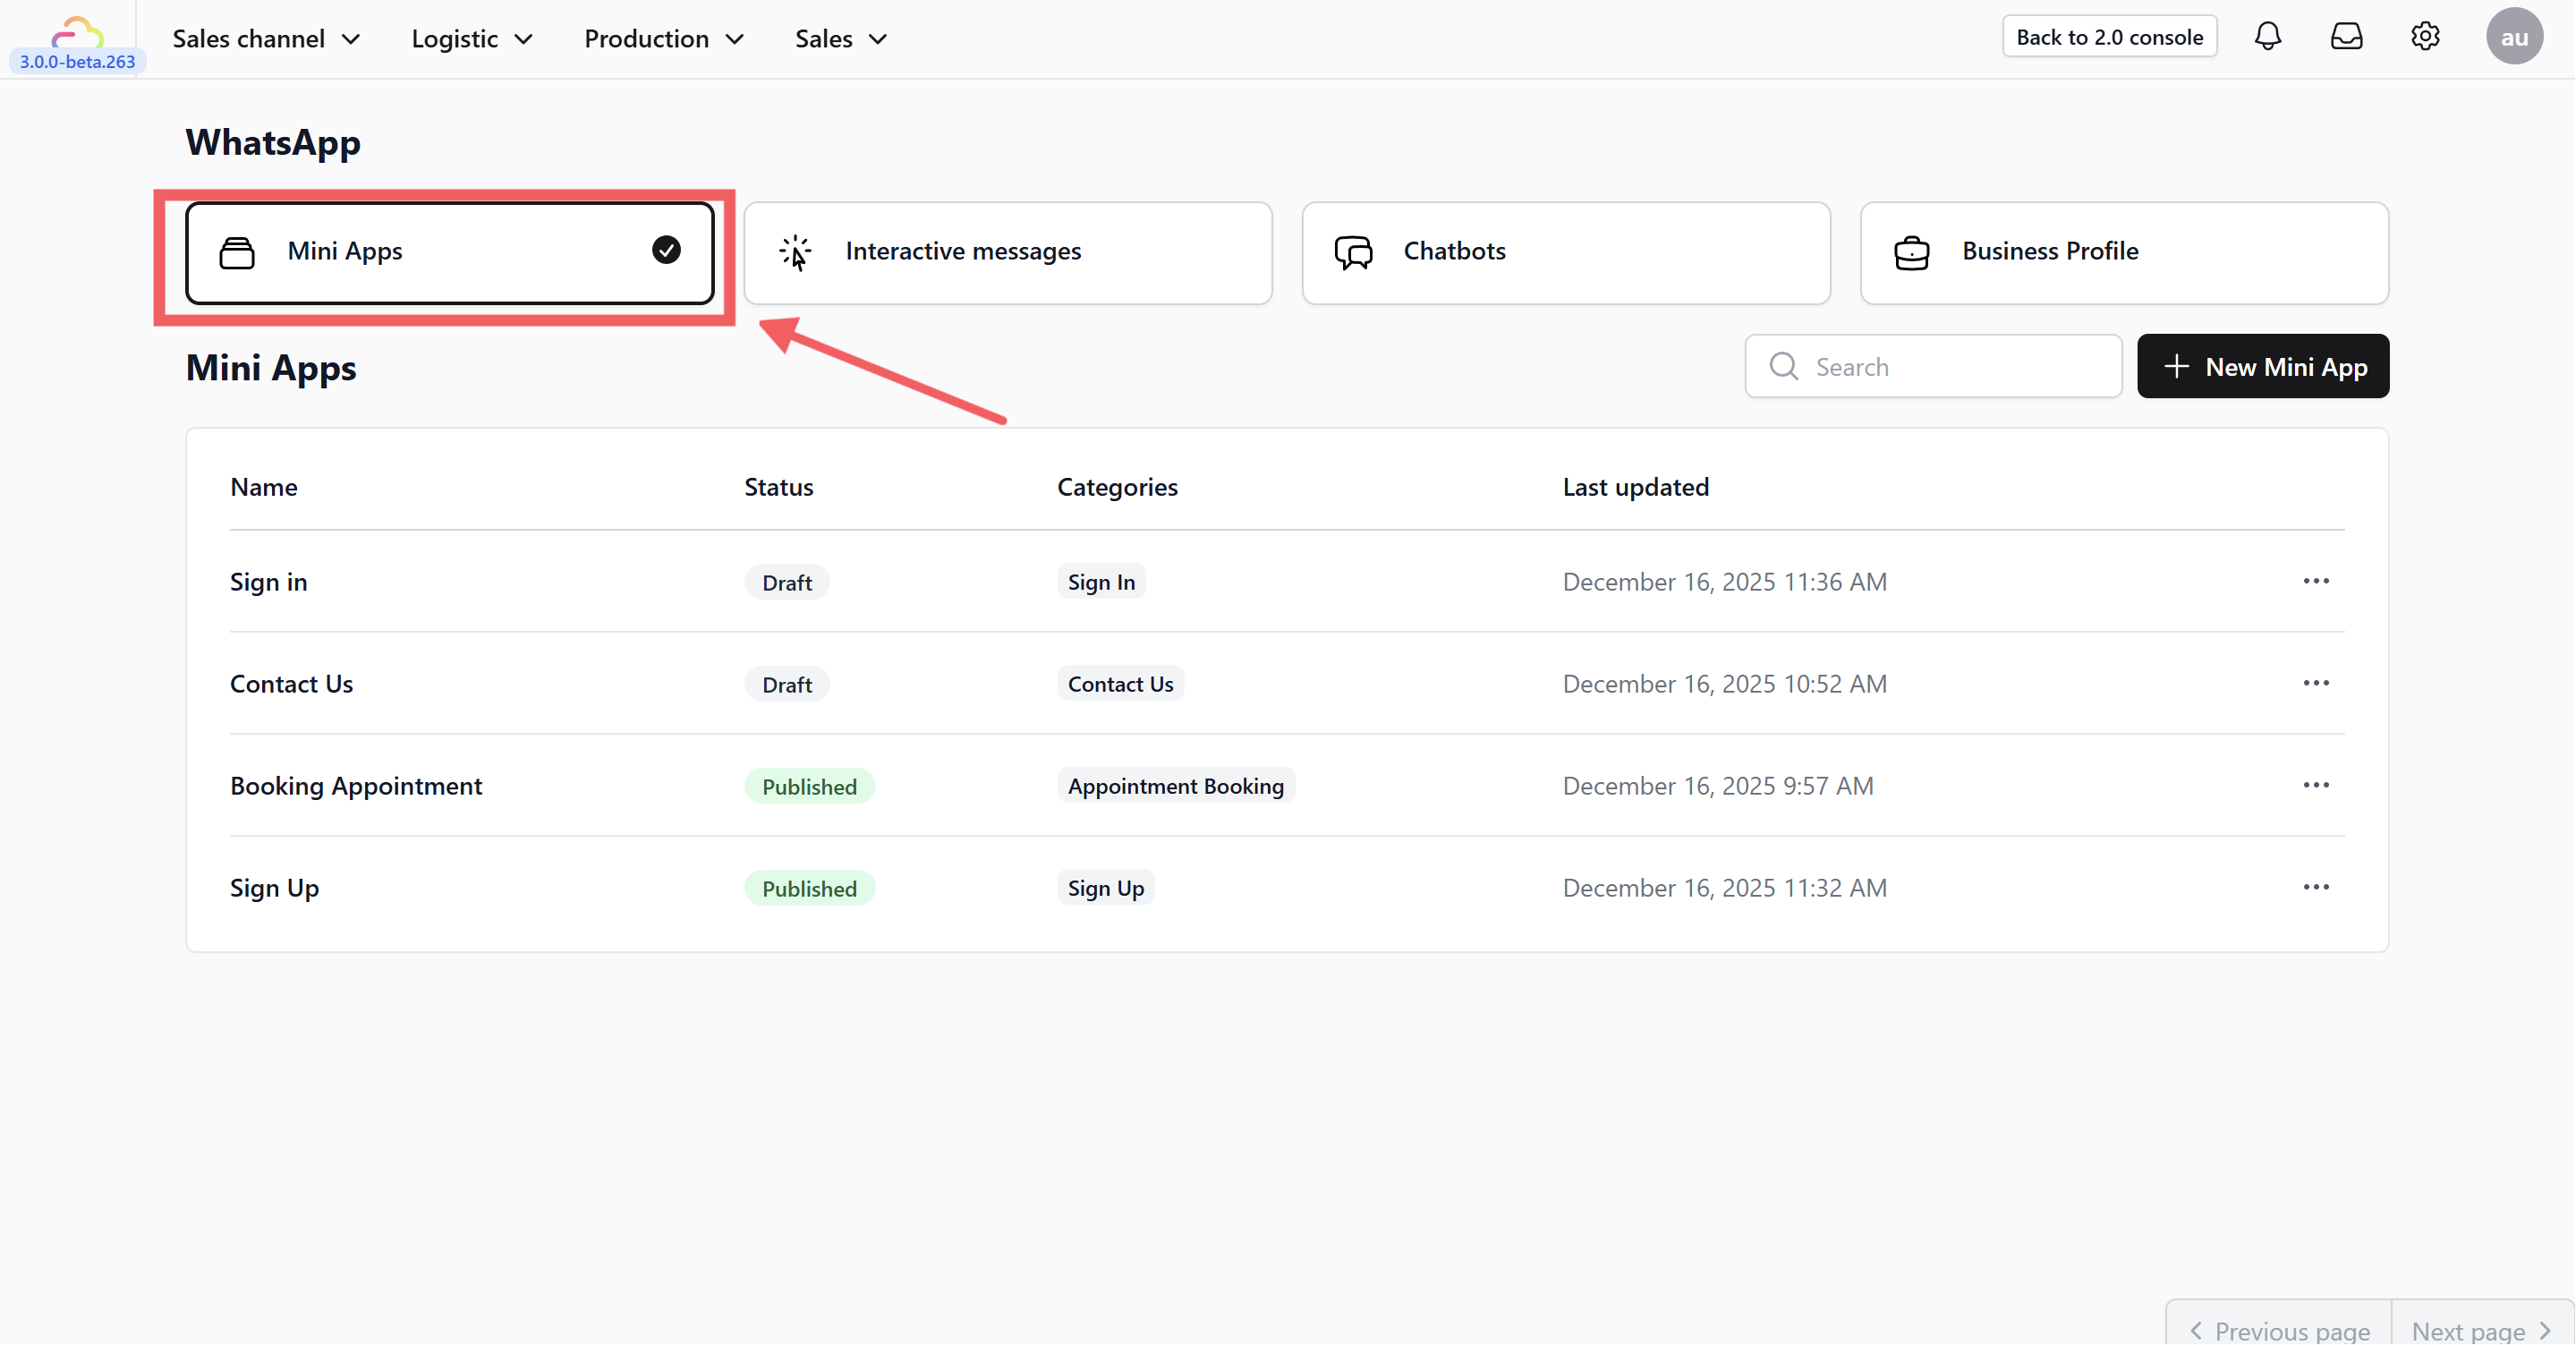
- Navigate to Sales Channel > WhatsApp and select the Mini Apps tab.
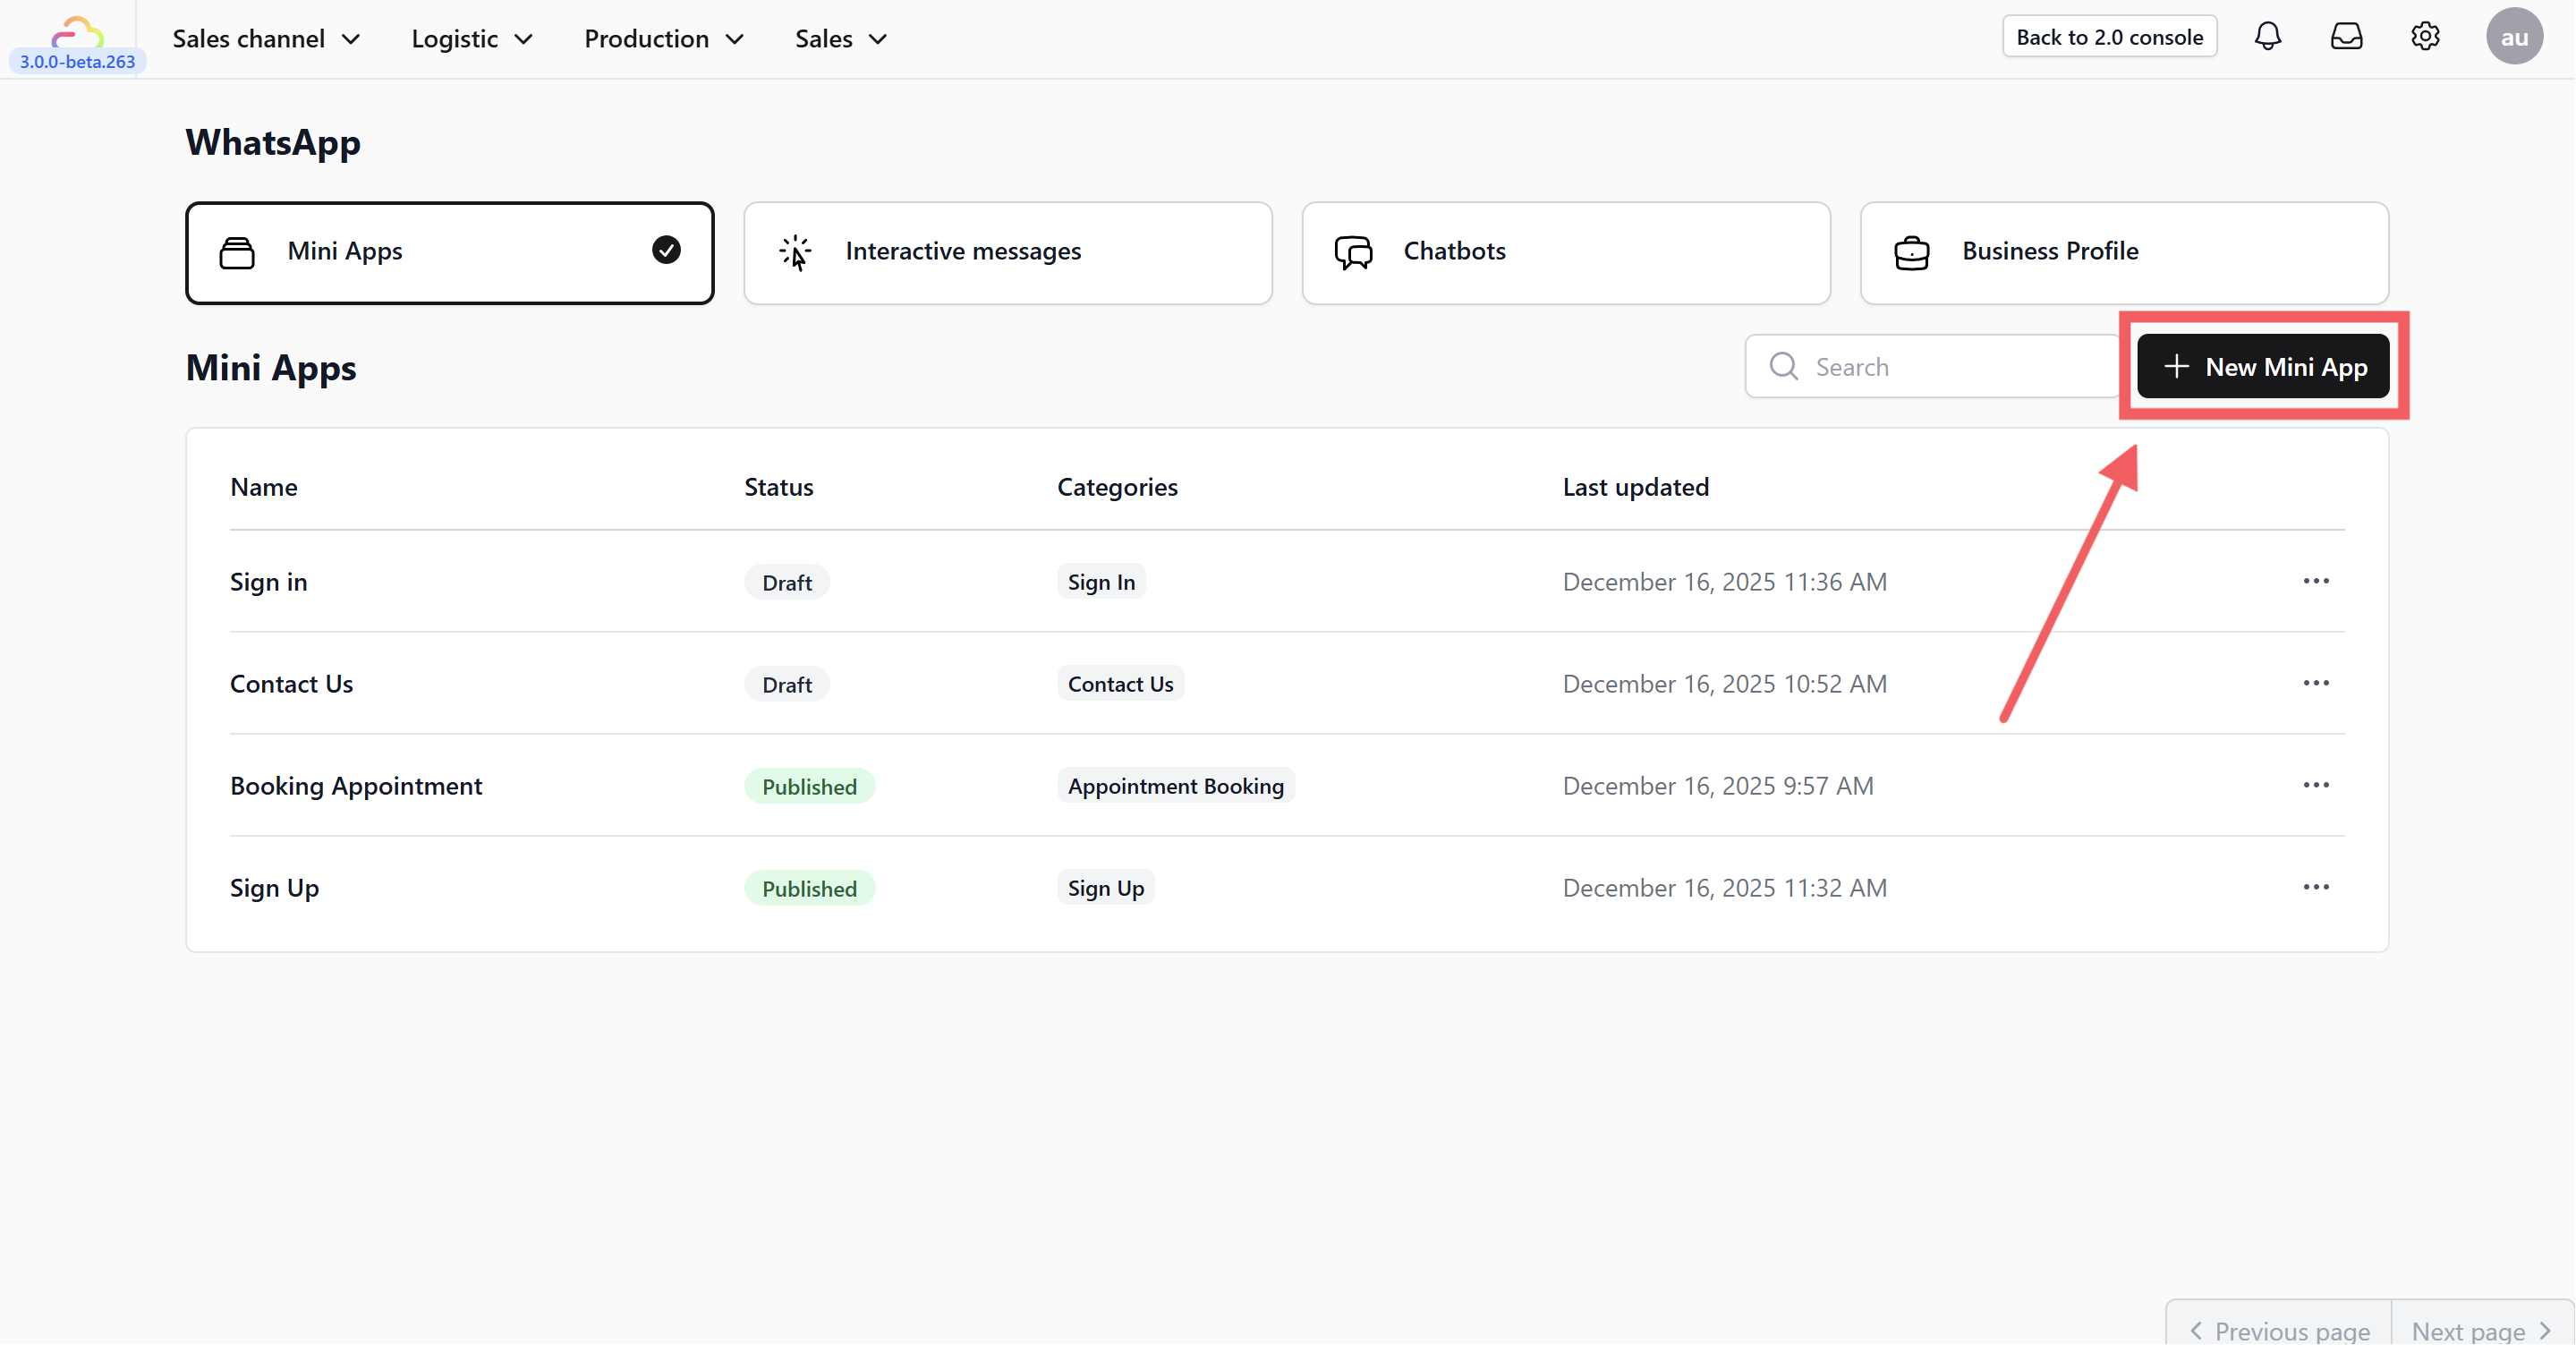
- Click the + New Mini App button.
-
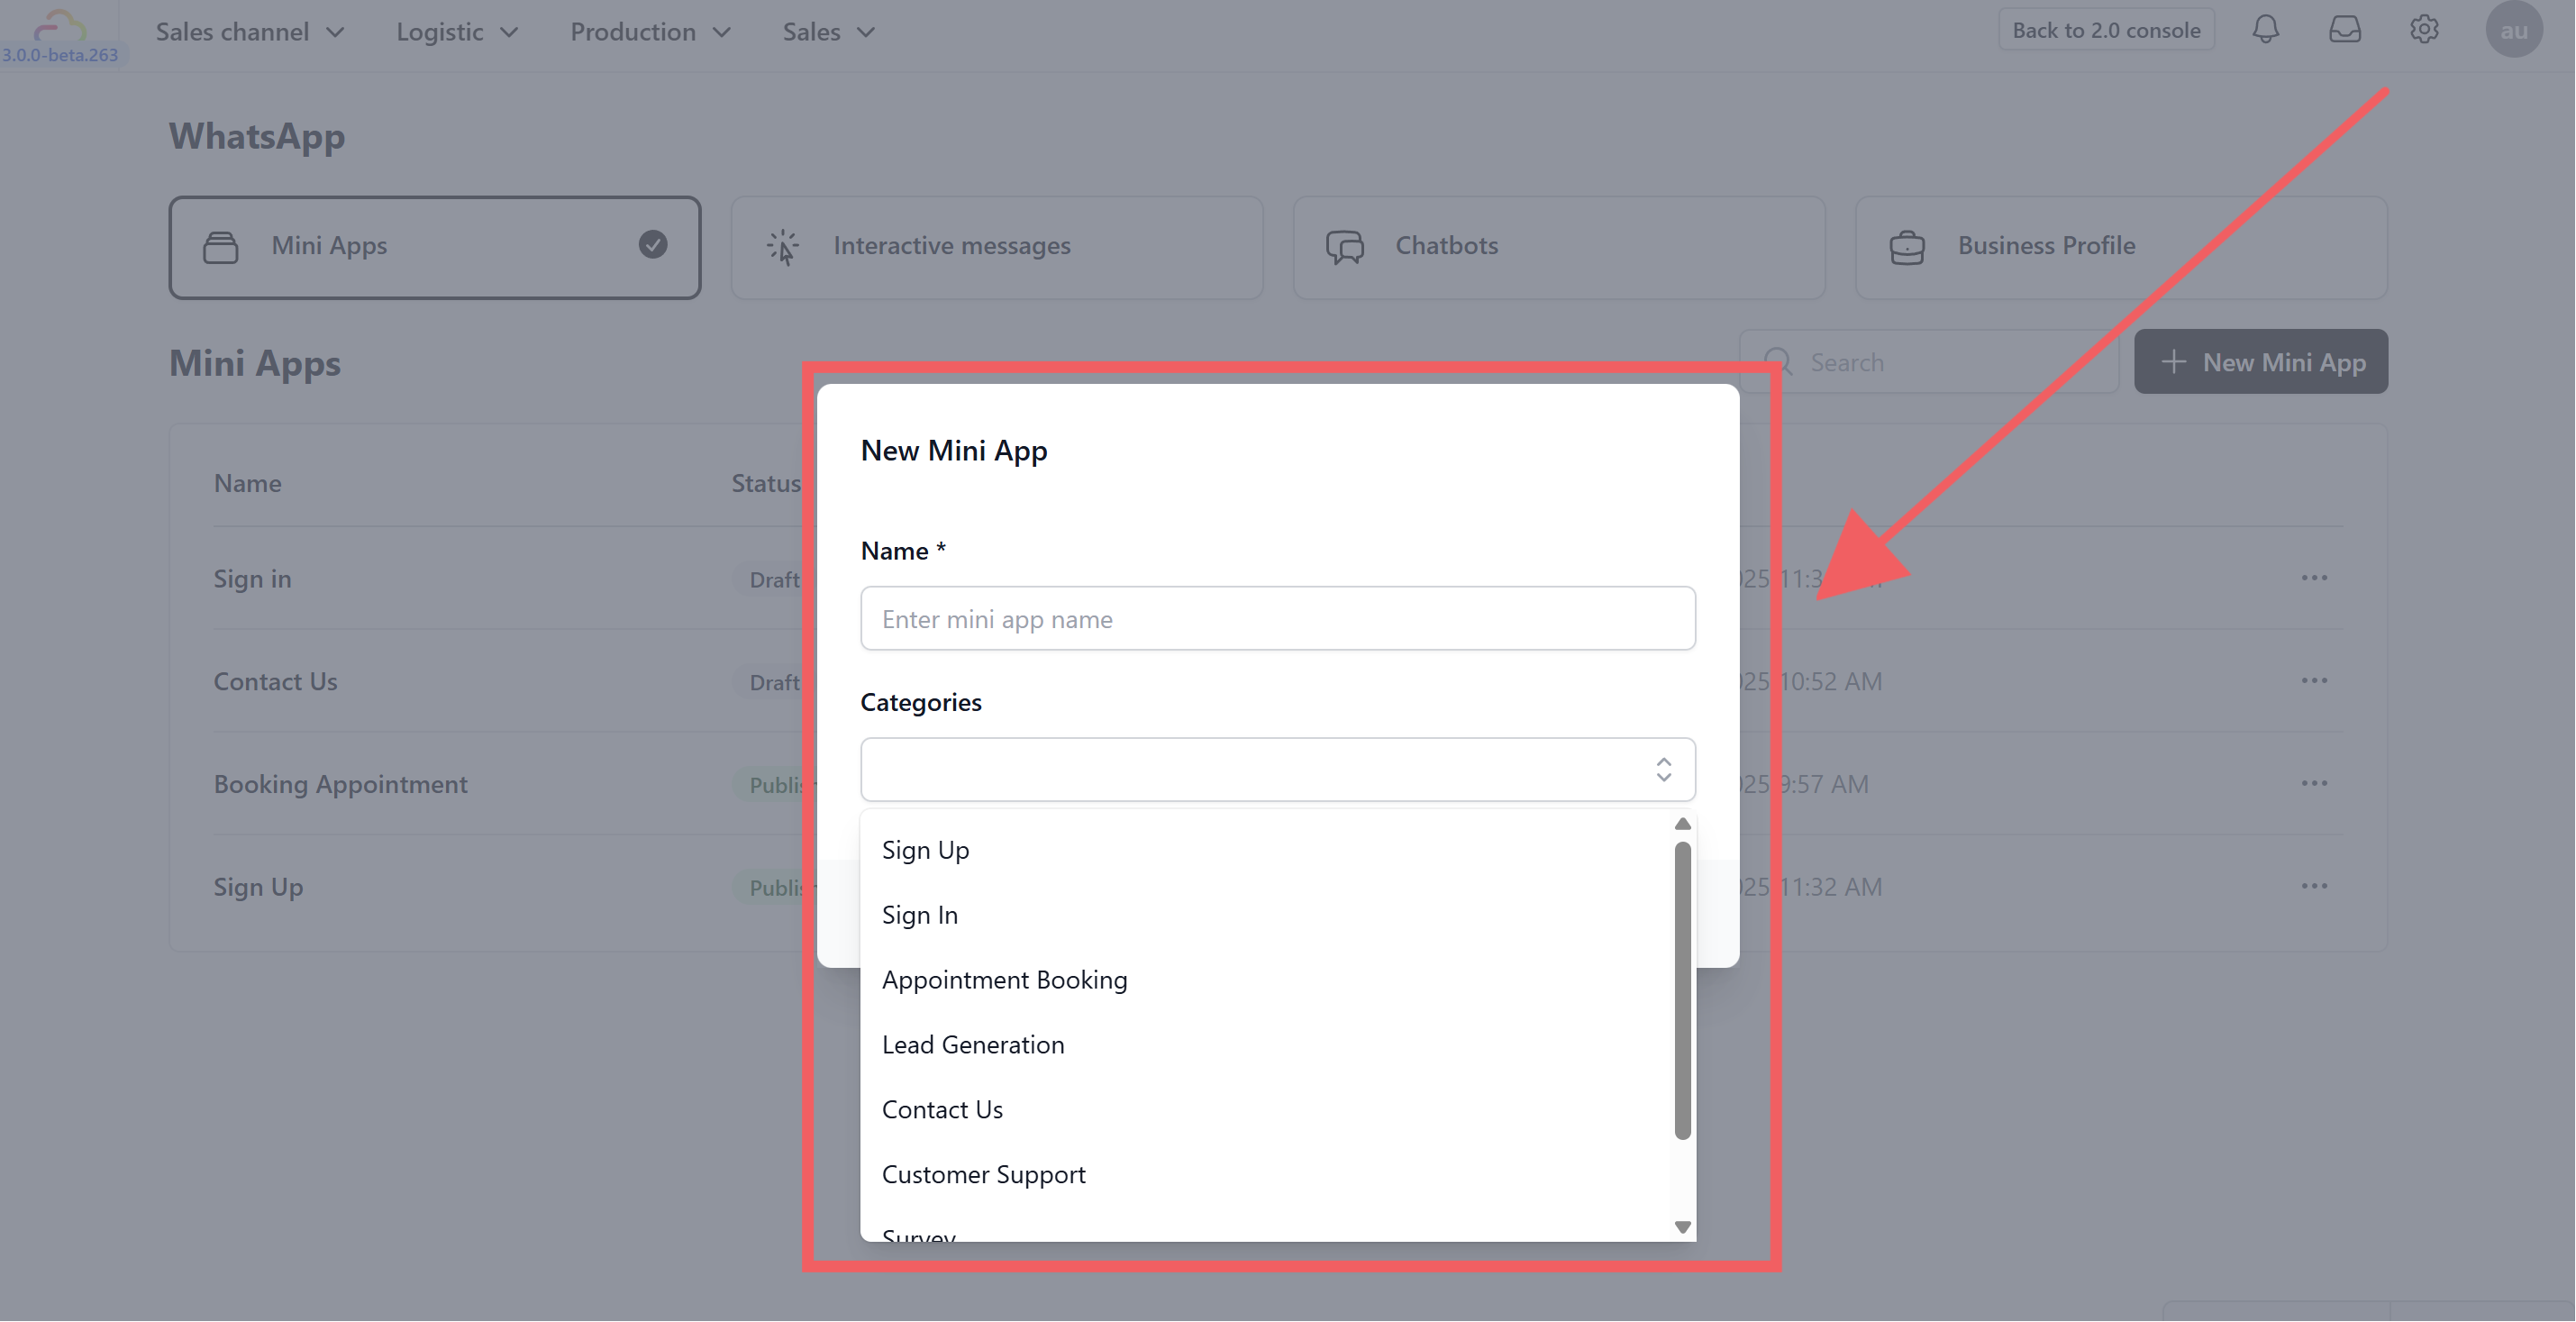
In the popup window, configure the basics:
-
Name: Enter a unique name for your app.
-
Categories: Select the most relevant category for your use case. Options include: Sign Up, Sign In, Appointment Booking, Lead Generation, Contact Us, Customer Support, Survey, or Others.
-
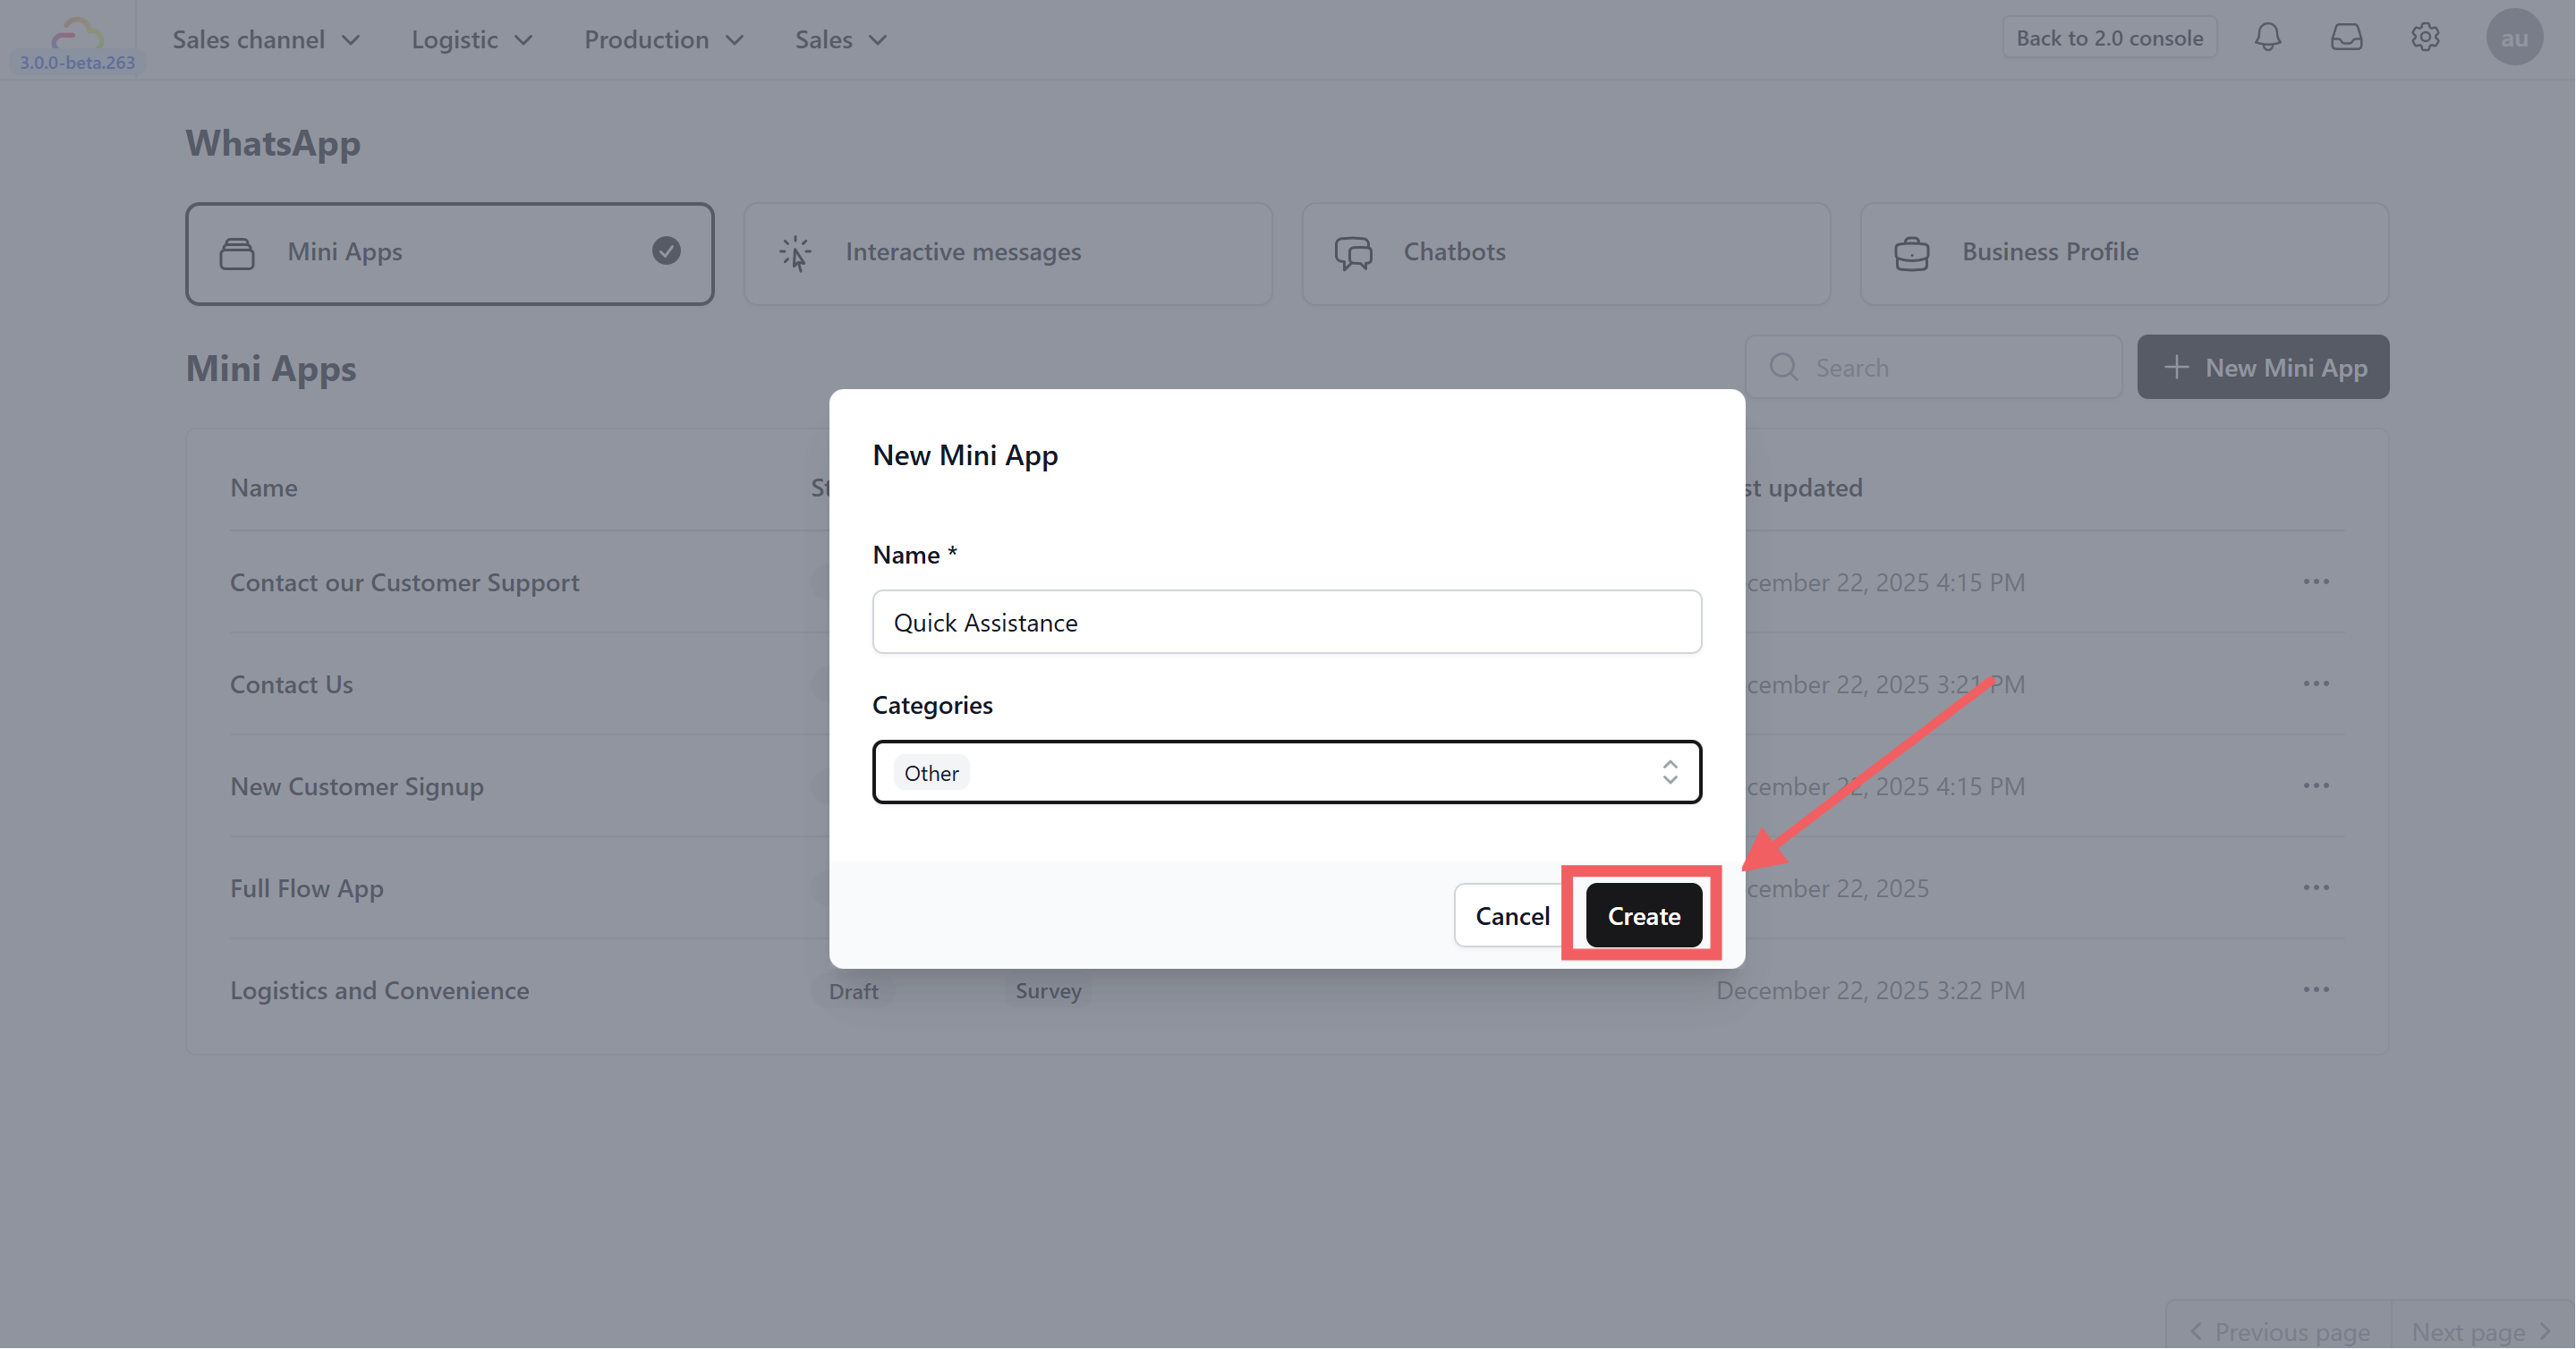
- Click Create.
2. Add Screens & Layouts
Once created, you need to define the pages (Screens) your customer will see.
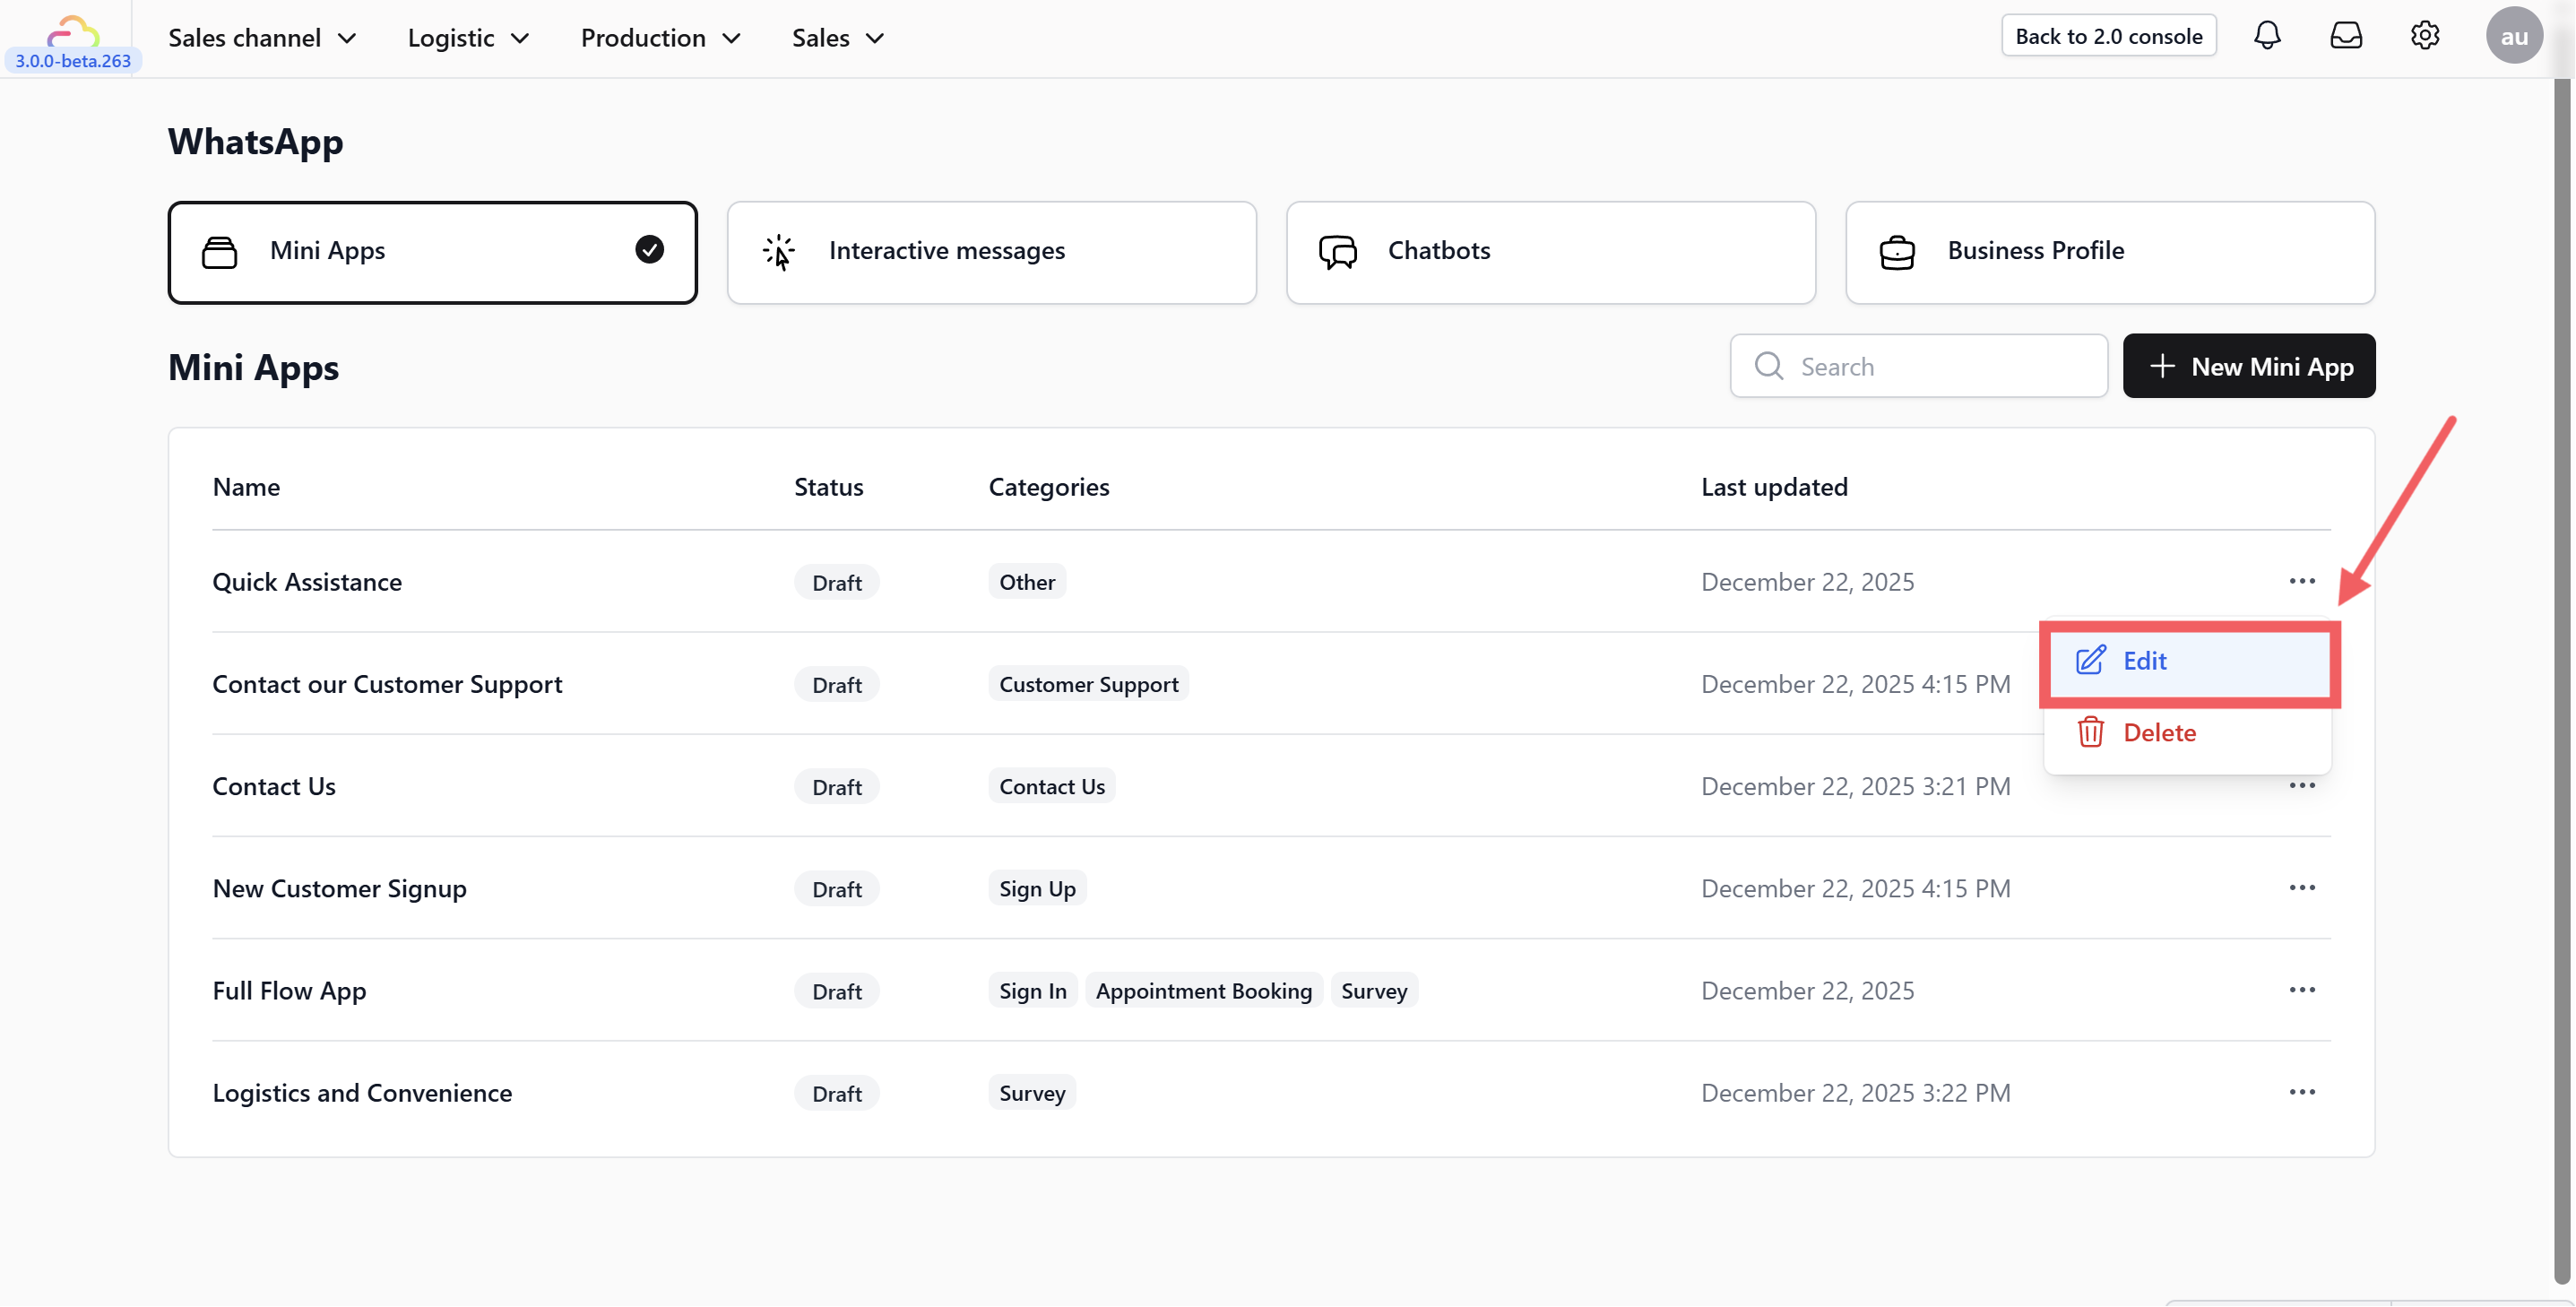
- Find your new app in the list, click the three dots icon •••, and select Edit.
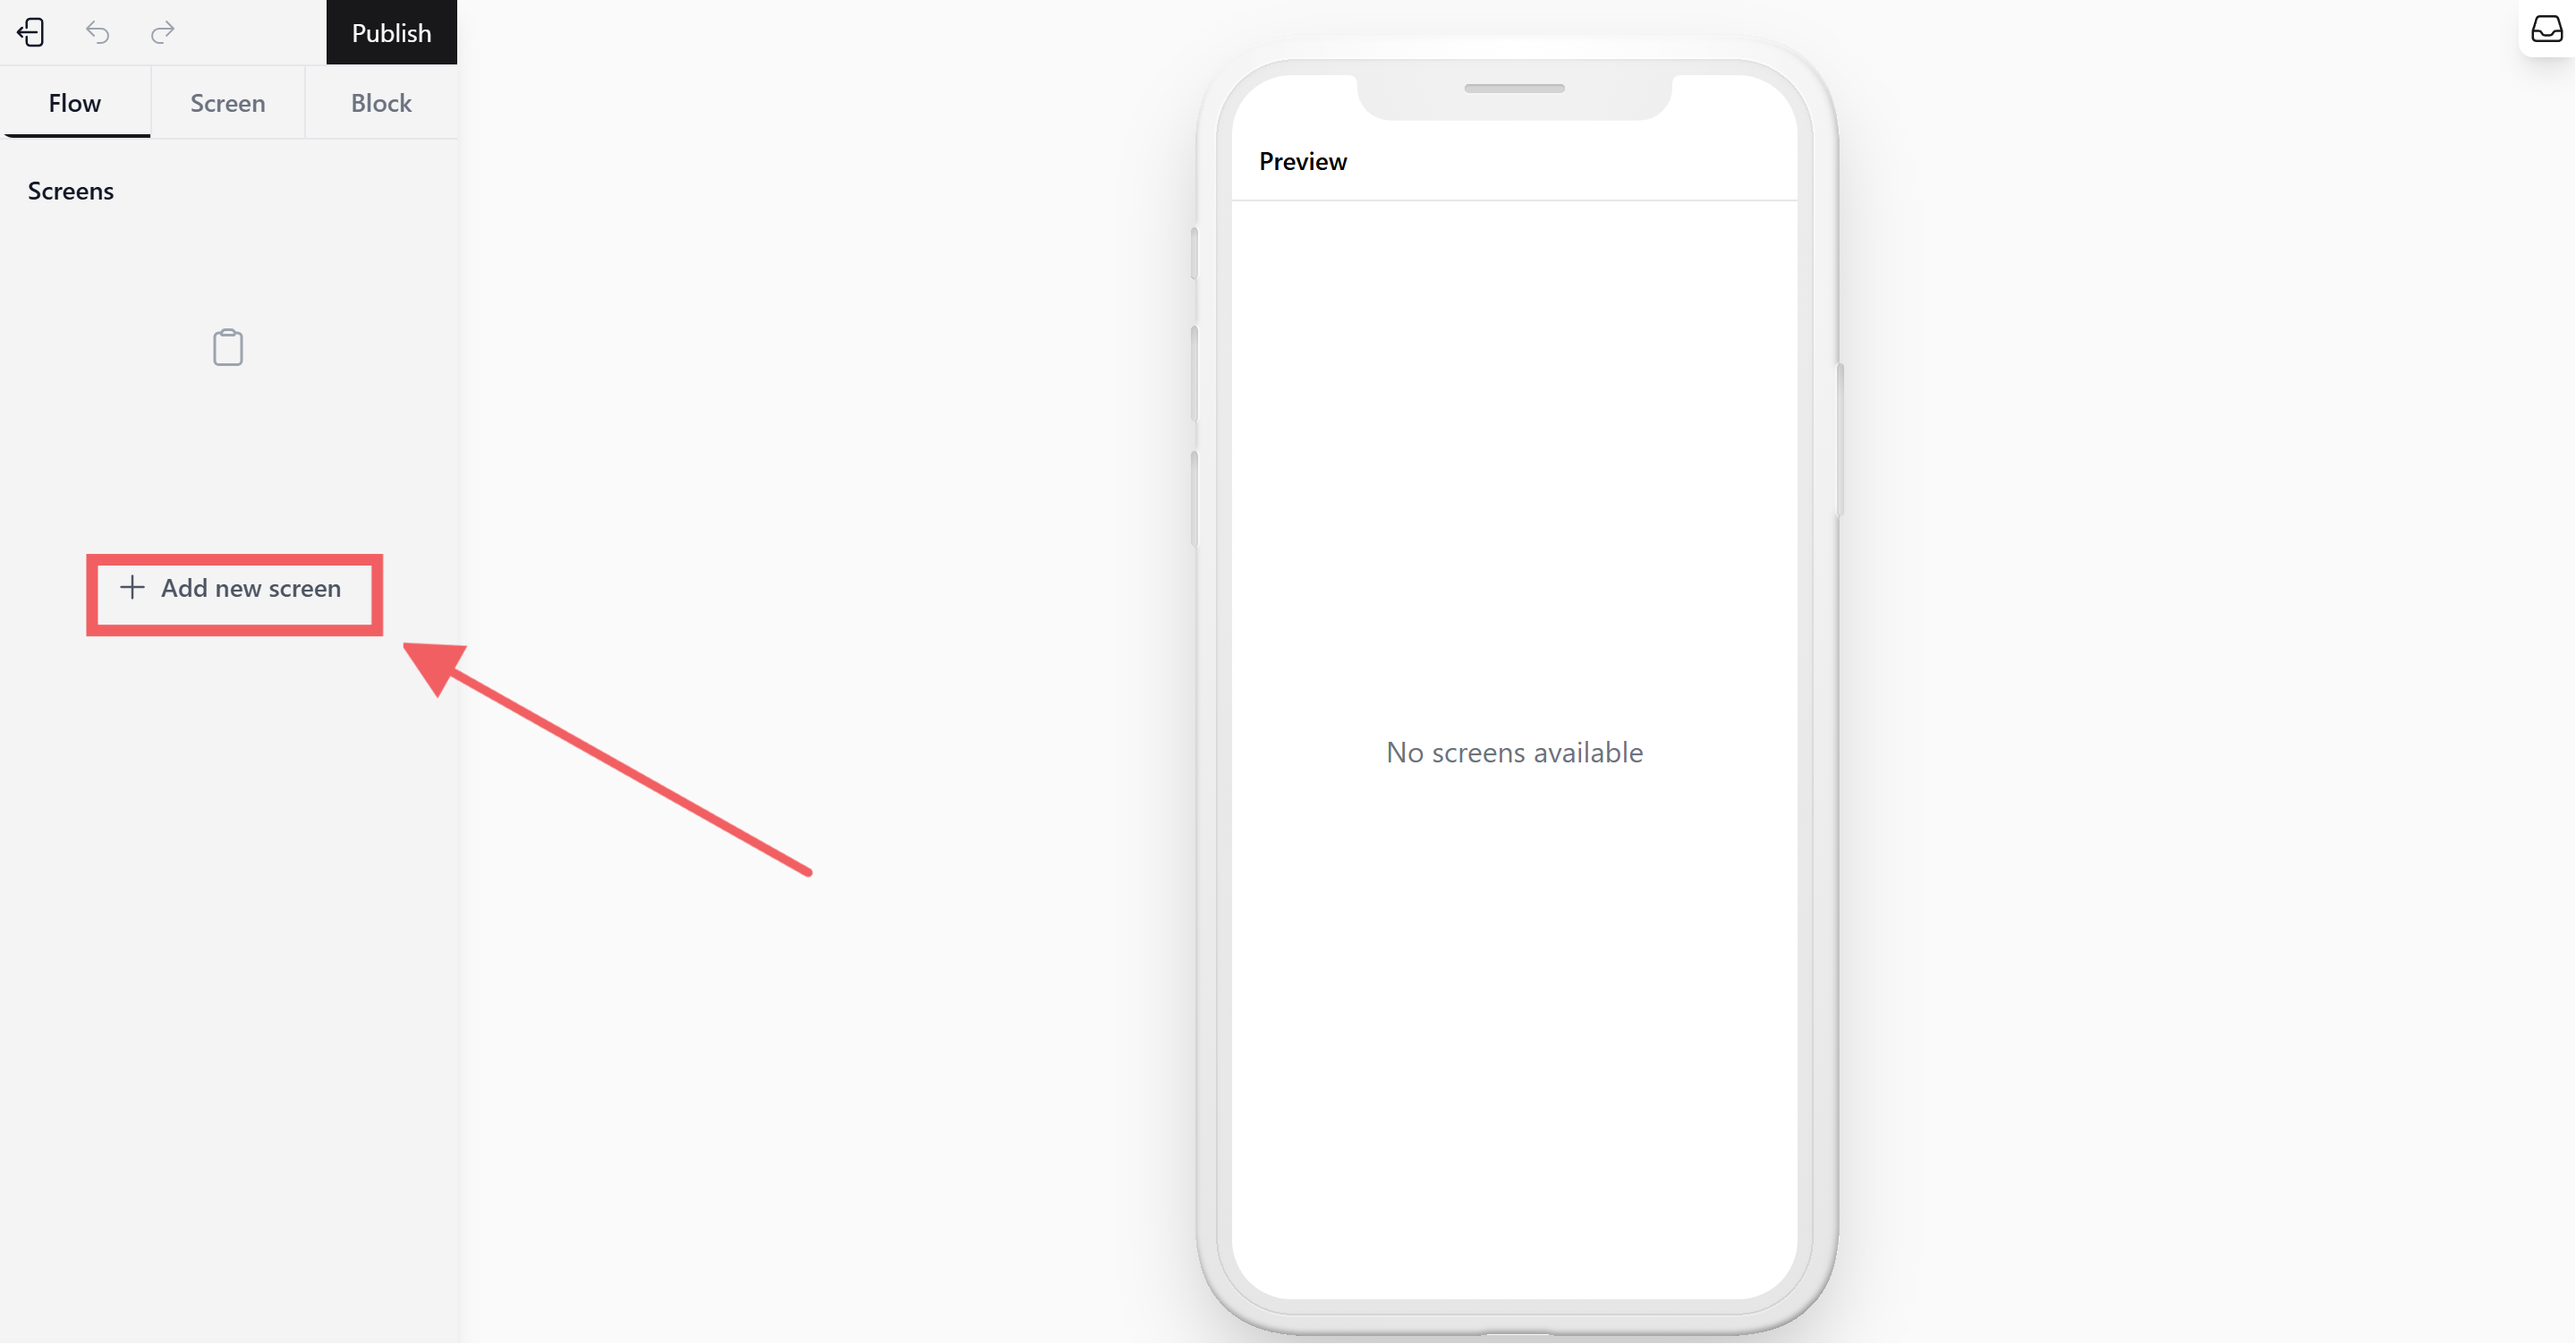
- To add a page, click + Add New Screen on the left sidebar.
-
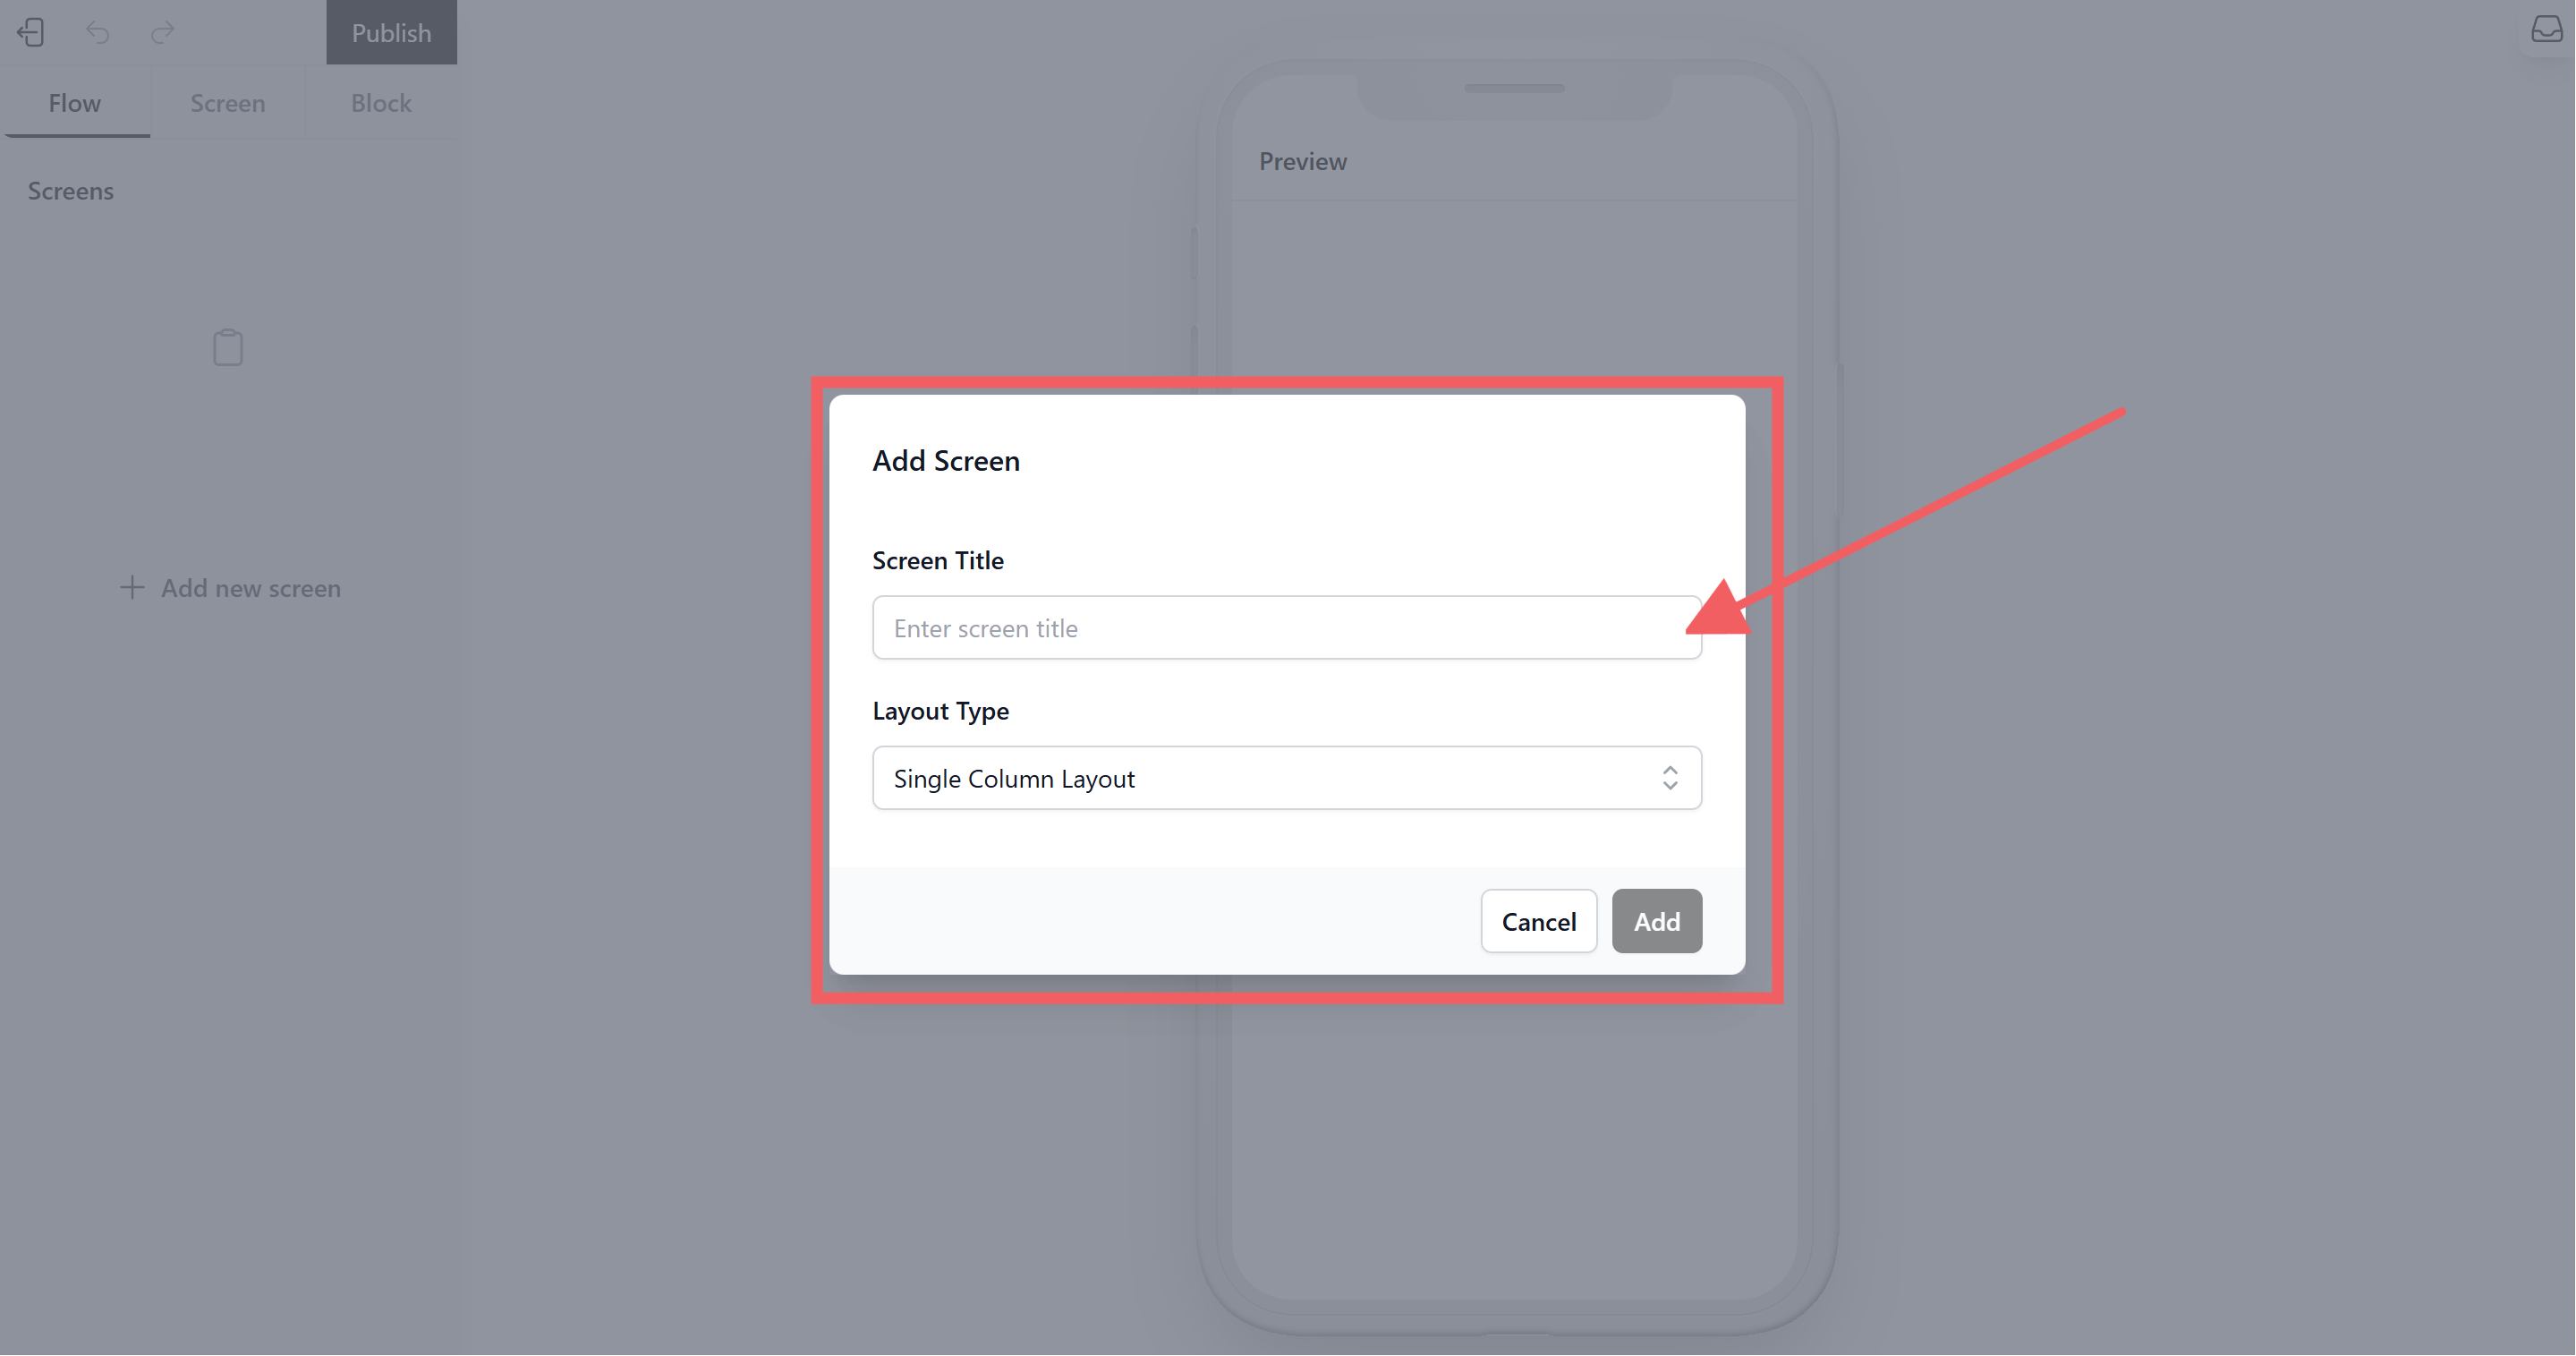
Configure the Screen:
-
Screen Title: Give this specific screen a name (e.g., “Sign Up Page”).
-
Layout Type: Select Single Column Layout.
-
Finally, Click Add.
-
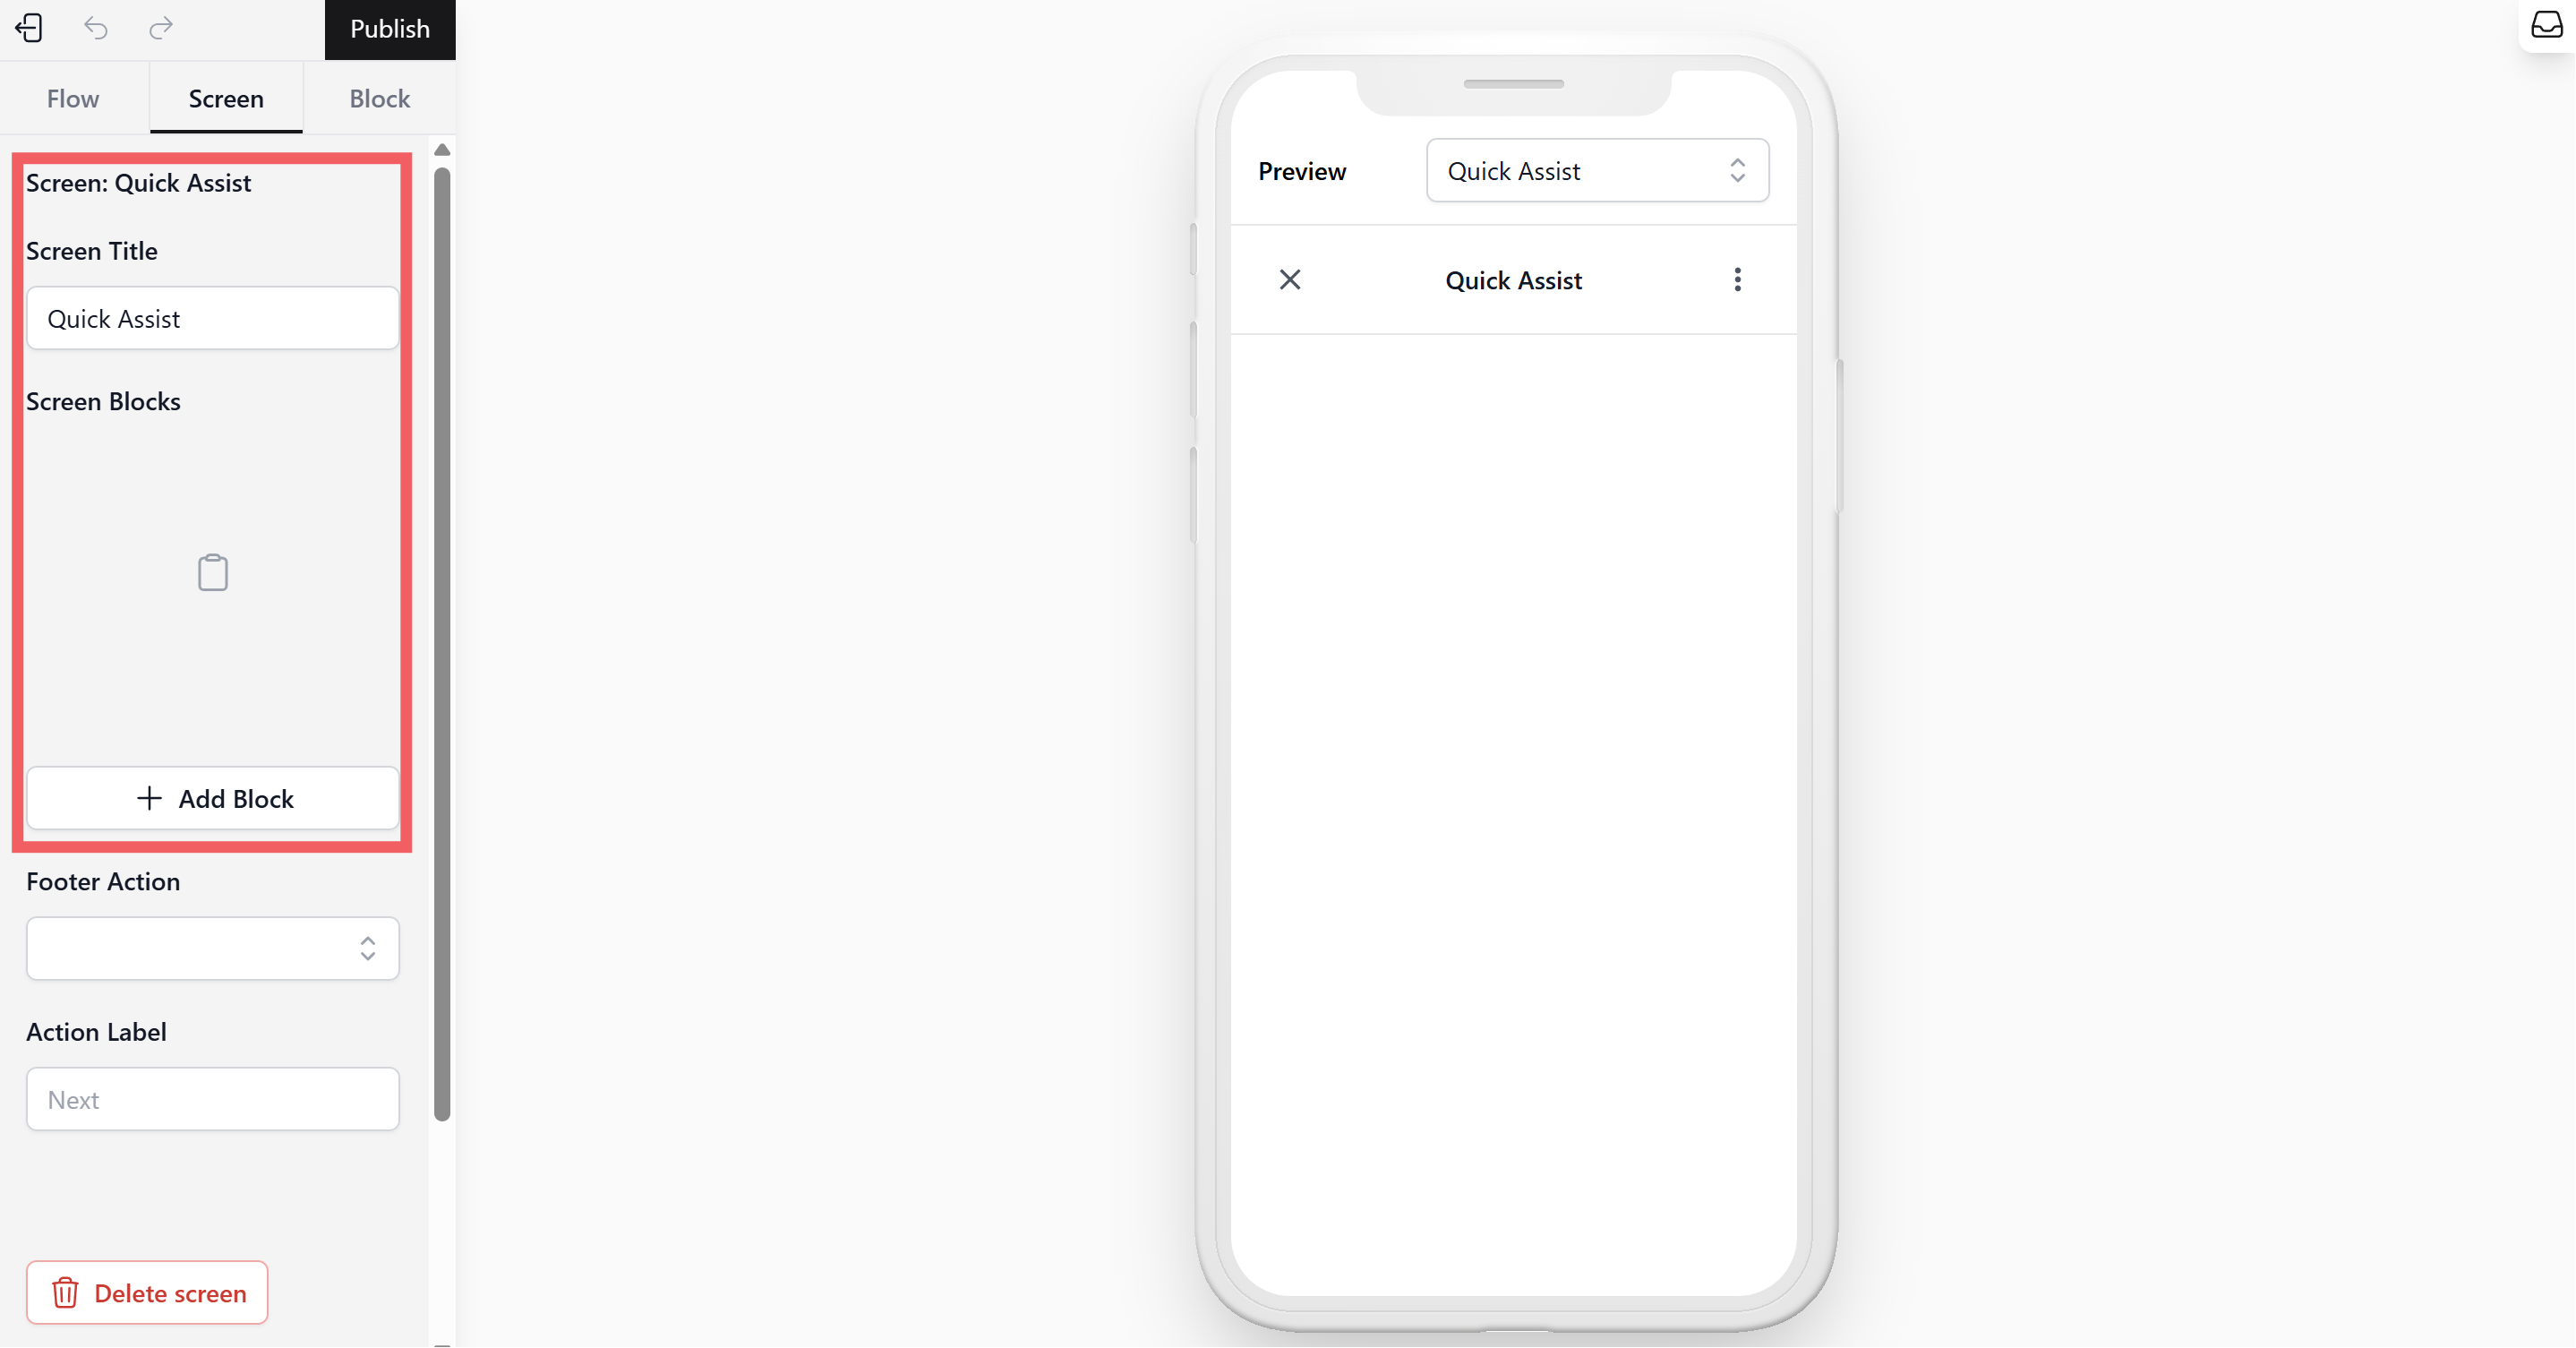
- The new screen will appear in your workflow on the left.
3. Build Content with Blocks
Now, design the content customers will interact with.
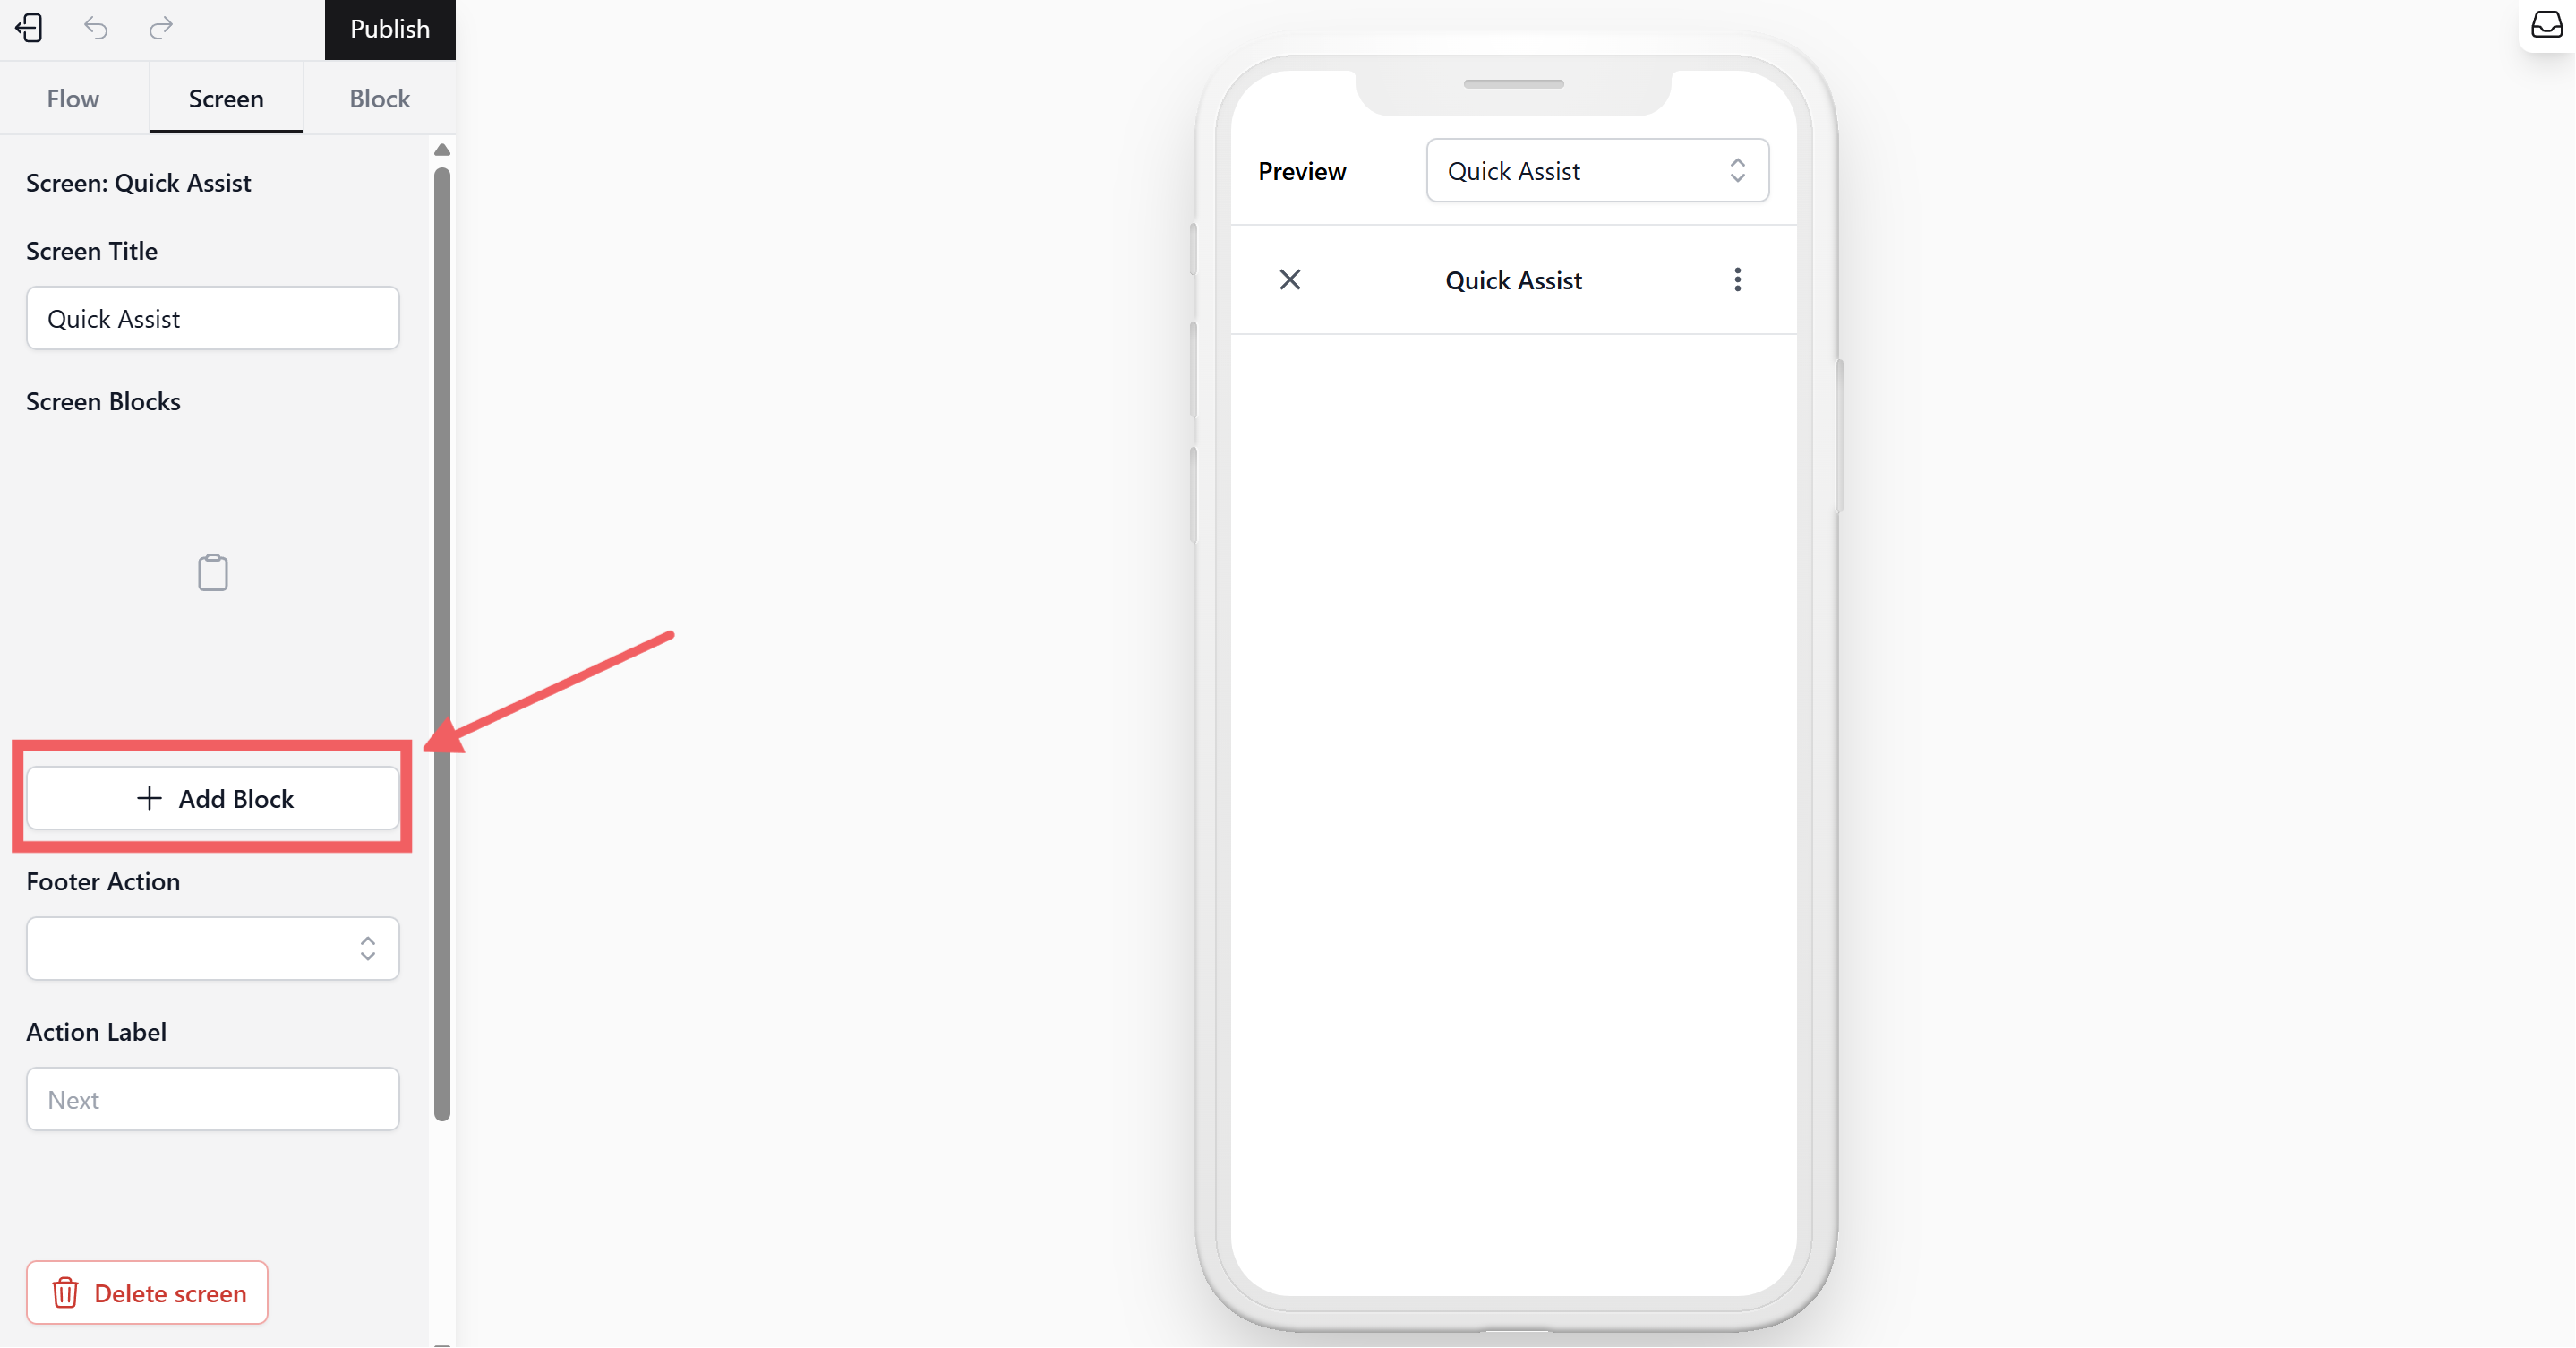
- Under the “Screen Blocks” section, click + Add Block.
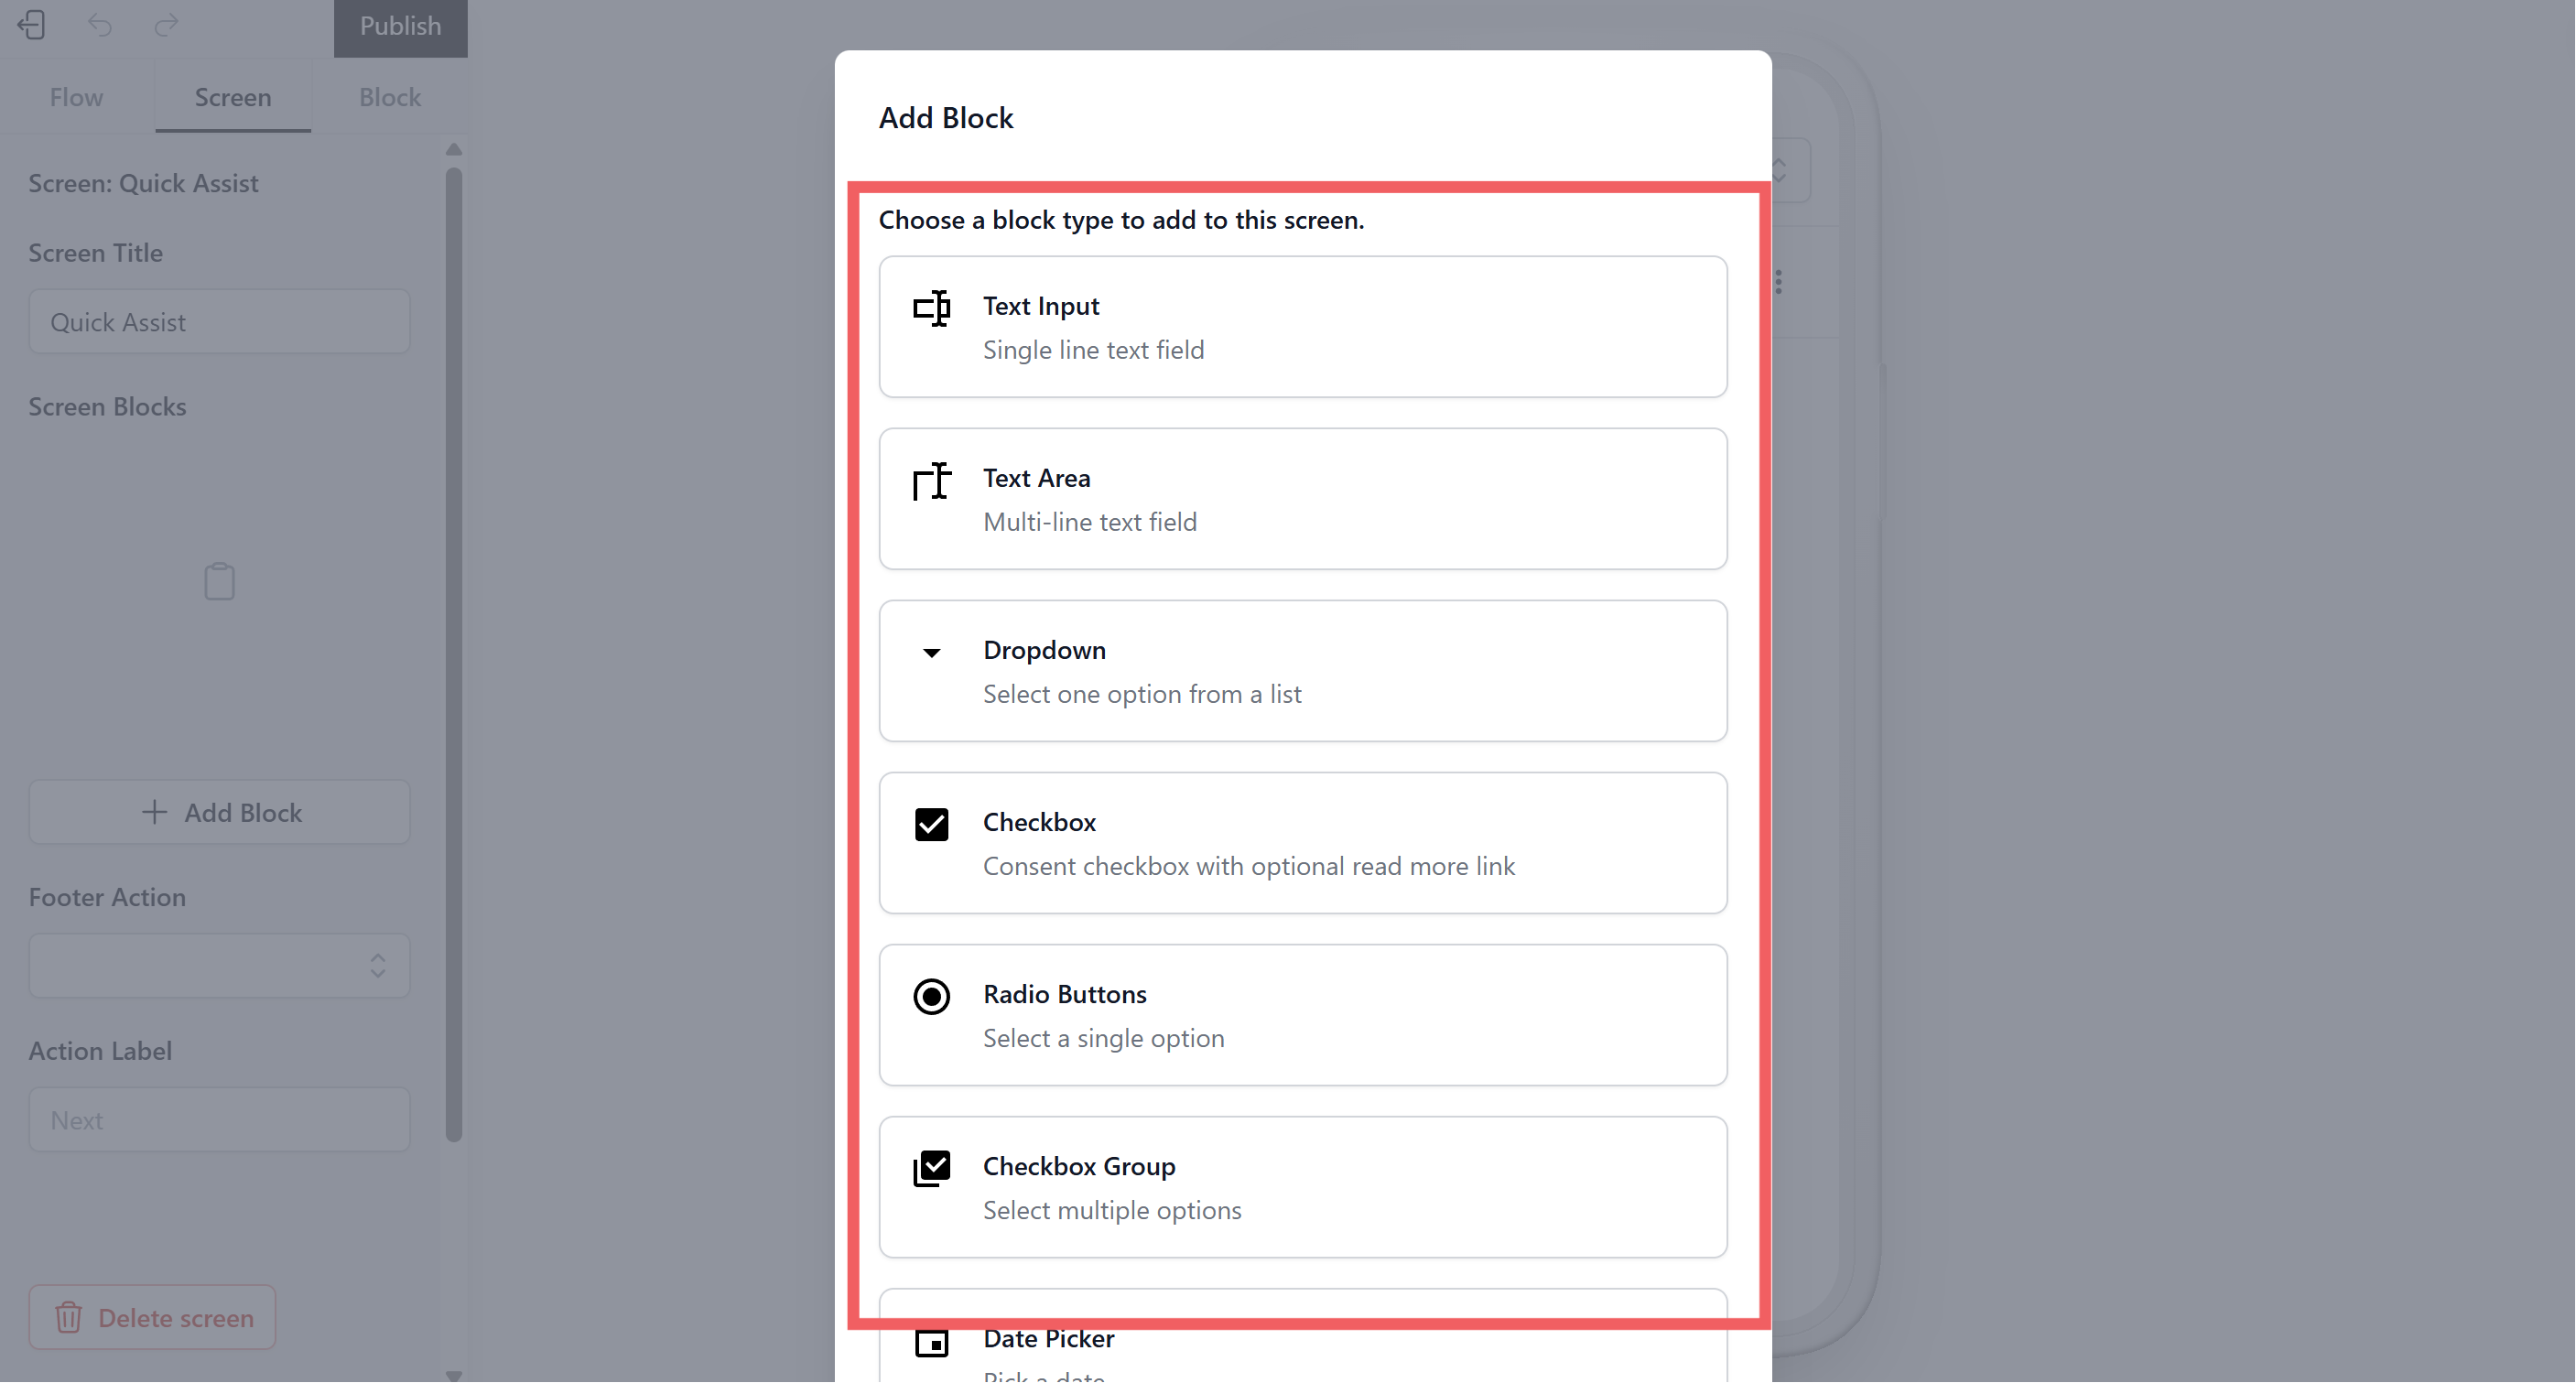
- Choose the block type you need from the list.