Building a Lead Generation Flow (Interactive Portal)
This guide walks you through the steps of creating a Rich Media Lead Generation Mini App. Instead of a simple list of questions, we will build an Interactive Portal with a main menu, images, and navigation links.
1. Create a New Mini App
Start by defining the purpose of your app.
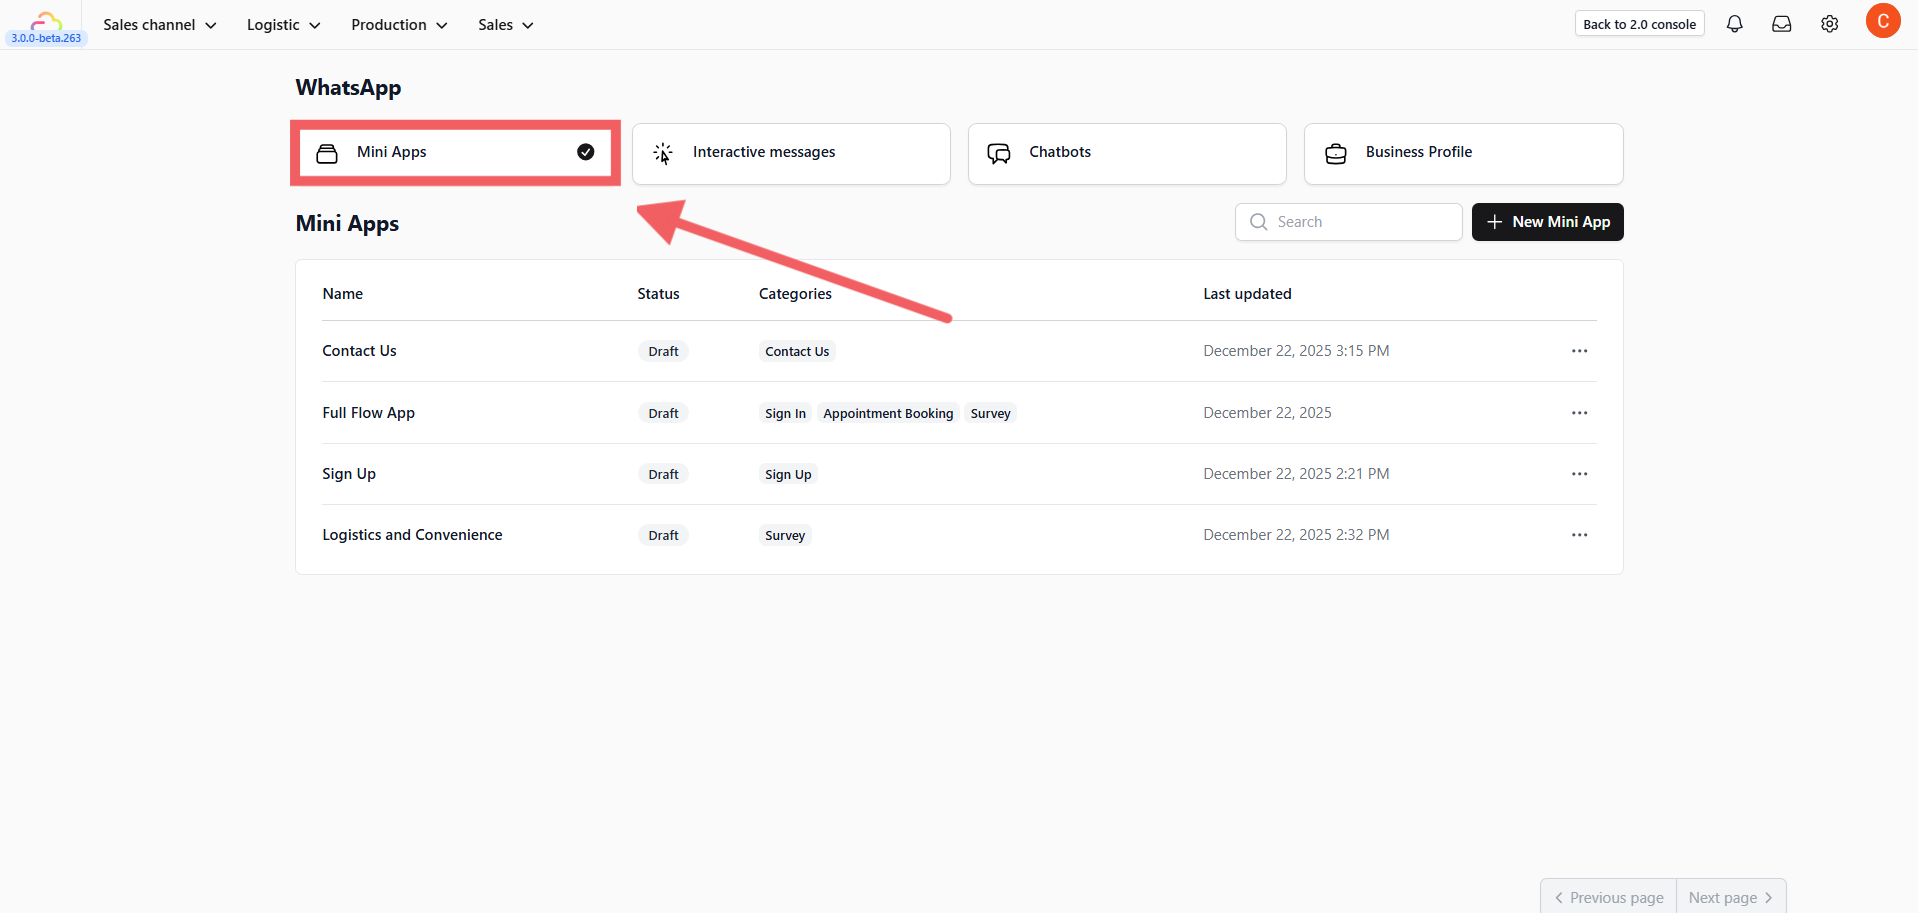
- Navigate to Sales Channel > WhatsApp and select the Mini Apps tab.
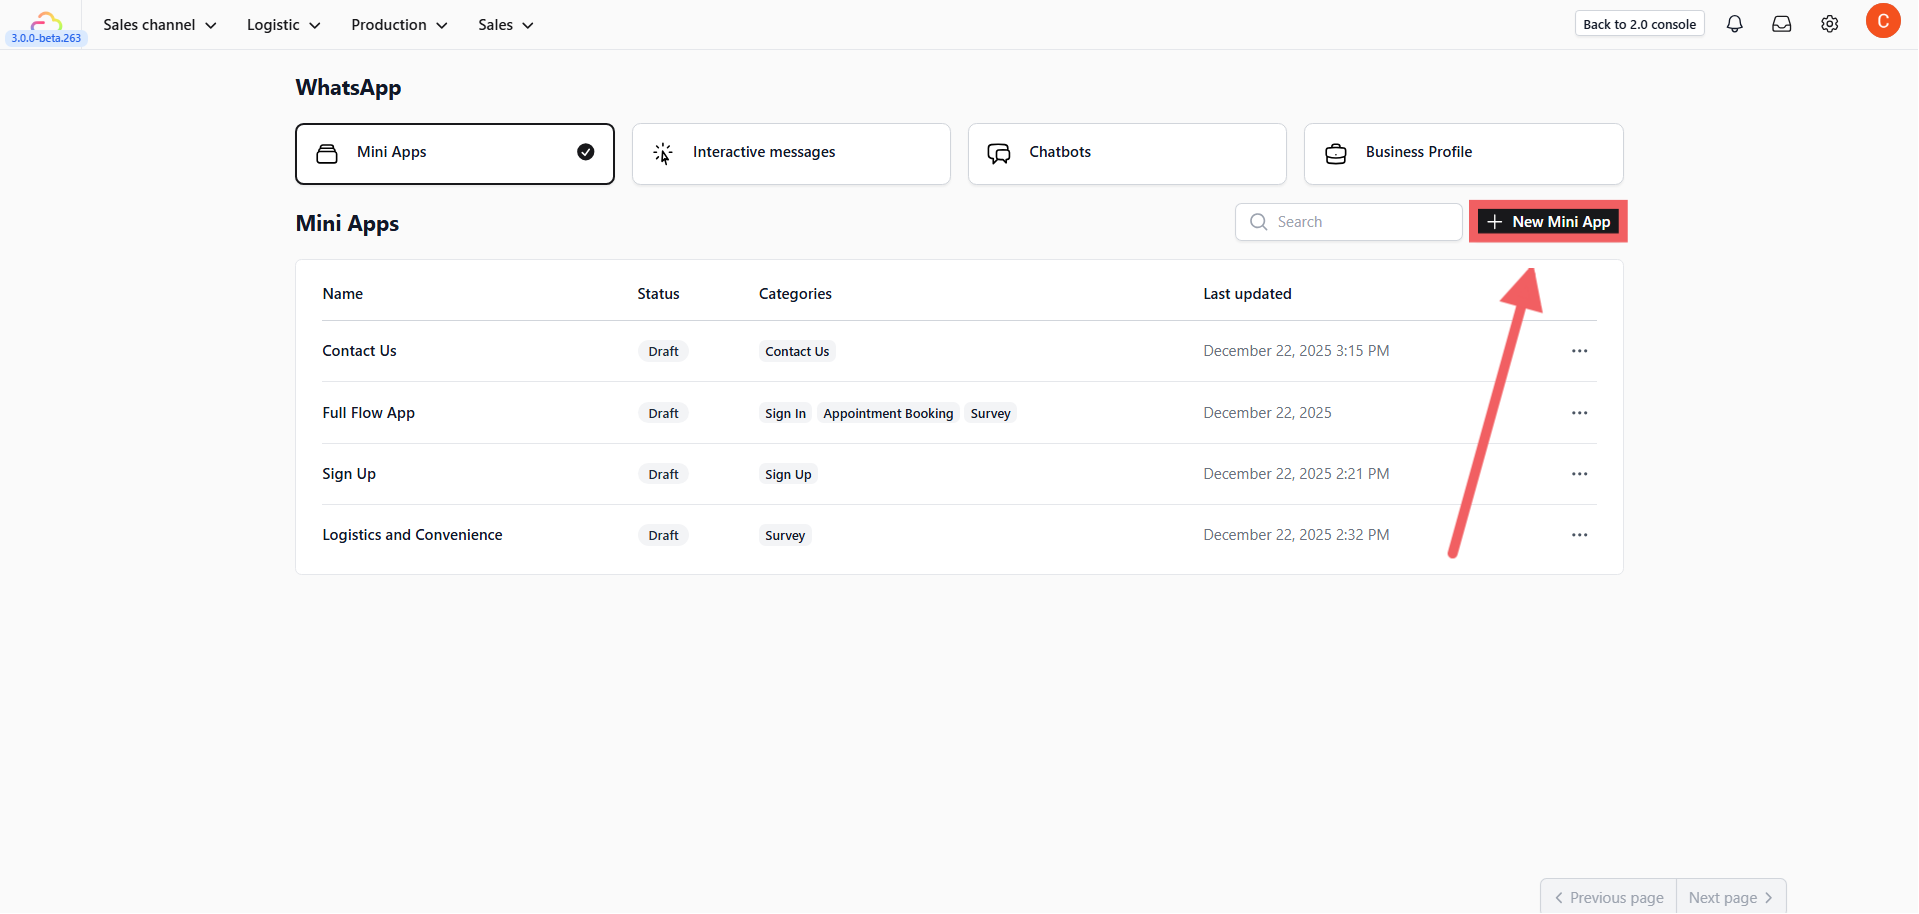
- Click the + New Mini App button.
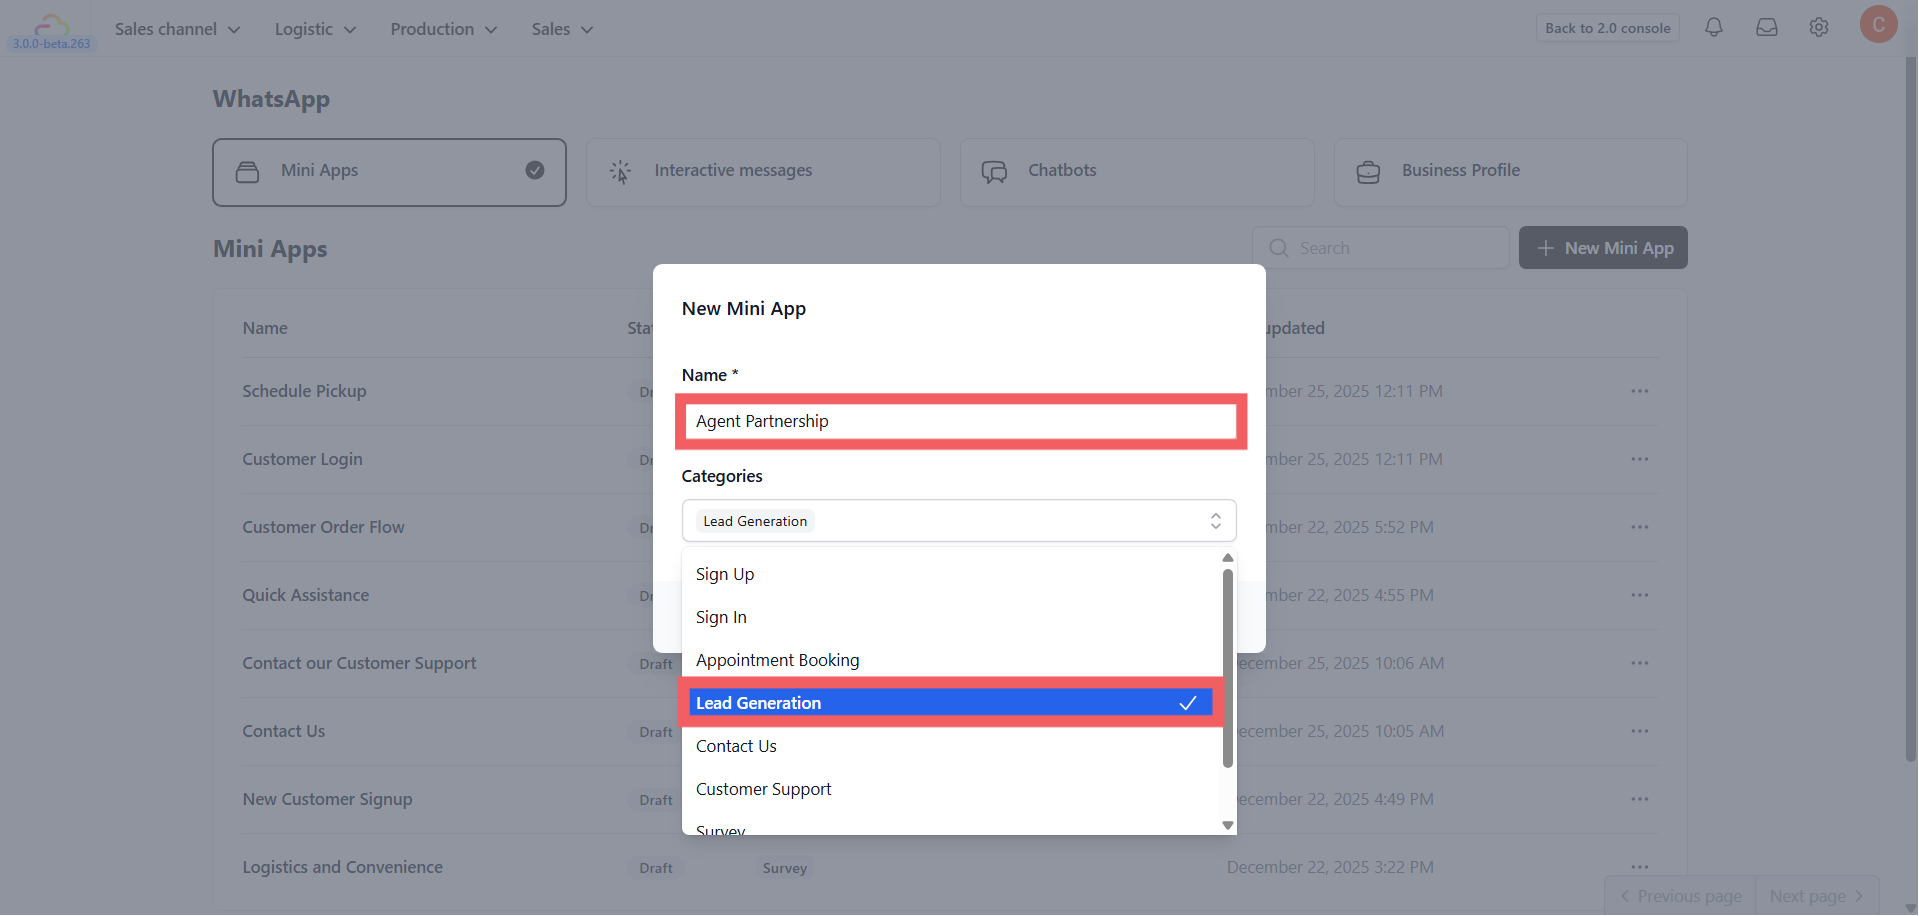
- In the popup window, configure the basics:
-
Name: Enter a unique name (e.g., “Agent Partnership”).
-
Categories: Select Lead Generation.
- Click Create.
2. Add Screens (Setup Structure)
We need a structure that feels like an app, so we will create 3 screens first.
-
Find your new app in the list, click •••, and select Edit.
-
Create these 3 screens using +Add New Screen:
-
home_menu (The visual start page)
-
registration_form (The data collection page)
-
success_page (The confirmation page)
3. Build Screen 1: The Visual Menu (home_menu)
A. Add Branding (Image Block)
-
Select home_menu.
-
Click + Add Block and choose Image.
-
Upload Image: Upload your company logo or a banner.
-
Alt Text: Enter a description (e.g., “Company Logo”). provided.
B. Add Navigation (Navigation List)
Instead of a dropdown, use a Navigation List to create a clickable menu.Next, let the customer choose when they want the service.
-
Click + Add Block and choose Navigation List.
-
Label: Enter “Choose an option”.
-
Click + Add Item.
-
Title: “Register as New Agent”.
-
Click Action: Select Navigate to Screen.
-
Navigate to Screen: Select registration_form.
-
Click Add.
4. Build Screen 2: The Registration Form (registration_form)
This is the core of your app. We will use Subheadings to organize the data and Dropdowns for specific business questions.
A. Business Information
- Add Structure:
-
Add a Heading block: “Agent Application”.
-
Add a Subheading block: “Business Information”.
- Add Business Name:
-
Add a Text Input block.
-
Label: “Business Name”.
-
Data Field: Select Name.
- Add Business Category (Dropdown):
-
Add a Dropdown block.
-
Label: “Business Category”.
-
Data Field: Select Note.
-
Add Options: Click + Add Item and manually add items like “Hotel”, “Retail Laundry”, or “Spa”.
B. Contact Details & Consent
- Add Email:
-
Add a Text Input block.
-
Label: “Email Address”.
-
Data Field: Select Email (Ensure you select the Email field so it saves correctly to the profile).
- Add Consent (Checkbox):
-
Add a Checkbox block.
-
Label: “I agree to the Terms & Conditions”.
-
Required: Toggle ON.
-
Read more action: Select Navigate to Screen (if you have a separate Terms page).
C. Configure Footer
-
Footer Action Type: Select Navigate to Screen.
-
Navigate to Screen: Select success_page.
-
Action Label: Enter “Submit Application”.
5. Build Screen 3: Success & Loop (success_page)
Let’s add a “Back” button so users don’t get stuck.
- Add Message:
-
Add a Heading block: “Application Received”.
-
Add a Body block: “Thank you for registering.”
- Add Return Link (Embedded Link):
-
Click + Add Block and choose Embedded Link.
-
Link Text: “Back to Main Menu”.
-
Action Type: Select Navigate to Screen.
-
Navigate to Screen: Select home_menu.
6. Publish
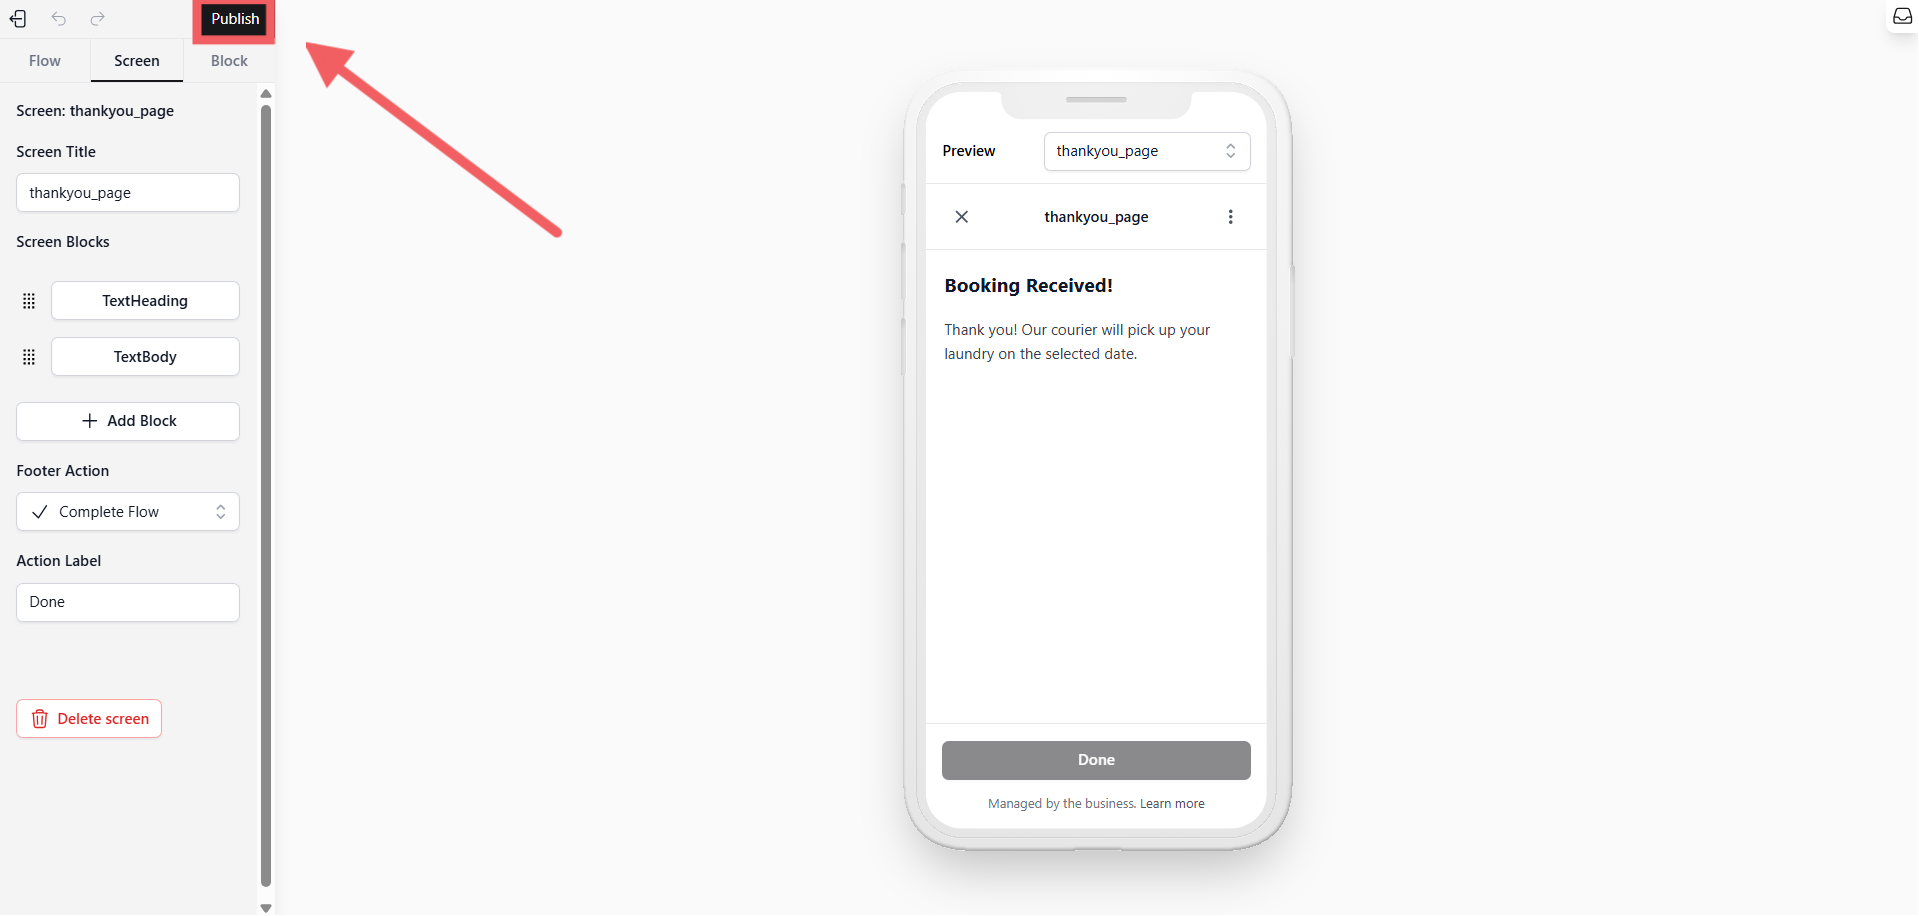
-
Click the Publish button at the top left of the editor.
-
Your Mini App is now live and ready for use in Interactive Messages.
[Go to Interactive Messages Settings]