Configuring Your Mini Apps
This guide walks you through the steps of creating fully interactive Mini Apps—from selecting a category to building the layout with blocks and actions.
1. Create a New Mini App
- Start by defining the purpose of your Mini App.
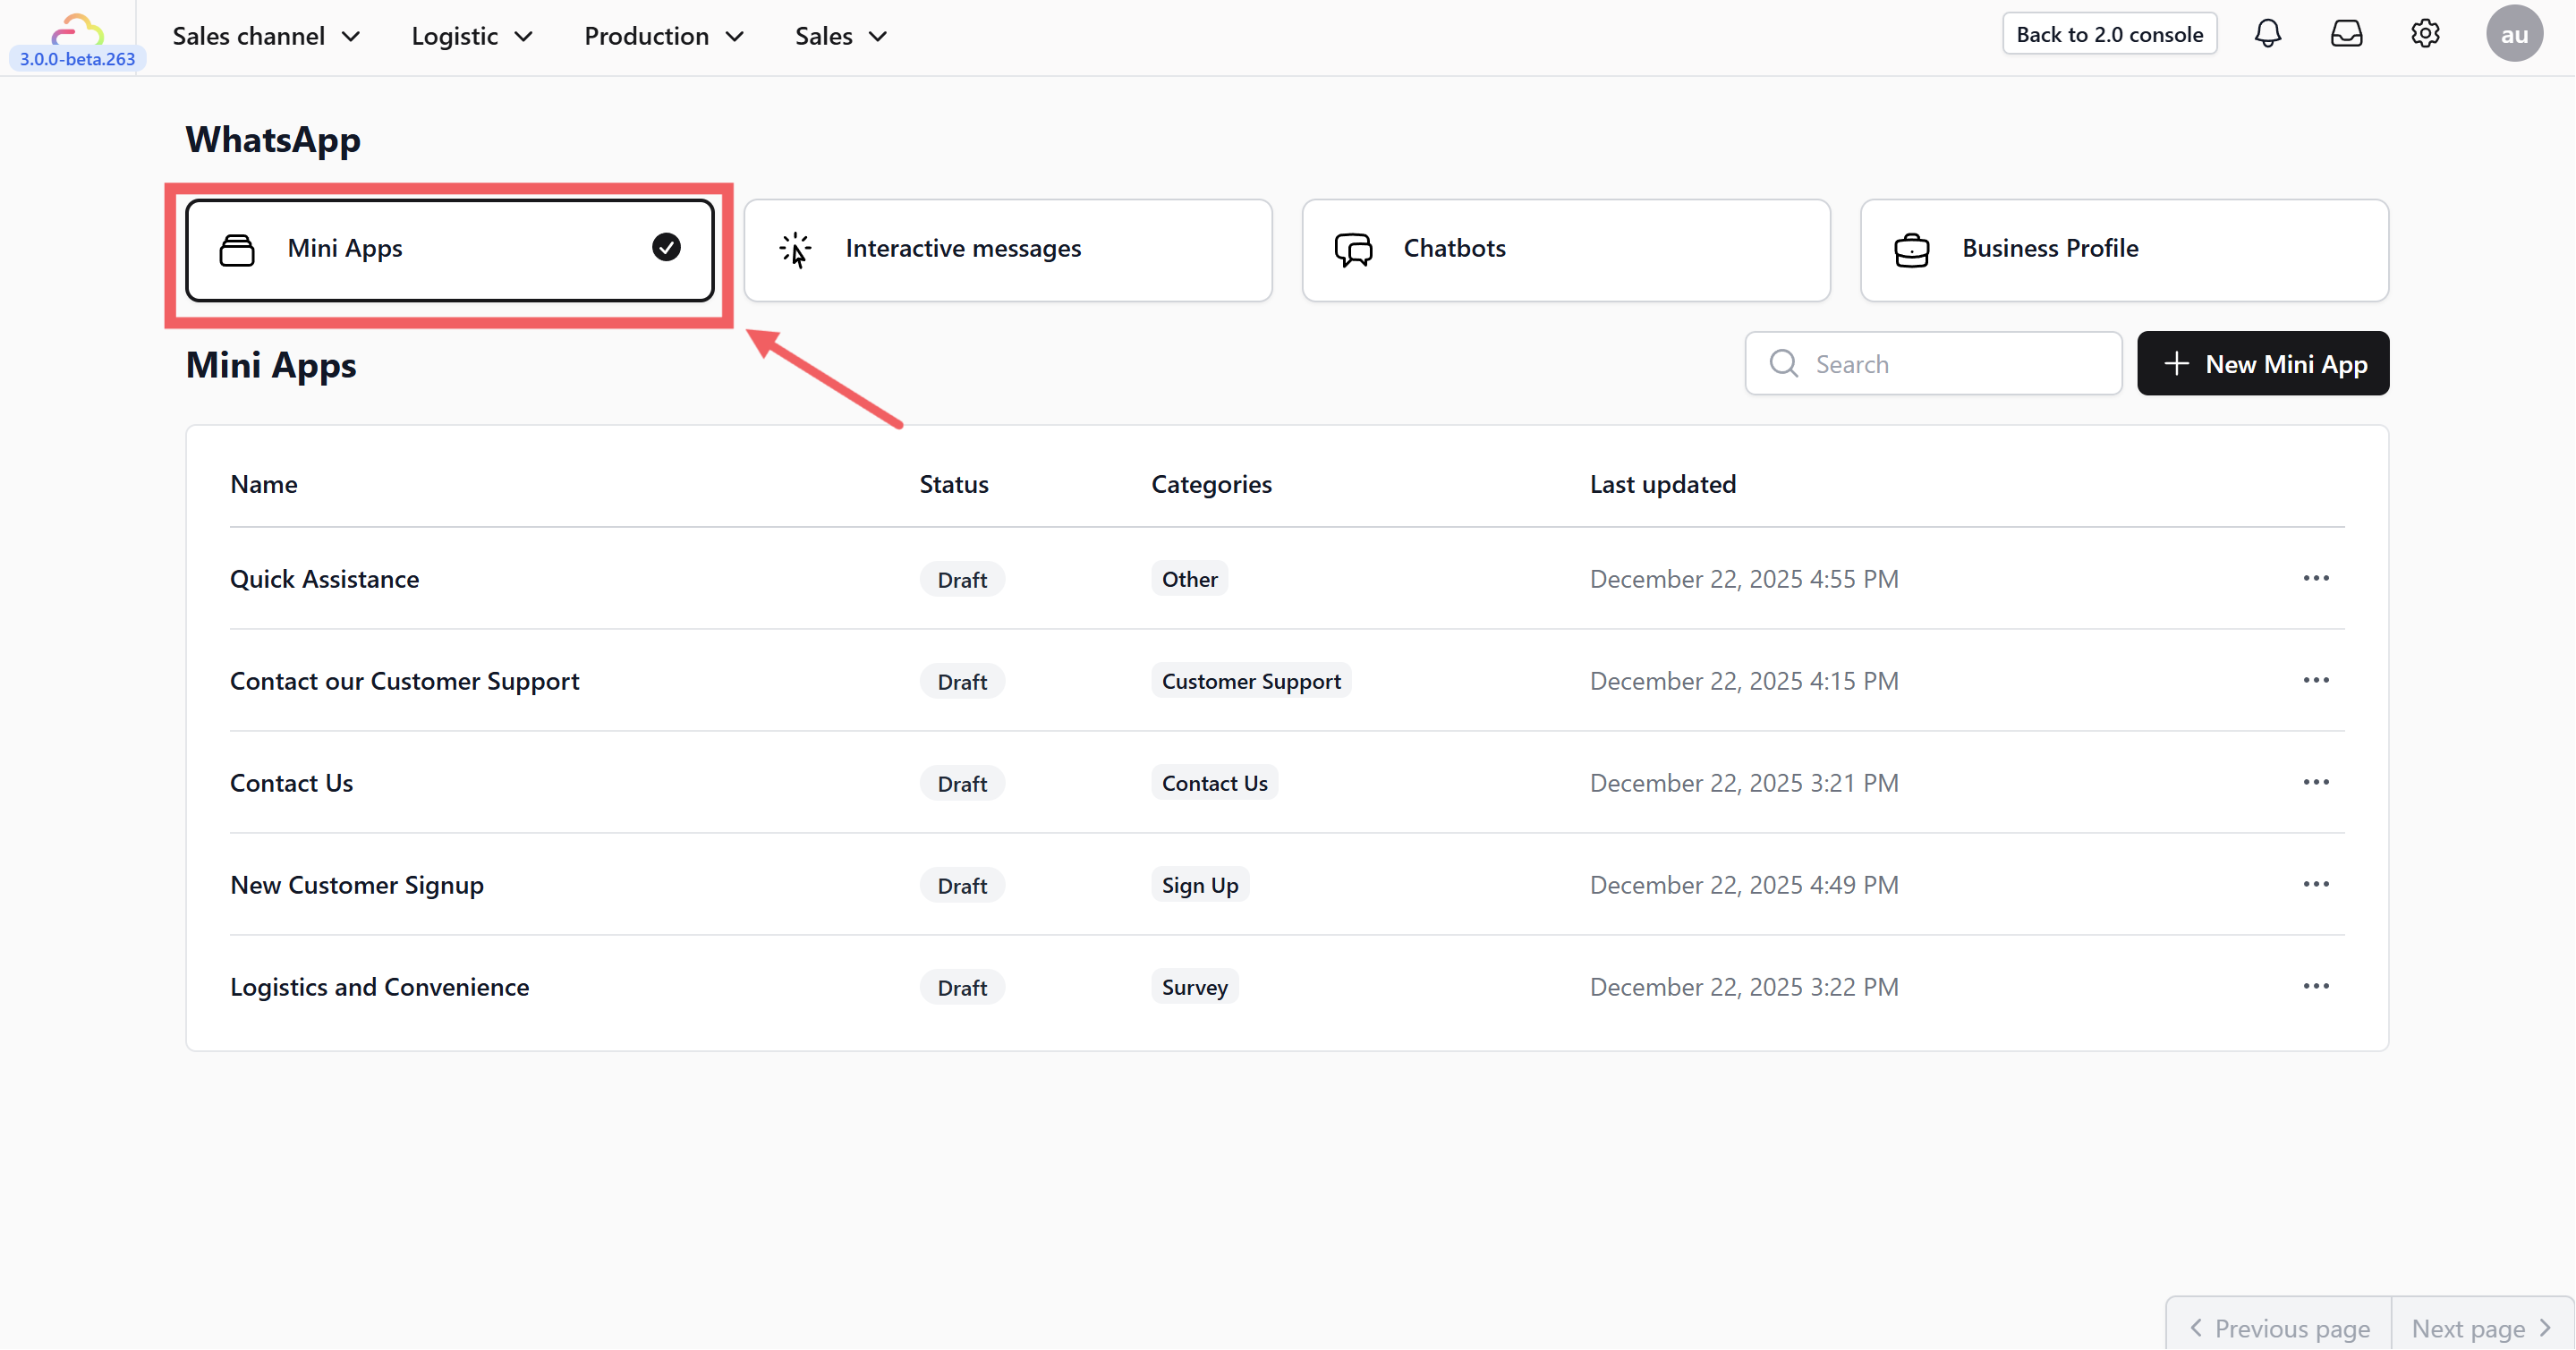
- Navigate to Sales Channel > WhatsApp and select the Mini Apps tab.
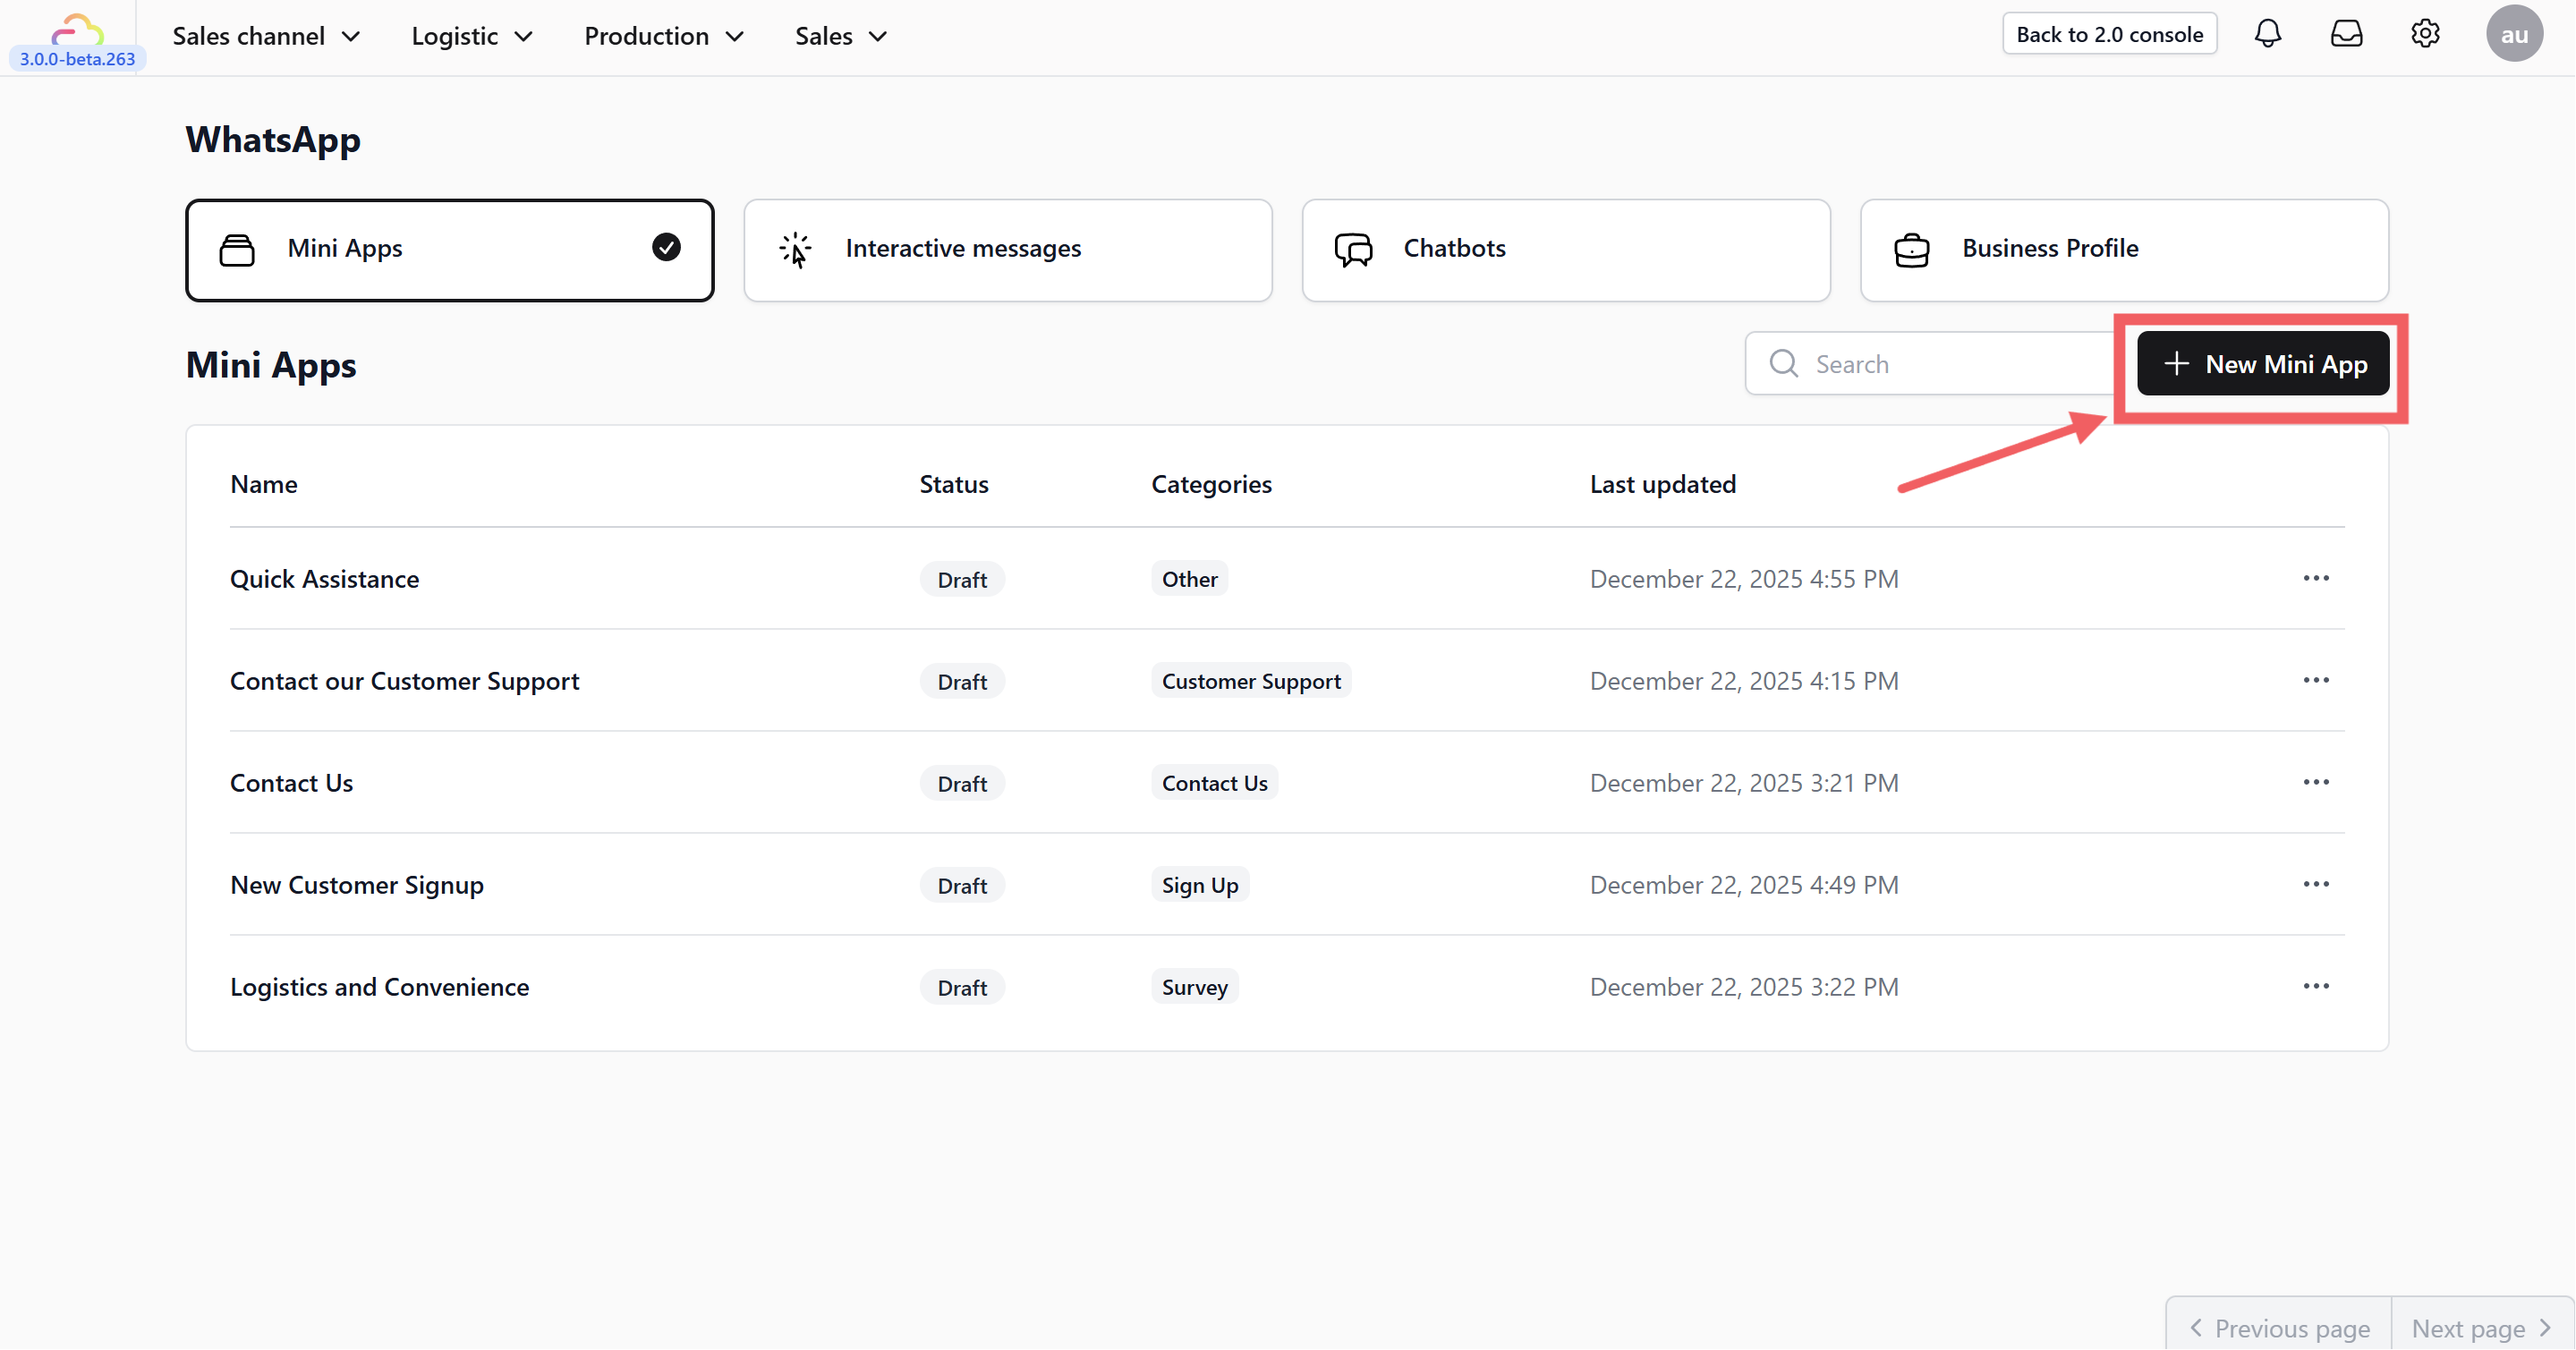
- Click the + New Mini App button.
-
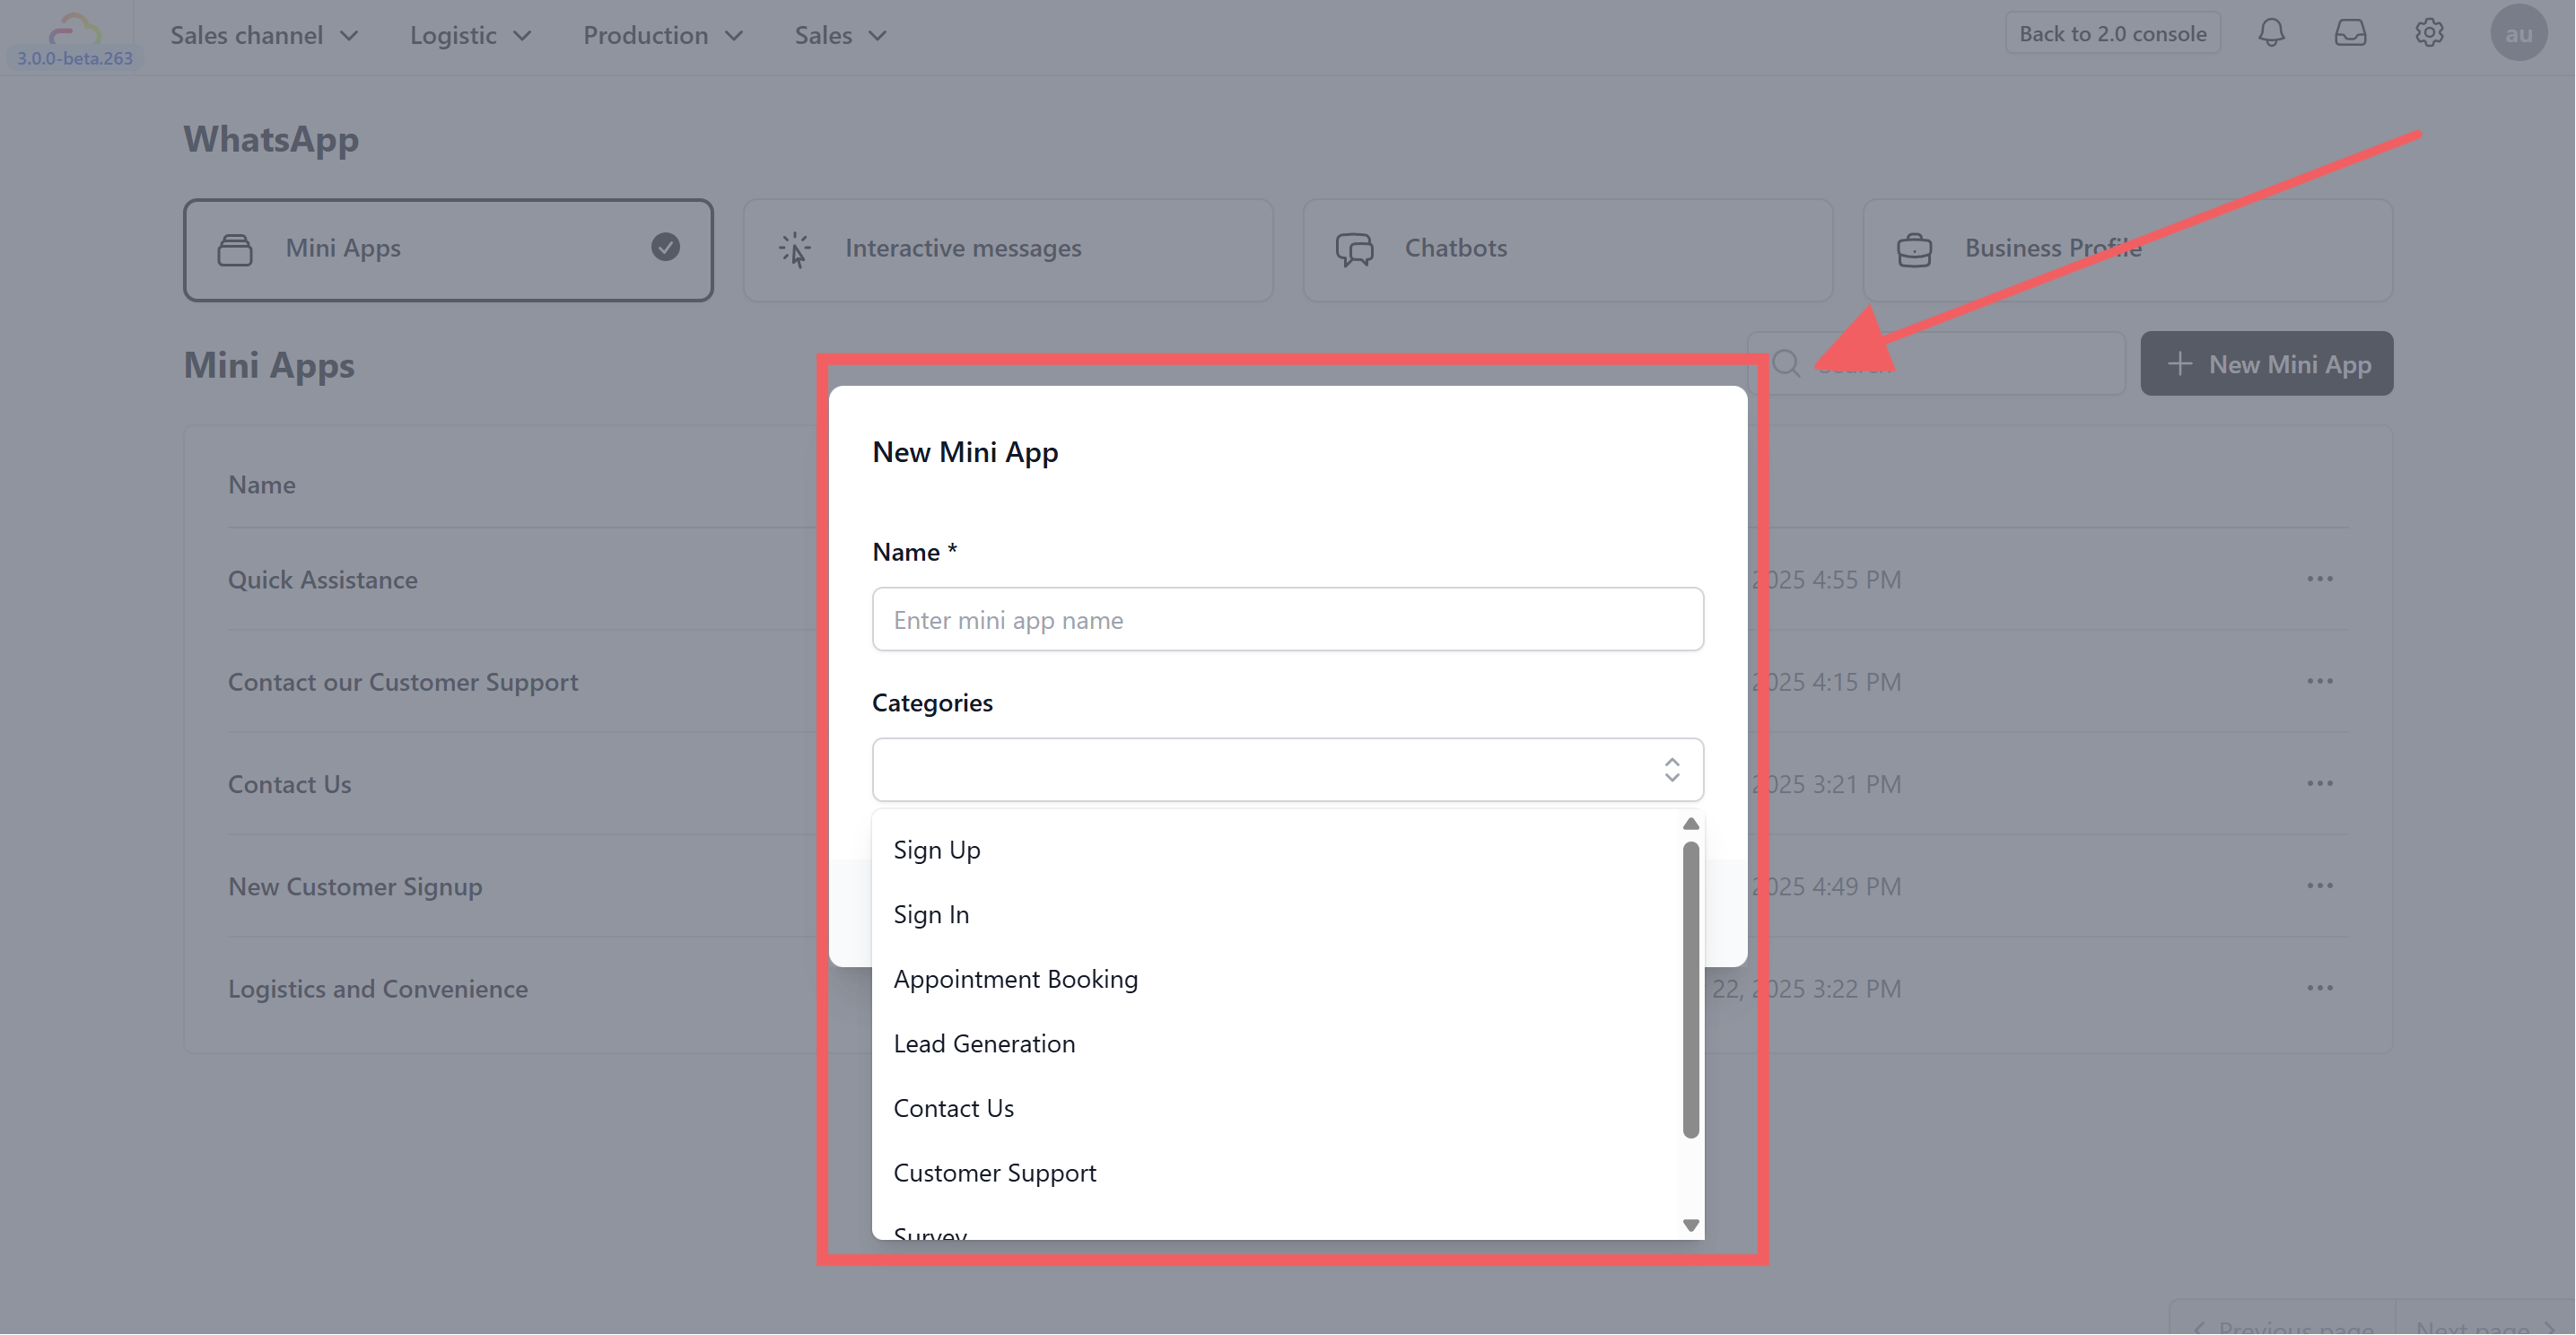
In the popup window, configure the basics:
-
Name: Enter a unique name for your app.
-
Categories: Select the most relevant category for your use case. Options include: Sign Up, Sign In, Appointment Booking, Lead Generation, Contact Us, Customer Support, Survey, or Others.
-
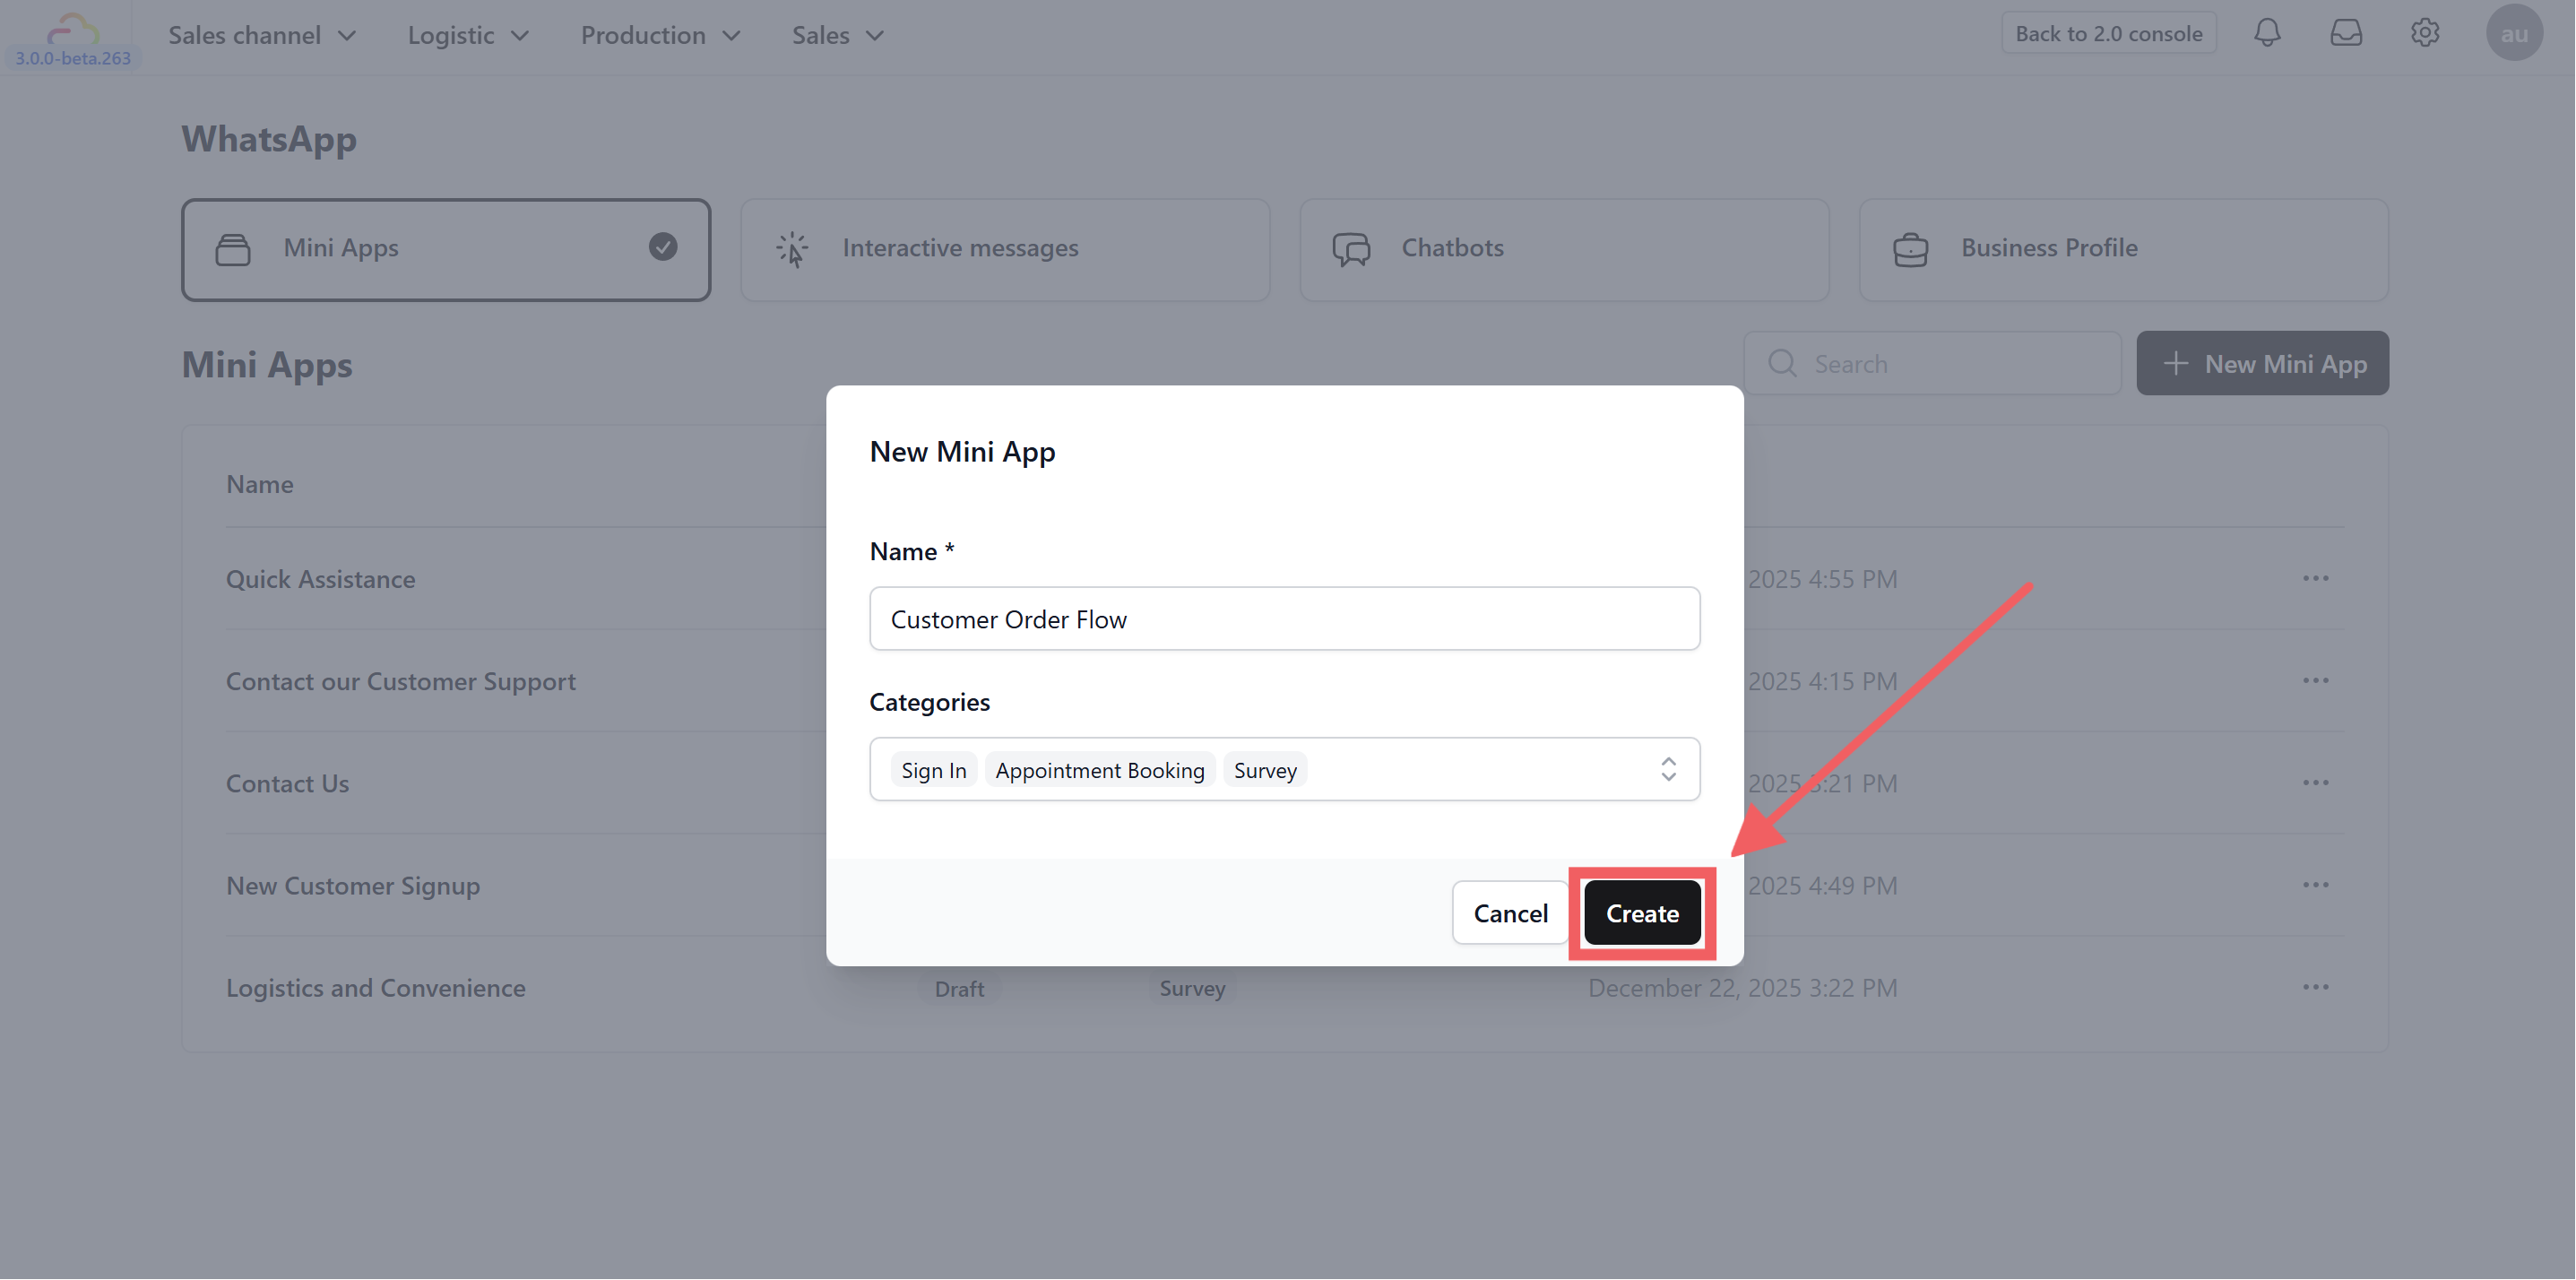
- Click Create.
2. How to Set Up and Edit Your Screens
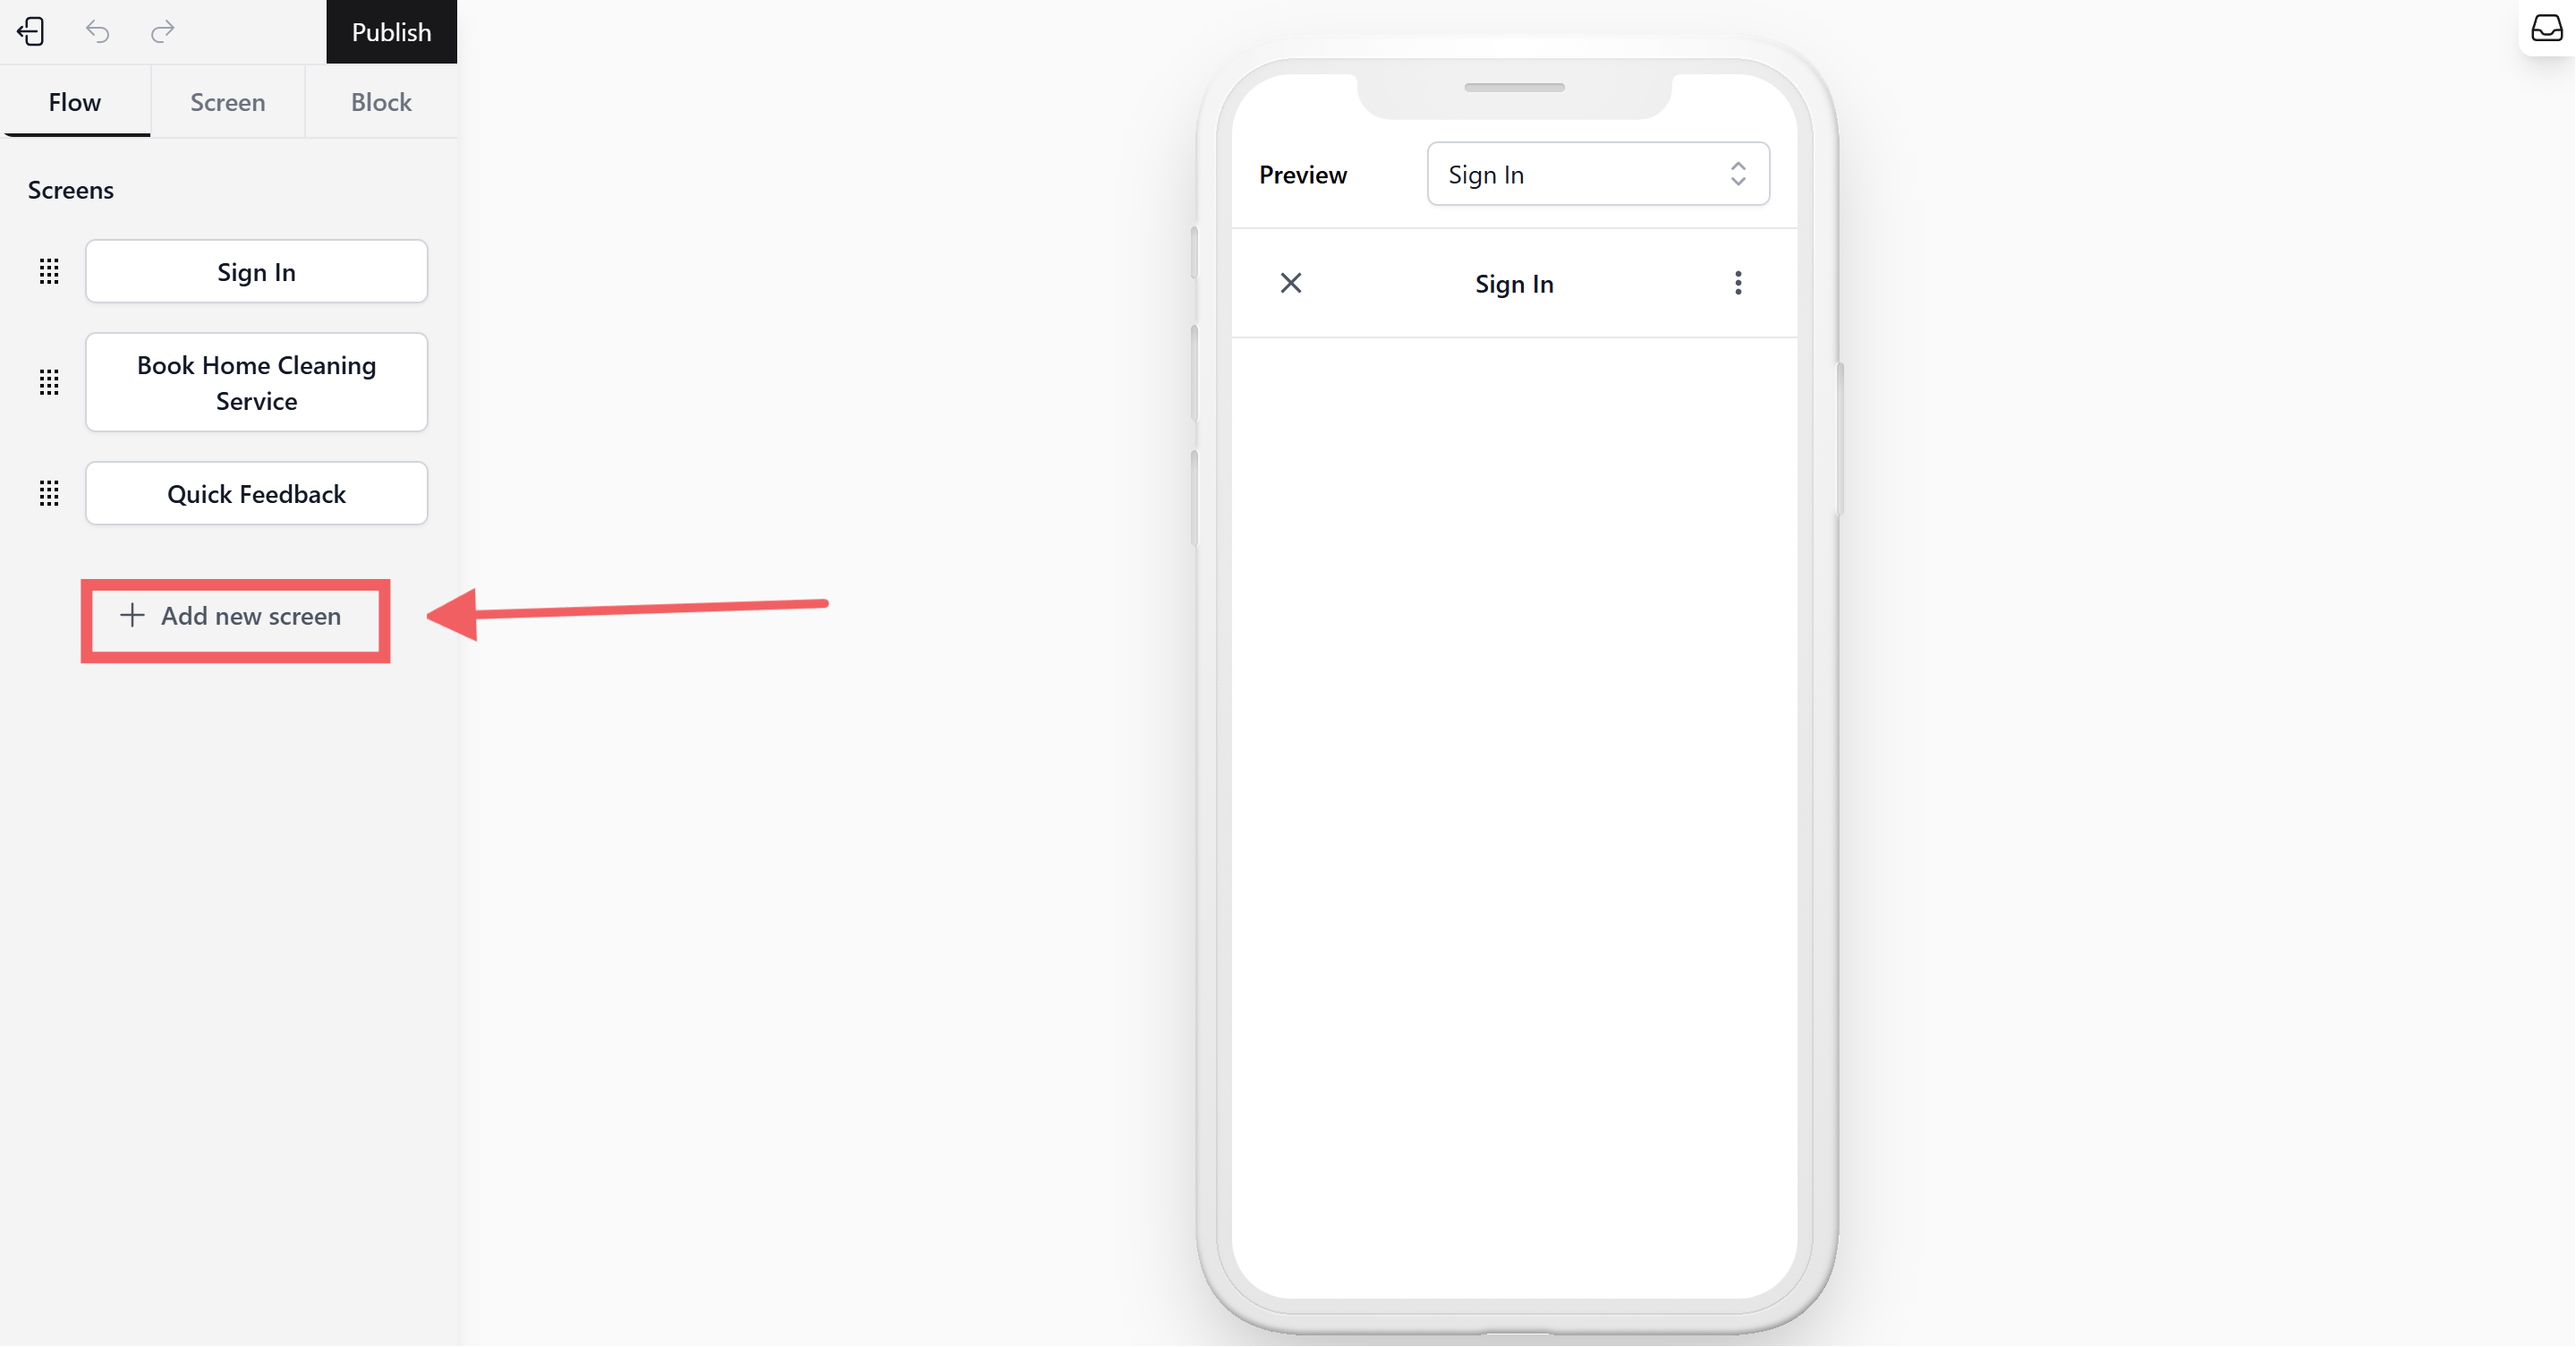
- Click the +Add Screen button to add your specific screens. Once added, your screens will appear in the list.
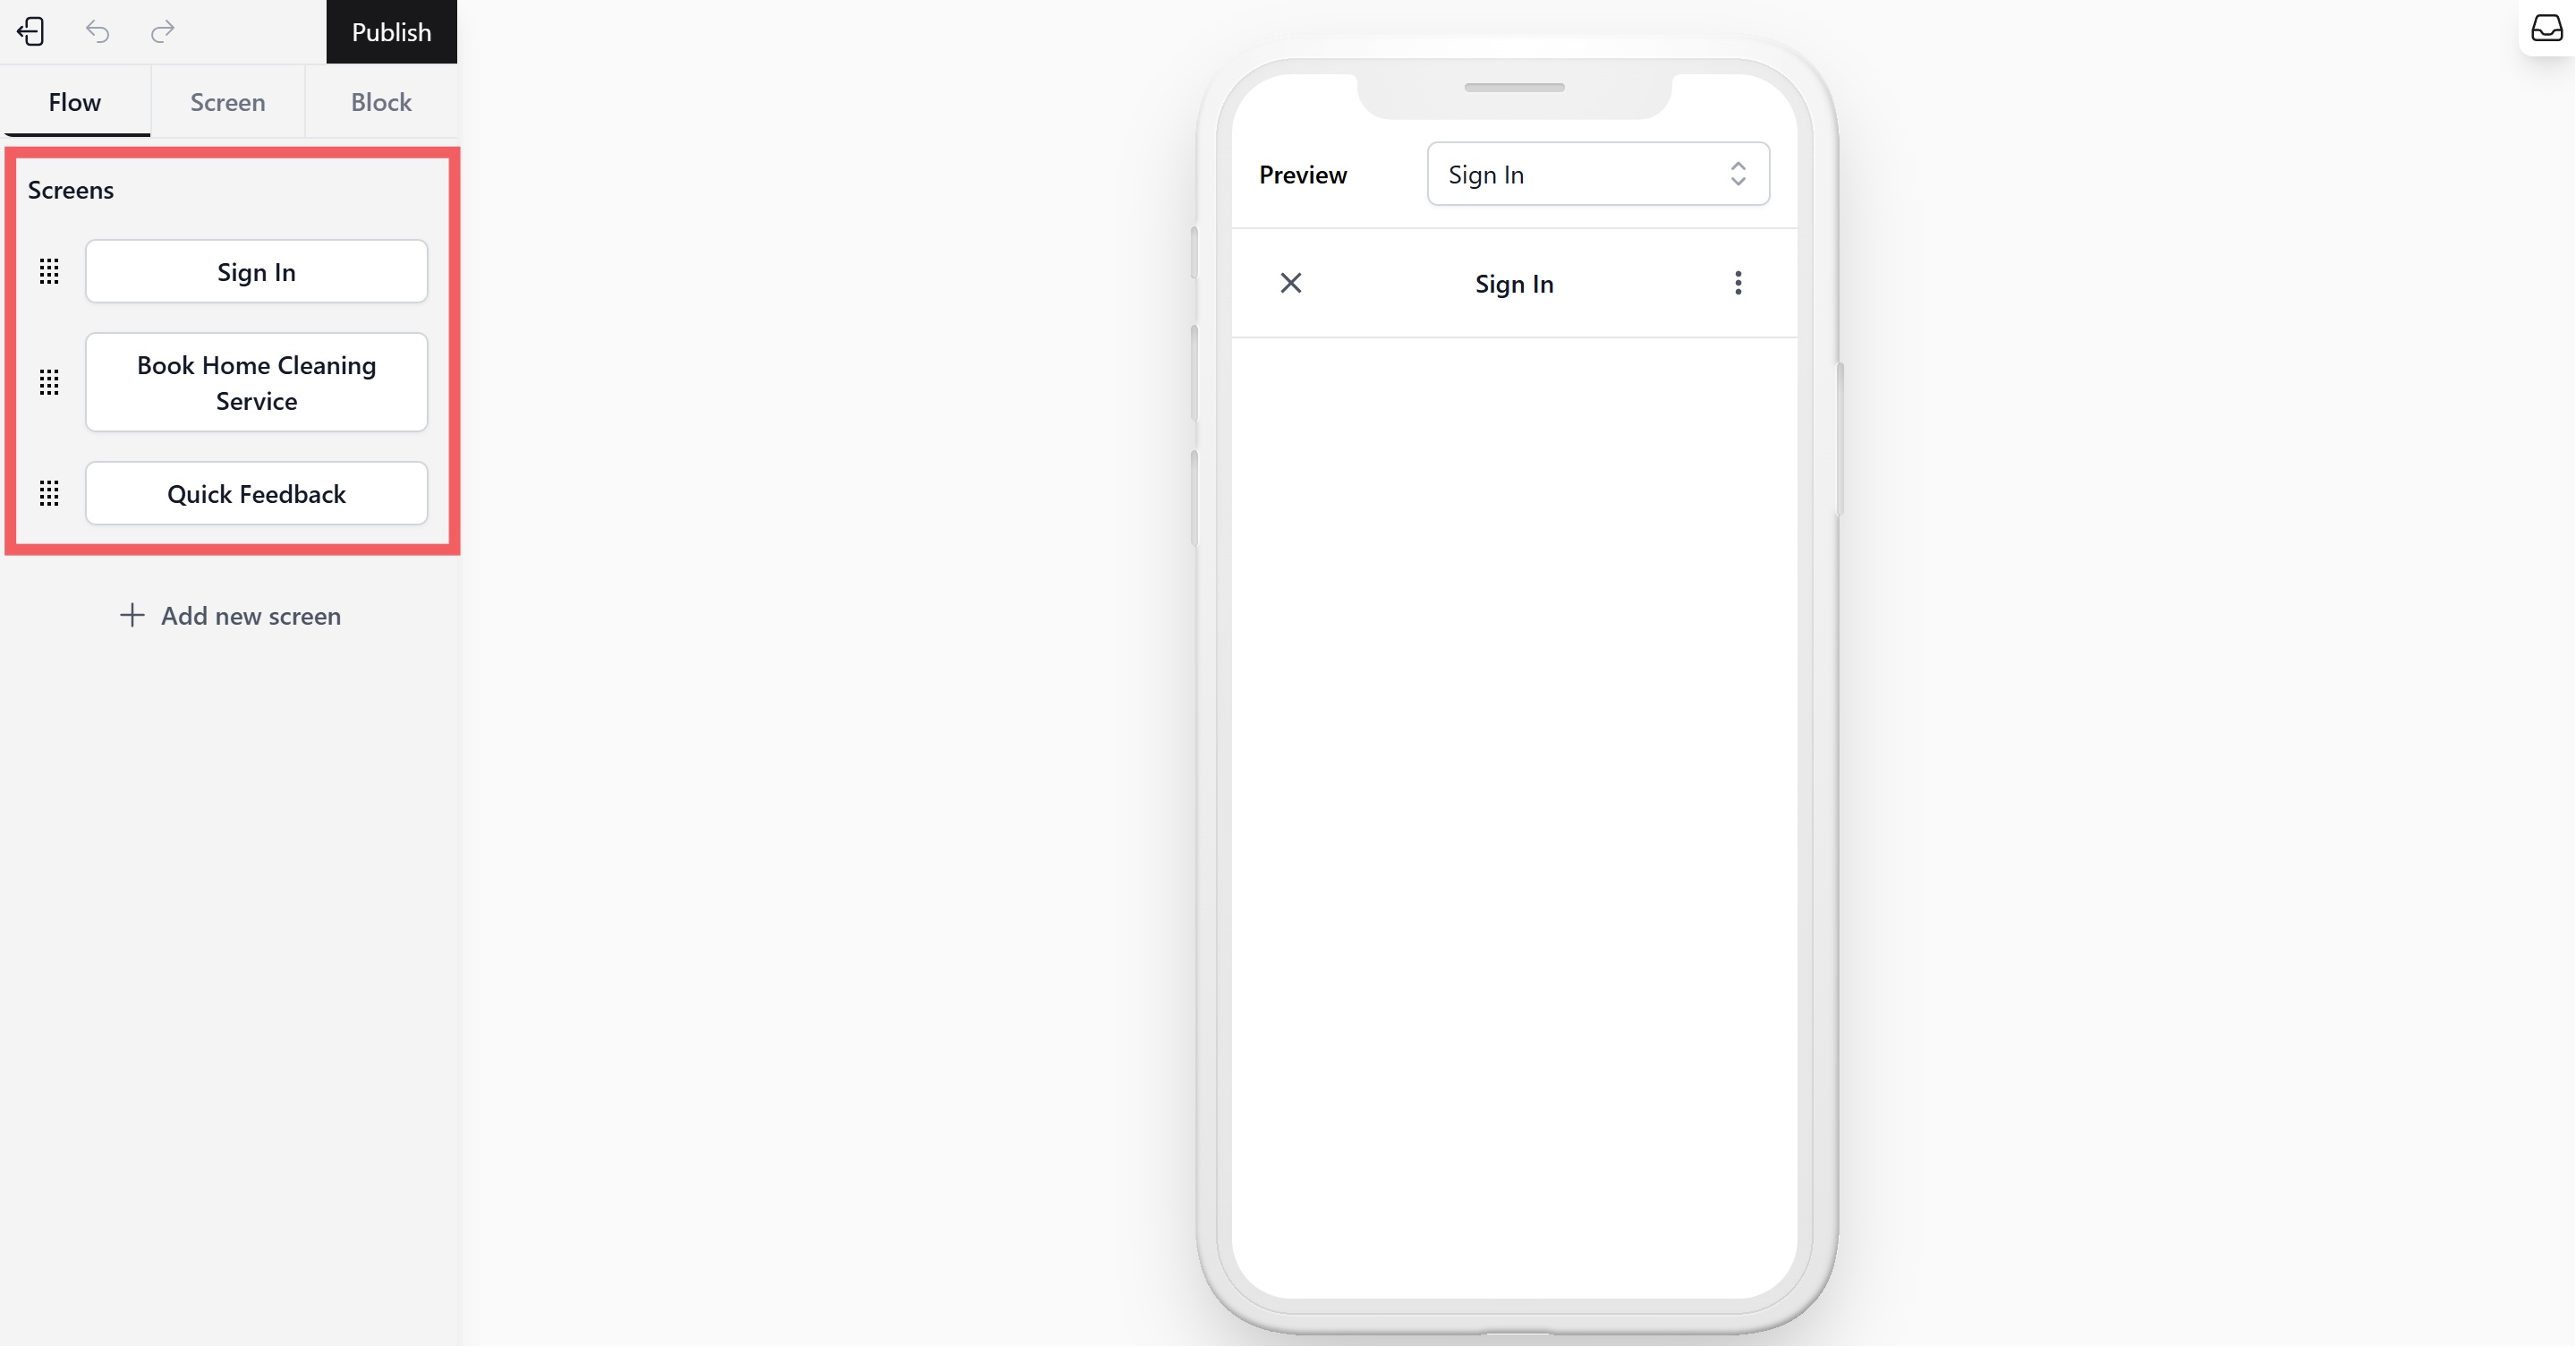
- Click on the specific screen you want to edit.
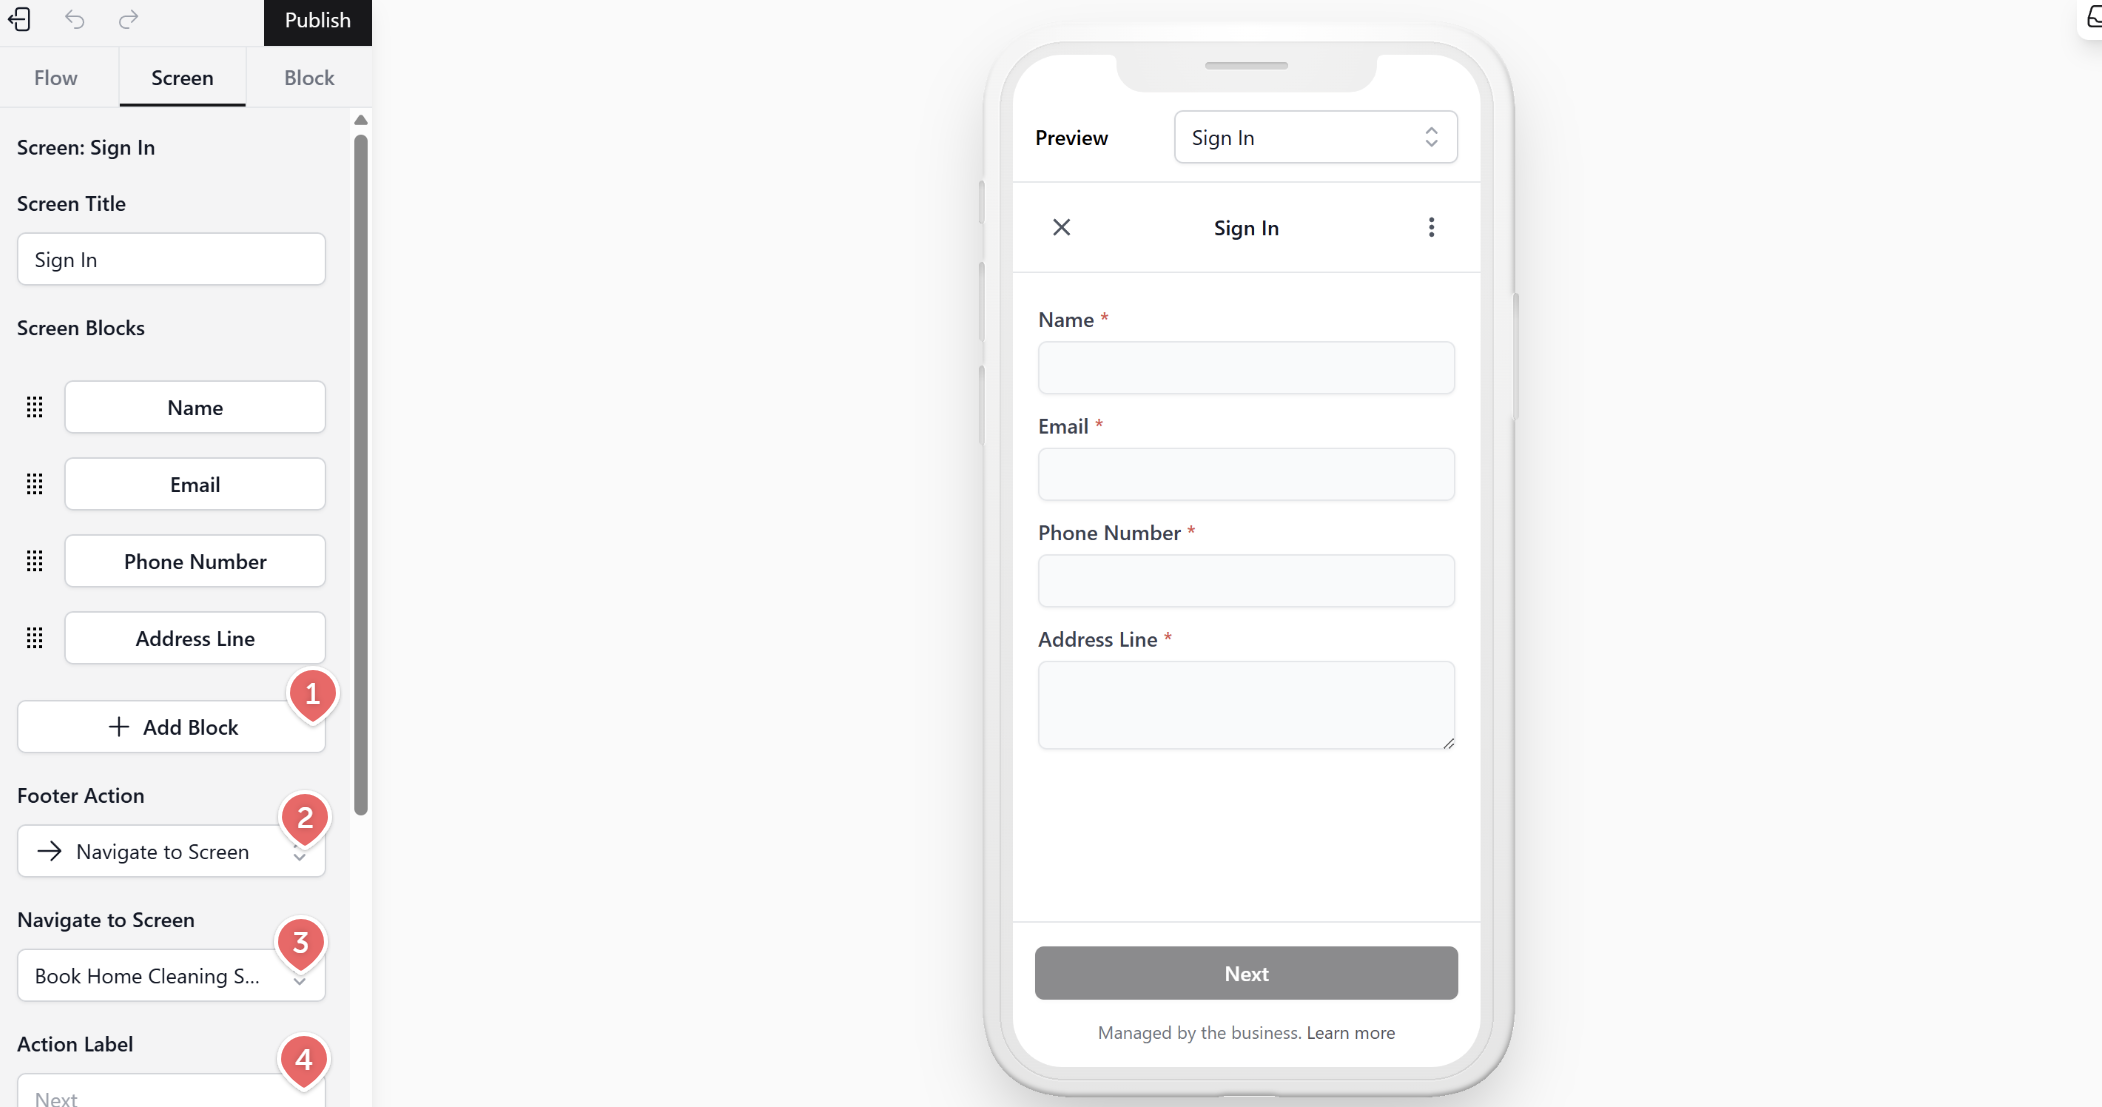
-
Use the + Add Block button to add or adjust blocks based on your needs.
-
In the footer action settings, select Navigate to Screen.
-
Select the specific screen you want users to navigate to next.
-
Set the action label based on your preference (for example: Book Now, Next, Continue).
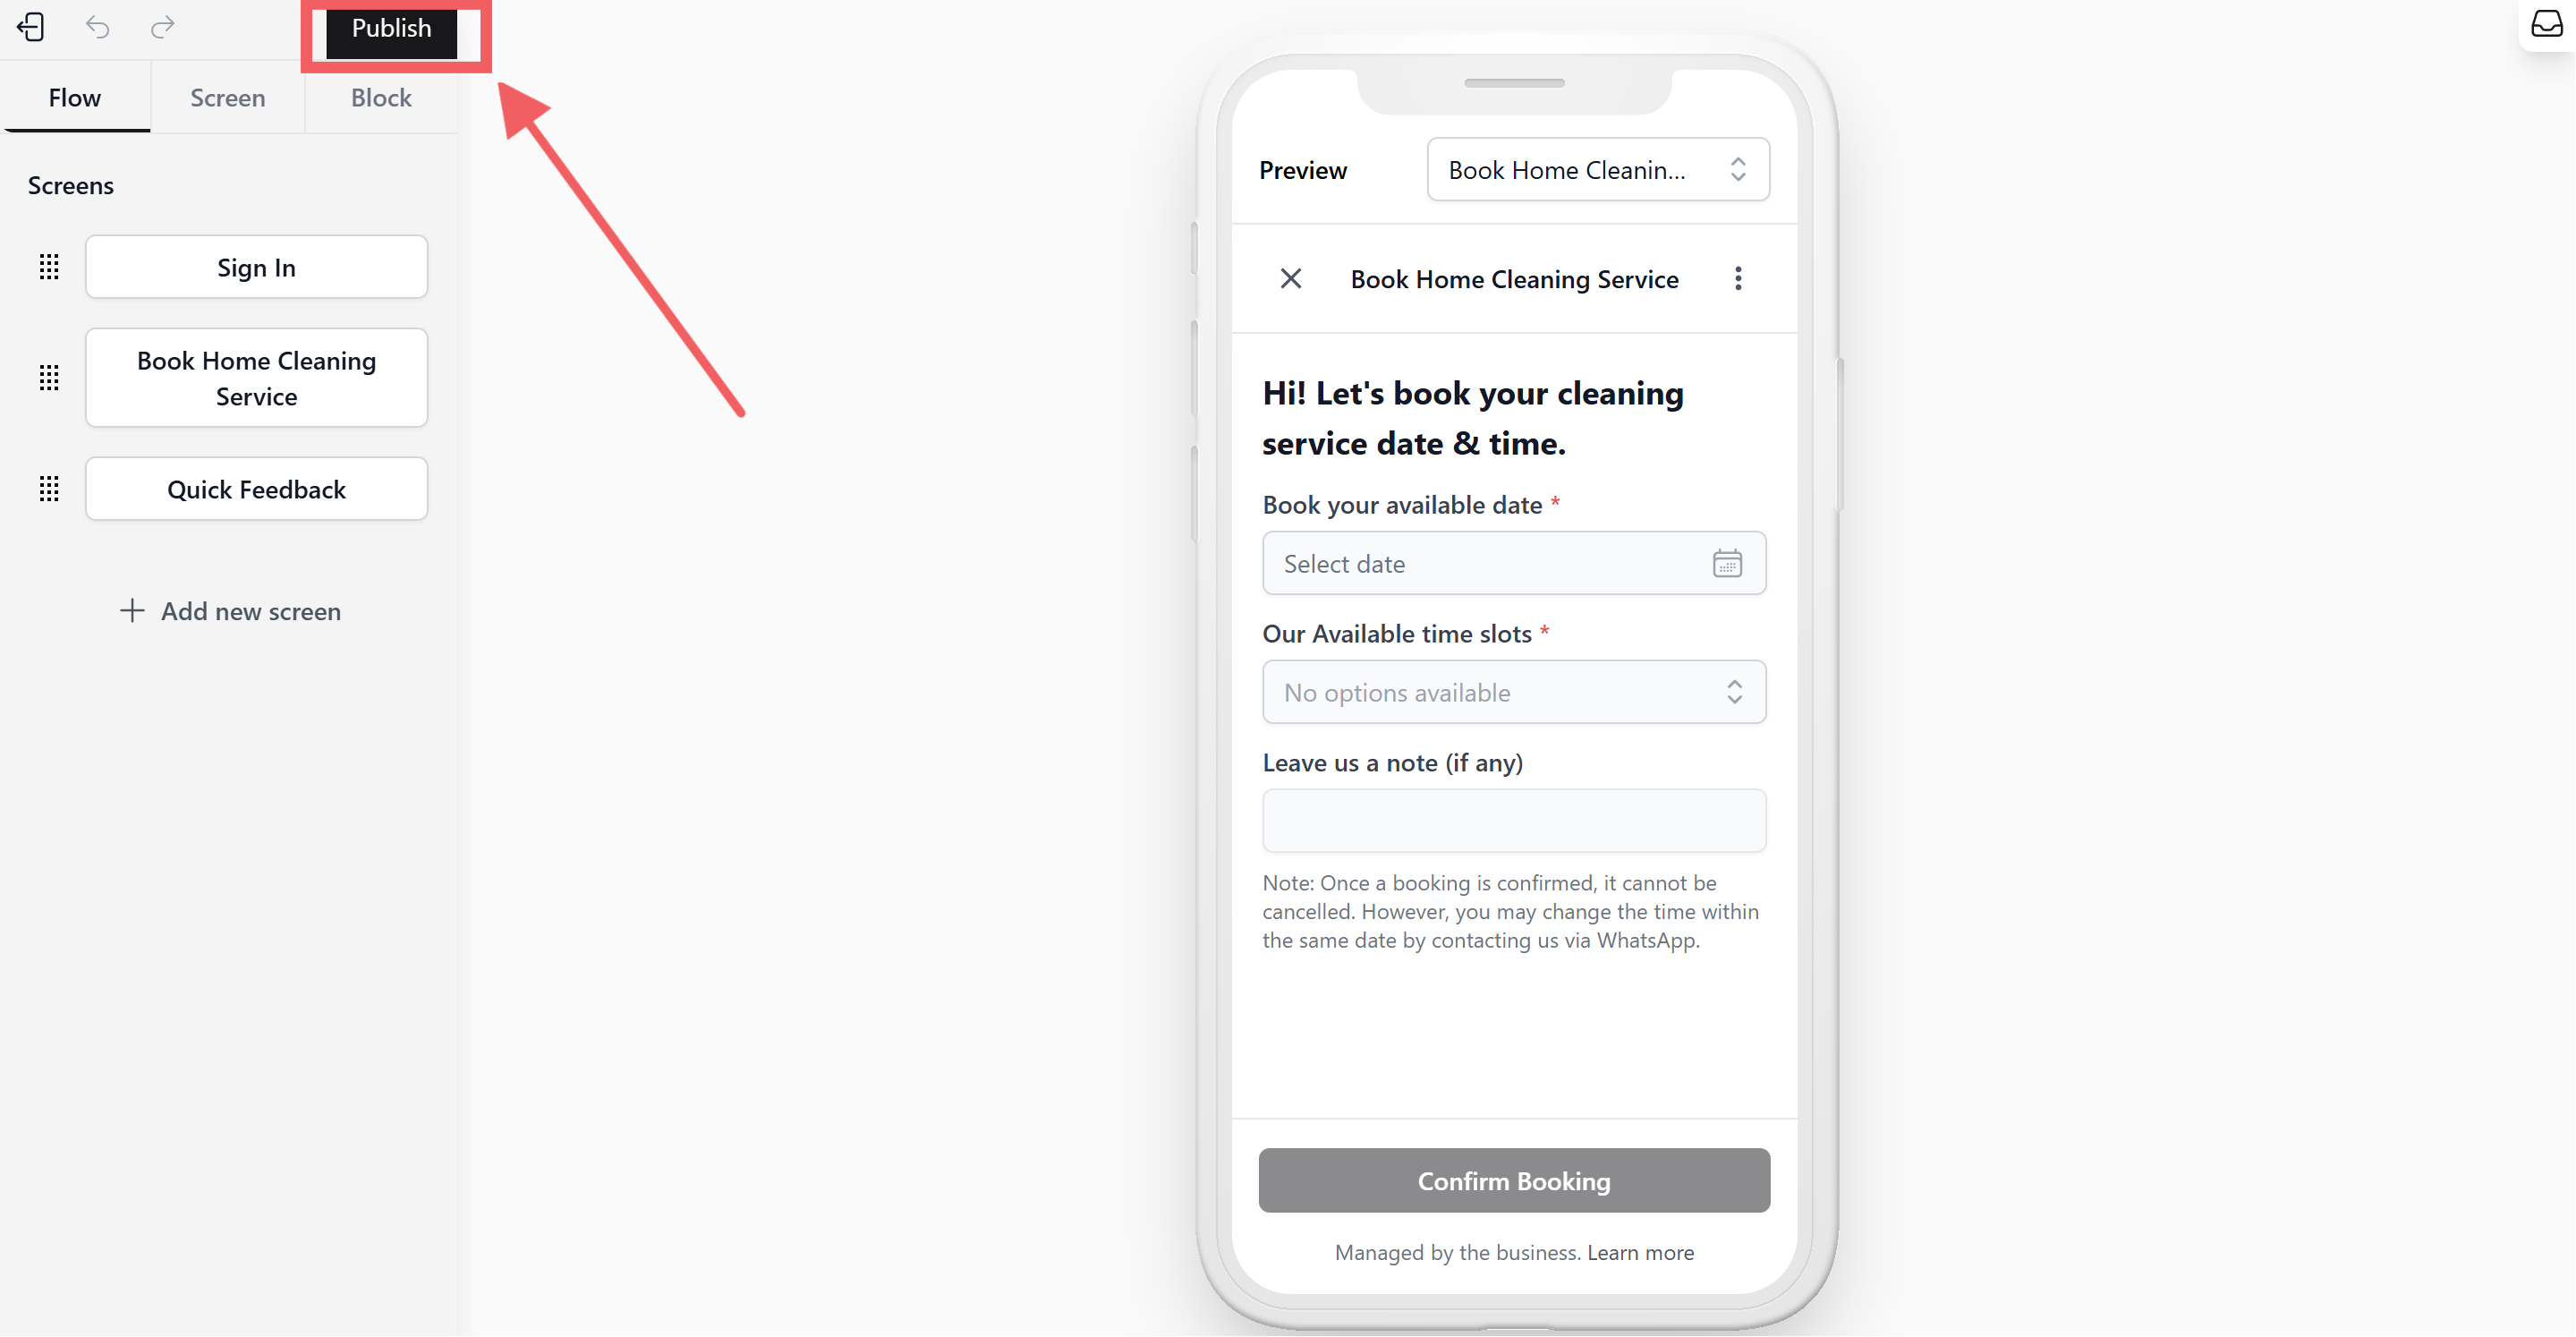
- Once you’re done editing your screen and have confirmed the flow is correct, don’t forget to publish.
You’ll be able to use the Mini App template once you’ve set up the interactive message to use the Mini App for a specific use case. For more information on how to set this up, please refer to the Interactive Message page.