Building a Appointment Booking Flow (Multi-Screen)
This guide walks you through the steps of creating an Appointment Booking Mini App. In this example, we will create a 2-Screen Flow for a Laundry Pickup service (Booking Form & Confirmation Page).
1. Create a New Mini App
Start by defining the purpose of your app.
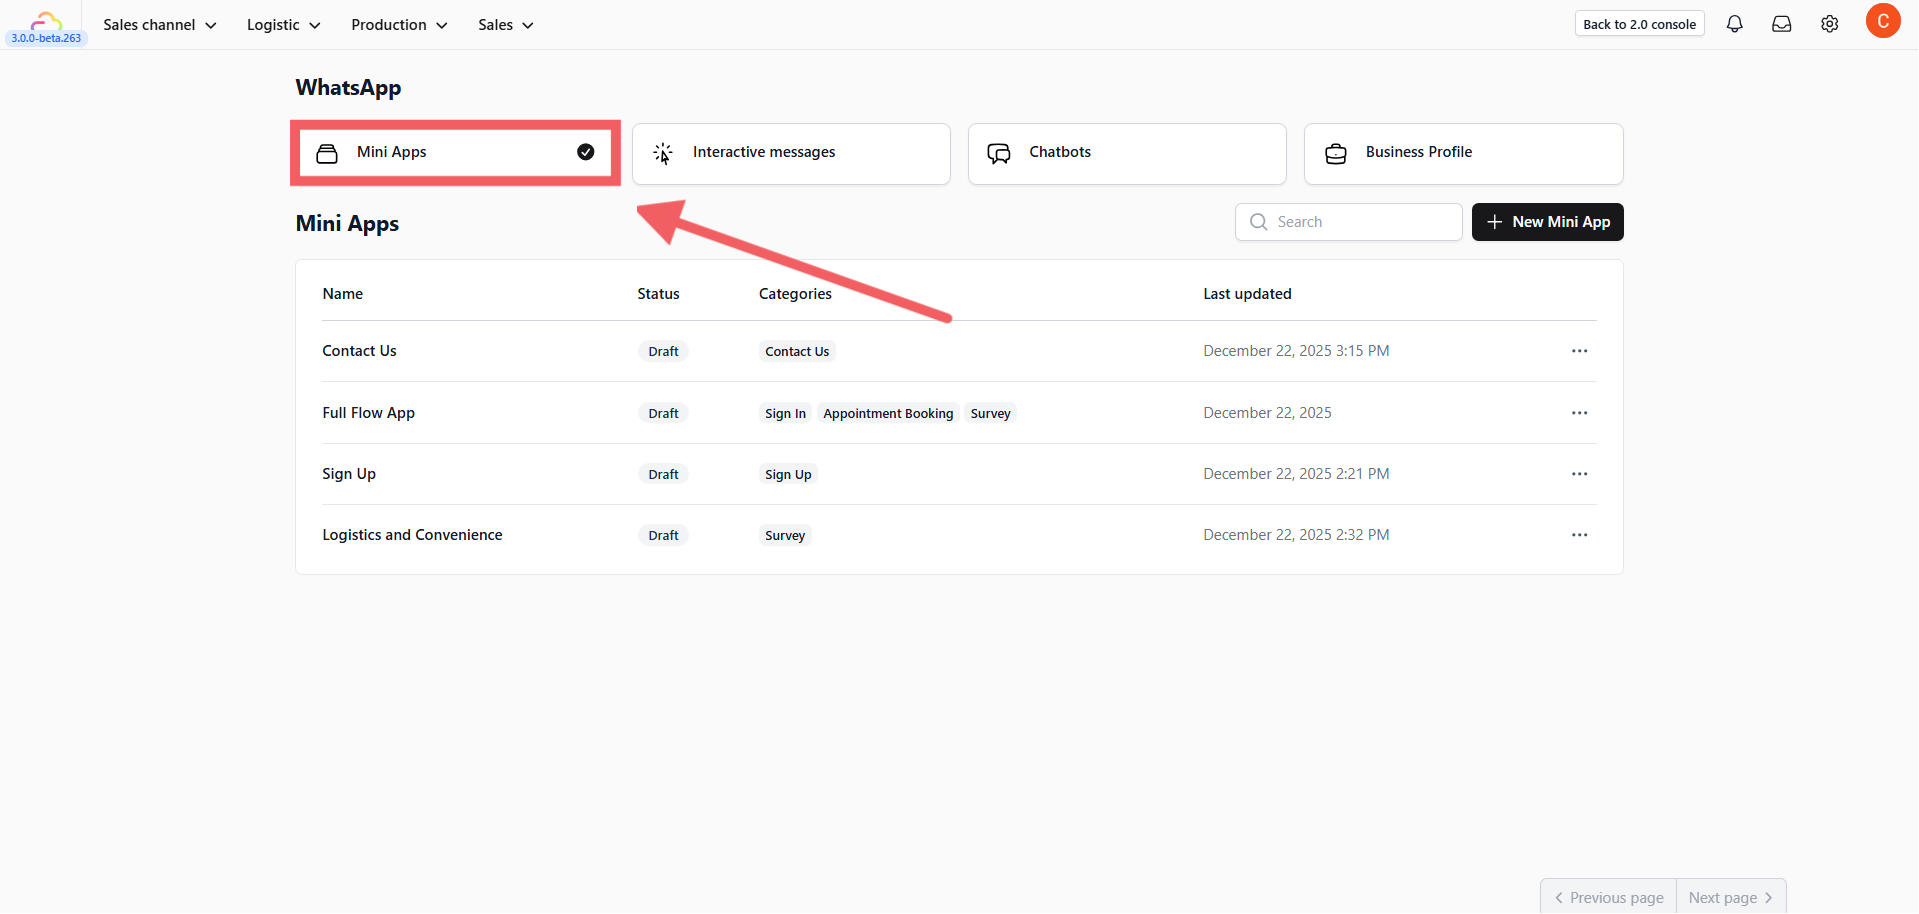
- Navigate to Sales Channel > WhatsApp and select the Mini Apps tab.
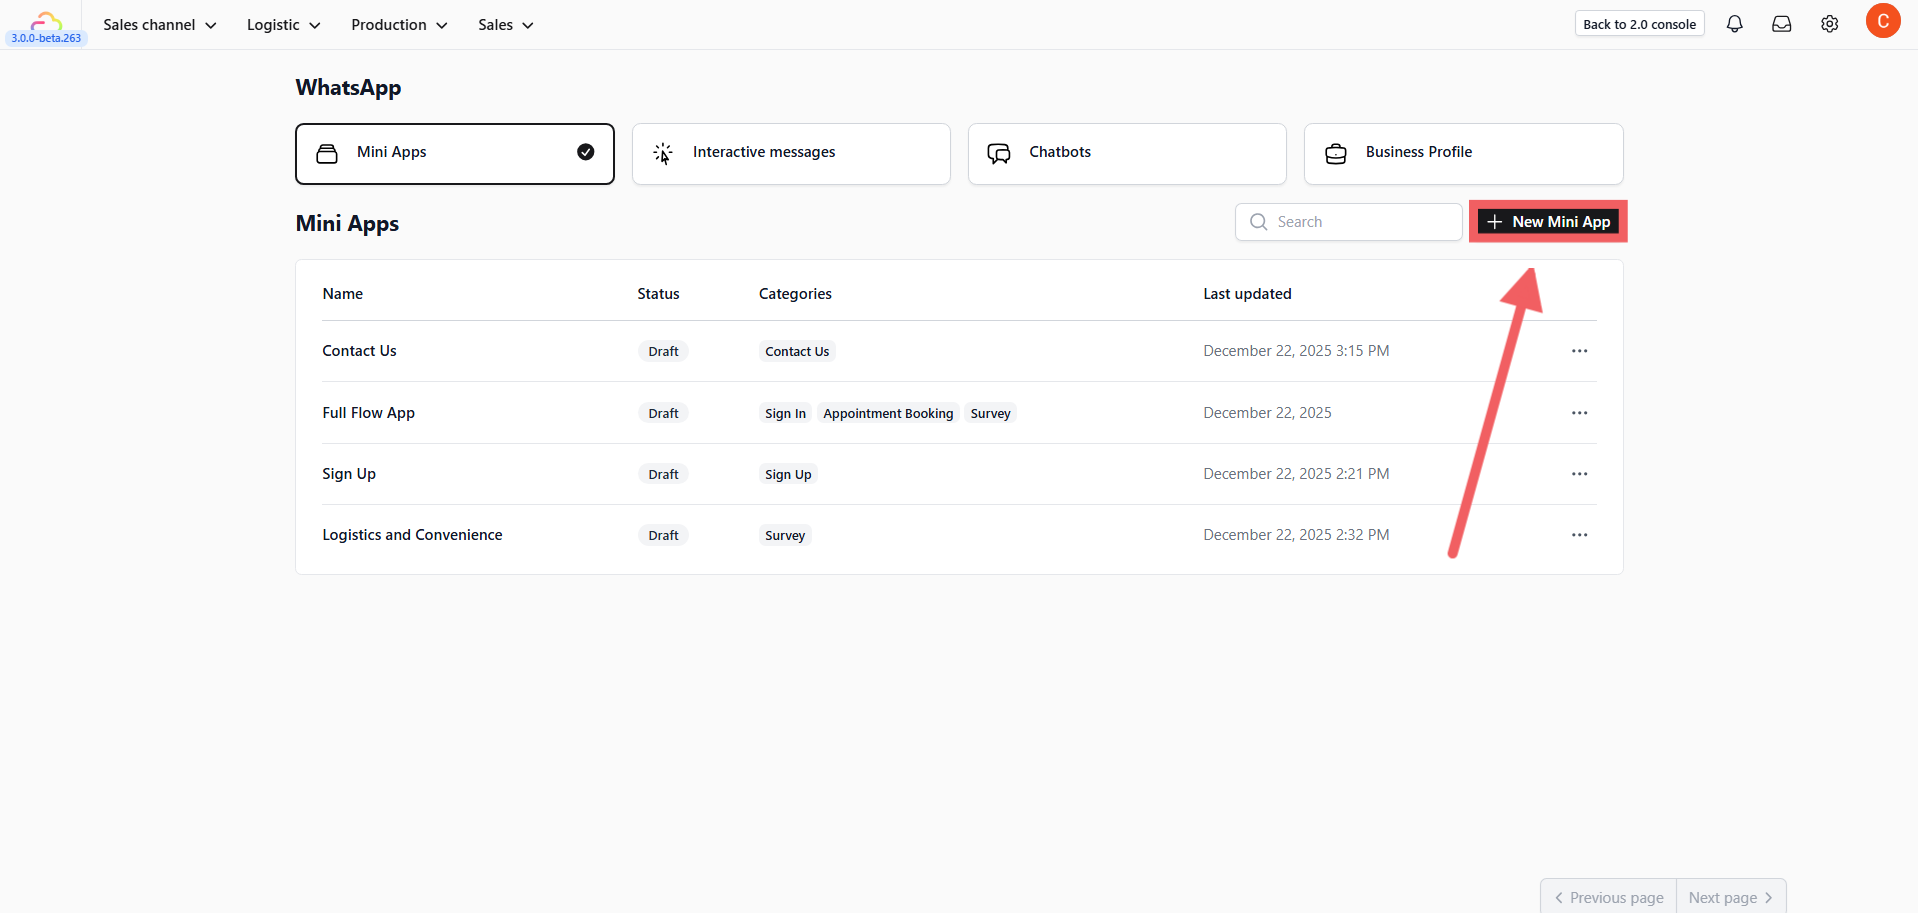
- Click the + New Mini App button.
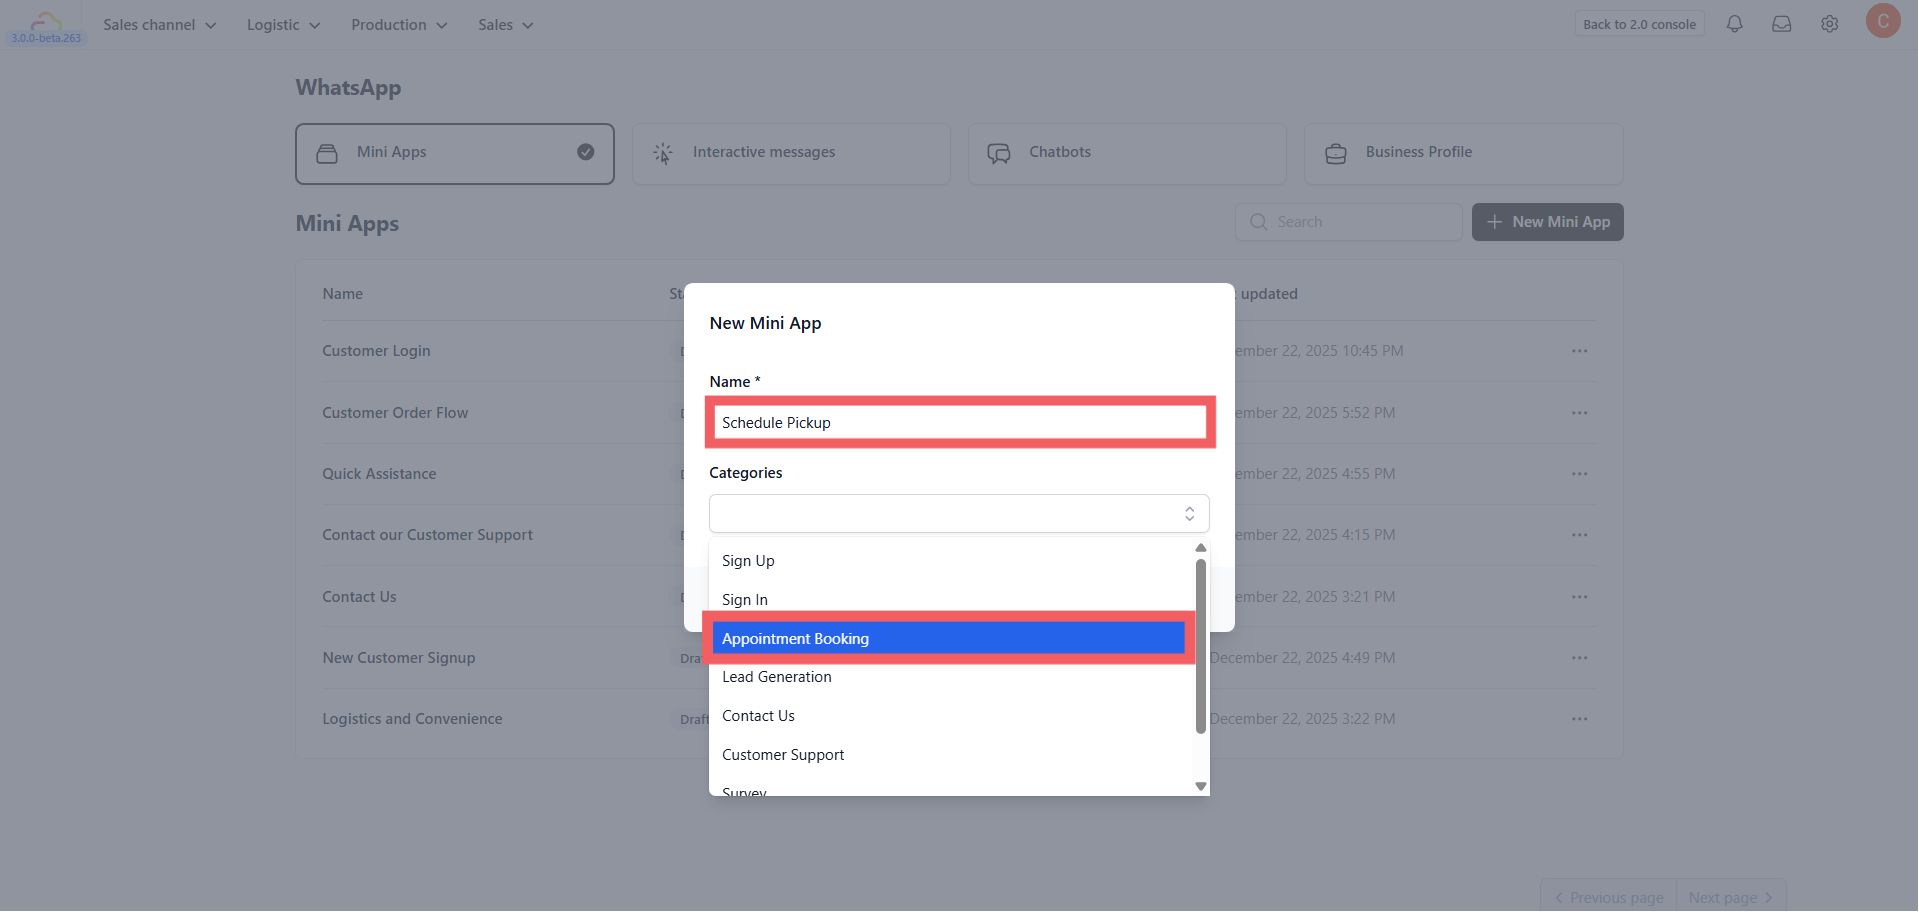
- In the popup window, configure the basics:
-
Name: Enter a unique name (e.g., “Schedule Pickup”).
-
Categories: Select Appointment Booking.
- Click Create.
2. Add Screens (Setup Structure)
Since we want to show a confirmation message after the user submits the form, we need to create two separate screens first.
-
Find your new app in the list, click •••, and select Edit.
-
Create Screen 1:
- Click + Add New Screen, name it booking_page, and click Add.
- Create Screen 2:
- Click + Add New Screen again, name it thank_you_page, and click Add.
3. Build Screen 1: The Booking Form
A. Add Service Selection (Radio Buttons)
-
Click + Add Block and choose Radio Buttons.
-
Data Field: Select Pickup Options.
-
Label: Enter “Pickup Options” or provided.
B. Add Date & Time (Date Picker & Chips)
Next, let the customer choose when they want the service.
- Date Picker:
-
Add a Date Picker block.
-
Set Data Field to Booking Date.
- Time Slot (Chips Selector):
-
Add a Chips Selector block.
-
Set Data Field to Time Slots.
4. Configure Footer Actions (Navigate to Next Screen)
Instead of finishing the flow immediately, we will direct the user to the Confirmation Page upon clicking the button.
-
Ensure you are in the Screen Settings for booking_page (click the screen name at the top).
-
Footer Action Type: Select Navigate to Screen.
-
Navigate to Screen: Select thank_you_page from the list.
-
Action Label: Enter “Next” or “Confirm”.
5. Build Screen 2: The Confirmation Page
Now, select thank_you_page from the left sidebar to design the success message.
- Add Message:
-
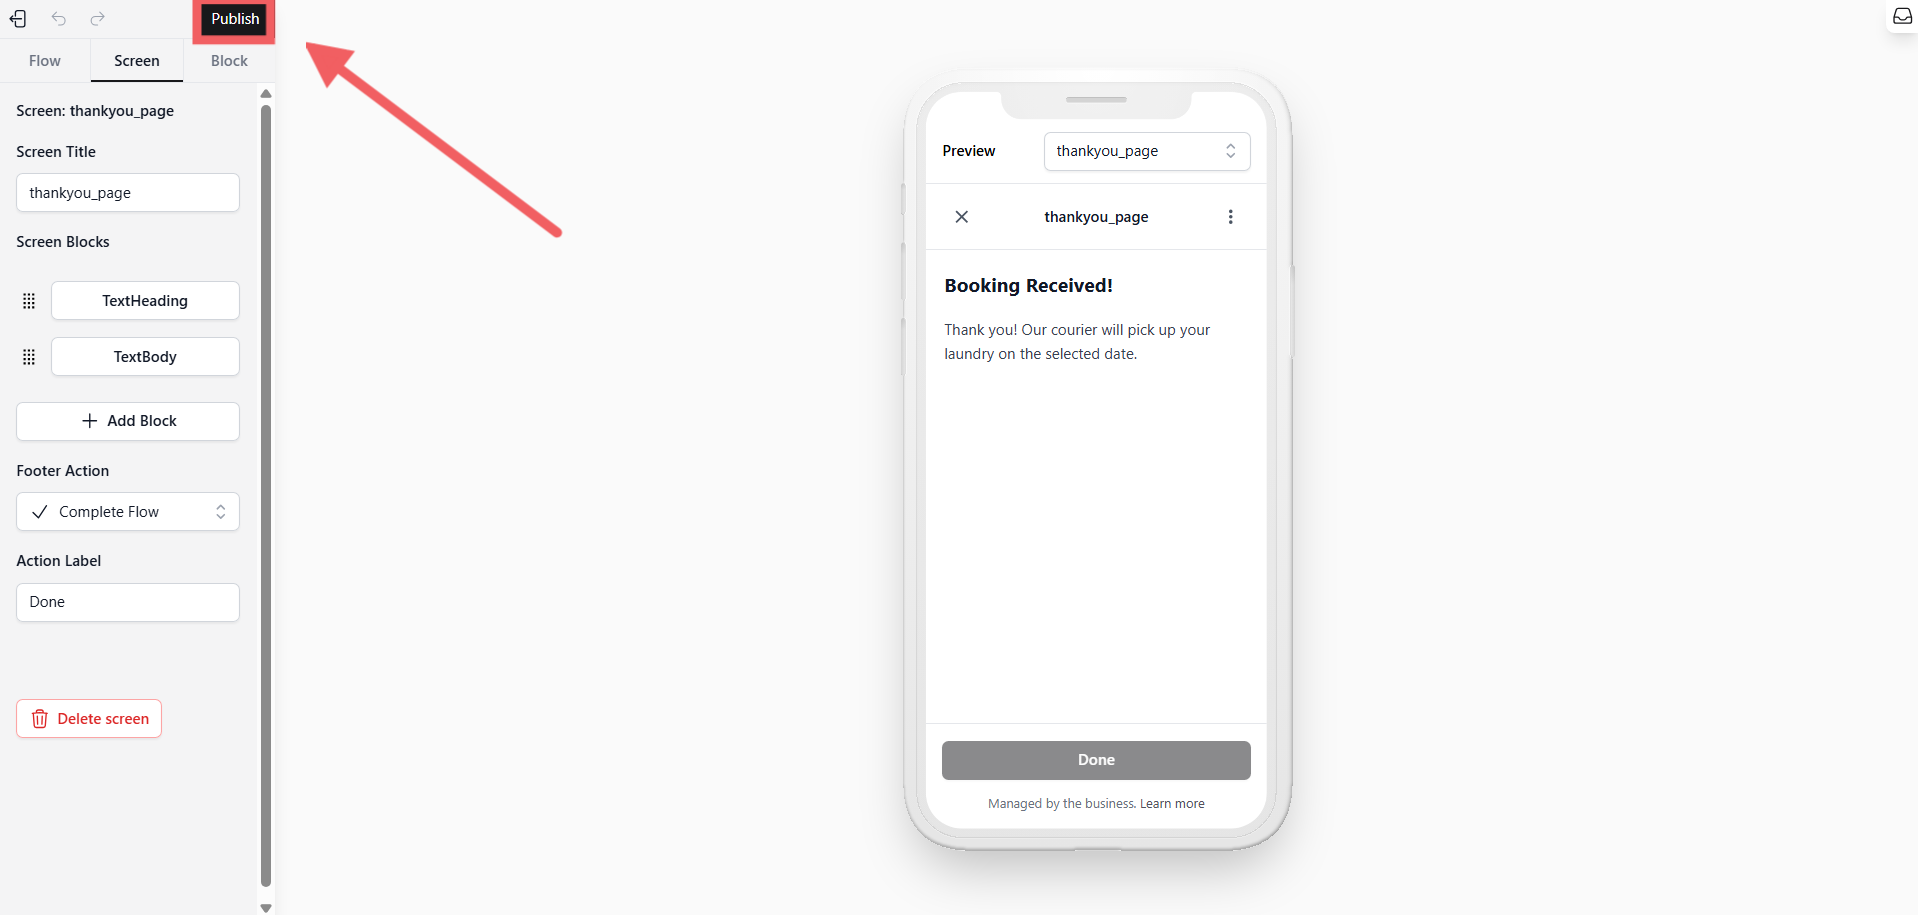
Add a Heading block: “Booking Received”.
-
Add a Body block: “Thank you! Our courier will pick up your laundry on the selected date.”
- Configure Footer:
-
Footer Action Type: Select Complete Flow.
-
Action Label: Enter “Done”.
6. Publish
-
Click the Publish button at the top left of the editor.
-
Your Mini App is now live and ready for use in Interactive Messages.
[Go to Interactive Messages Settings]