Where to Find Receipt Templates
The Close of Day Report template lives under Settings, in the same Receipt Templates list as your POS and mobile print layouts.
-
Click the ⚙️ Settings icon in the top-right corner.
-
Under the Library section, click Receipt template.
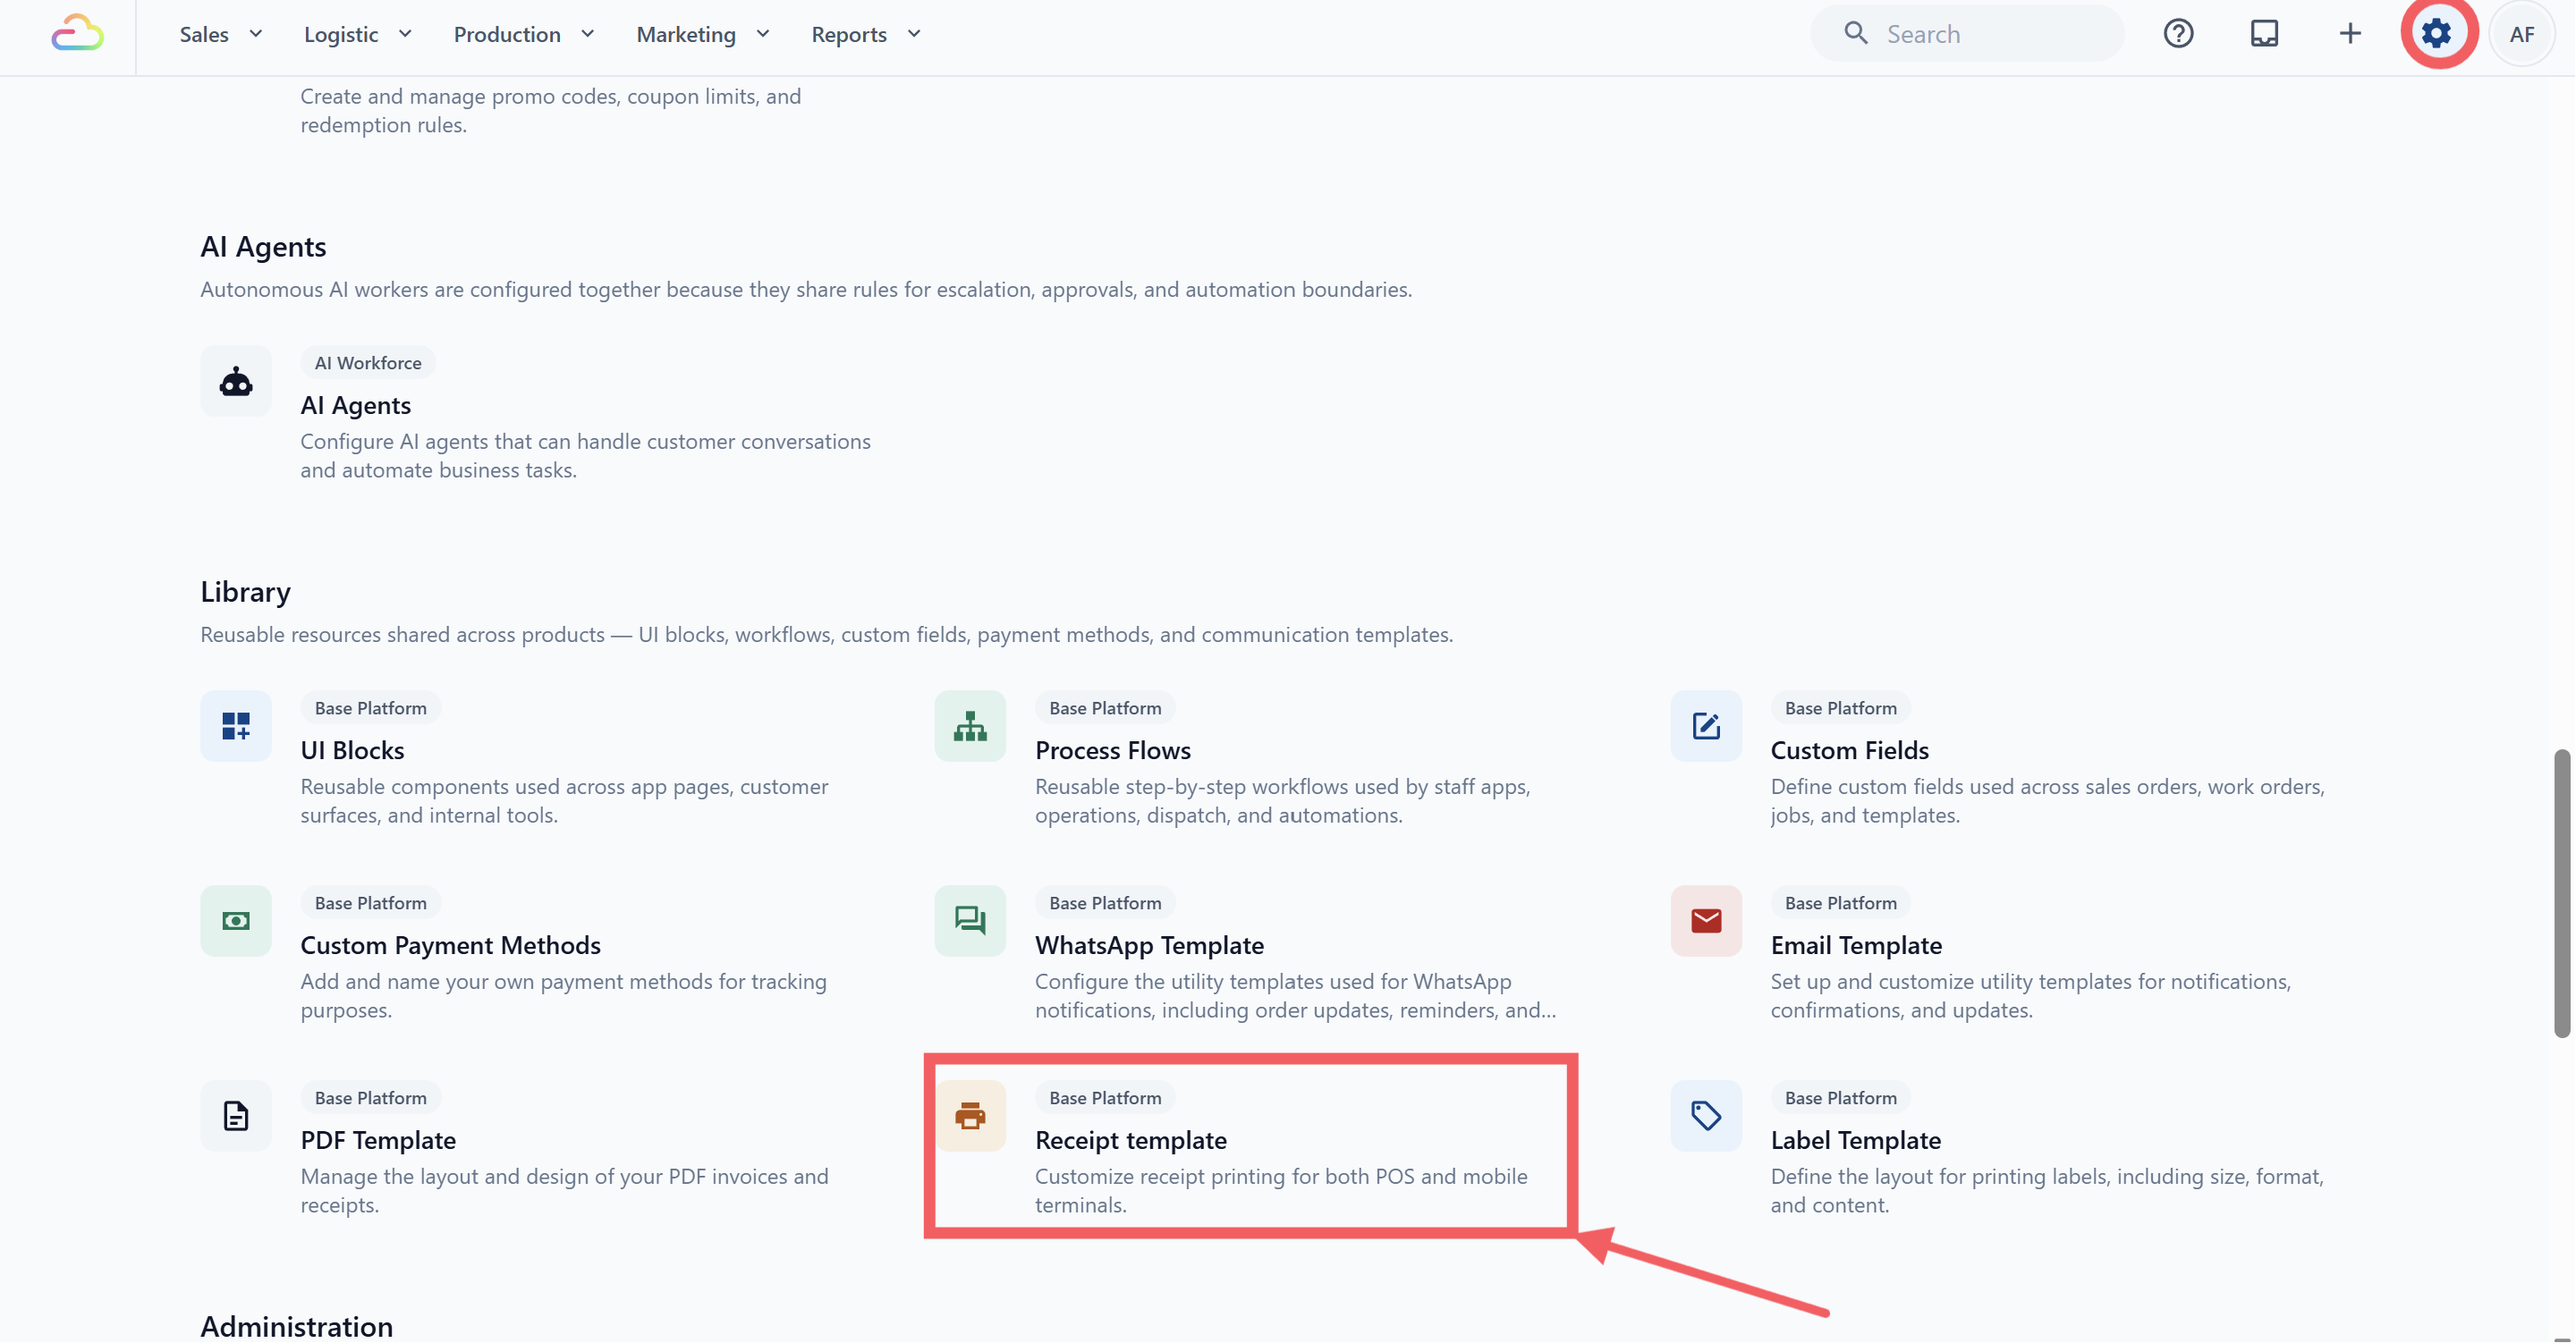
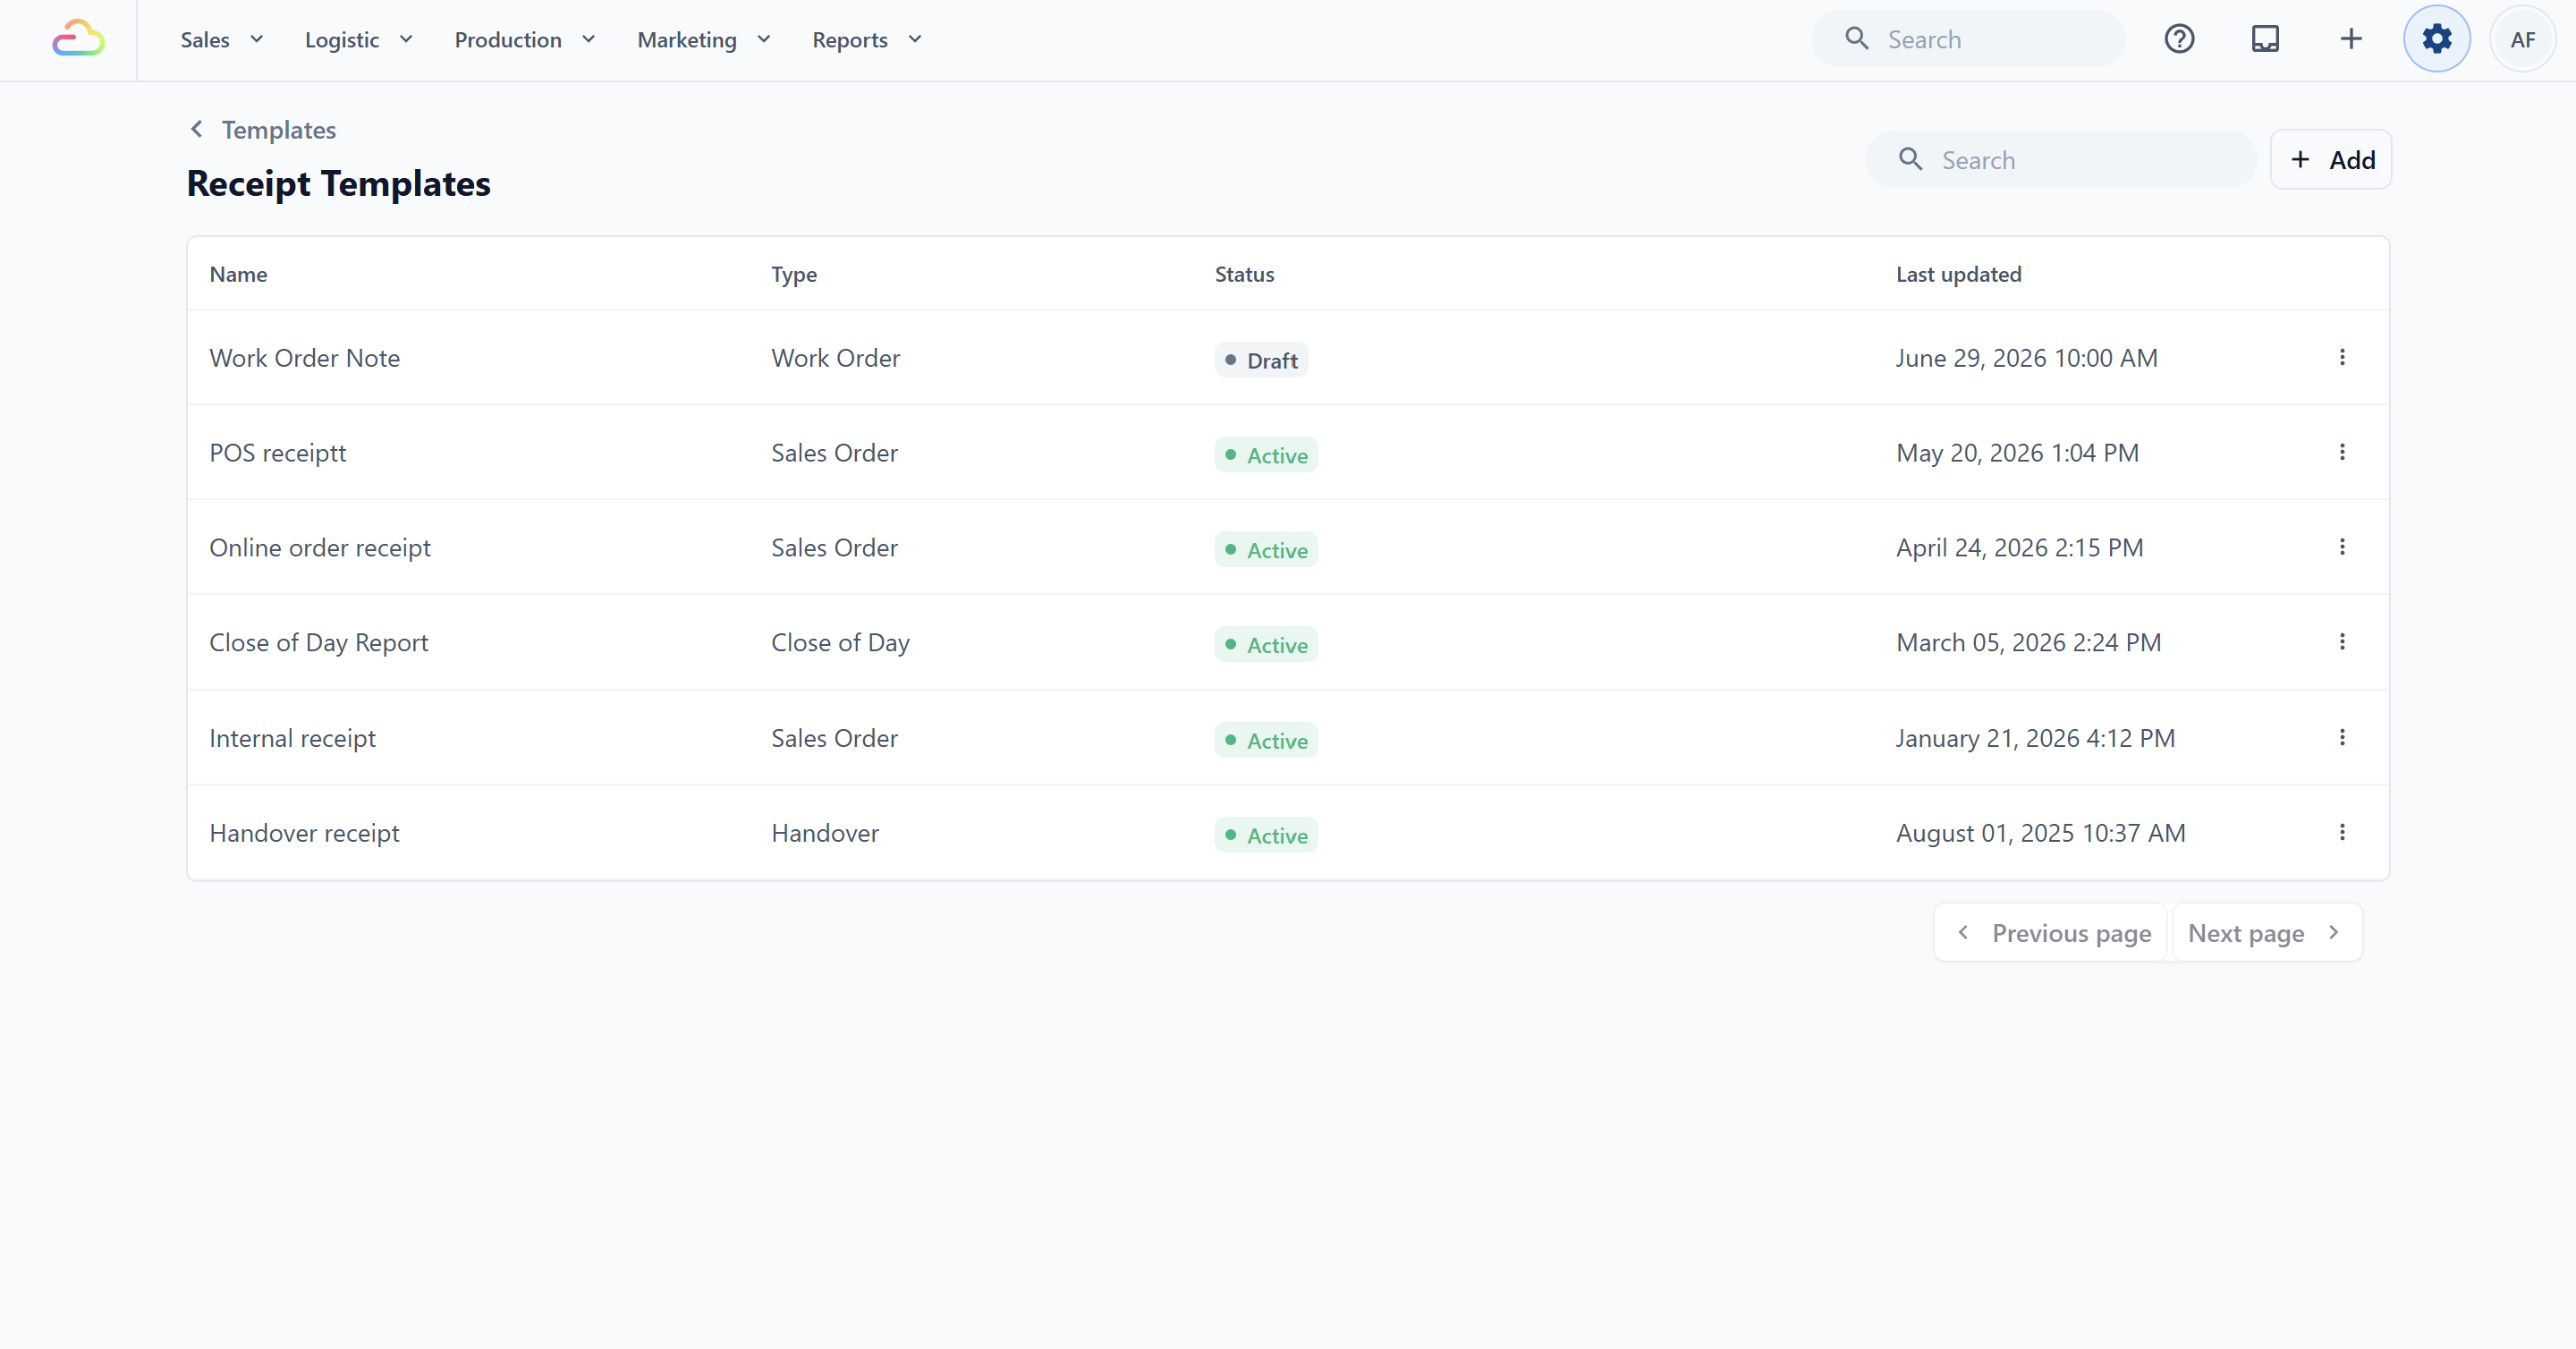
- The page that opens is titled Receipt Templates.
Create the Close of Day Template
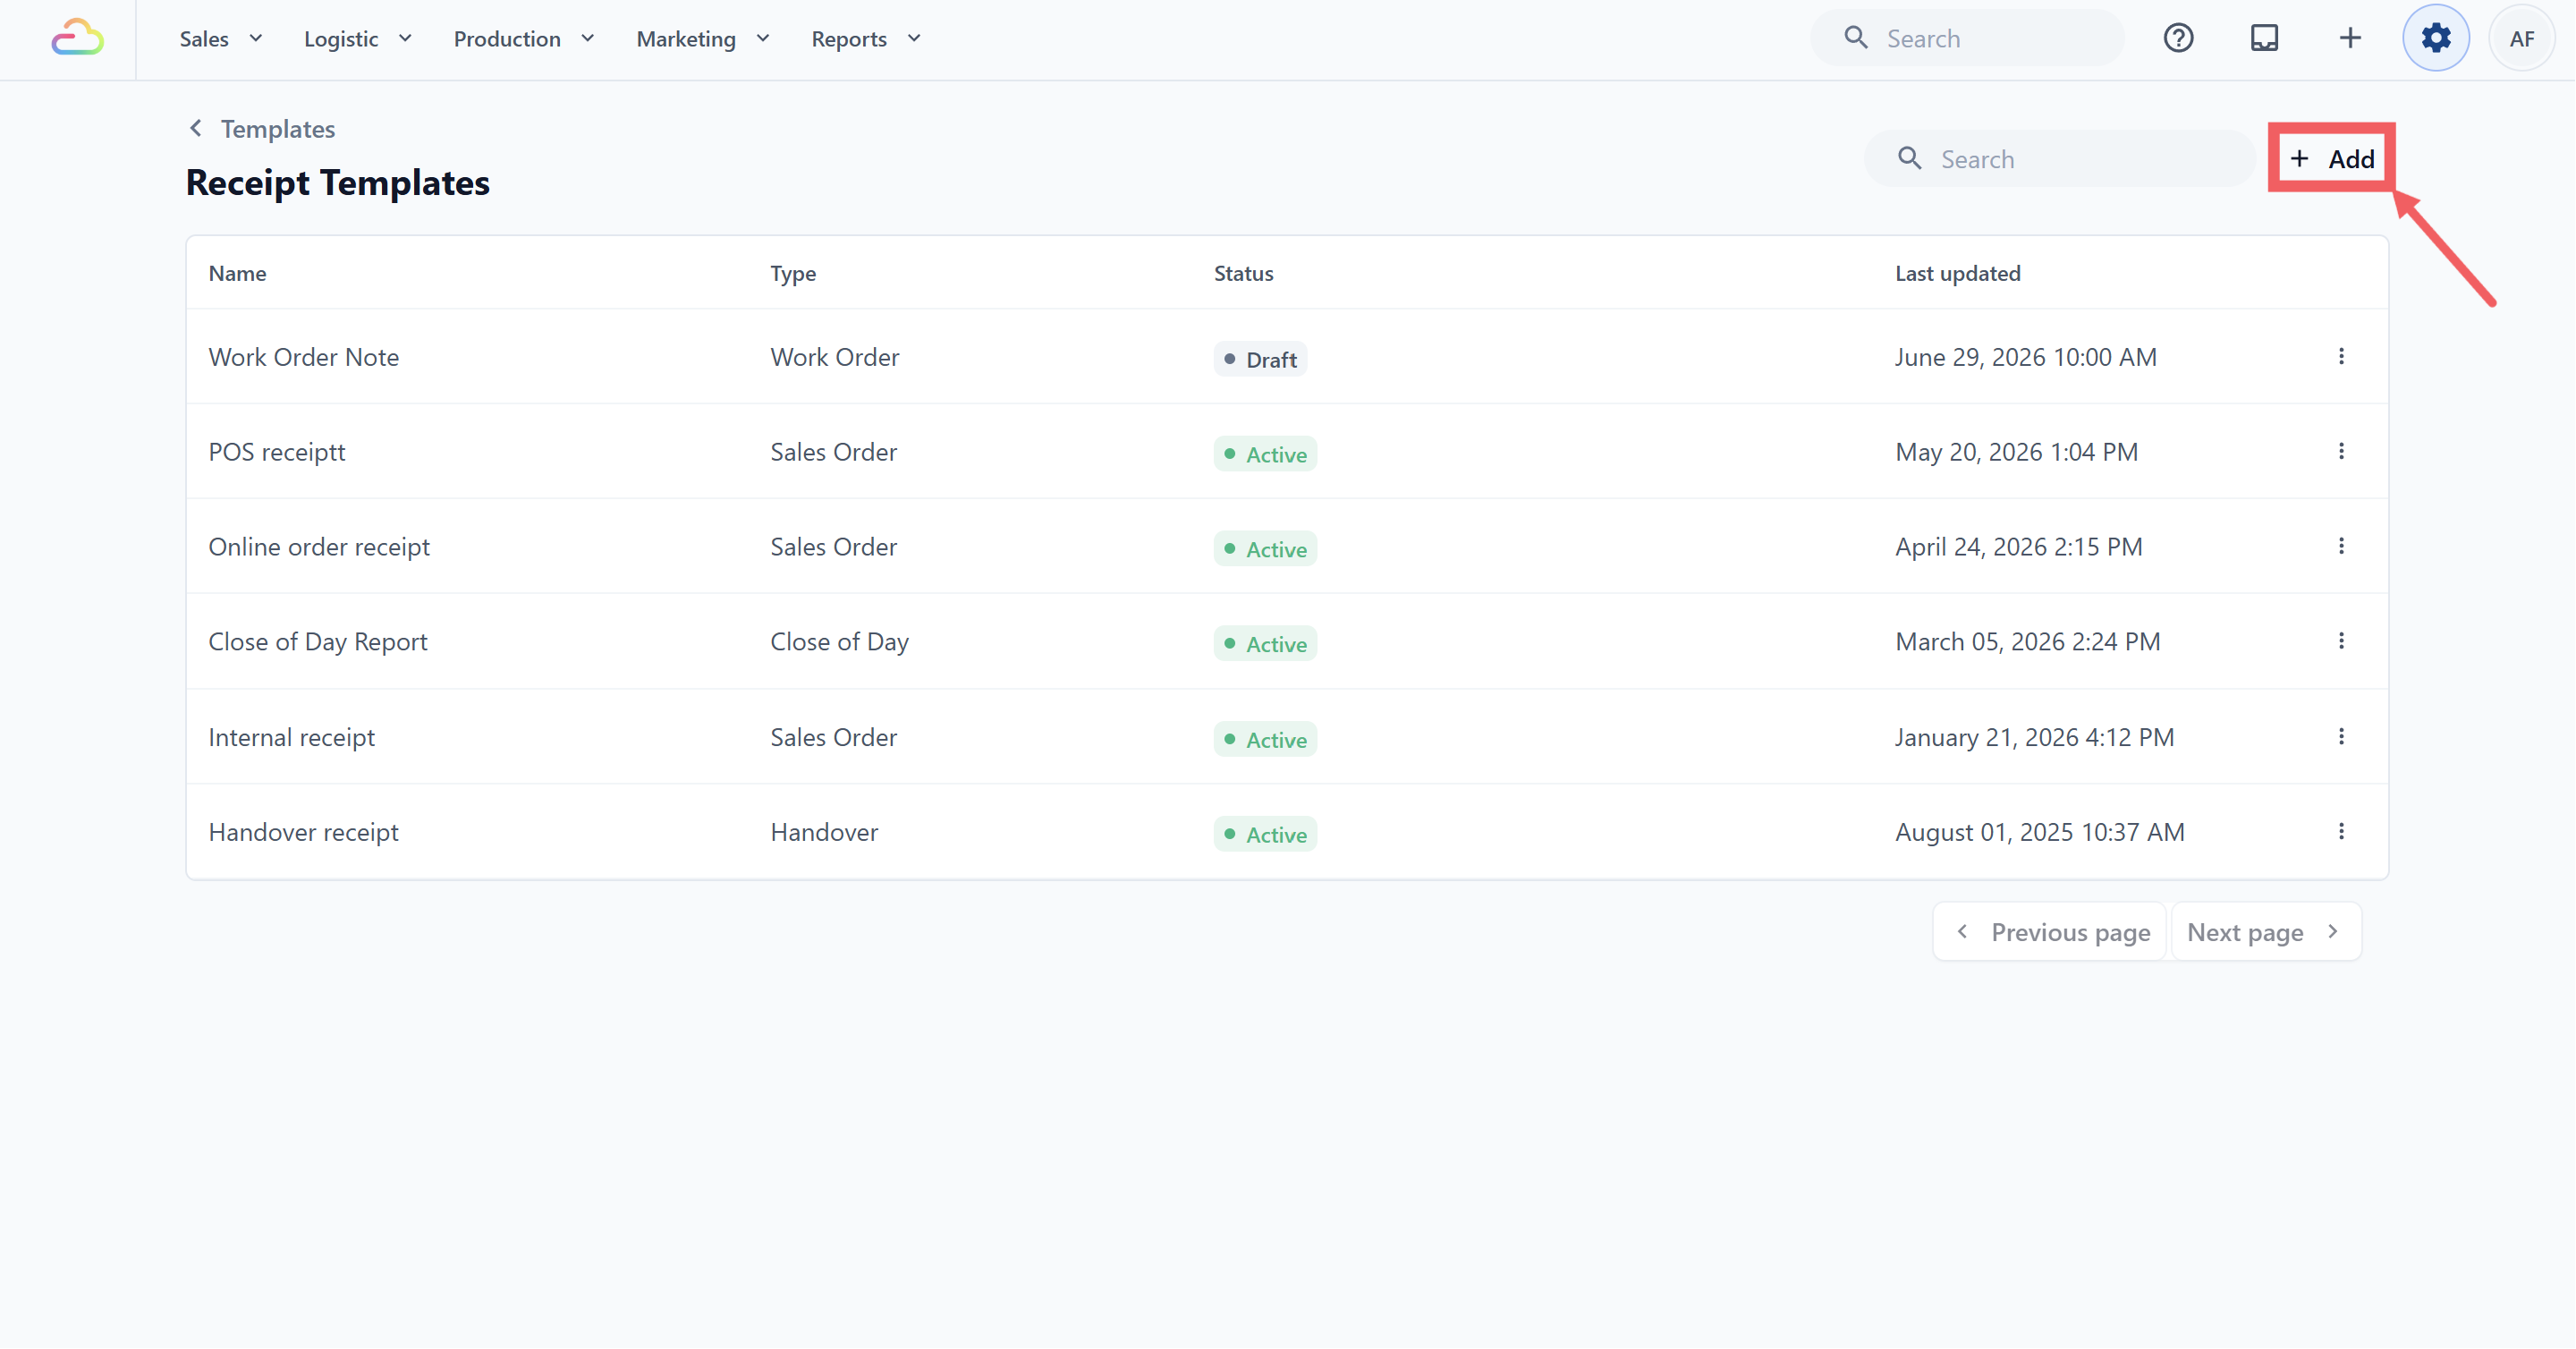
- From the Receipt Templates page, click + Add in the top right.
-
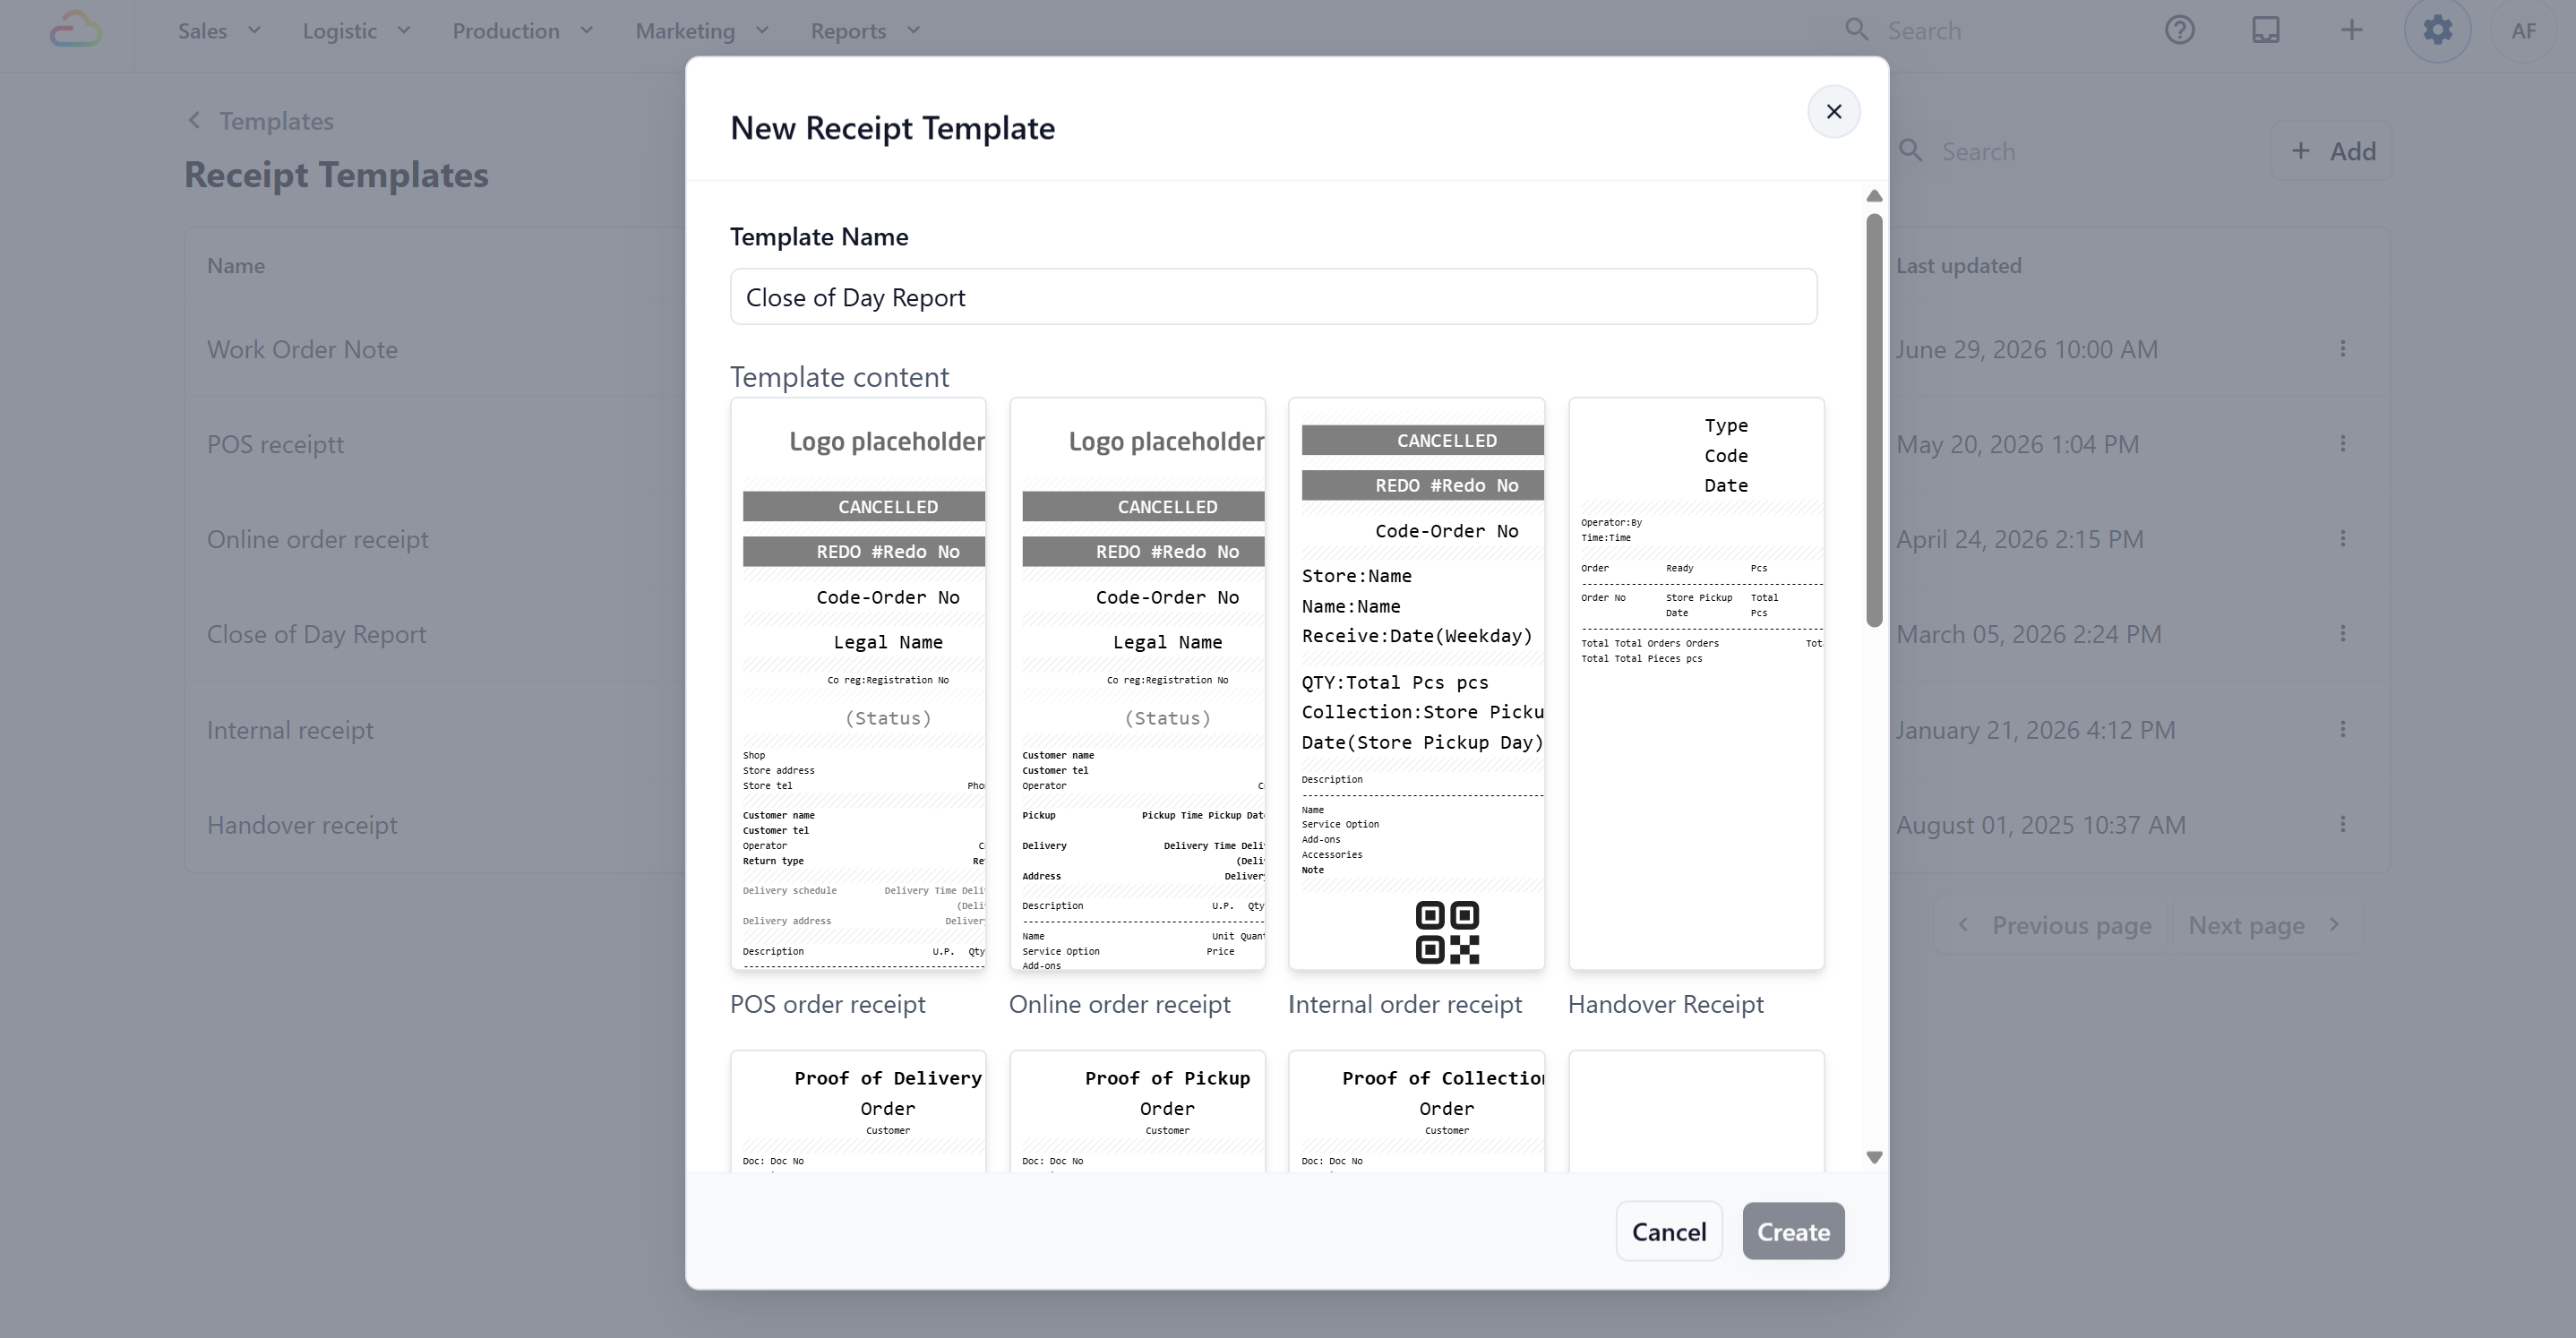
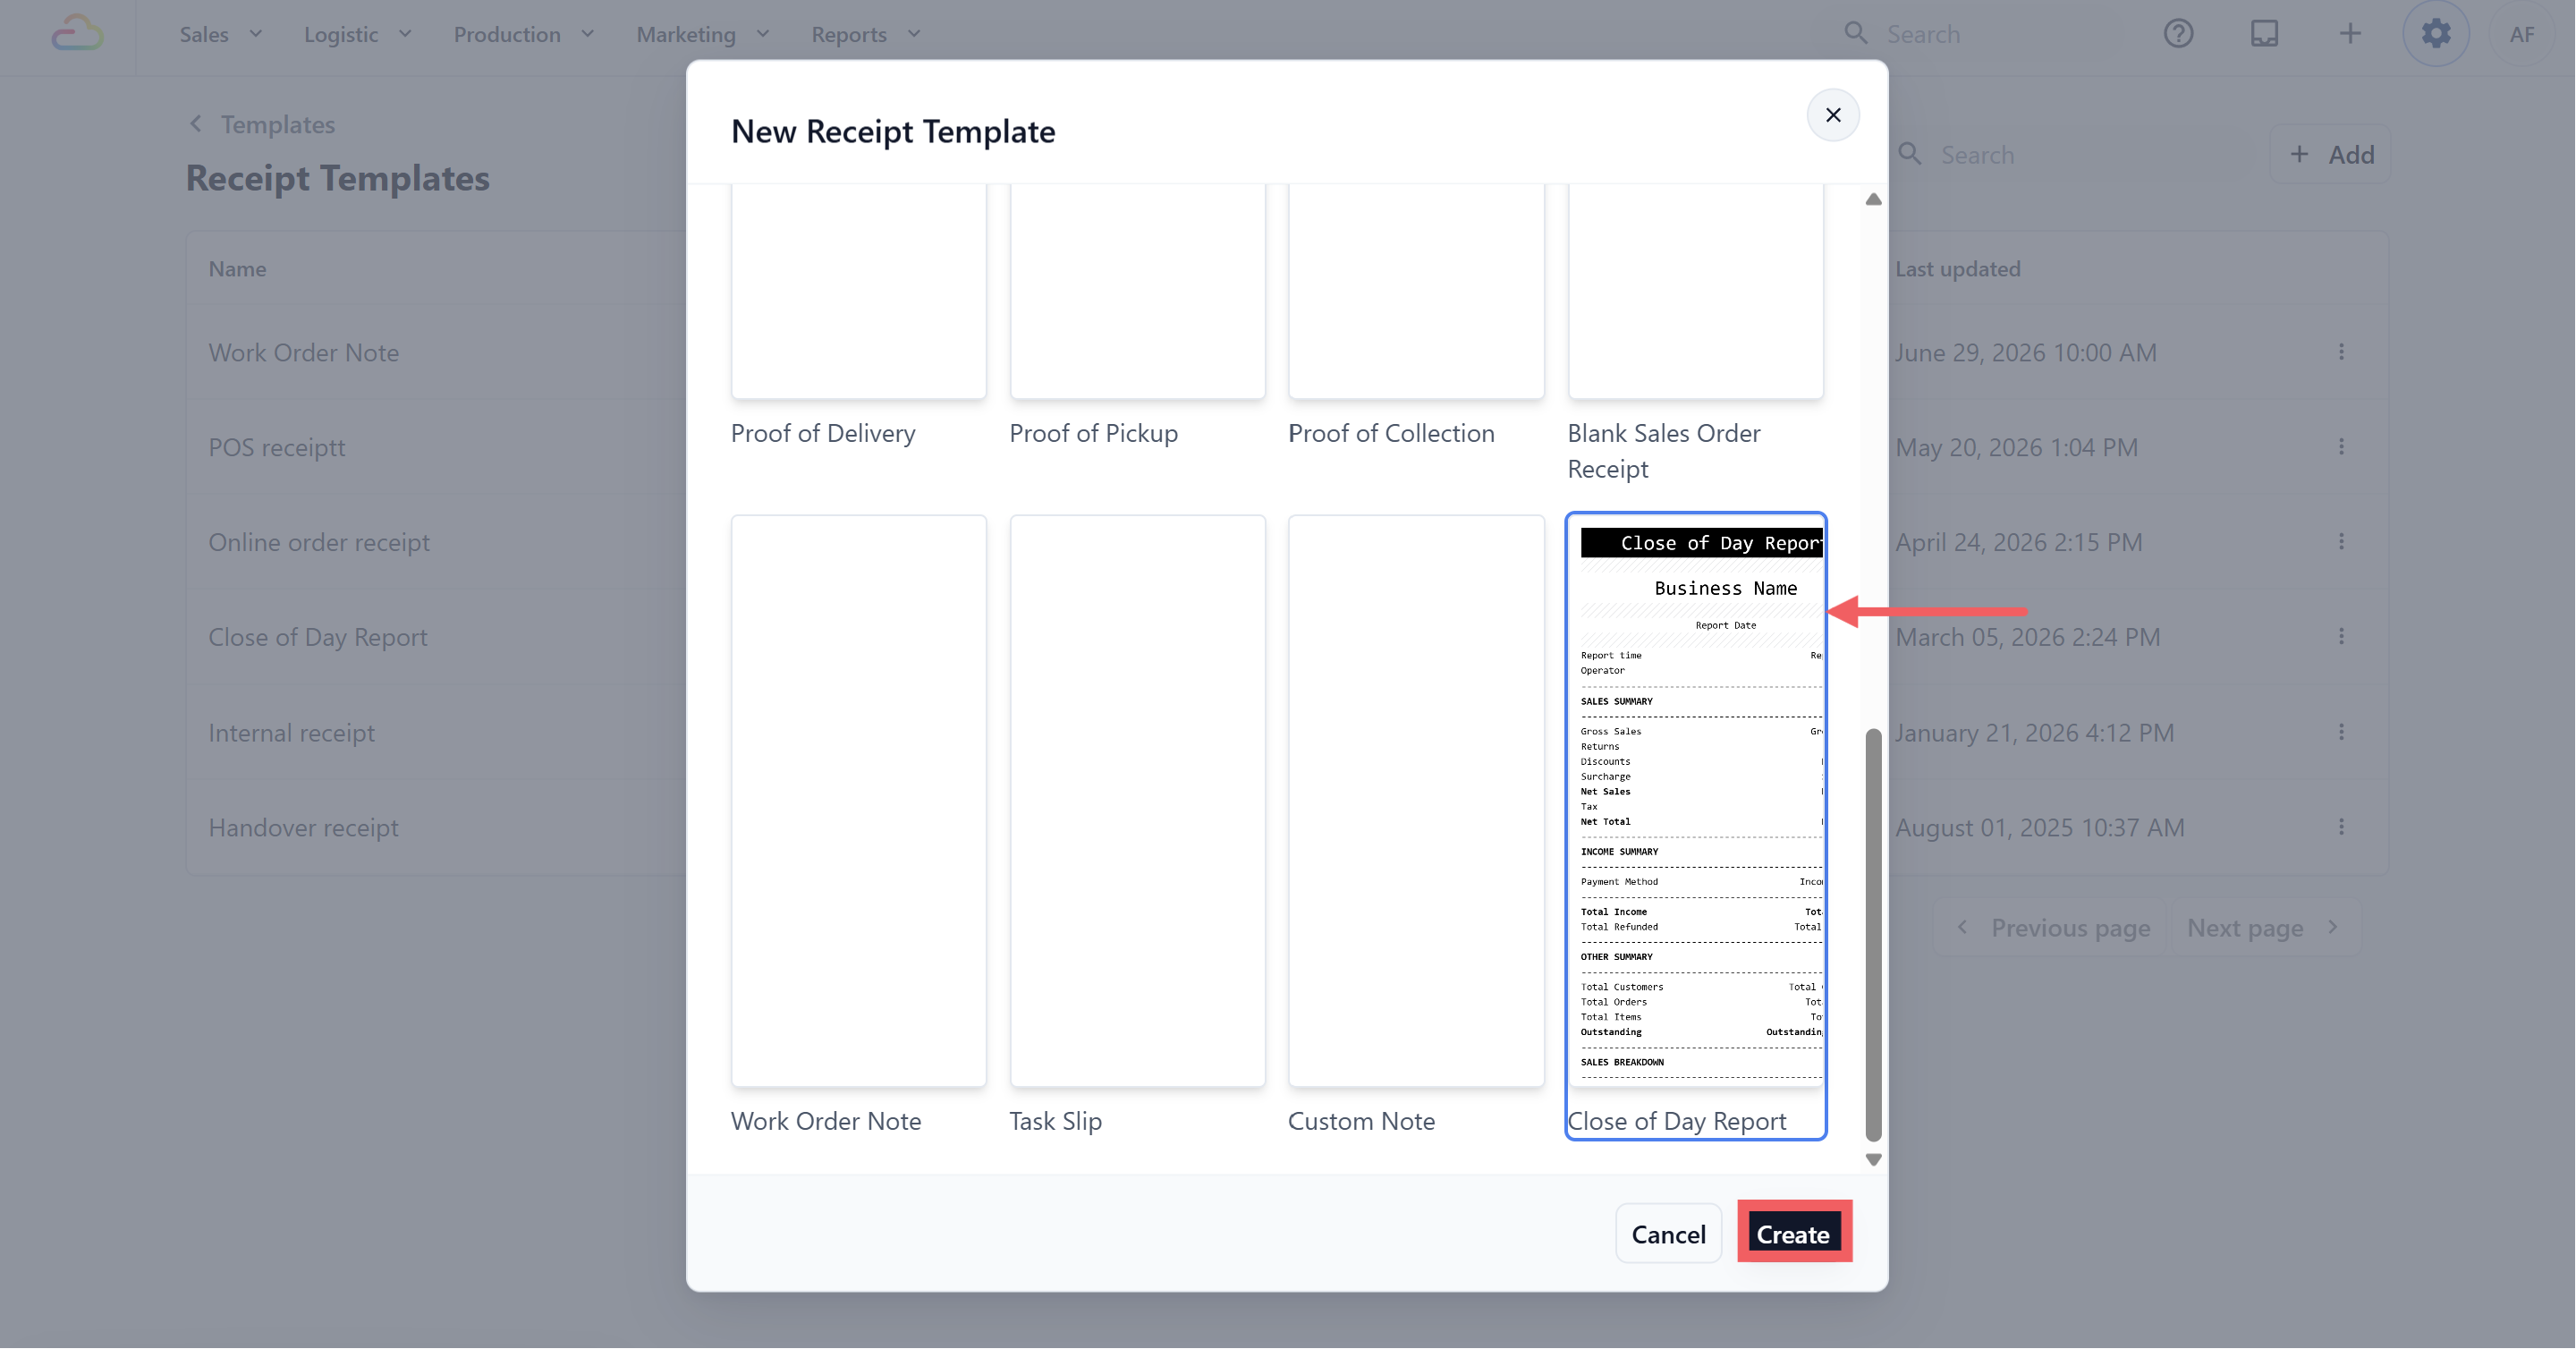
A pop-up titled New Receipt Template opens.
-
Enter a Template Name. For example, Close of Day Report.
-
Under Template content, click the Close of Day Report card.
-
Click Create.
After Creating the Template
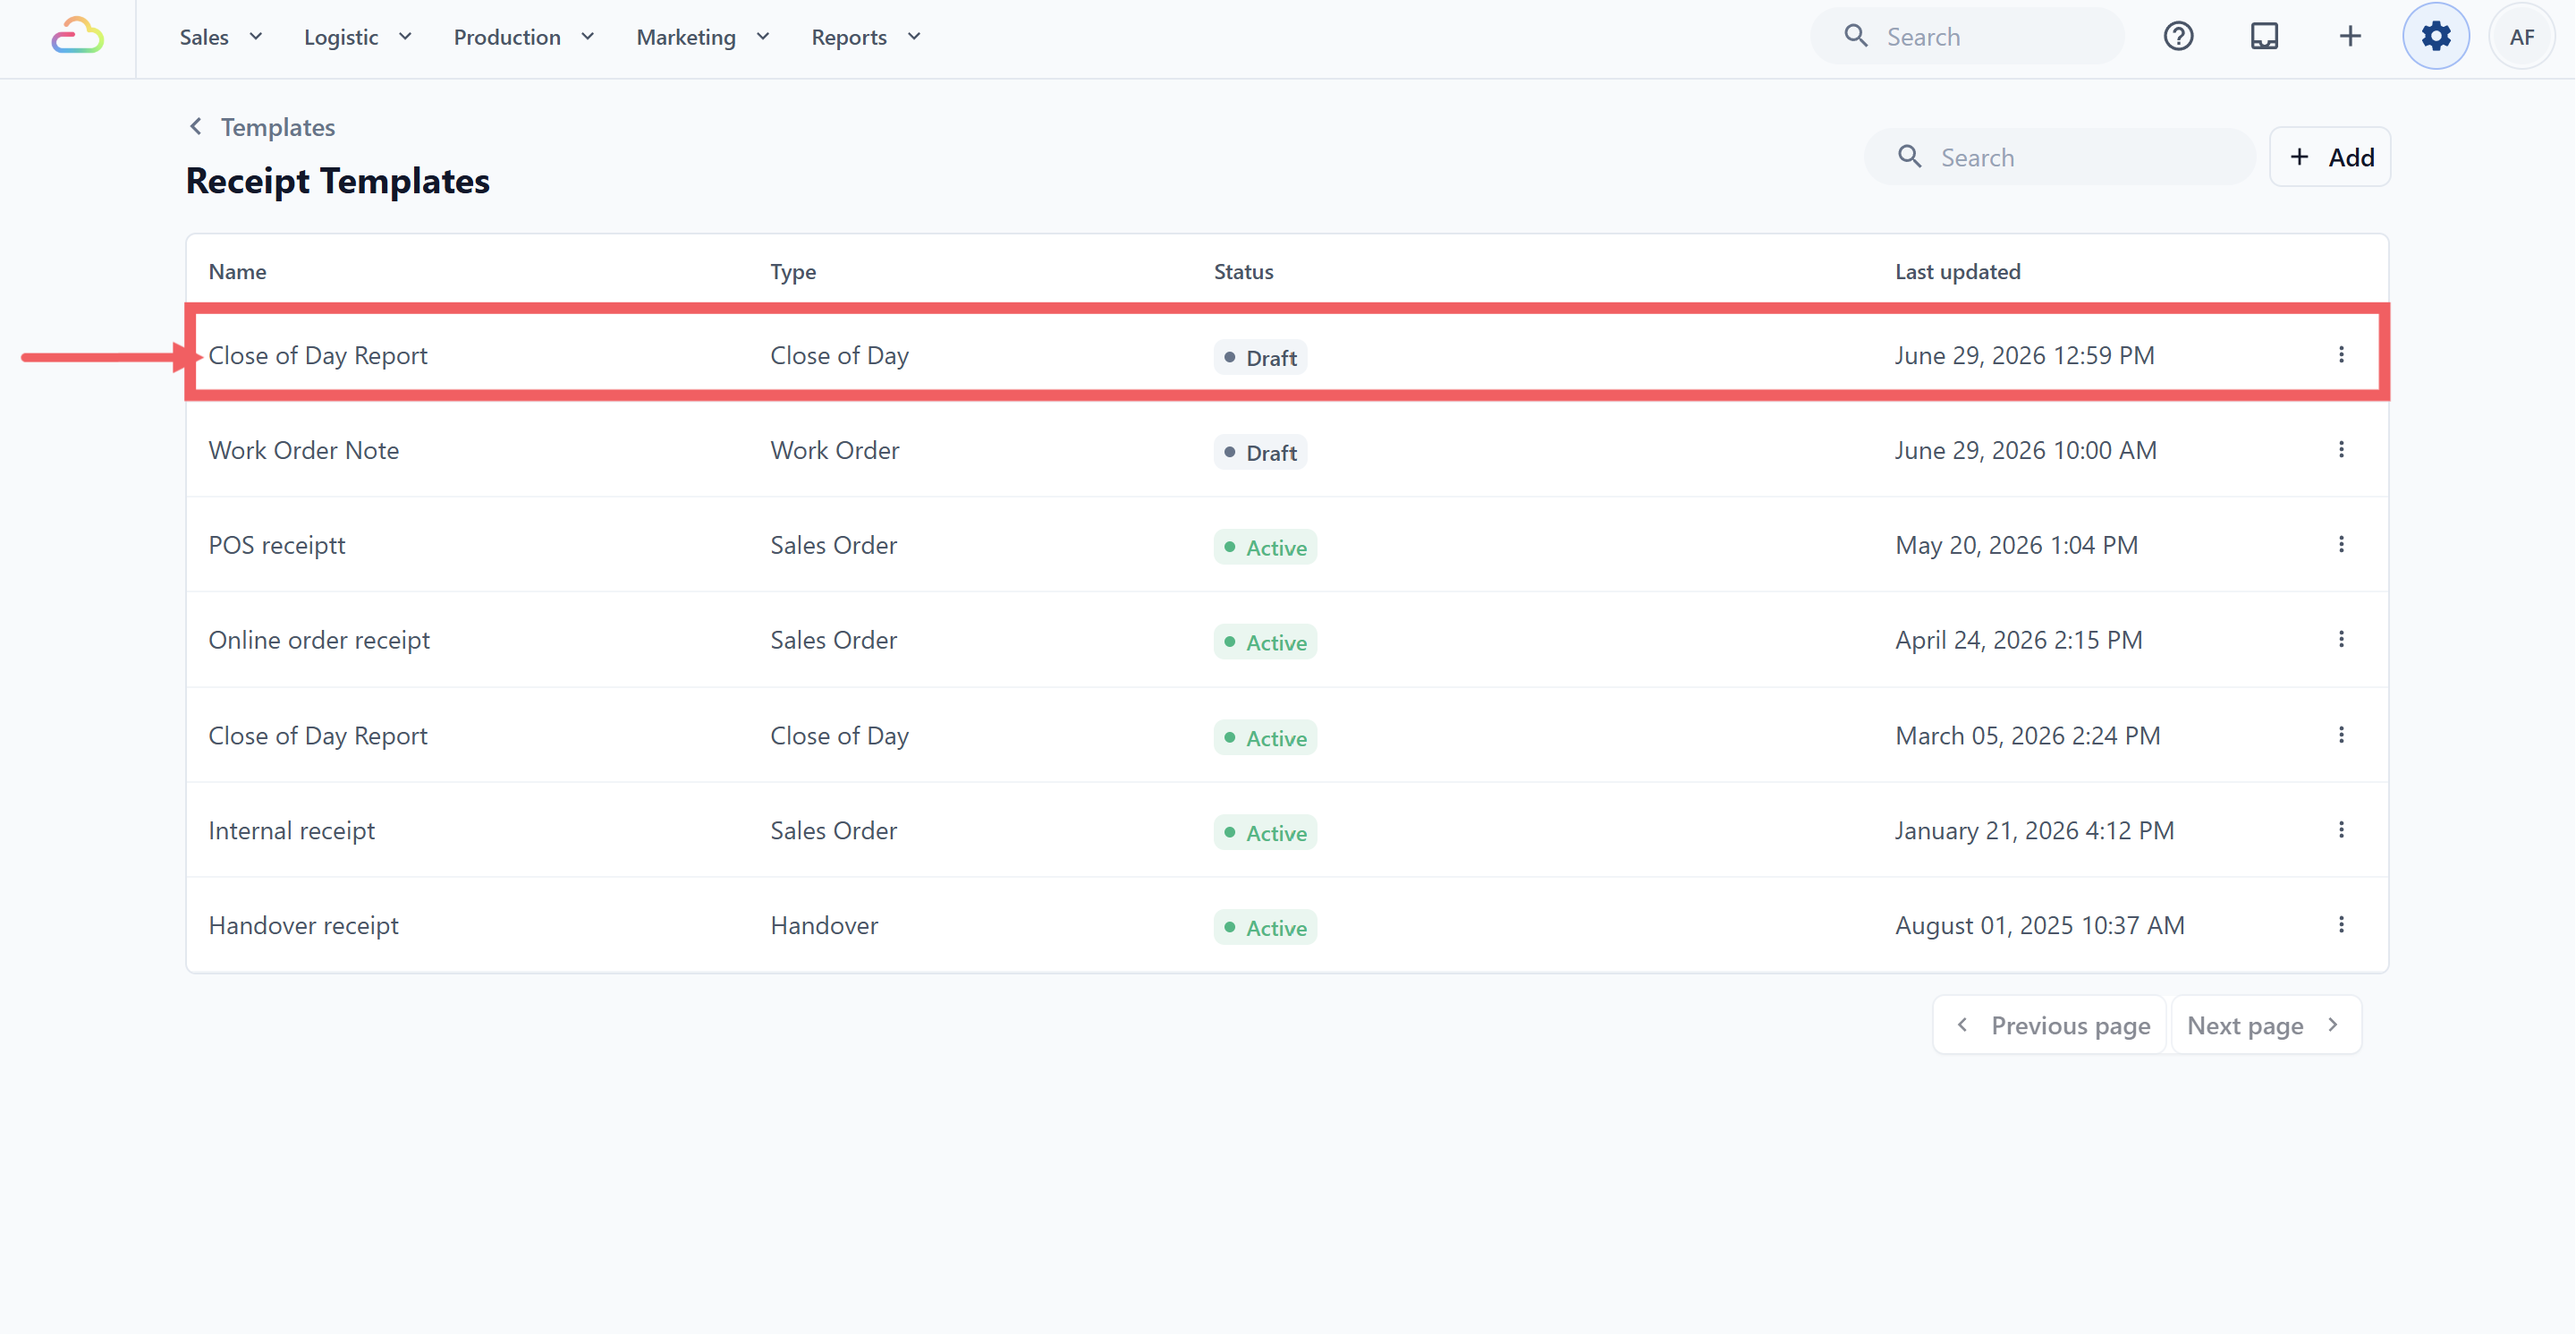
The new template appears as a row in the Receipt Templates list with these columns:
-
Name: the template name you entered.
-
Type: Close of Day.
-
Status: Active or Draft.
-
Last updated: the most recent edit time.
Edit the Template
After creating the template, you can adjust the wording and columns before publishing it.
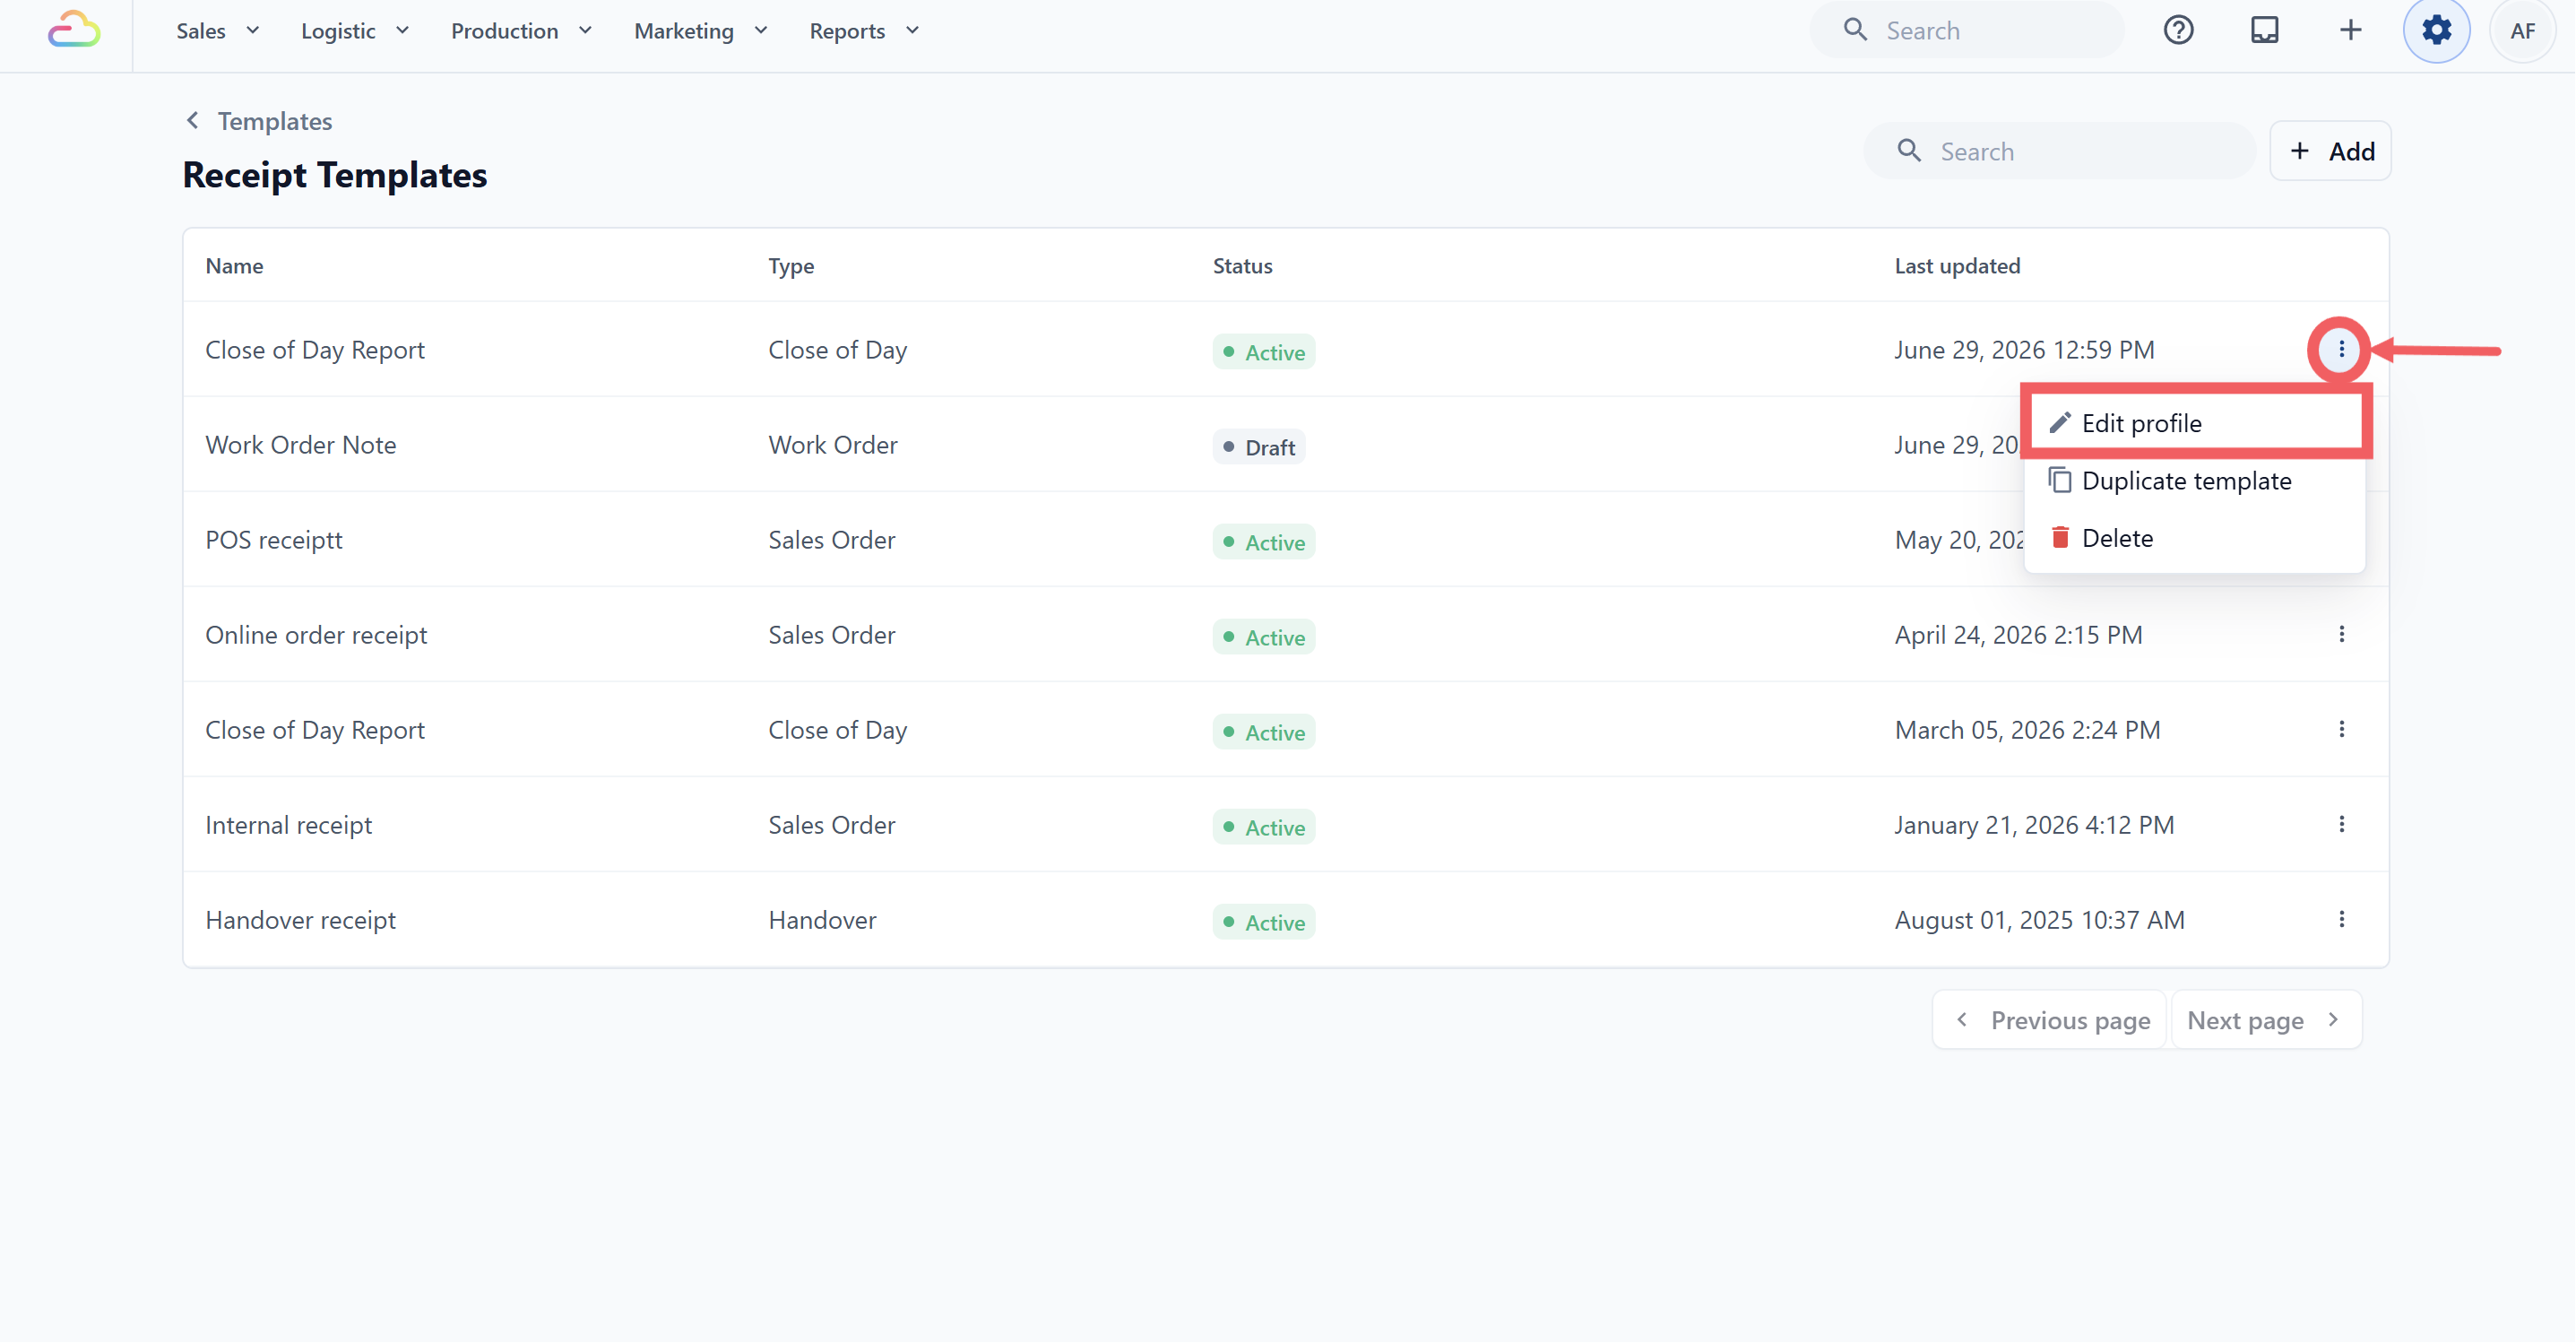
- To rename the template, click the ⠇ three-dot menu, then click Edit Profile.
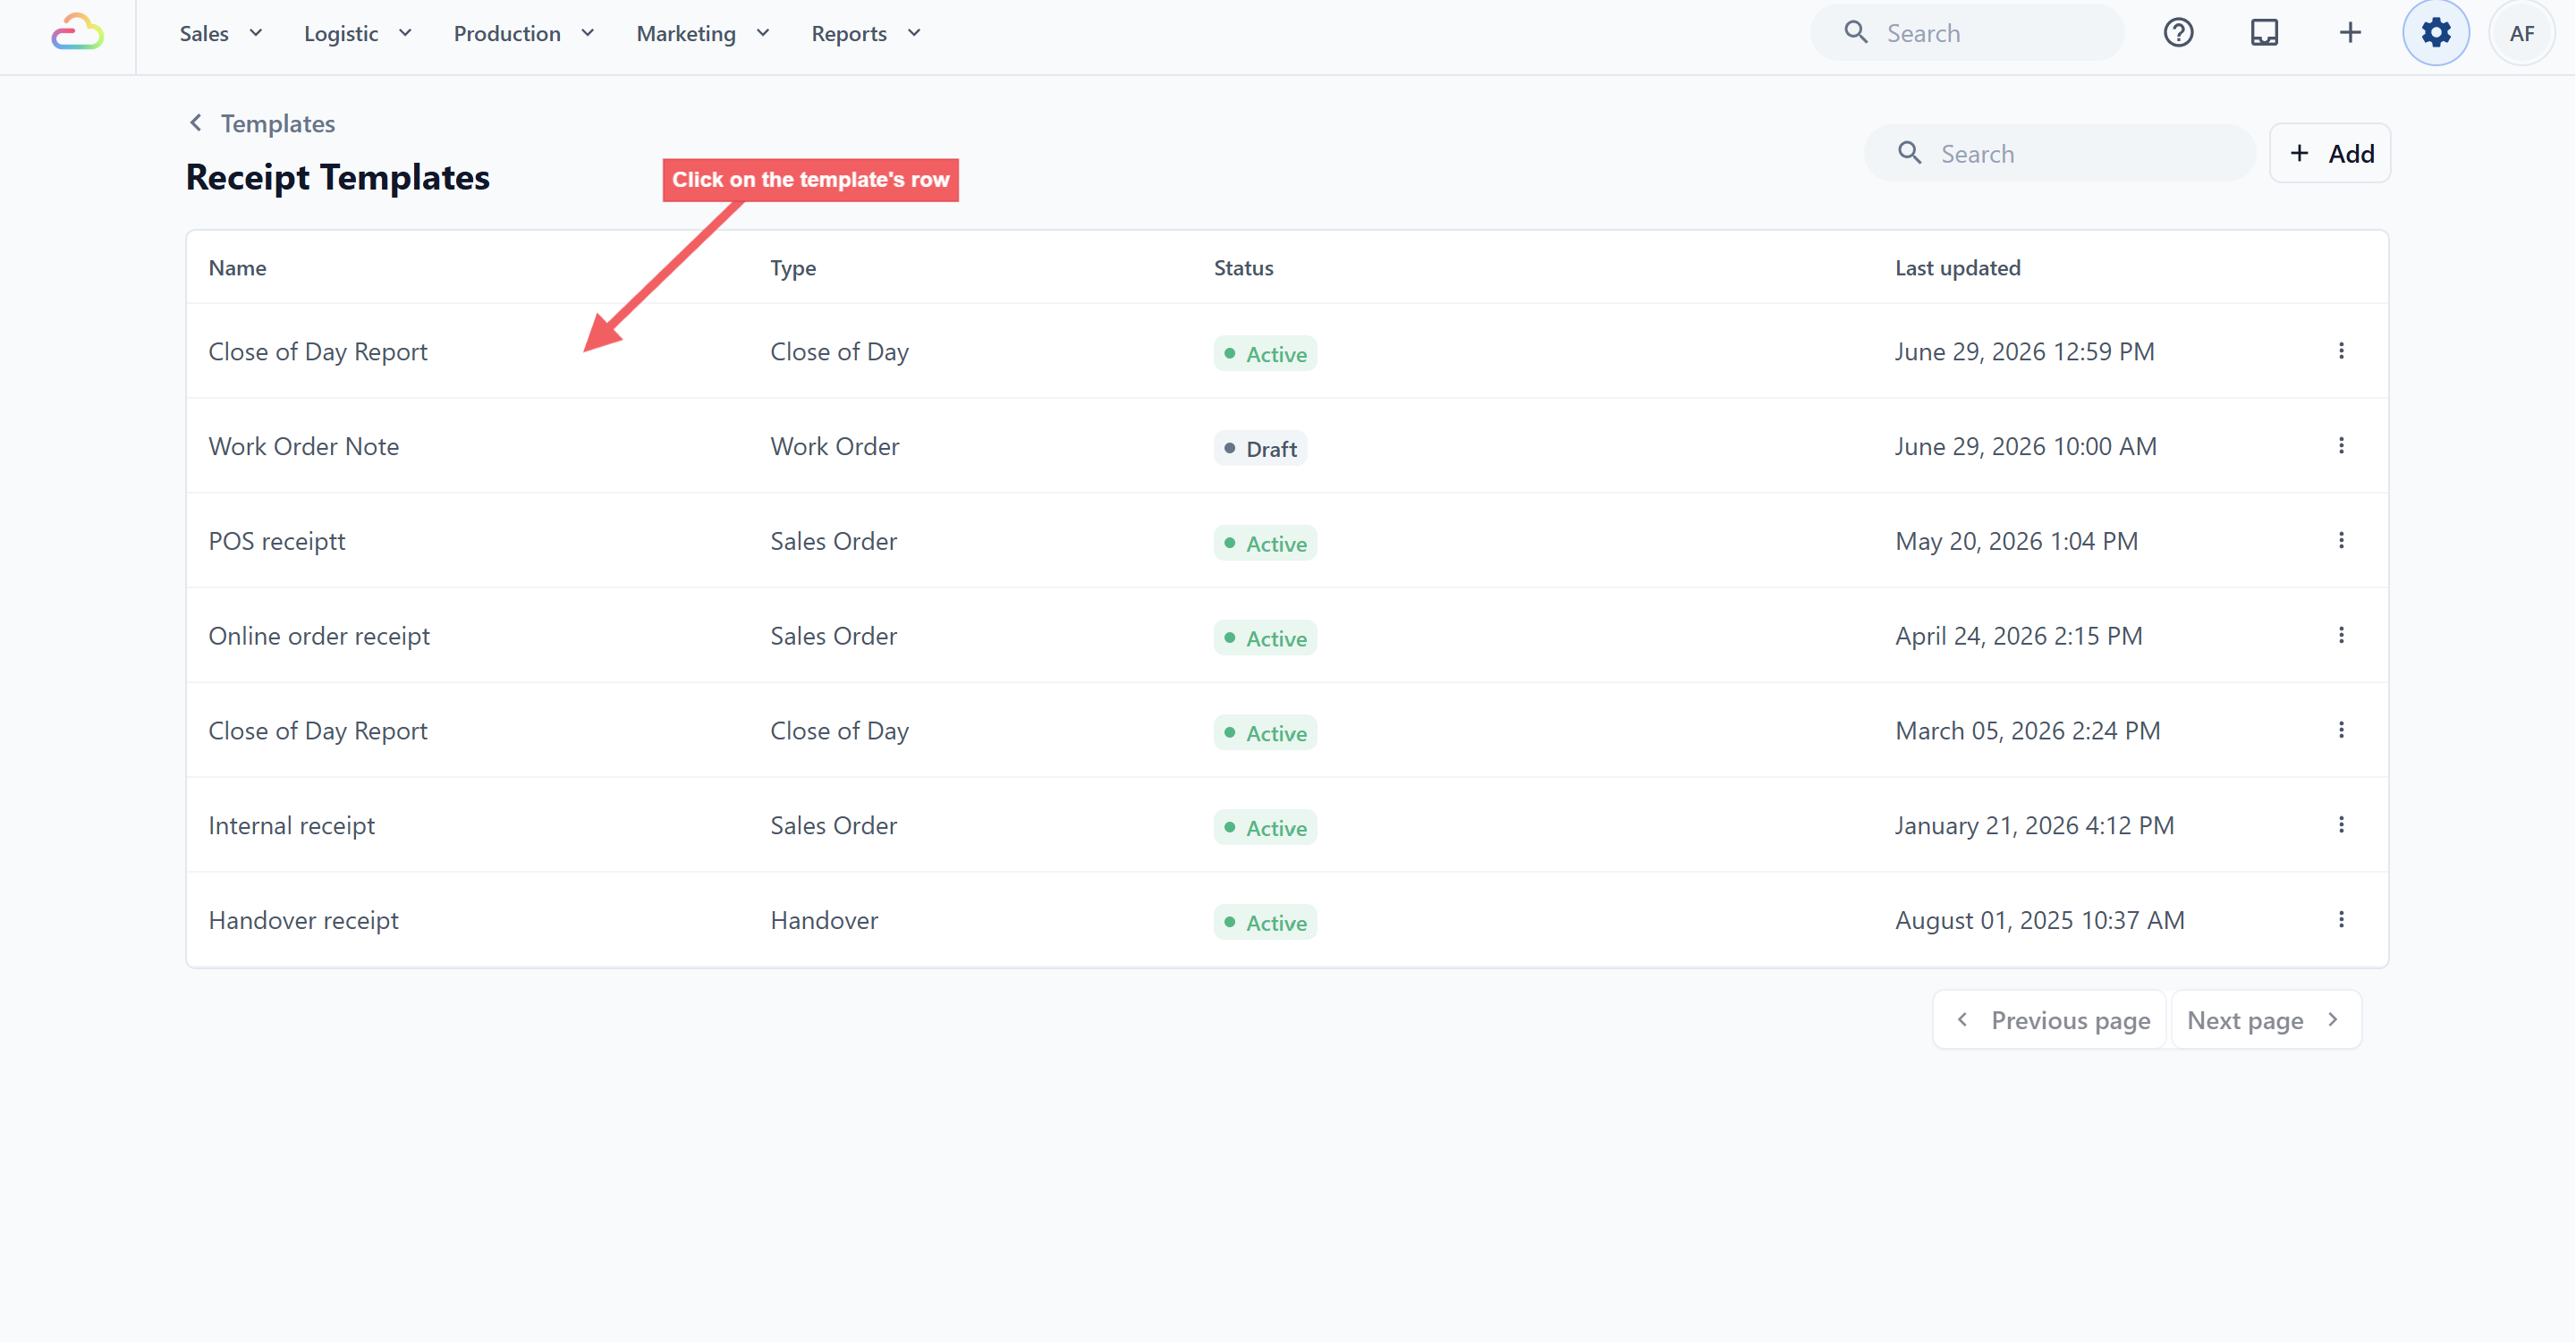
- To edit the report content, click the template row. This opens the template editor.
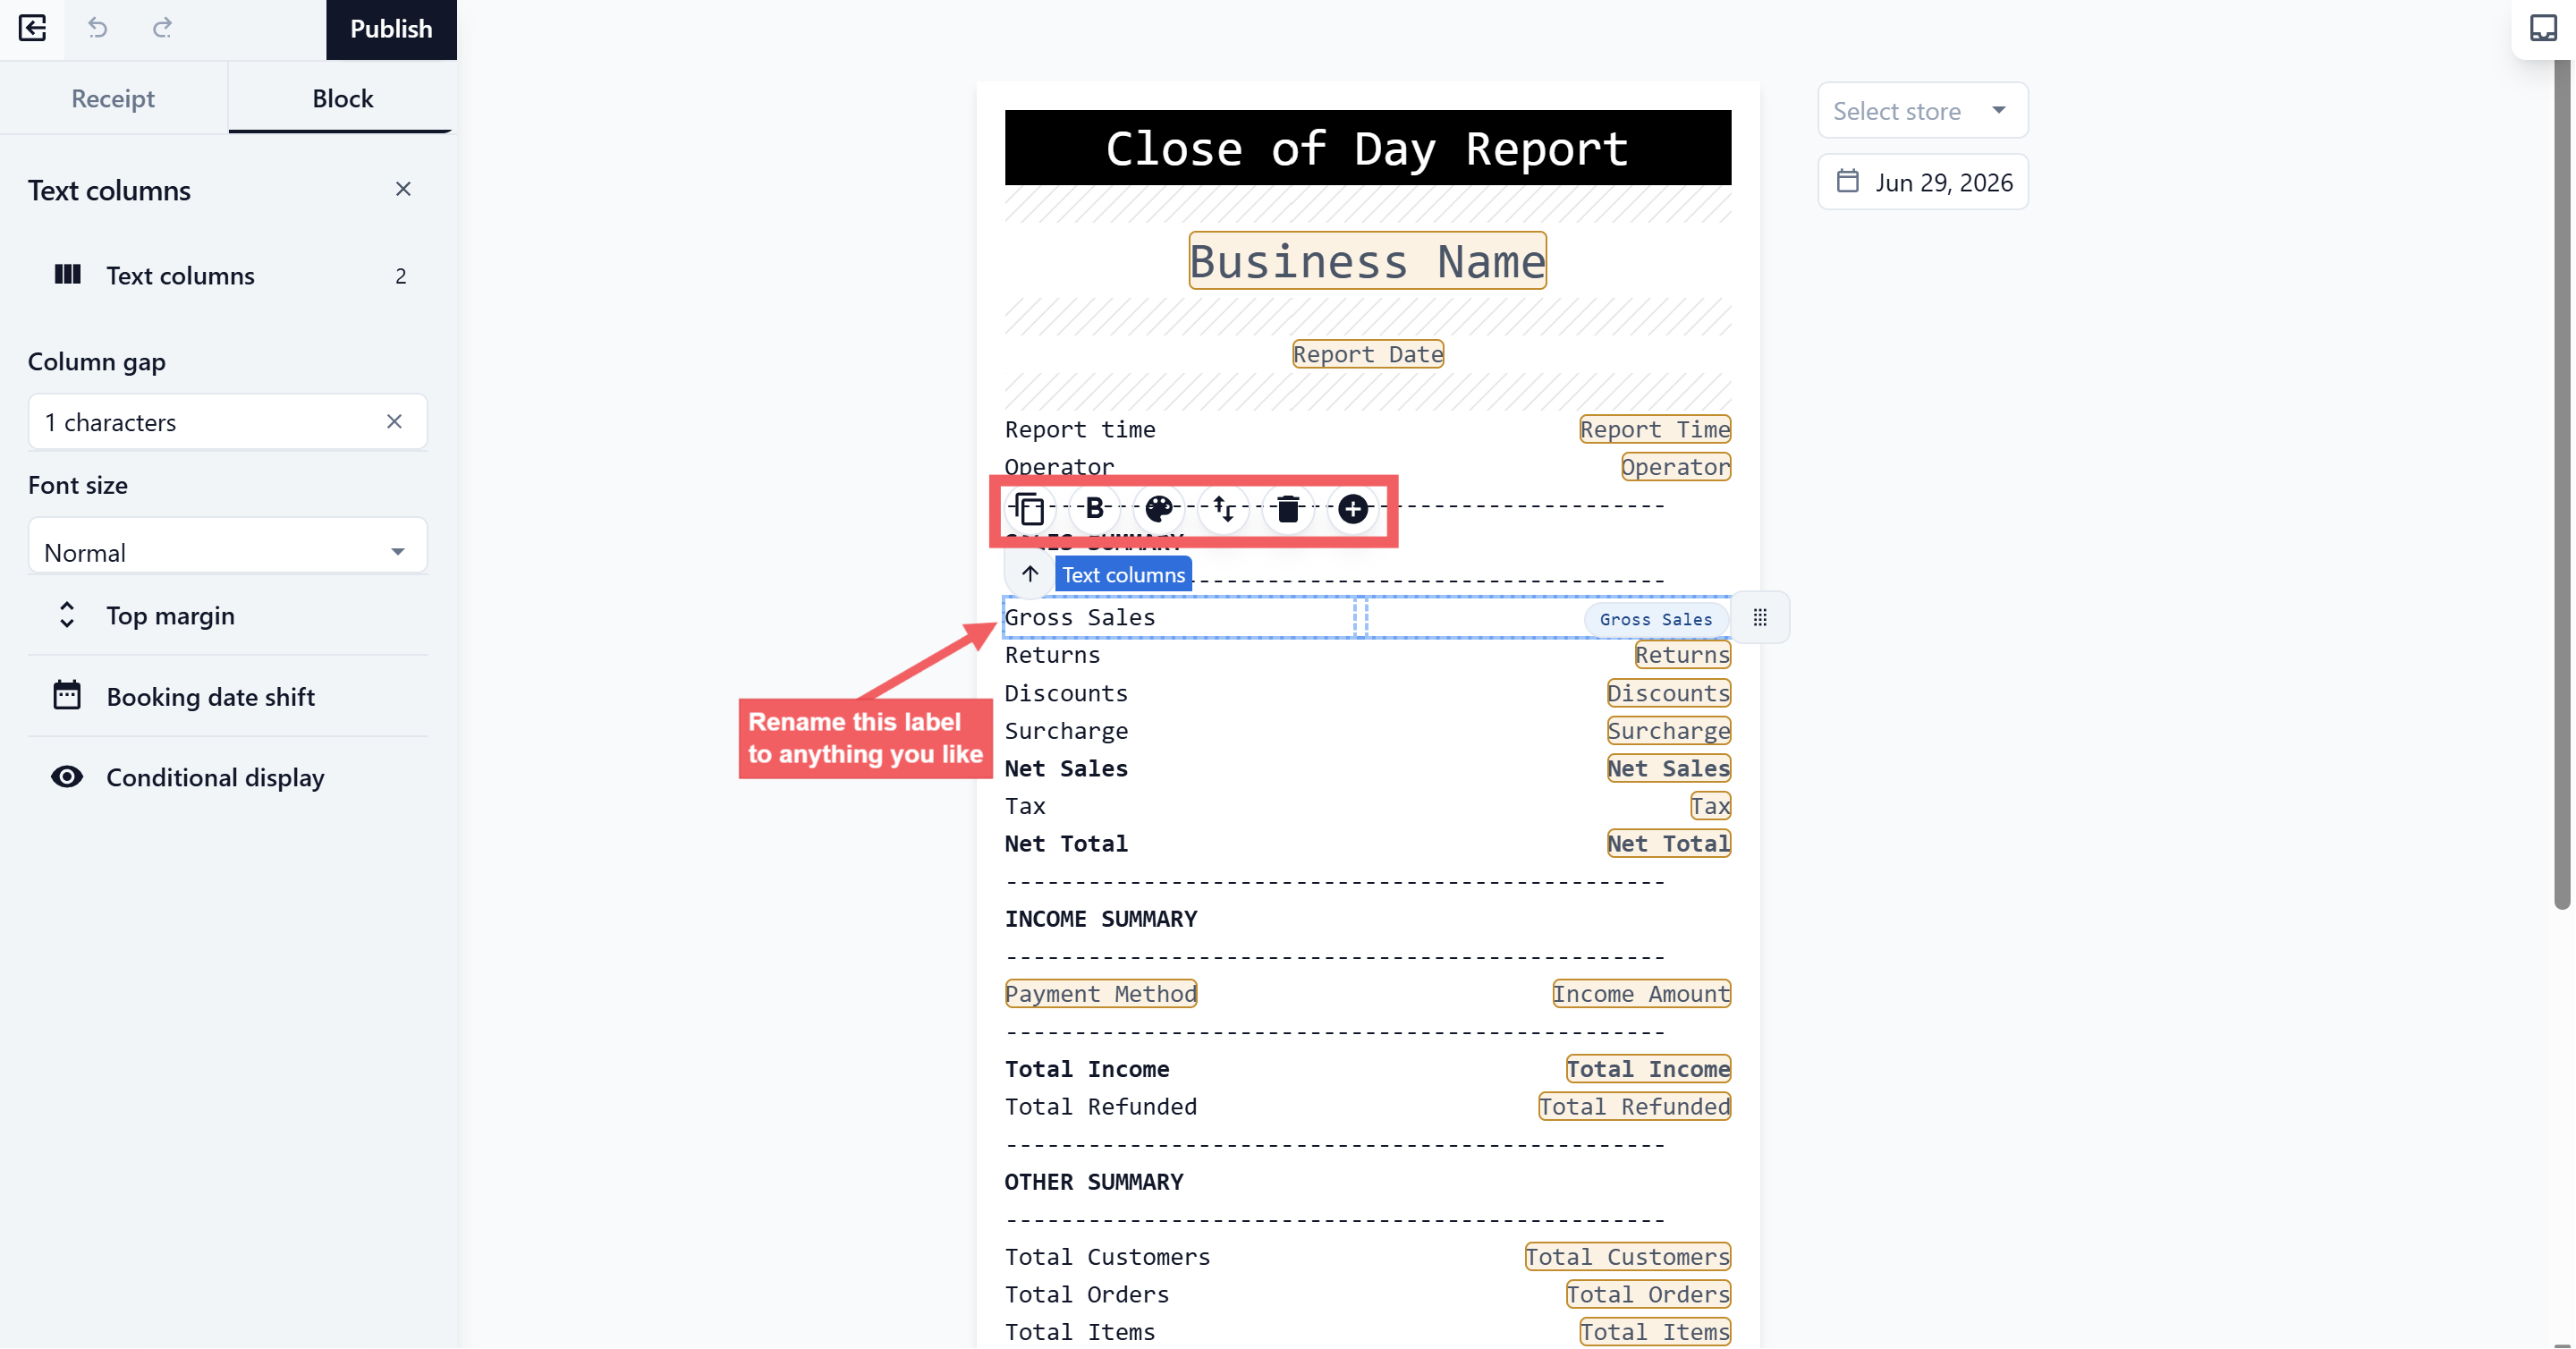
- Click a text block to edit the wording shown on the report.
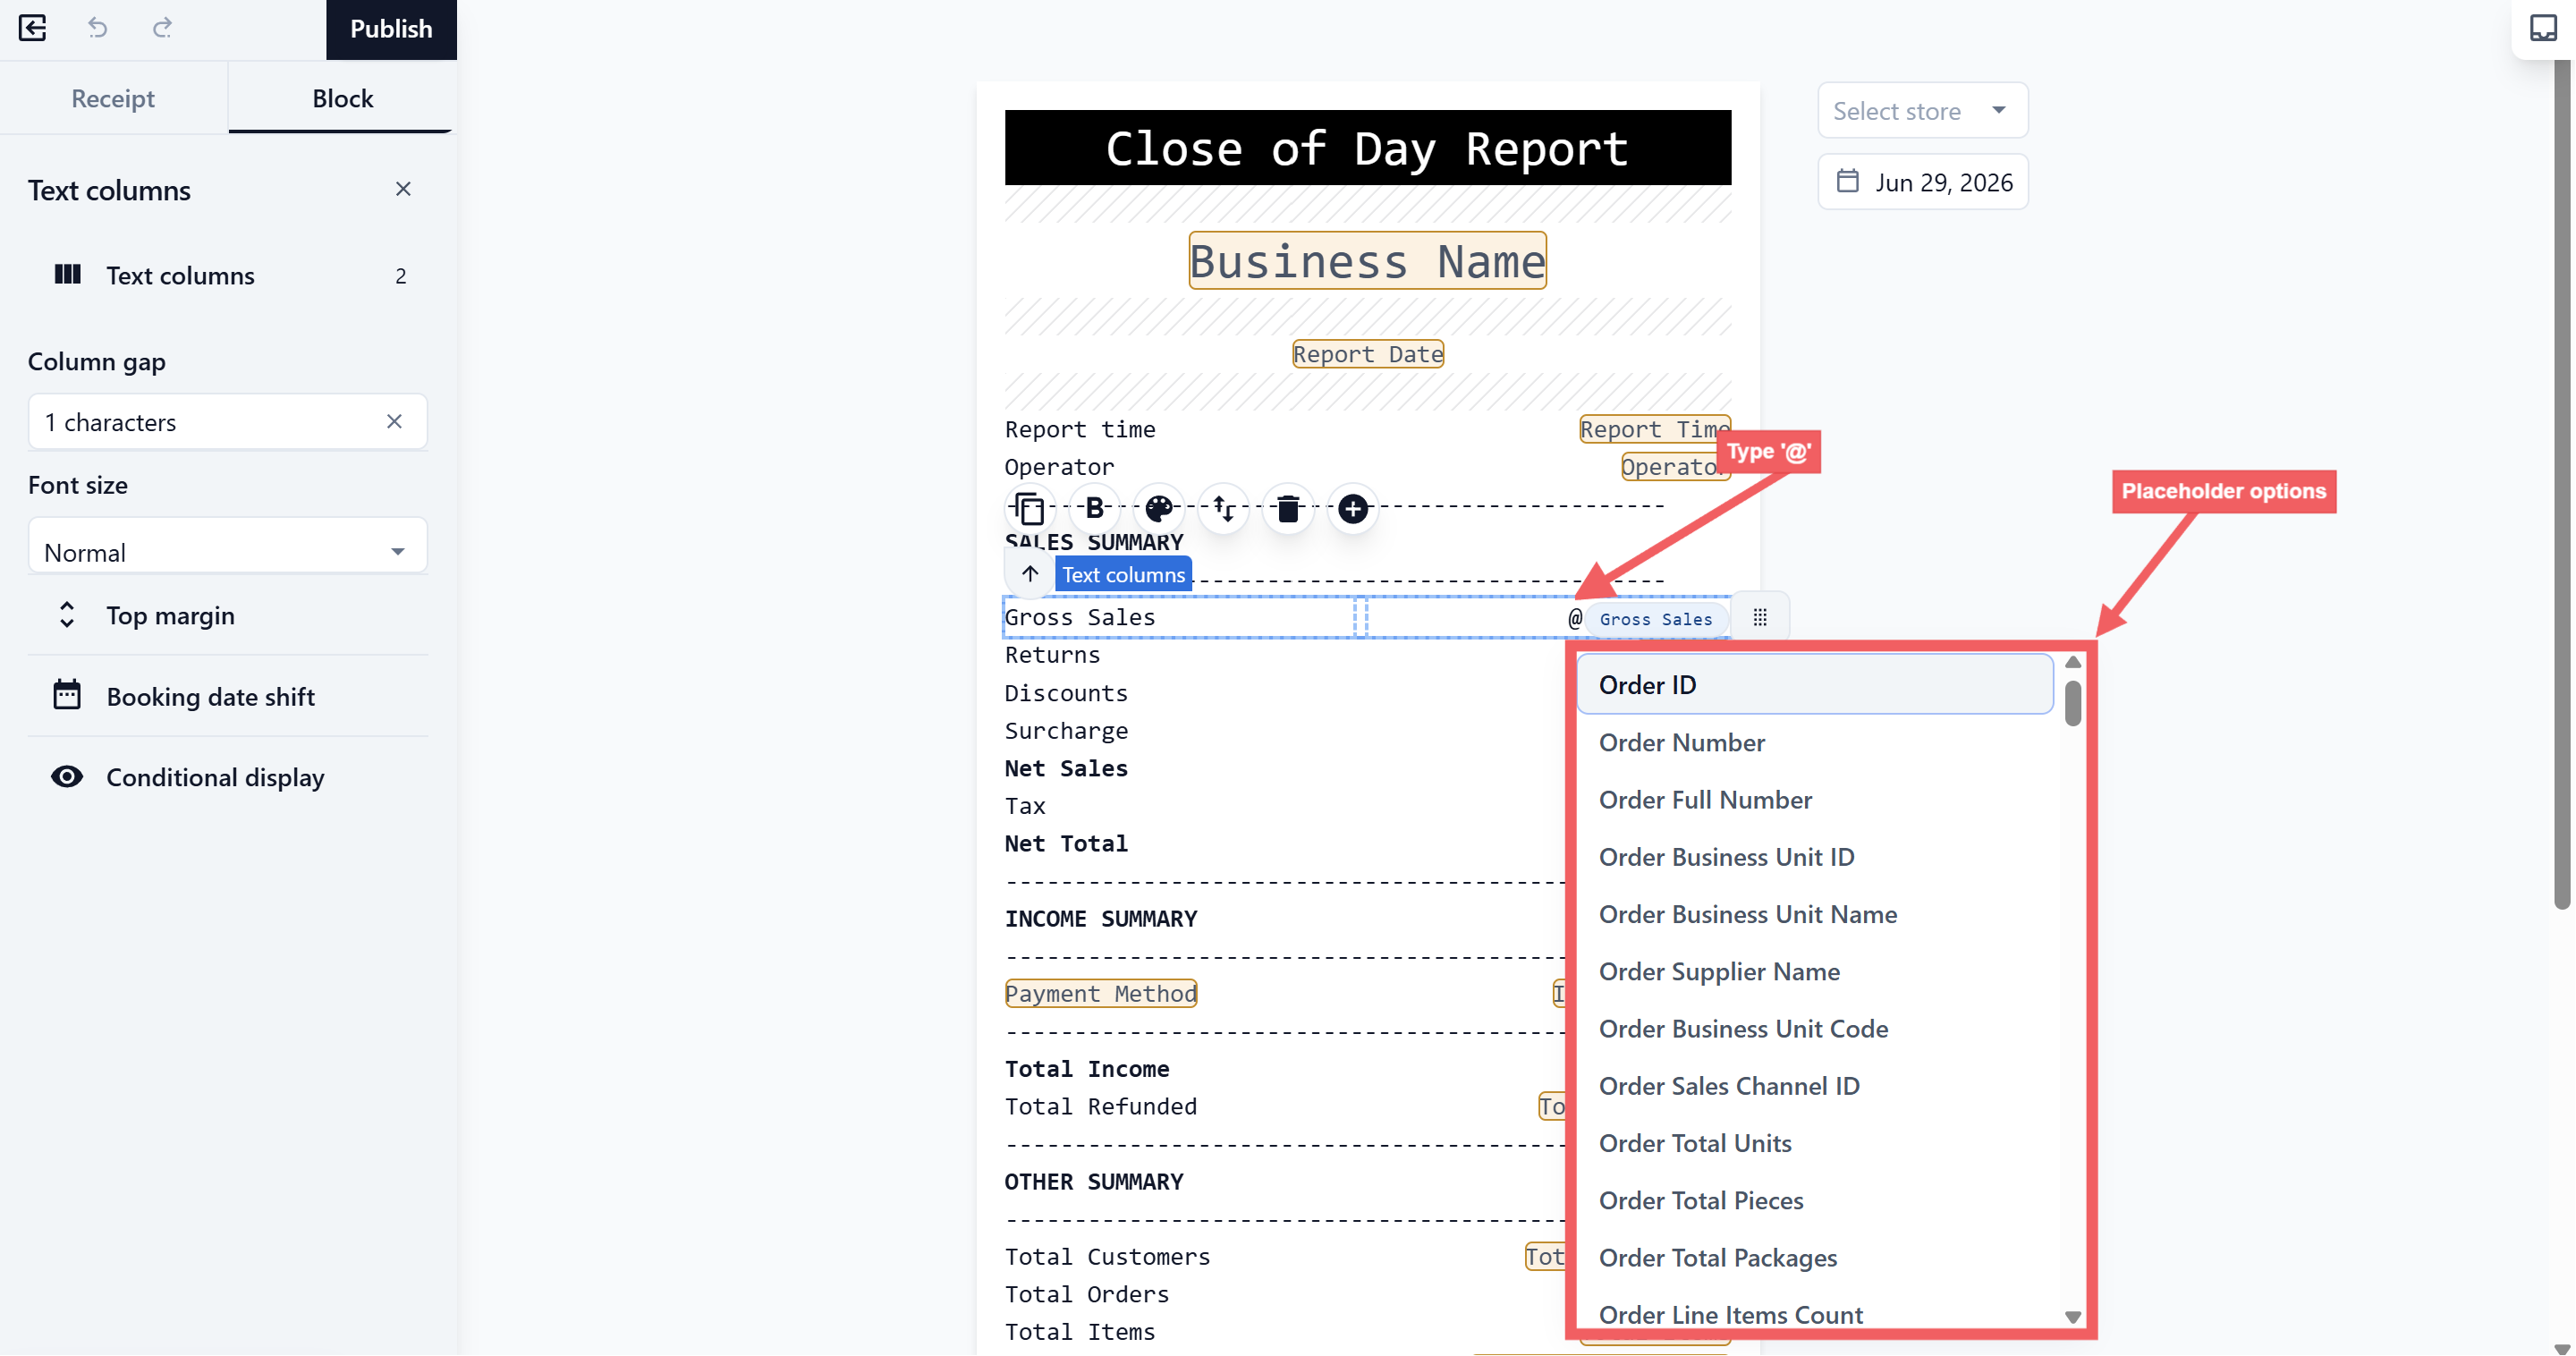
- For fields that should fill in automatically, type
@and choose a placeholder, such as sales total, payment method, or staff name.
- To change a column or block, click it and update the block settings on the side panel.
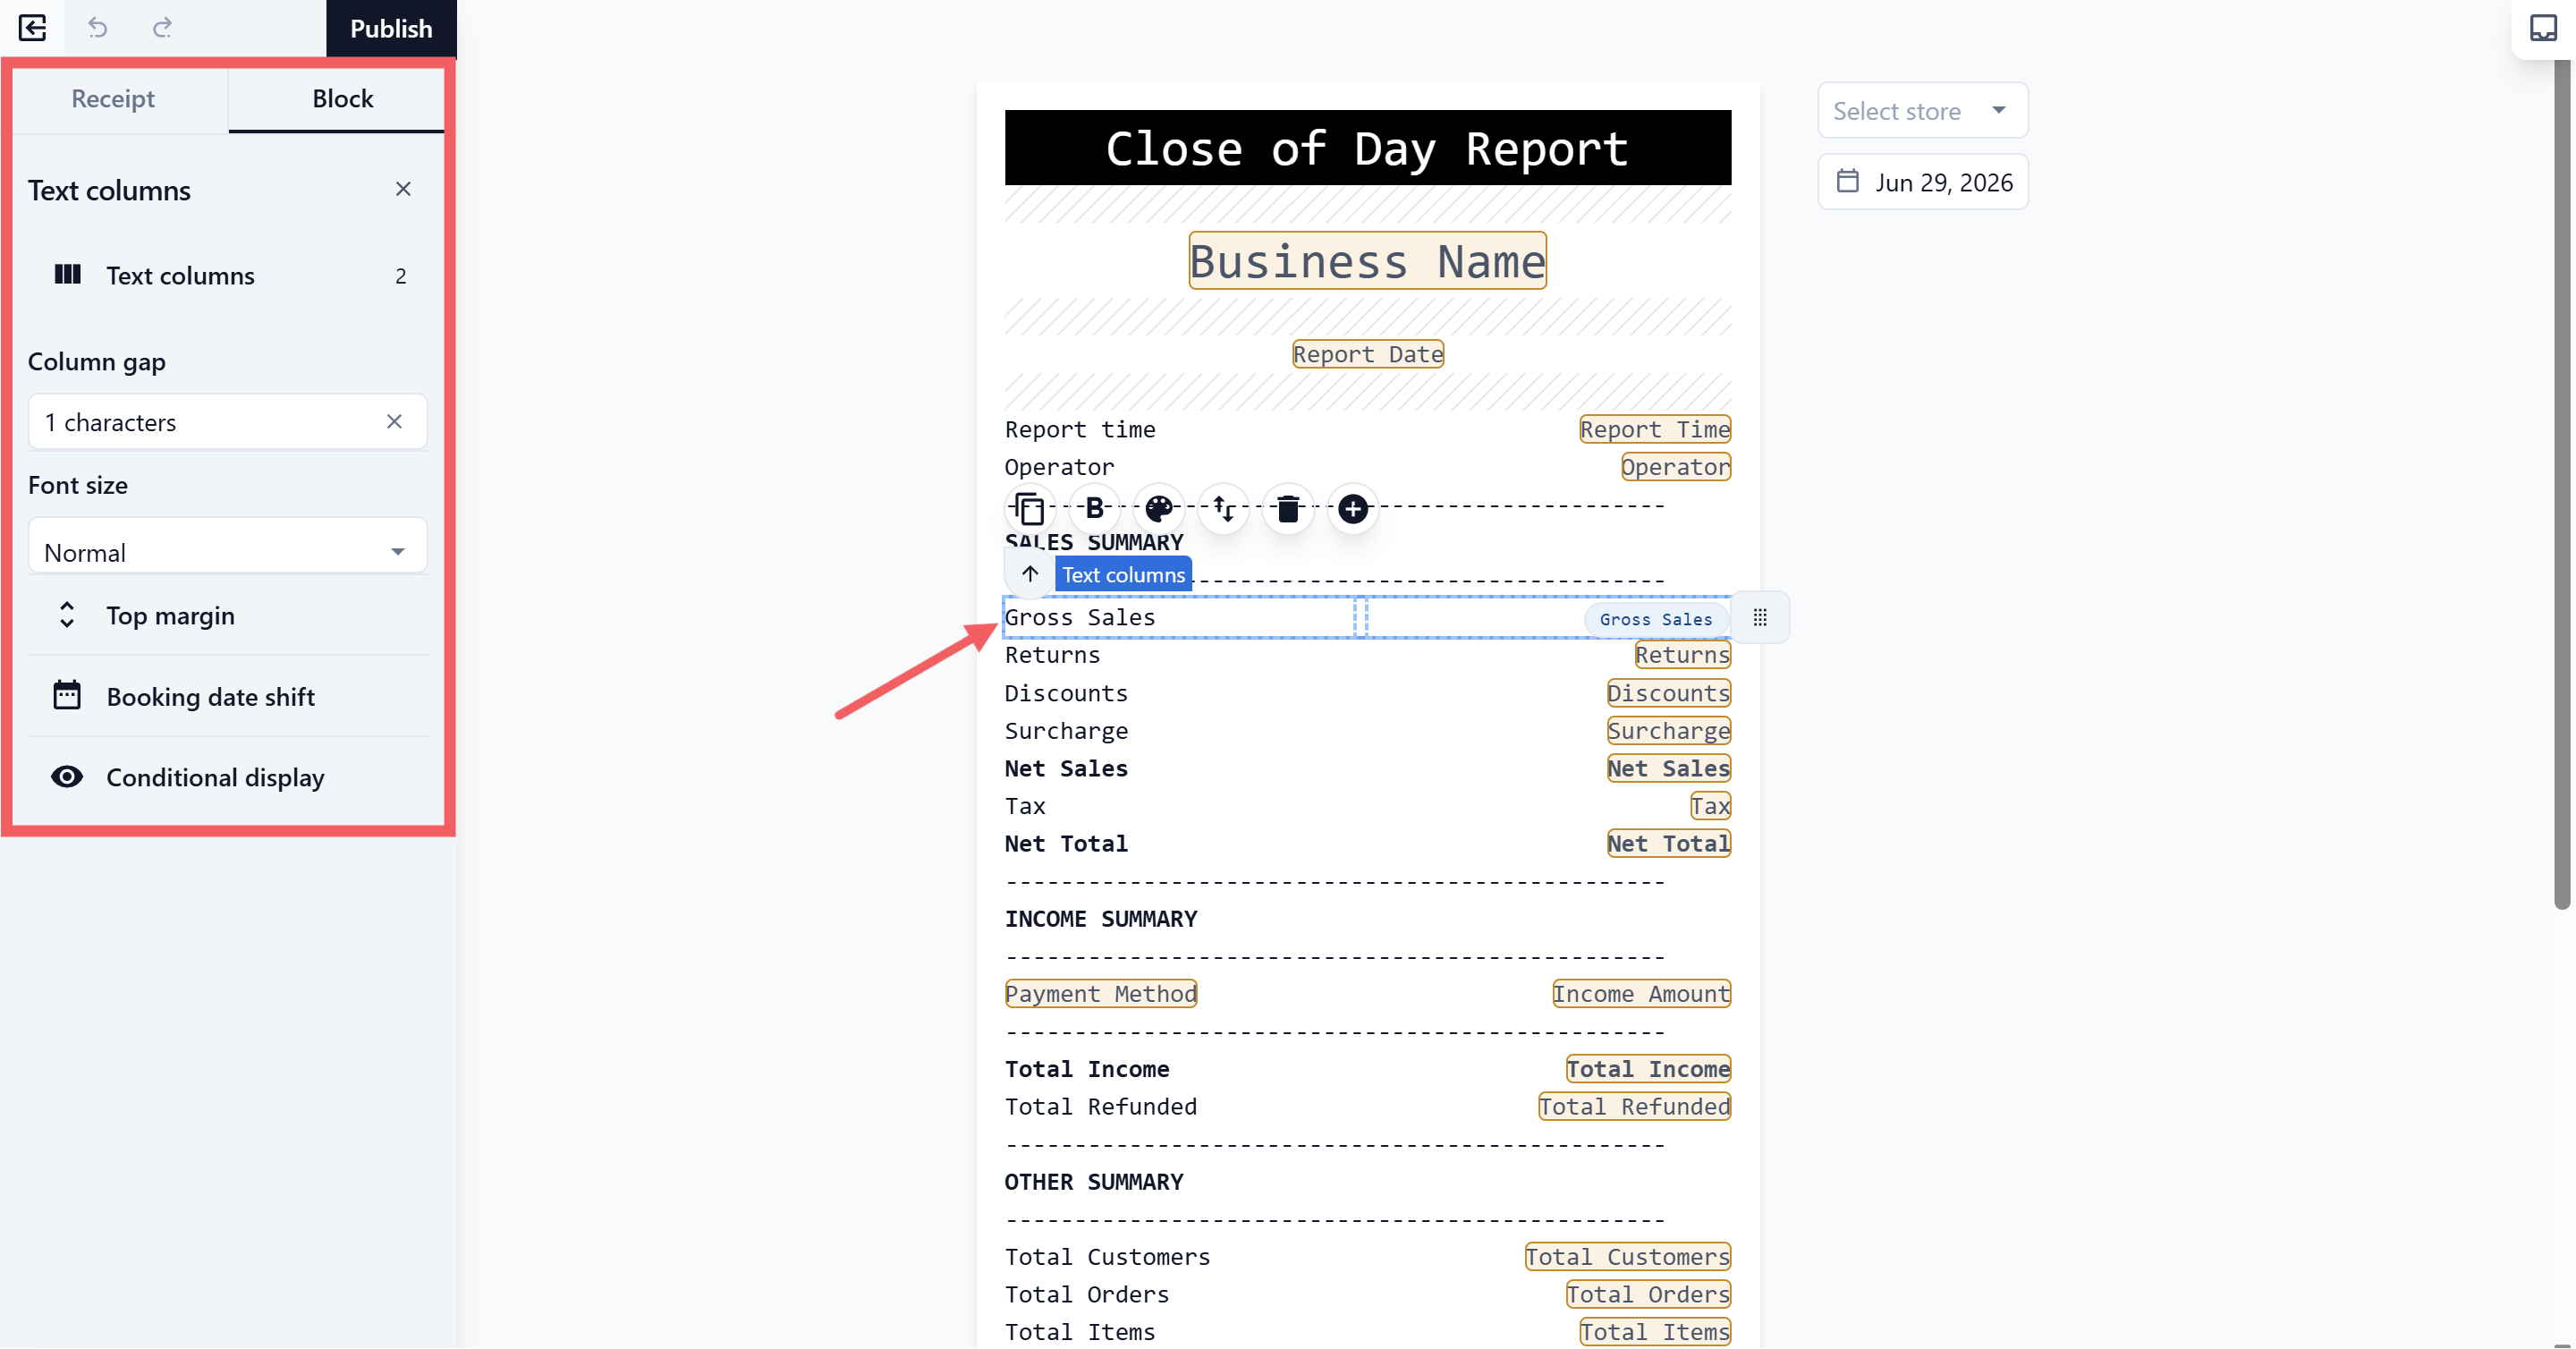
The actual numbers are filled in at the time your staff runs Close of Day on the POS.
Publish the Template
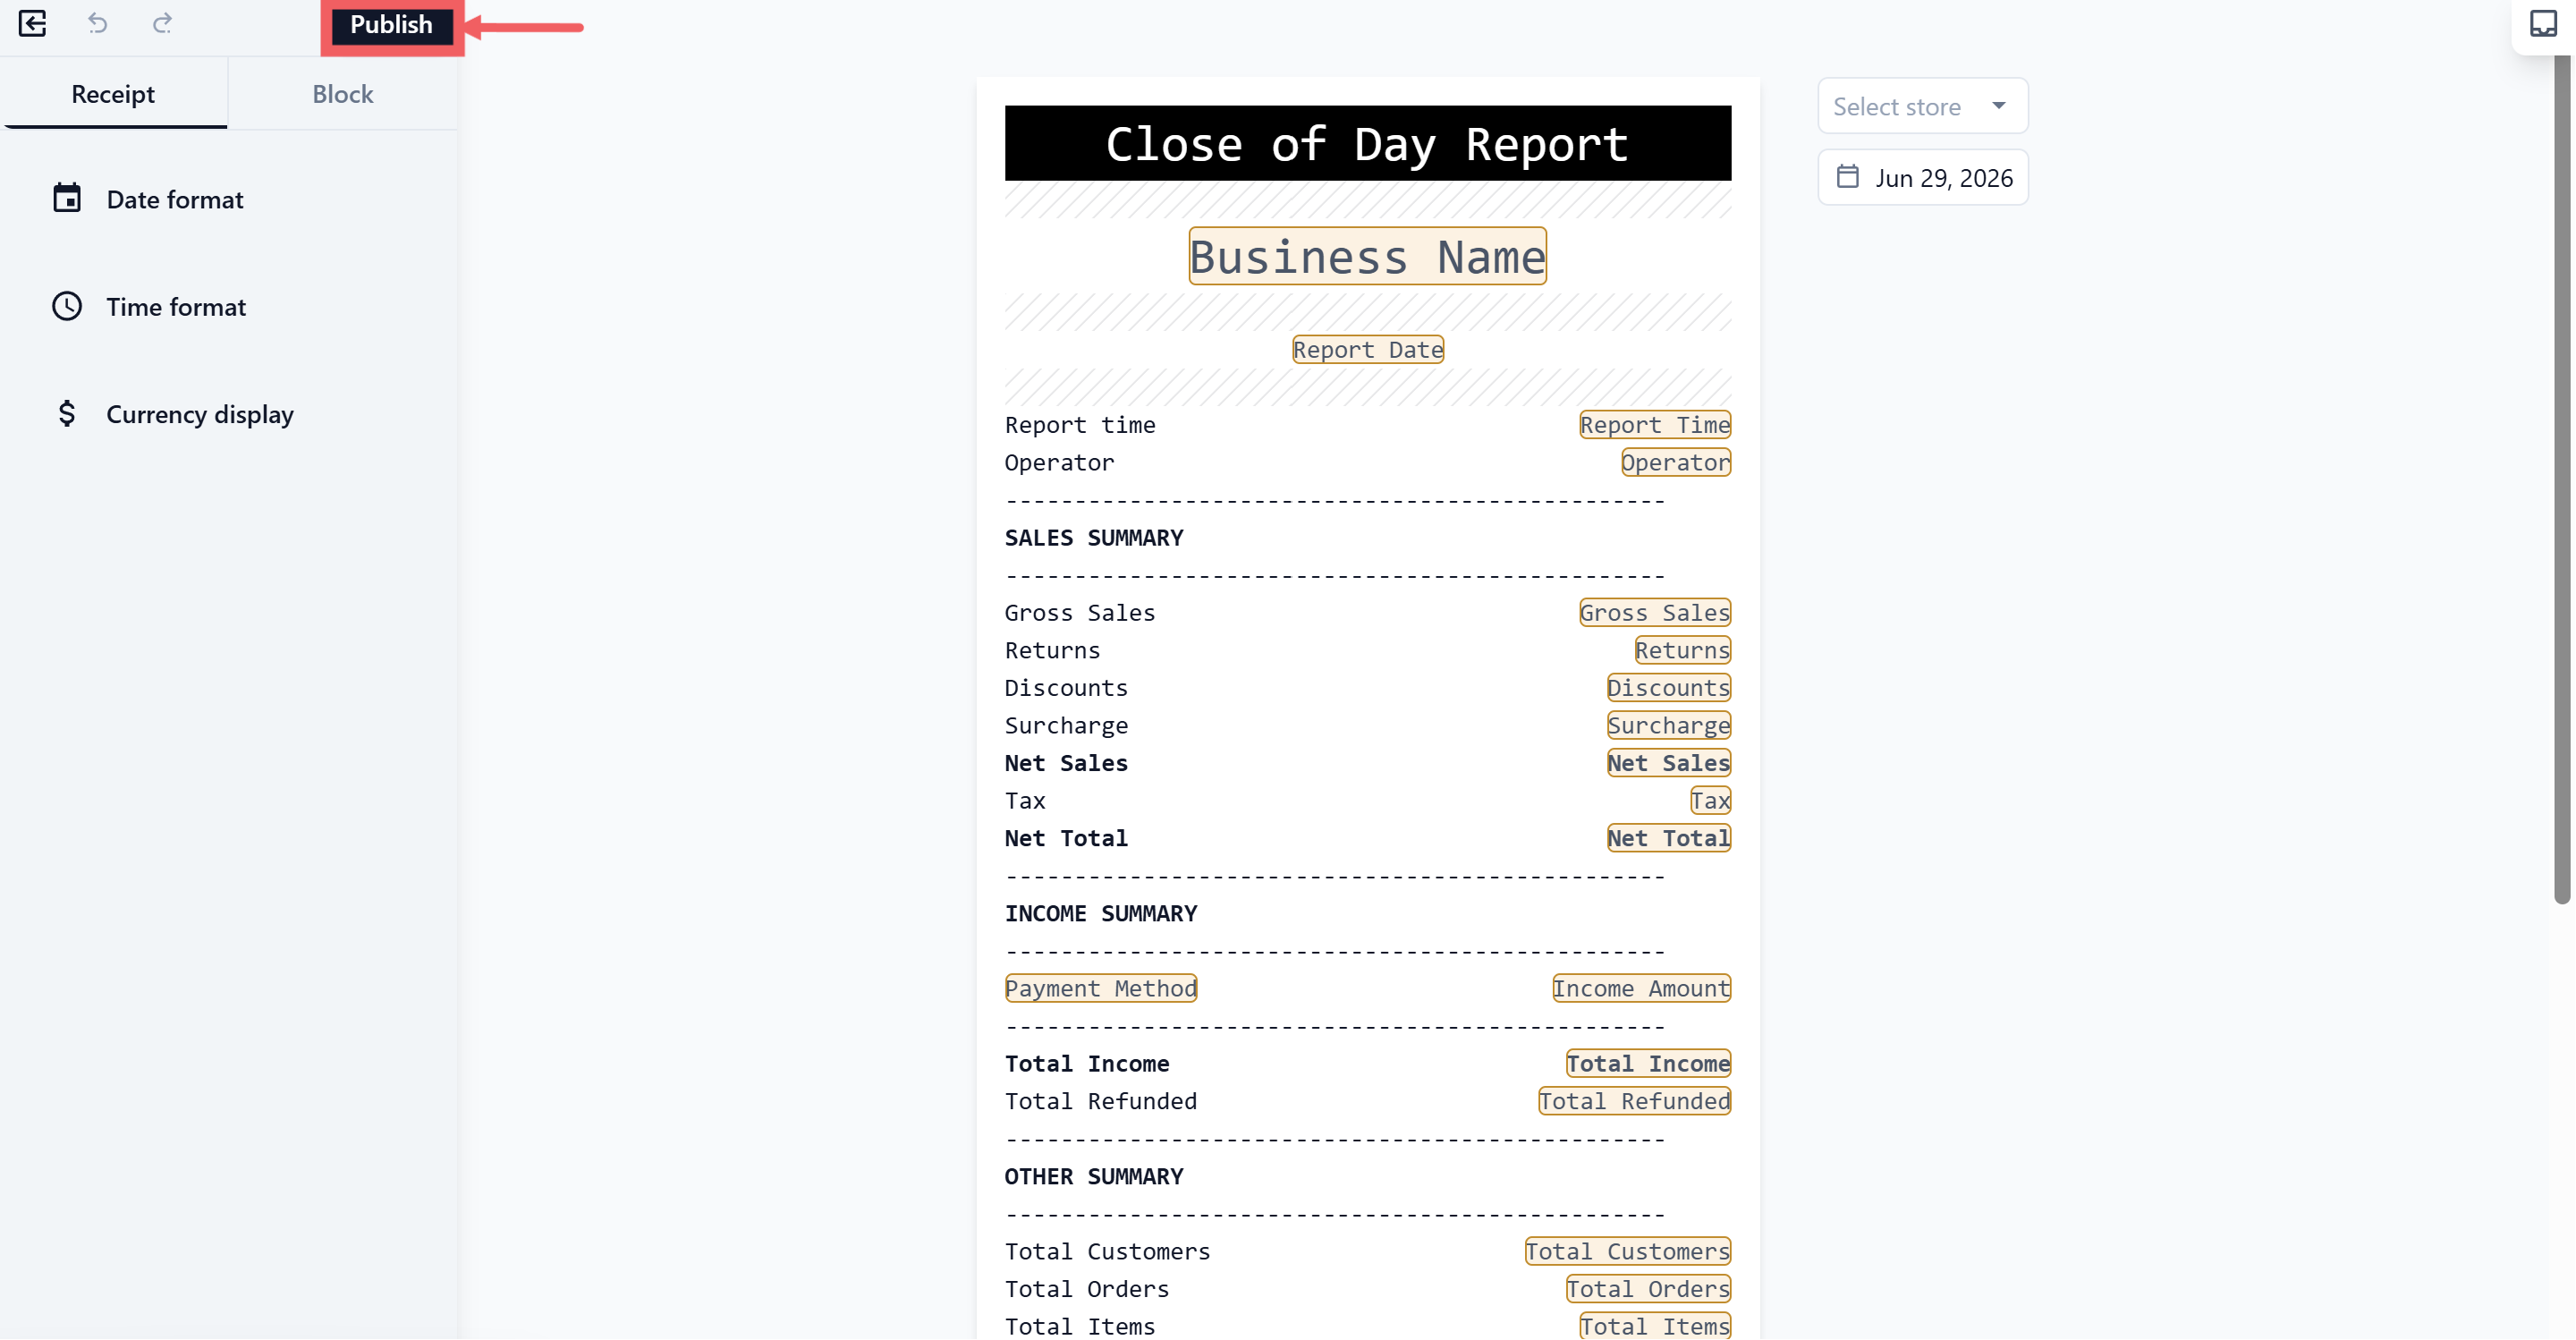
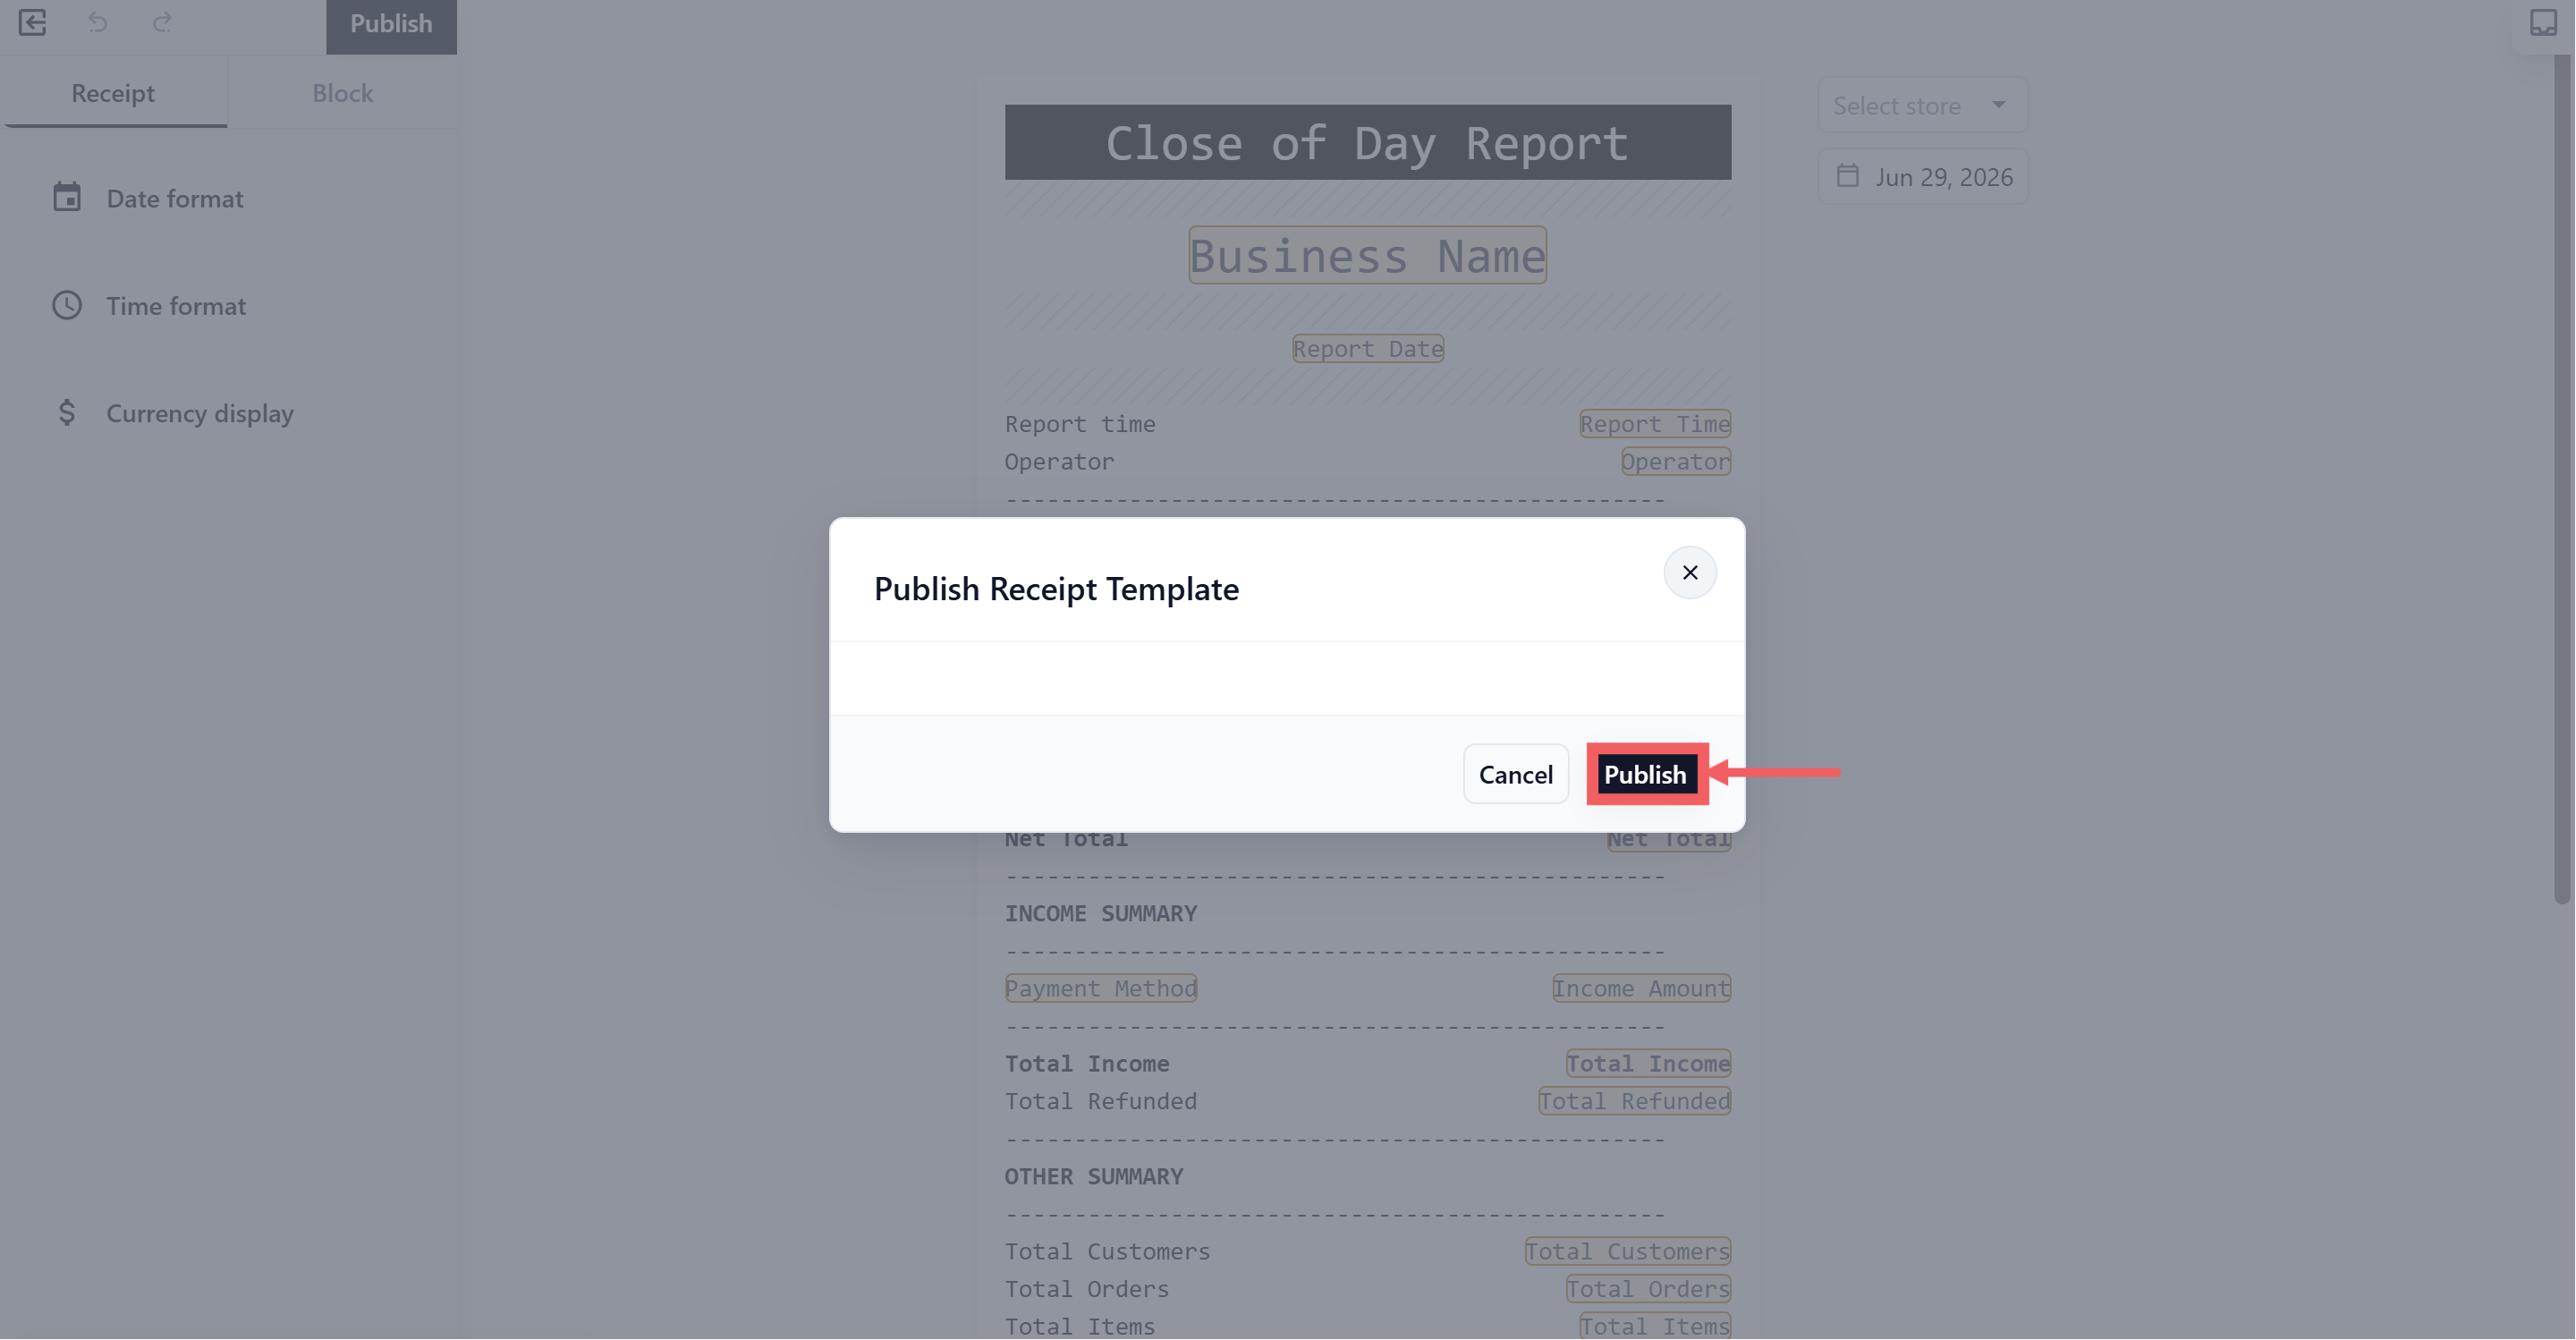
When the template looks correct, click Publish to make it available in POS:
- Click thePublish button in the top-right of the editor.
- Then click Publish in the “Publish Receipt Template” confirmation dialog.
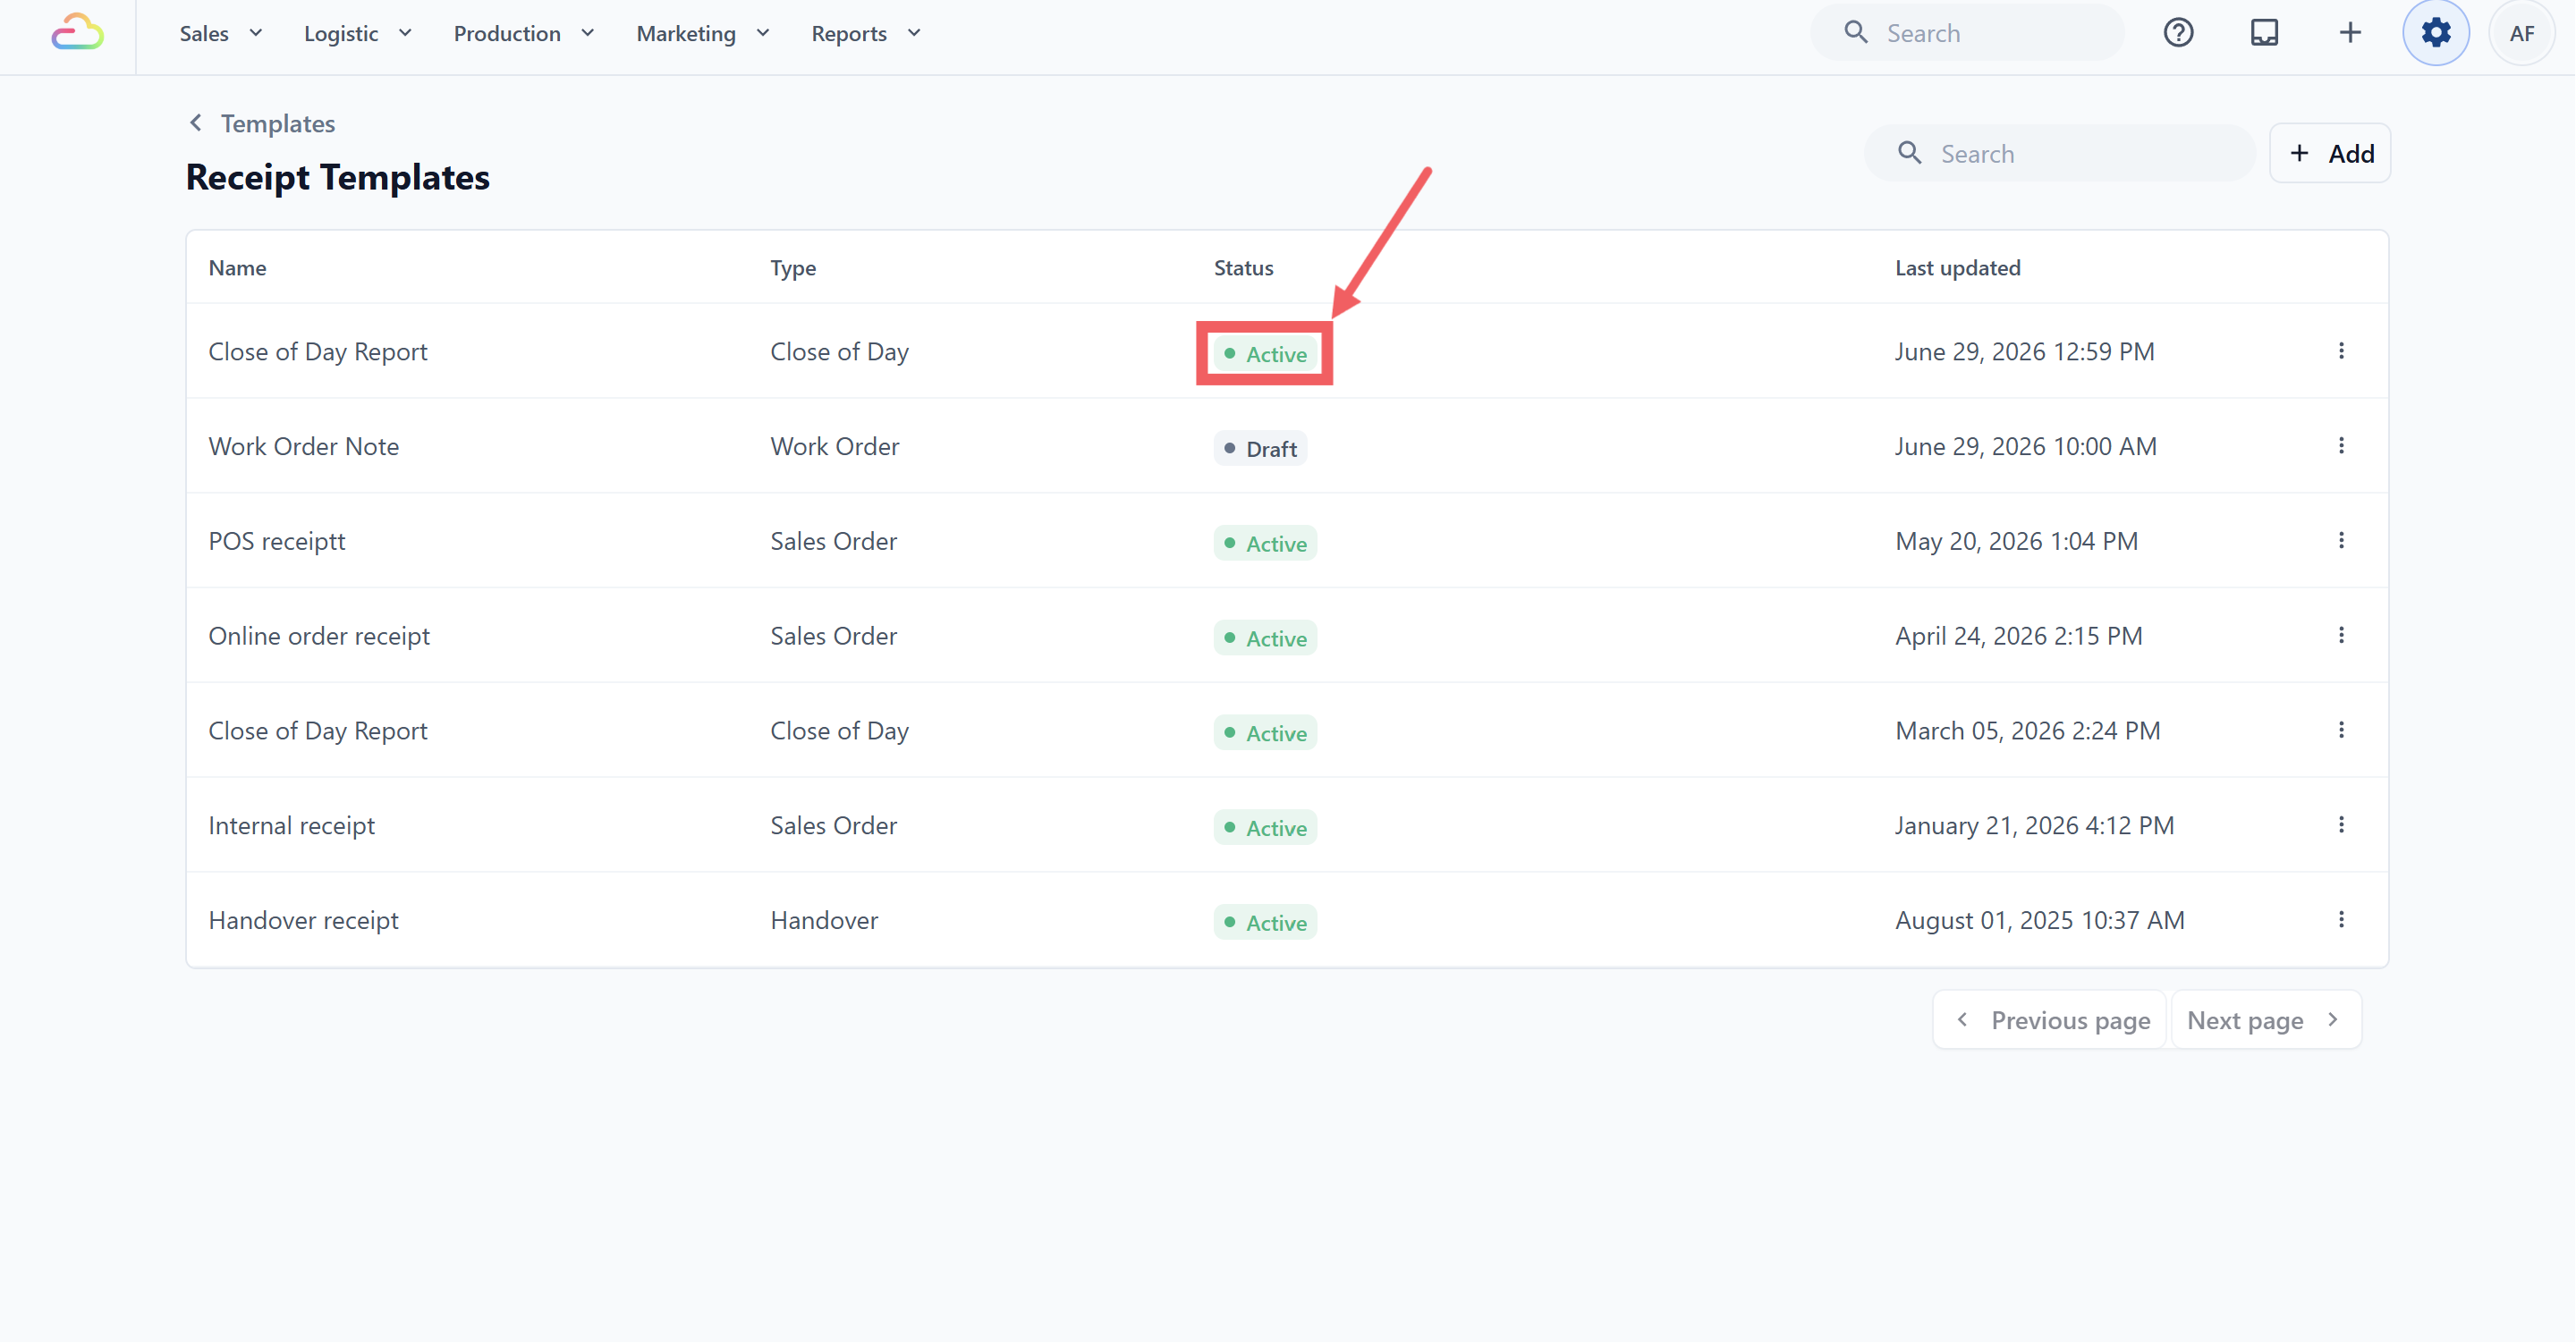
- The Status in the Receipt Templates list will change from Draft to Active, and the template is ready for your POS app to use.
Duplicate or Delete a Template
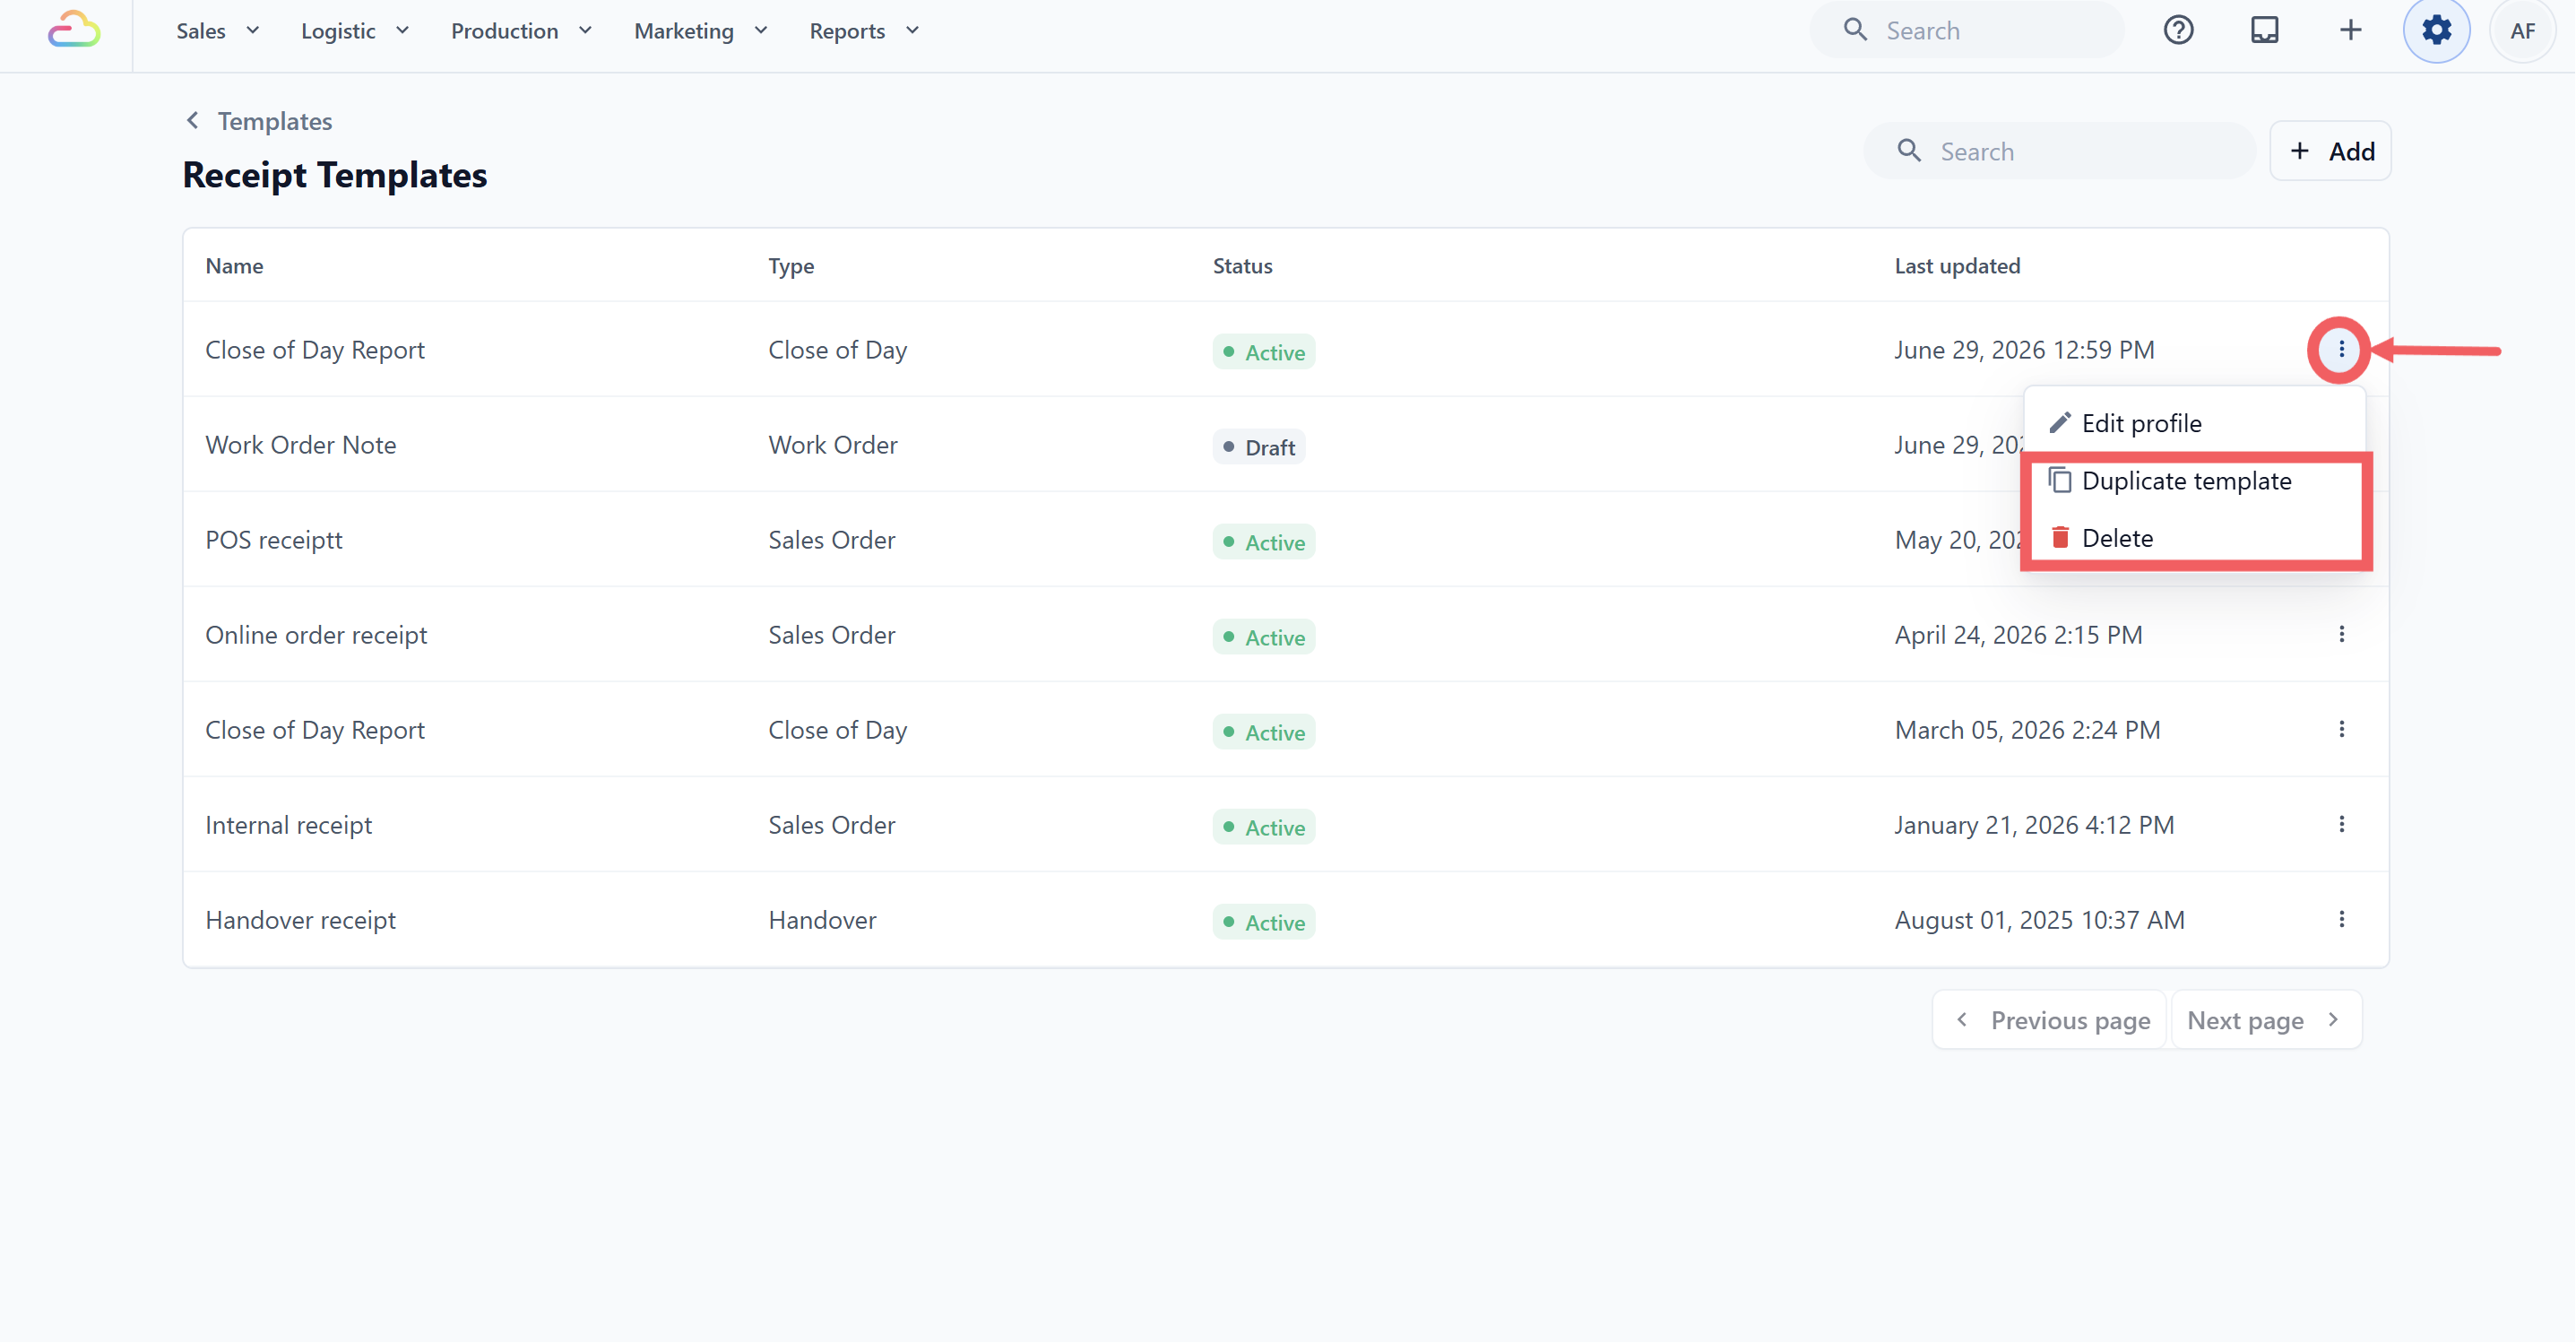
Use the ⠇ three-dot menu button at the end of each row to manage a template.
| Option | What it does |
|---|---|
| Edit profile | Opens the Template Settings modal with a Template Name field. Click Update to save the new name. |
| Duplicate template | Creates a copy of the template with the same content layout. |
| Delete | Opens a confirmation dialog. If the template is not in use, the dialog reads: This template is not in use. You can safely delete it. Click the red Delete button to confirm. |
FAQs
Do I need to customise the template before staff can use it?
No. The default Close of Day Report already covers the standard sections, so most teams can publish it as-is. You can still edit wording, placeholders, and block settings if needed.
Can I edit the sections that appear on the report?
Yes. After creating the Close of Day Receipt Template, you can edit text, placeholders, and block settings in the template editor, then publish it again. The Edit profile menu only changes the template name.
Why is there no date range field on the create screen?
The report always covers the current business day on the POS where it is run. The printed Report Date and Report Time are filled in automatically when staff taps Close of Day on the POS.
Can I preview or run the report from this page?
No. Receipt Templates only defines the print layout. To generate or print the report, your staff opens the Daily Sales screen on the POS and taps Close of Day.
Do I need a separate template for each shop or outlet?
Not for the Close of Day layout itself. The template is shared. You link the same template to each POS app from the Daily Sales block.
What if my new template shows as Draft instead of Active?
A new template shows as Draft until you publish it. Draft templates are not ready to use in POS yet. Open the template, check the content, then click Publish. After publishing, the status should change to Active.
What’s Next
Now that the Close of Day template is in place, continue to Set Up Close-of-Day Report on Your POS to create the Close of Day Flow and link the template to your POS app so staff can run the report.