What Is the Laundry Business Unit?
It is the setup page where all sections come together into one running shop: your price list, your stages, your flows, and your documents. Required sections come first, optional sections come at the end. By the end, your counter will be ready to take laundry orders.
What You Can Try Now
These sections are ready to set up:
-
Catalog (your price list)
-
Documents (receipts, invoices, and label templates)
-
Line Item Flows (for items like curtains that need measurements)
Catalog
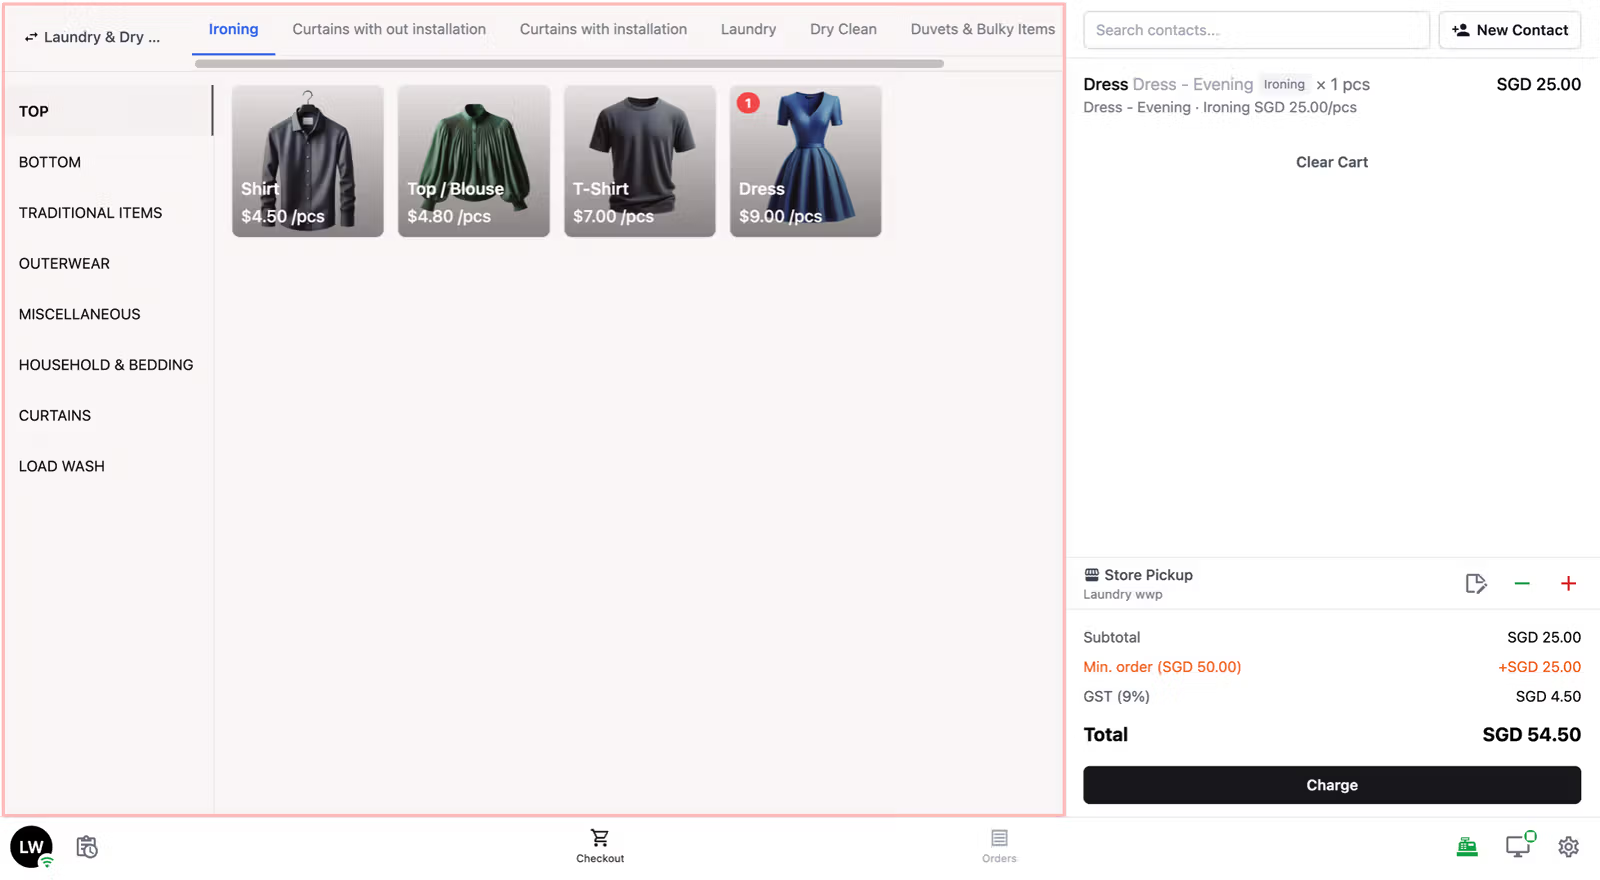
The Catalog section controls what appears on screen when staff create an order.
Before starting, make sure your price list is already published. If you have not done that yet, see [Setting Up Your Consumer Price Lists]
Step 1: Choose your product source
| Option | What it means | Best for |
|---|---|---|
| Price List | A fixed price per item — Shirt $2.50, Pants $4.00. Staff tap and the price is already filled in. | ✅ Laundry and dry cleaning shops |
| Products | A catalog of individual items with variable pricing — useful when prices differ per item or condition. | Bag repair and specialist services |
| Service Options | Pricing based on service type first (e.g. Dry Clean, Express Wash) rather than individual items. | Service-led pricing models |
Step 2: Add your price list configuration
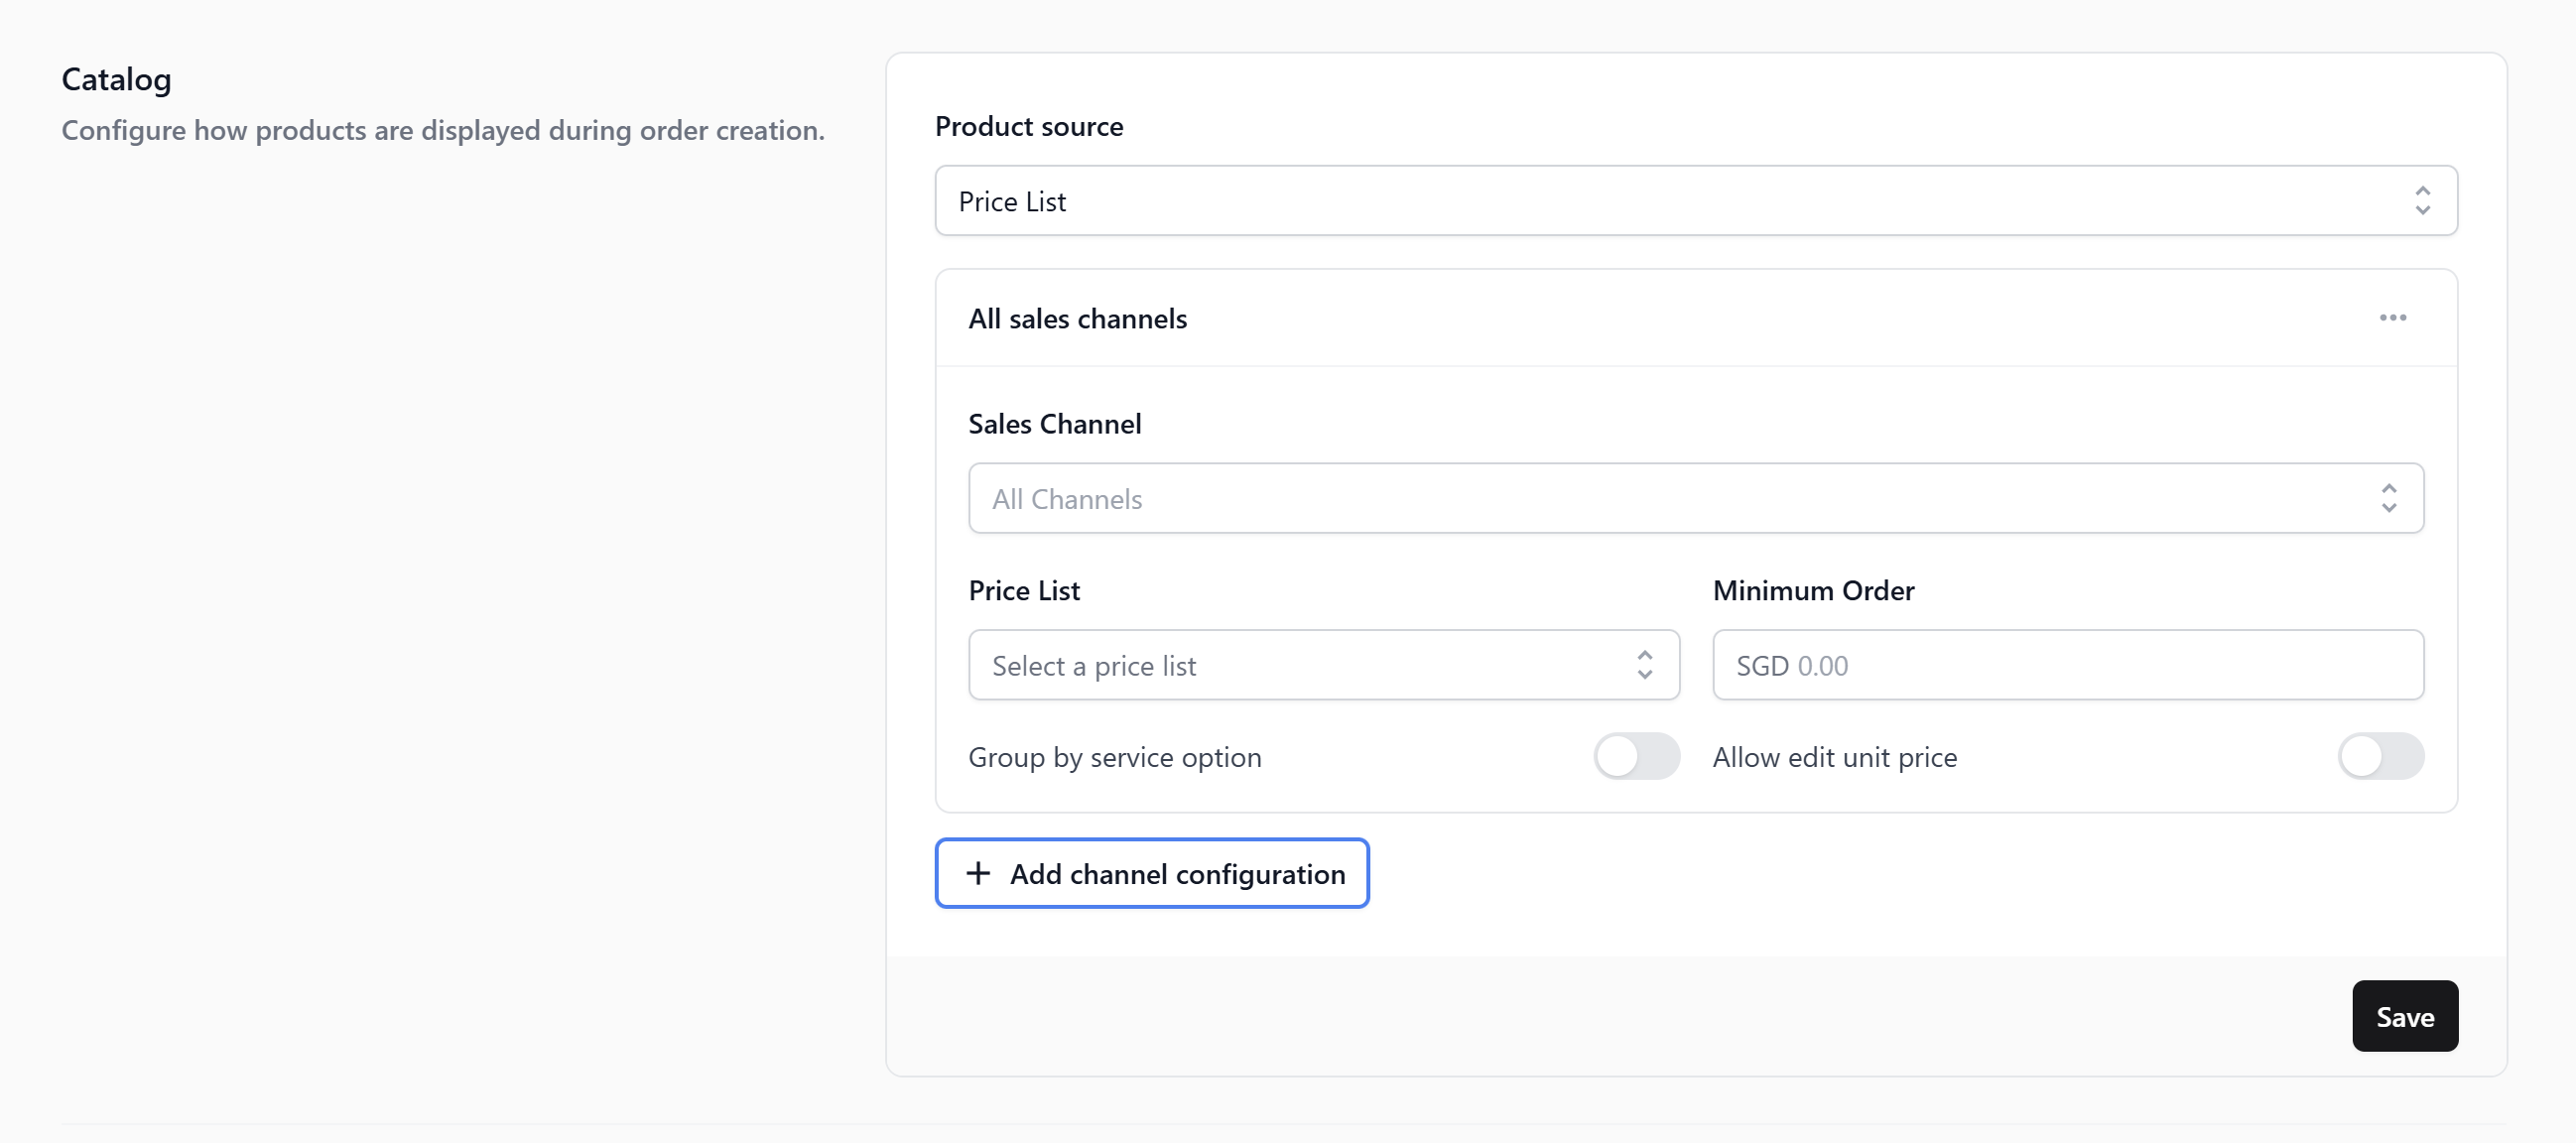
After selecting Price List, a table appears. Click + Add channel configuration and fill in the following:
-
Sales channel -> who this price list applies to:
-
All Stores (POS): every physical counter you have
-
All Online: all your online storefronts
-
Or choose a specific counter or online store for different pricing
-
-
Price list -> select the price list you have already published
-
Minimum order -> the minimum order value for this channel (e.g. SGD 40). Set to $0.00 if you do not want one.
-
Group by service option -> turn on to group items by service type (e.g. Dry Clean, Laundry, Ironing) as separate sections. Useful if your price list covers multiple service types.
-
Allow edit unit price -> turn on if staff sometimes need to change an item’s price manually. Turn off to keep prices fixed.
Click Save when done.
Line Item Flows
A Line Item Flow is a short form that appears the moment staff add a specific item. Staff enter the measurement and the number of physical items, and the system calculates the price and generates the right number of labels automatically.
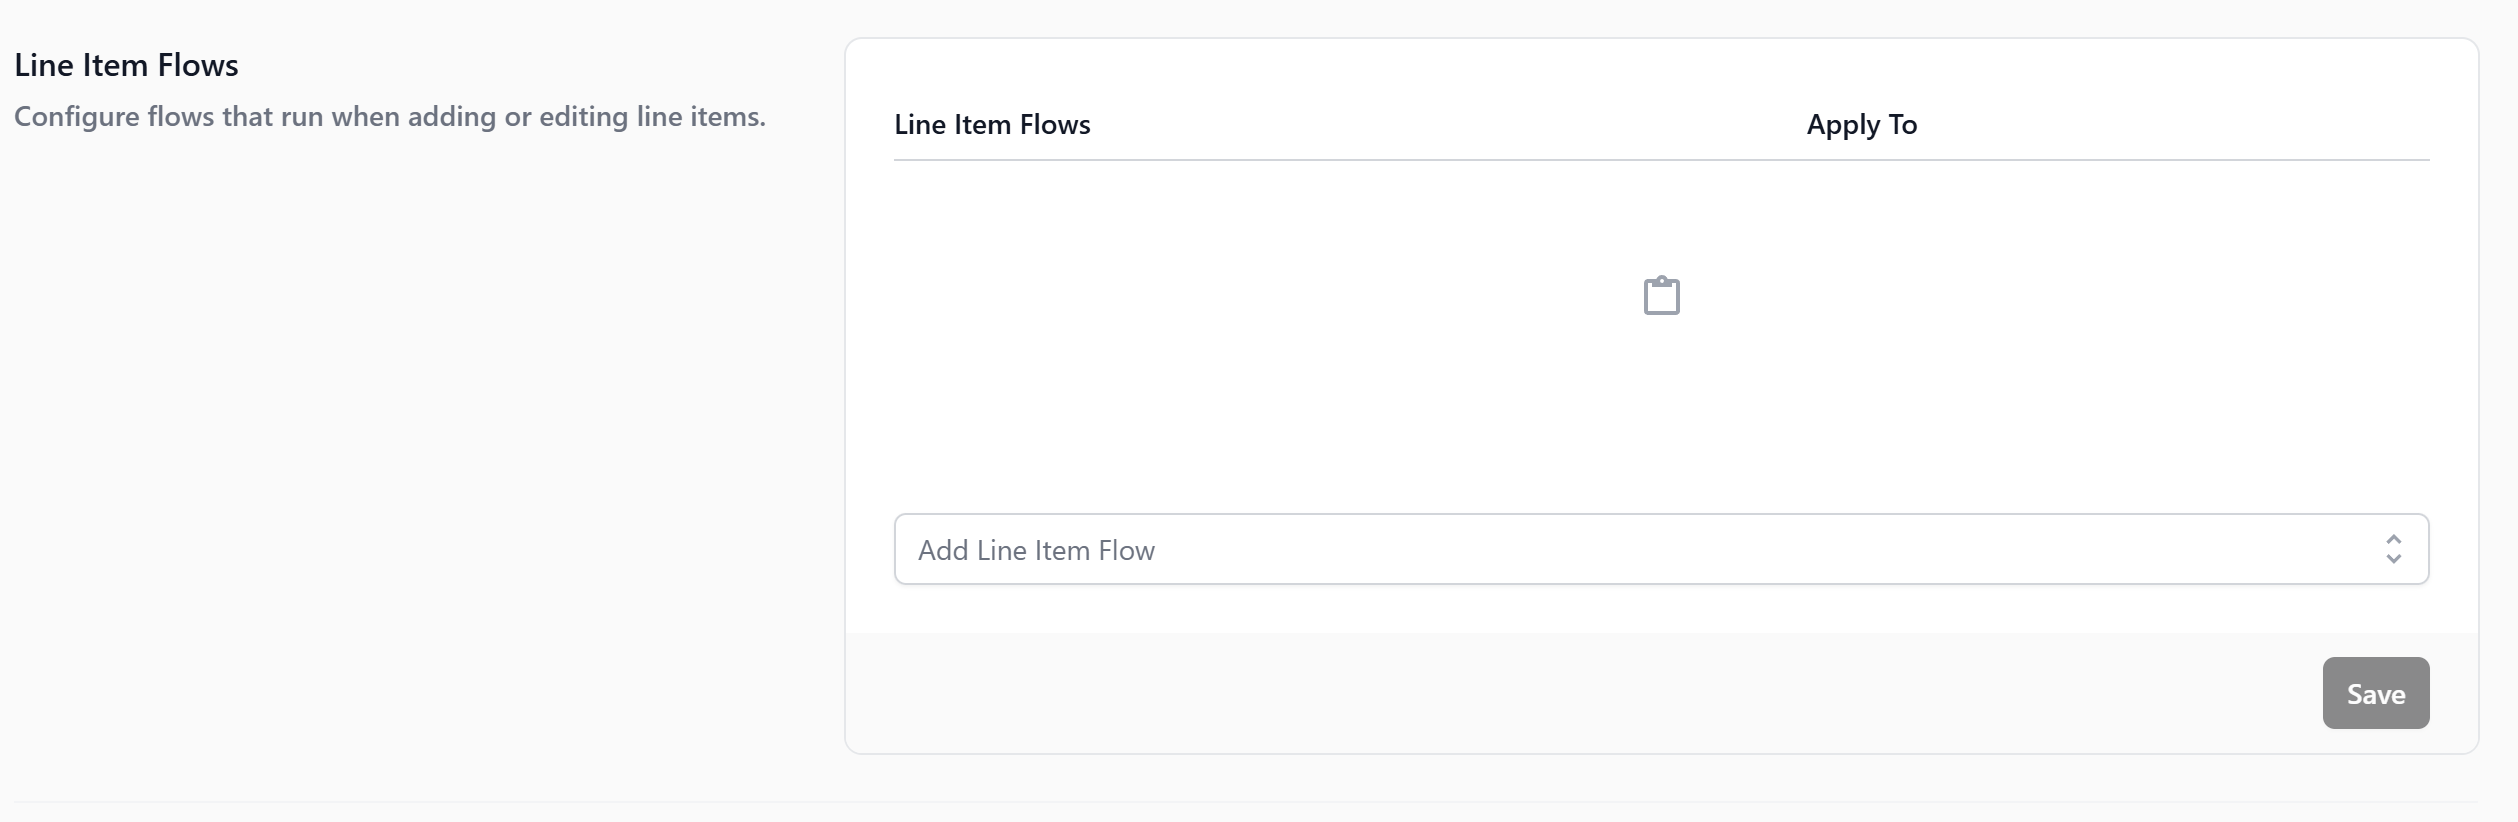
This is useful for items where the price depends on a measurement taken at drop-off for example curtain size, bulk linen weight, rug length. The measurement (Quantity) determines the price. The item count (Pieces) determines how many labels the system prints for that order line. Without it, staff would have to calculate the price by hand and the system would not know how many labels to generate.
Full setup: [Setting Up Line Item Flows for Measurement-Based Items]
Checkout Flows
A Checkout Flow is an optional form that appears once per order, just before the order is created. Use it only when you need to collect extra information beyond the standard cart.
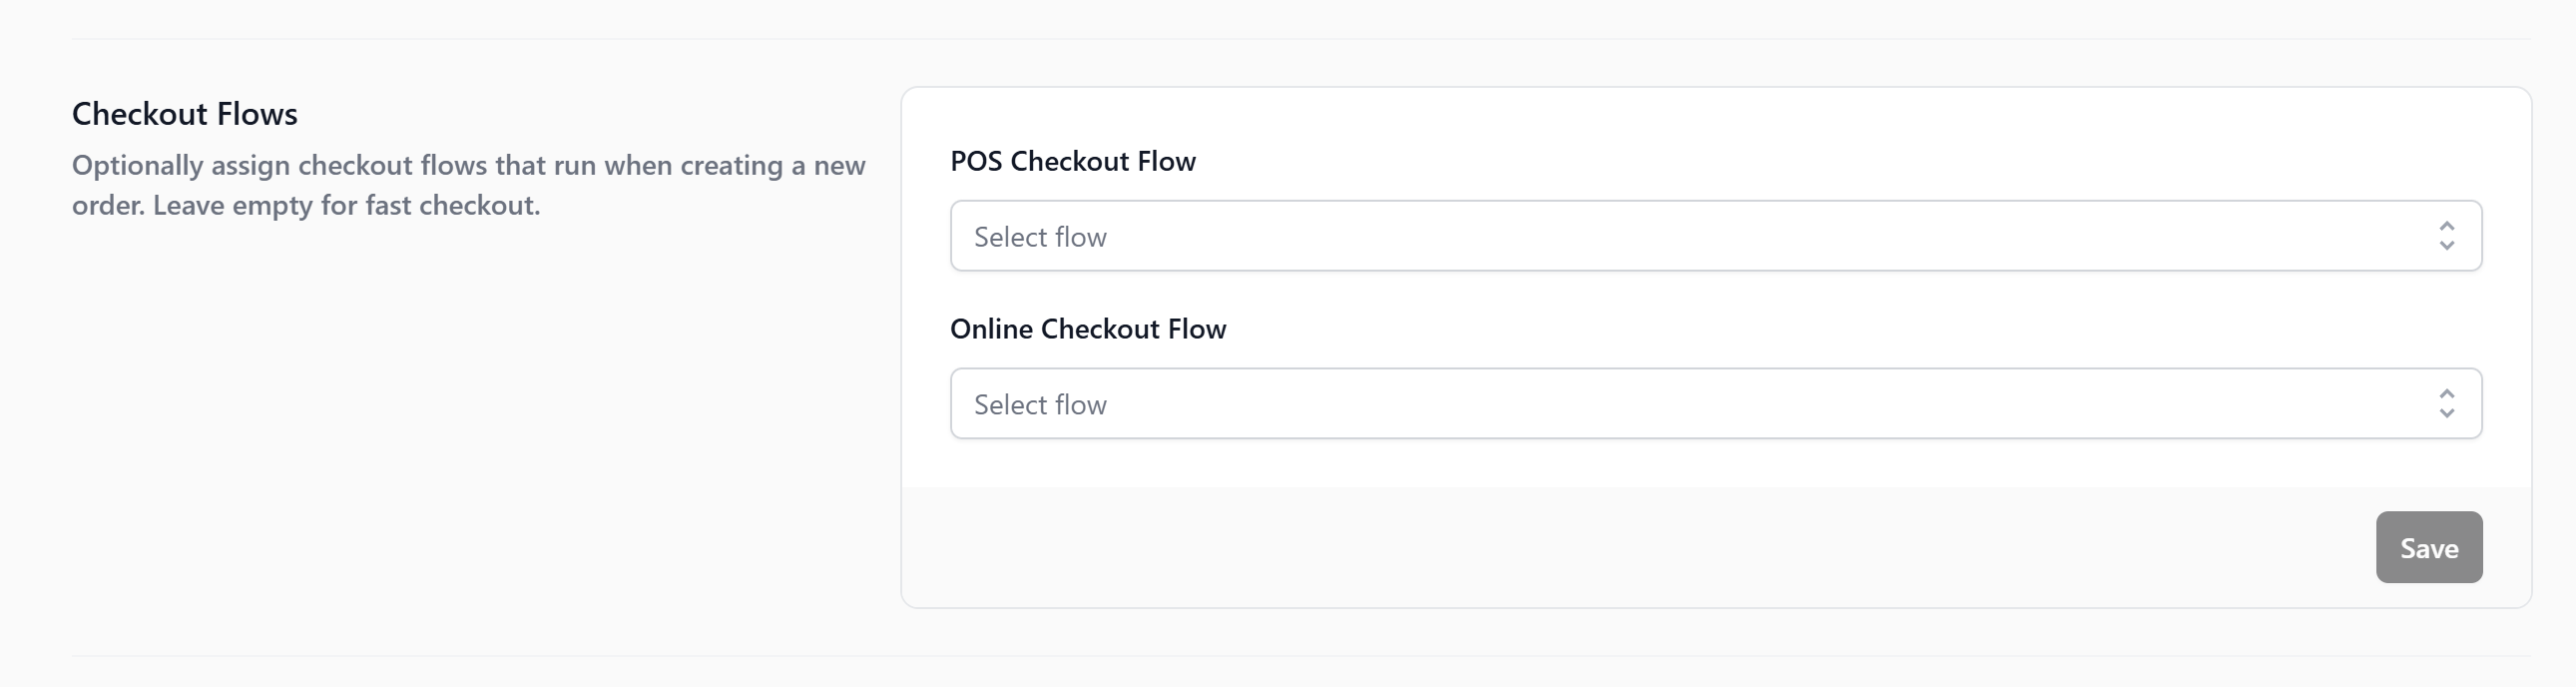
-
POS Checkout Flow -> runs when staff create an order at the counter
-
Online Checkout Flow -> runs when a customer places an order through your online store
Full setup: [Setting Up Checkout Flows] (Coming Soon)
Order Pipeline
An Order Pipeline defines the stages an order moves through, from when it is created to when the customer collects. Each stage is a checkpoint your team can see at a glance.
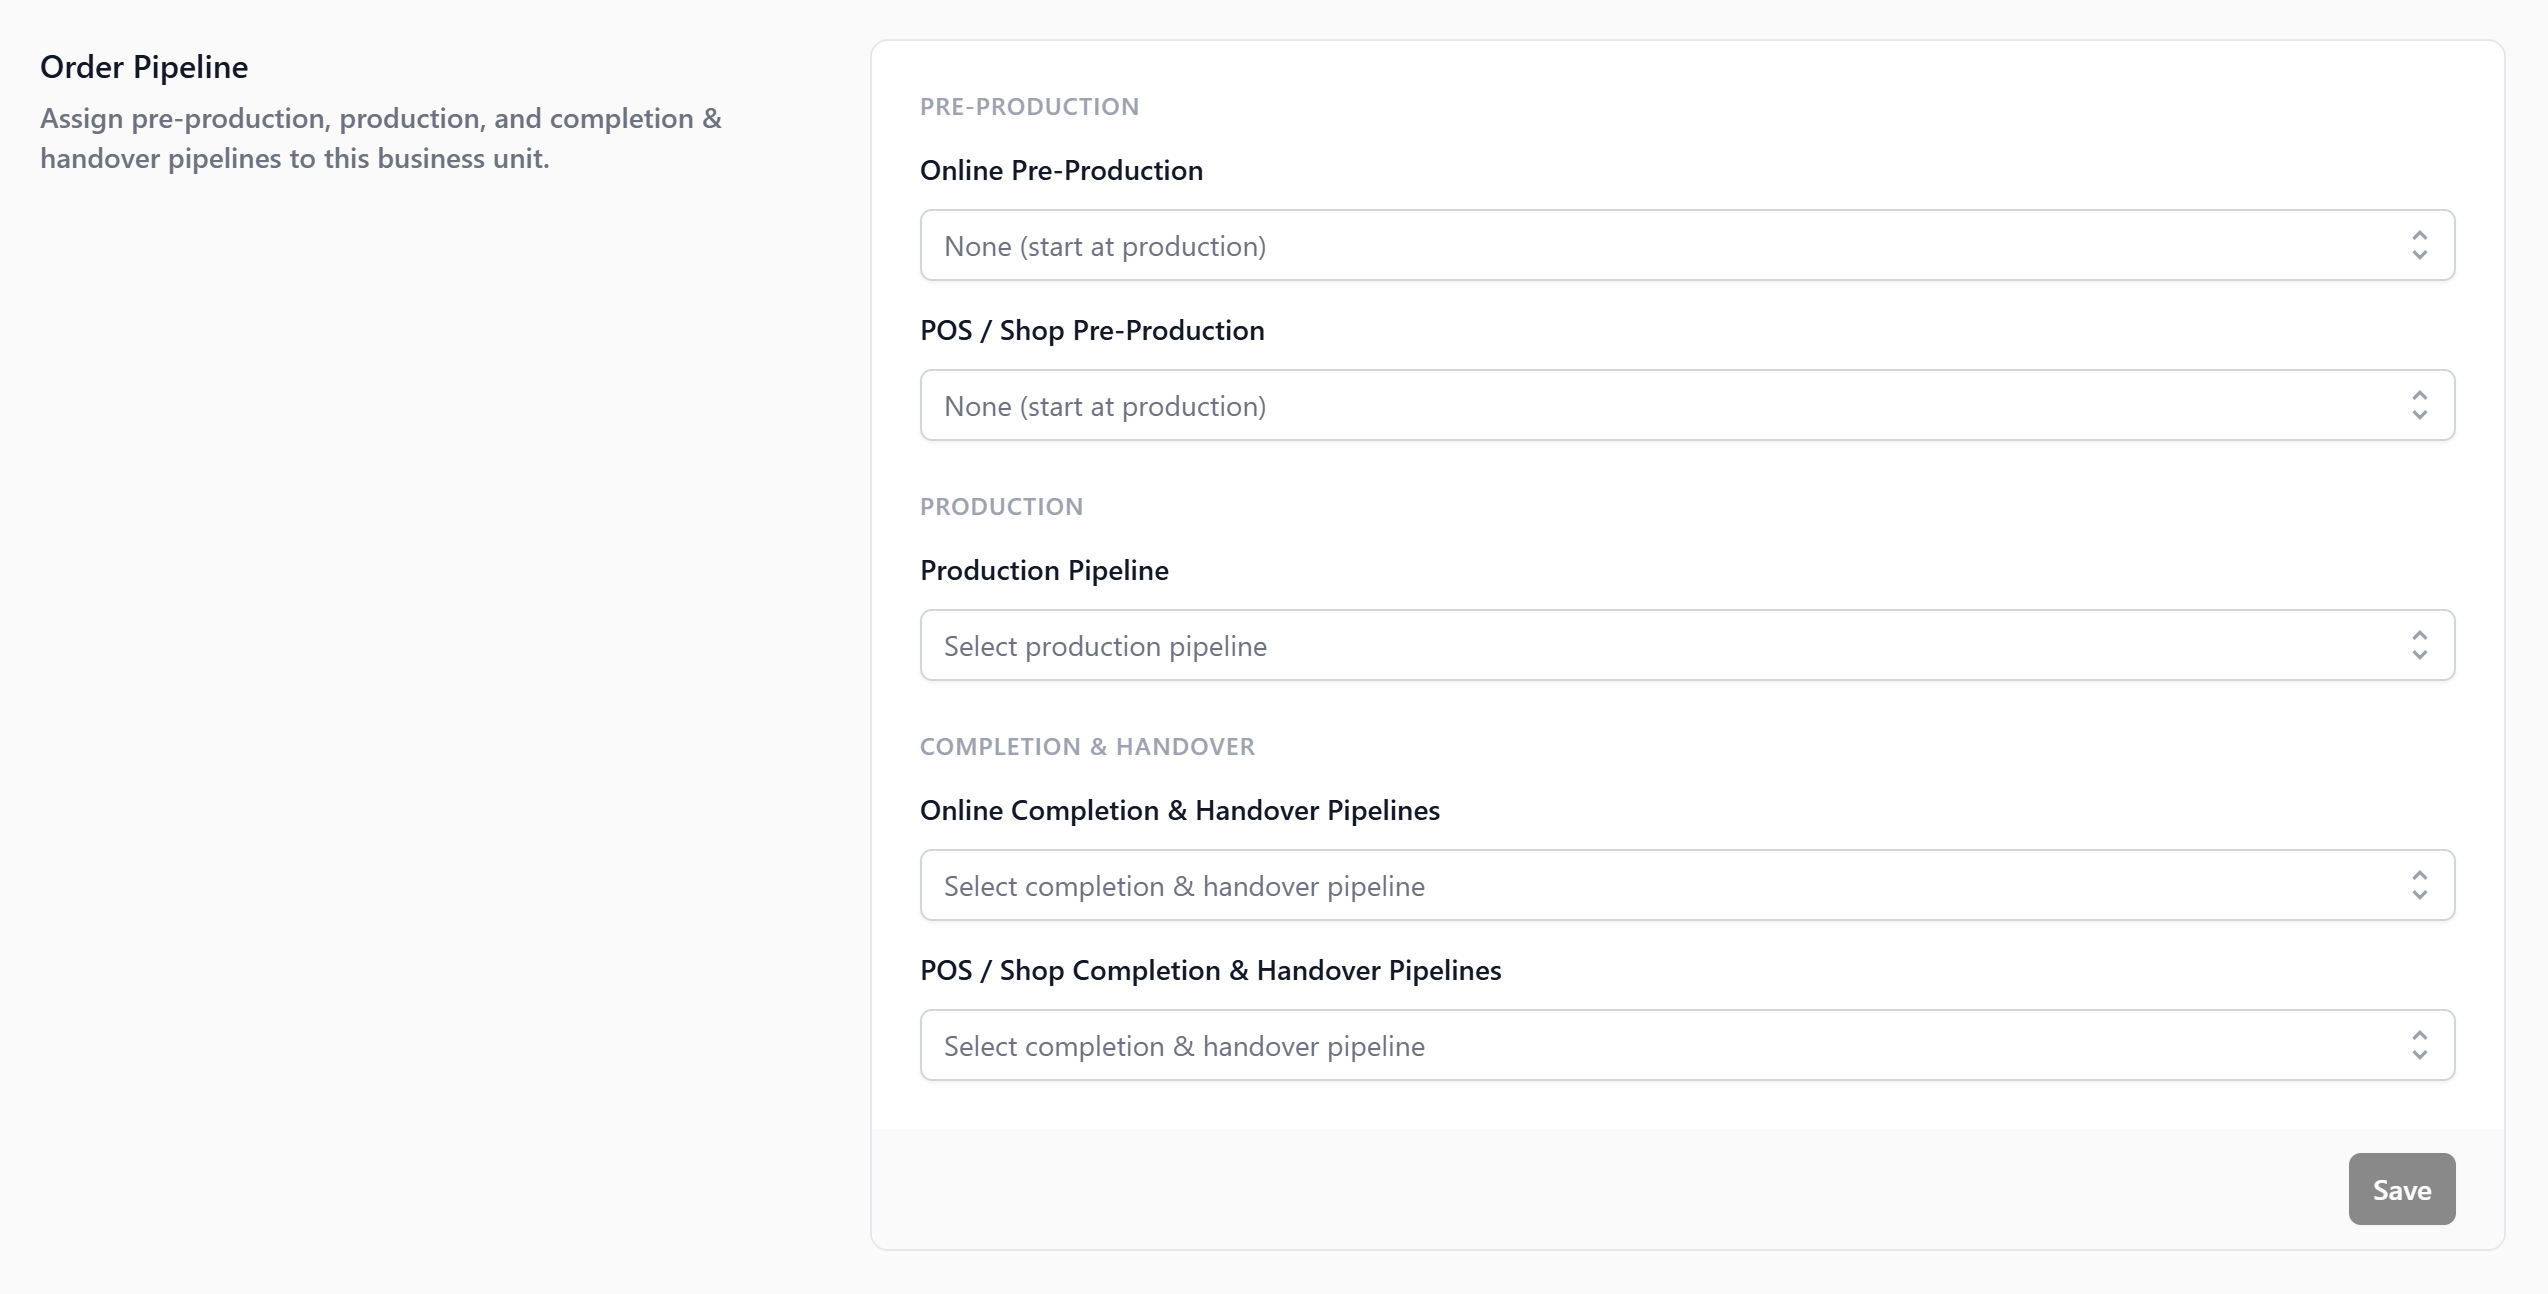
Without a Pipeline, your staff cannot see what stage an order is in, customers cannot be notified when their order is ready, and the POS will not let staff select store pickup or home delivery at checkout.
Full setup: [Understanding Order Pipelines] (Coming Soon)
Work Orders
Work Orders is a task that EasyBiz creates at a specific production stage. Your team completes the task, and the order advances to the next stage on its own.

This is for a detailed per-stage tracking. Lets you break a single Production stage into fine-grained steps like Washing, Pressing, Bagging, Sorting, and Packed, assign each to a role, and scan each item as it moves through.
Full setup: [Setting Up Work Orders] (Coming Soon)
Packing Flows
Packing flow is a per-item packing steps that run during prep, before fulfillment is confirmed e.g. bagging, tagging, quality check, photo.
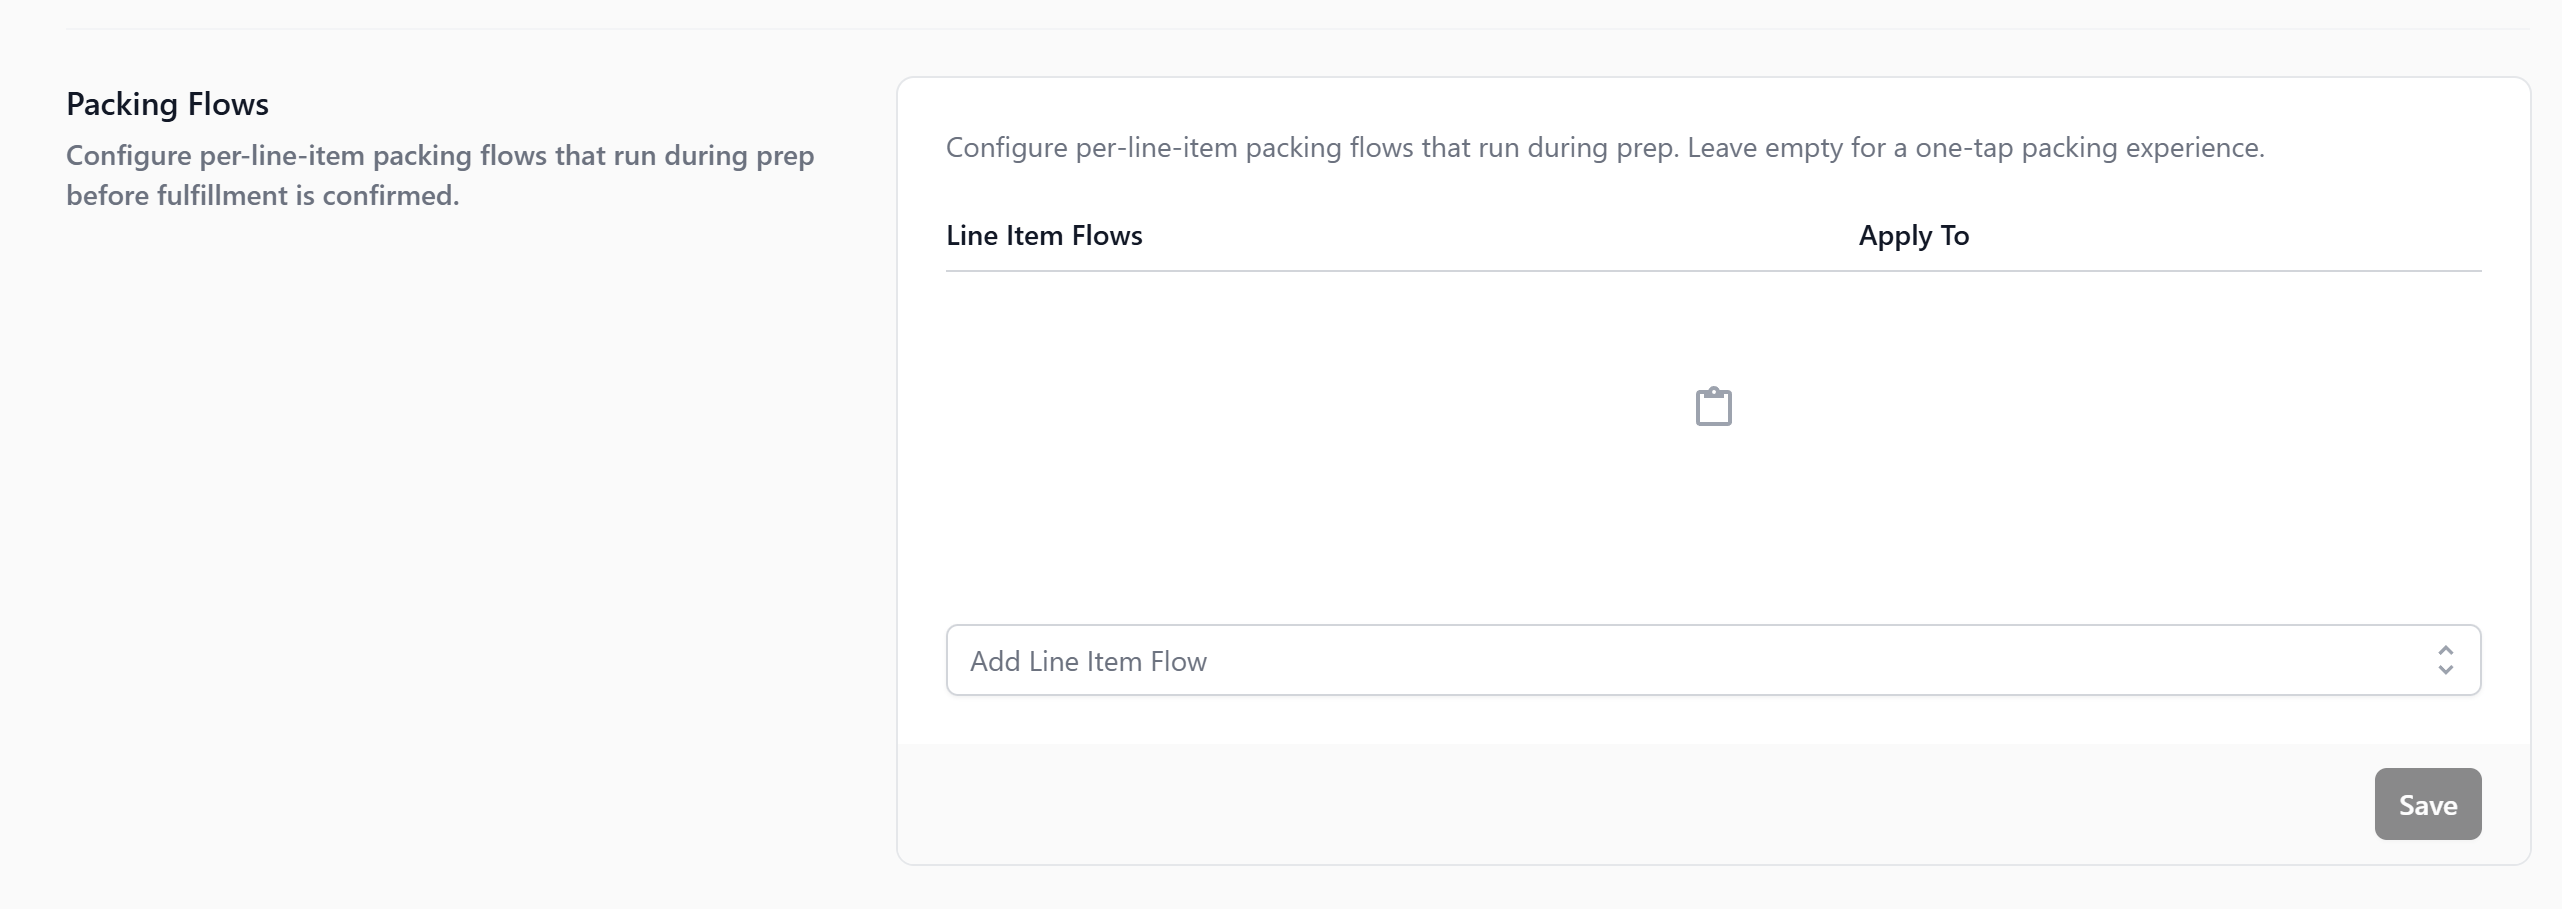
Use this for a structured flow which ensures every item is tagged, bagged, and checked before it goes out.
Full setup: [Setting Up Packing Flows] (Coming Soon)
Completion & Handover Flows
Completion & Handover are the steps taken at completion, collection, delivery, or on-site handover e.g. signature, photo, payment confirmation.
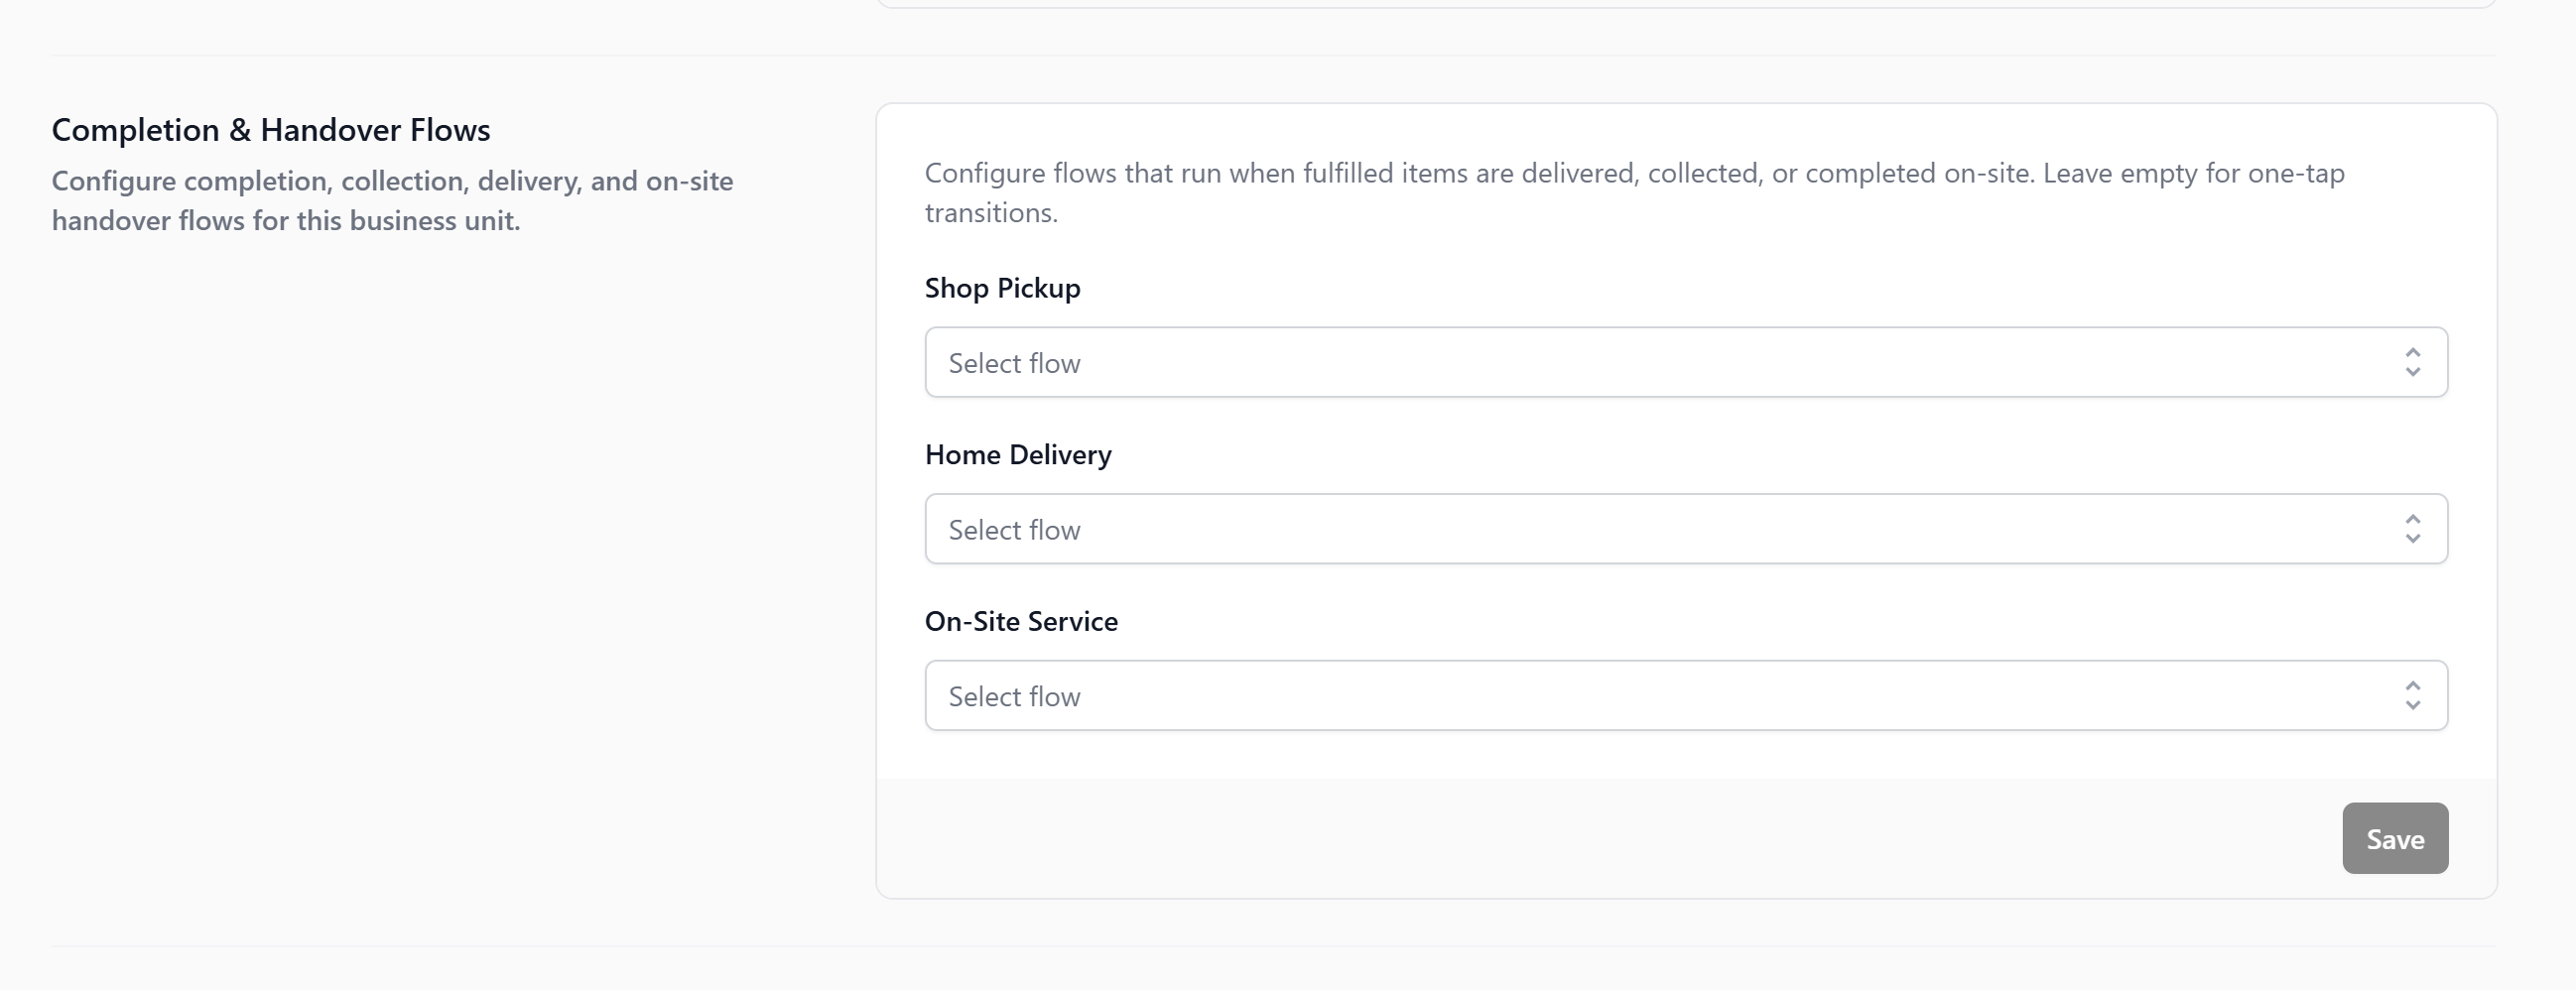
Use this if you need a consistent flow that prevents disputes and captures proof of delivery or collection.
Full setup: [Setting Up Completion & Handover Flows] (Coming Soon)
Documents
The Documents section is where you link your business unit to its print and digital templates — receipts, invoices, and item labels. Without this, orders can still be created, but no receipts or labels will be generated.
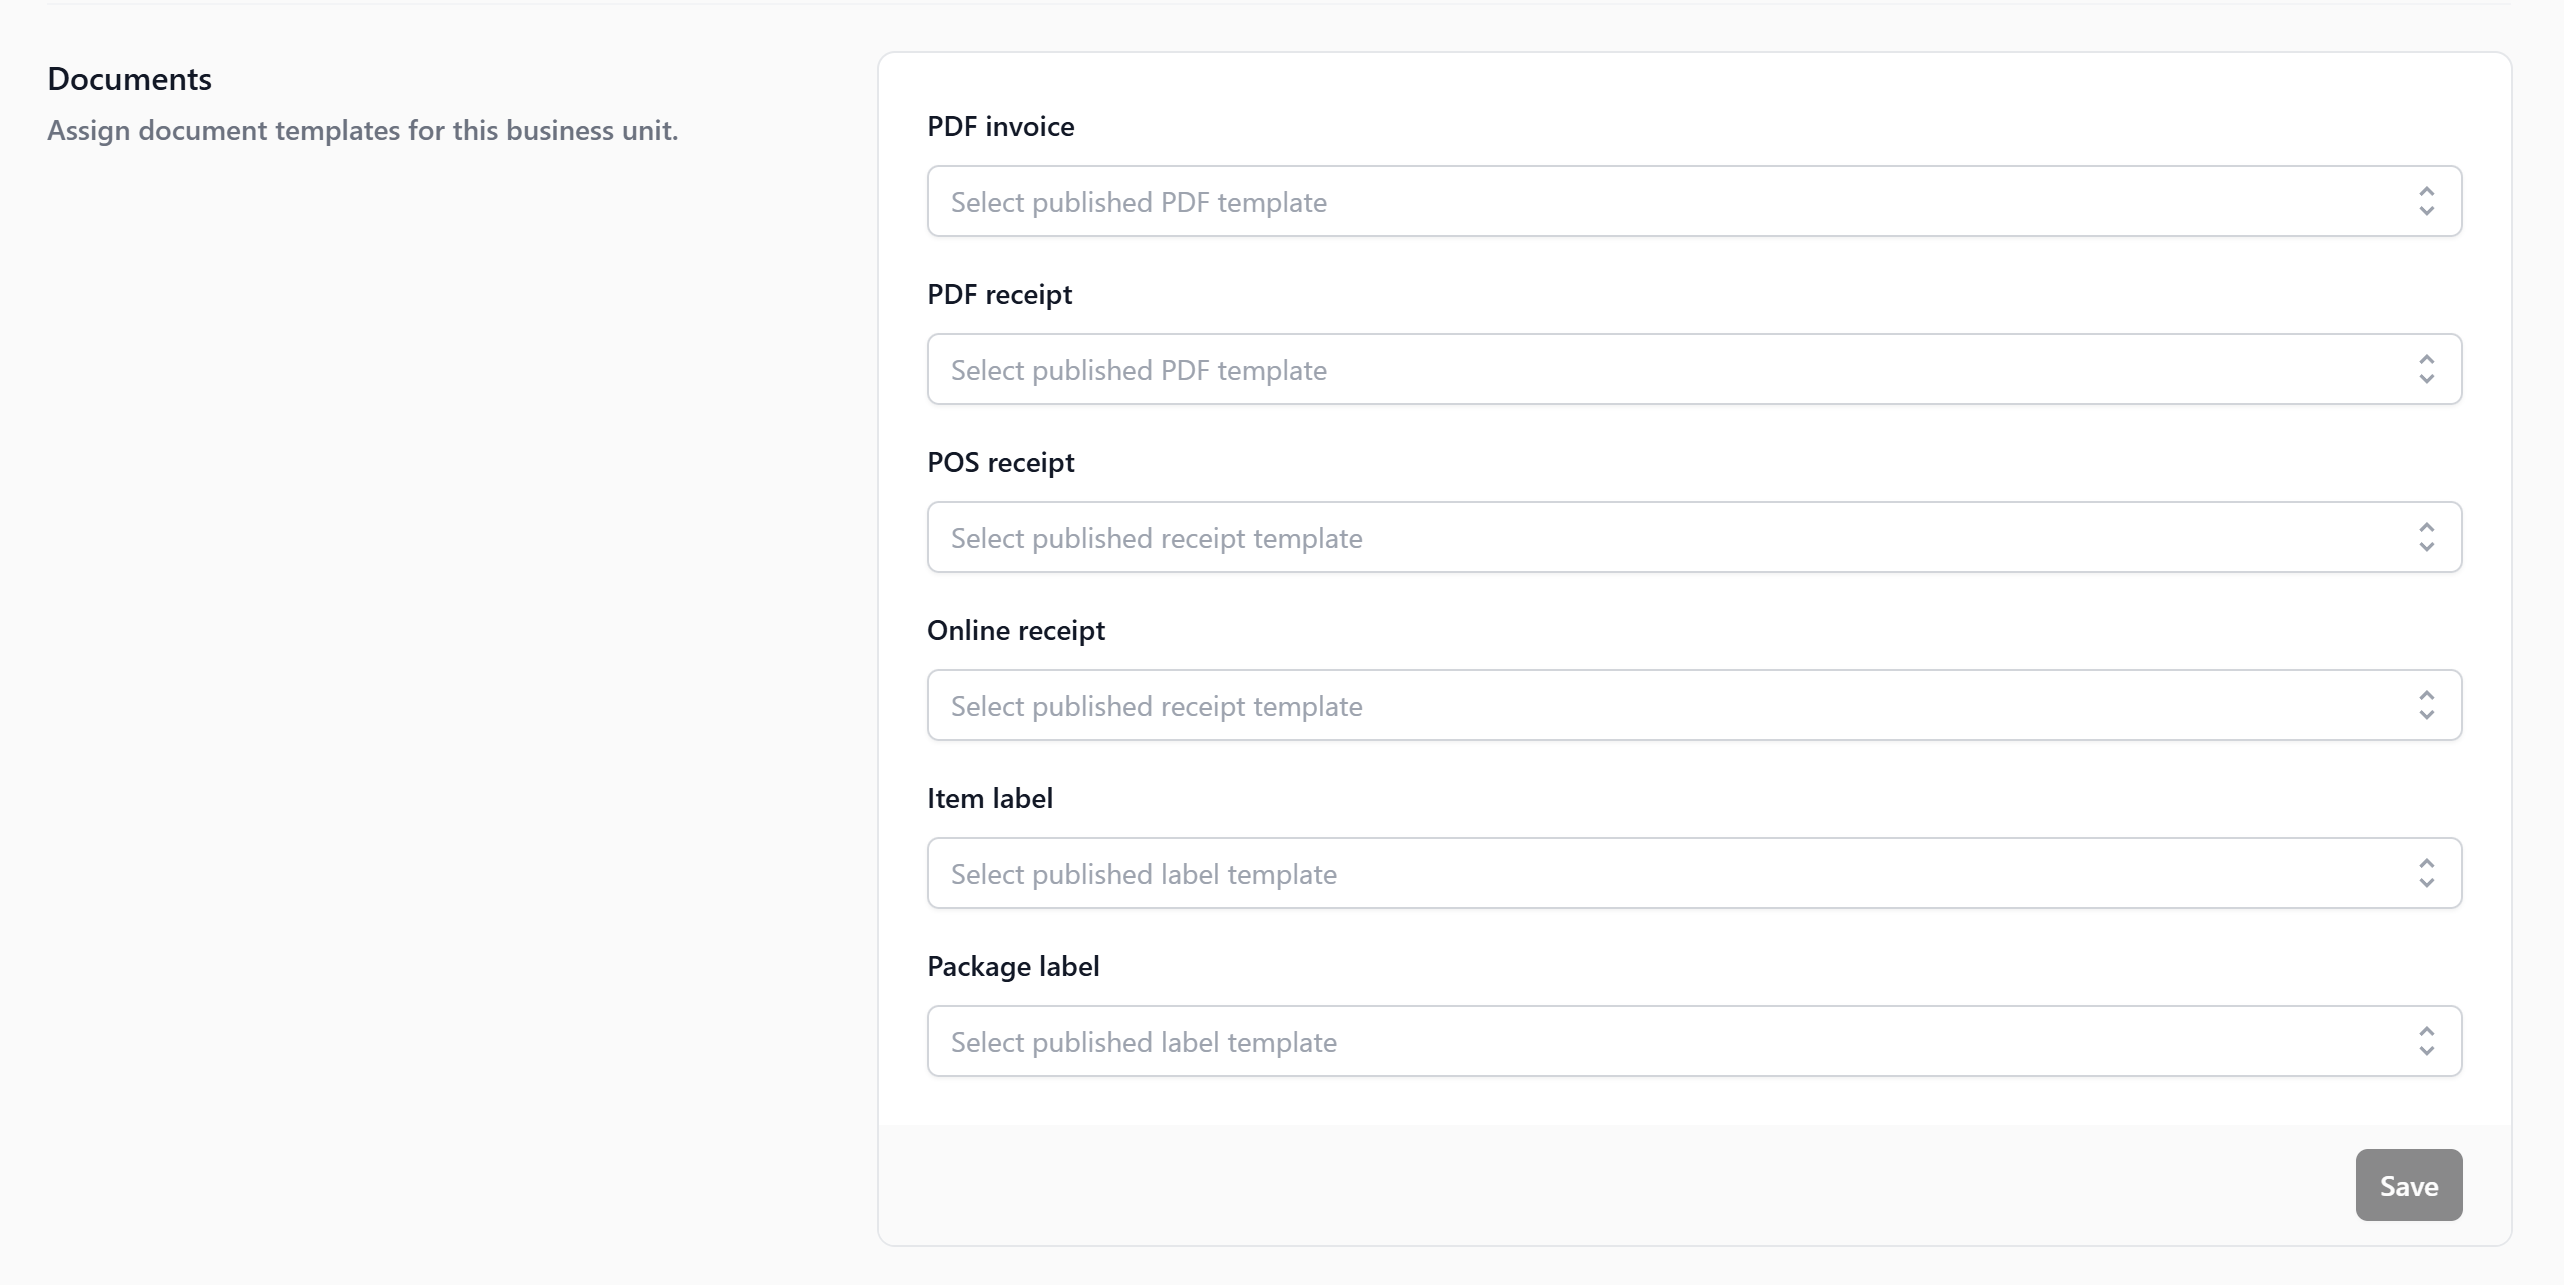
Here are the document types you can assign:
| Field | What it is for |
|---|---|
| POS Receipt | Prints at the counter when an order is created |
| Online Receipt | Sent to customers who order online |
| PDF Receipt | A printable PDF for emailing or record-keeping |
| PDF Invoice | A formal invoice for corporate or bulk clients |
| Item Label | A label attached to each individual garment at drop-off |
| Package Label | A label for the full order bag or package |
Create your templates
Each document type needs a published template before it can be assigned. The steps are the same for all types:
-
Go to Settings→ scroll to Templates → click the relevant template type (PDF Templates, Receipt Templates, or Label Templates).
-
Click + Add Template and select a pre-configured template as your starting point:
-
PDF Templates → add Order Receipt for receipts and Order Invoice for invoices. If you don’t issue formal invoices, just add the Order Receipt.
-
Receipt Templates → select POS Receipt for your counter or Online Receipt for online orders. Add both if you use both channels.
-
Label Templates → for item labels, choose Single line, Multi-line tight, Multi-line normal, or Multi-line large. For order packages, select Package label. You can add both.
-
Customize the design to your preference. Type
@to insert placeholders like@Order Number,@Customer Name, or@Store Name. -
Click Publish.
Once published, the template will appear in the list with an Active status.
Assign your templates
-
Go to Settings→ Administration → Business Units.
-
Select your Laundry Business Unit and scroll down to the Documents section.
-
For each field, select the matching template you just published — for example, your POS Receipt template in the POS Receipt field, your Item Label template in the Item Label field, and so on.
-
Click Save.
🚧 More Coming Soon
These sections are still being finalized. Full guides will be available soon:
-
Order Pipeline (Production) -> [Setting Up Your Production Pipeline for Laundry] (Coming Soon)
-
Order Pipeline (Fulfillment) -> [Setting Up Your Fulfillment Pipeline] (Coming Soon)
-
Order Pipeline (Pre-Production) -> [Setting Up Your Pre-Production Pipeline] (Coming Soon)
-
Checkout Flow (for custom steps at checkout) -> [Setting Up Your Checkout Flow] (Coming Soon)
-
Work Orders (for detailed per-stage tracking) -> [Setting Up Work Orders] (Coming Soon)
-
Packing Flows (for structured packing steps per item) -> [Setting Up Your Packing Flows] (Coming Soon)
-
Completion & Handover Flows (for guided steps at delivery or collection) -> [Setting Up Your Completion & Handover Flows] (Coming Soon)