## What is Manual Sync?
**Manual Sync** acts like a time machine. It re-pushes _historical_ orders that already exist in EasyBiz into Xero.
When to use Manual Sync?
- **🗓️ Onboarding:** You just connected Xero today, but you want all your sales from last month to appear in your accounts.
- **🛠️ Xero Sync Recovery:** Orders were saved in EasyBiz, but an internet outage prevented them from syncing automatically to Xero. Once you are back online, use Manual Sync to "force push" those existing orders.
Manual Sync only re-pushes orders that are already saved in EasyBiz to Xero. It cannot recover an unsaved POS order, restore a cart, or recover or verify a payment. If the connection drops during checkout, do not charge again immediately; reconnect and follow [Internet Drops During Payment](/docs/collecting-payment-at-checkout).
**Xero API Limits** Xero limits how much data you can send at once (a "Daily Quota").
- **Do not** try to sync a whole year at once. It will take too long. * **Best Practice:** Sync in small batches (e.g., one week or one month at a time) to ensure everything goes through smoothly.
---
## Where to find this setting?
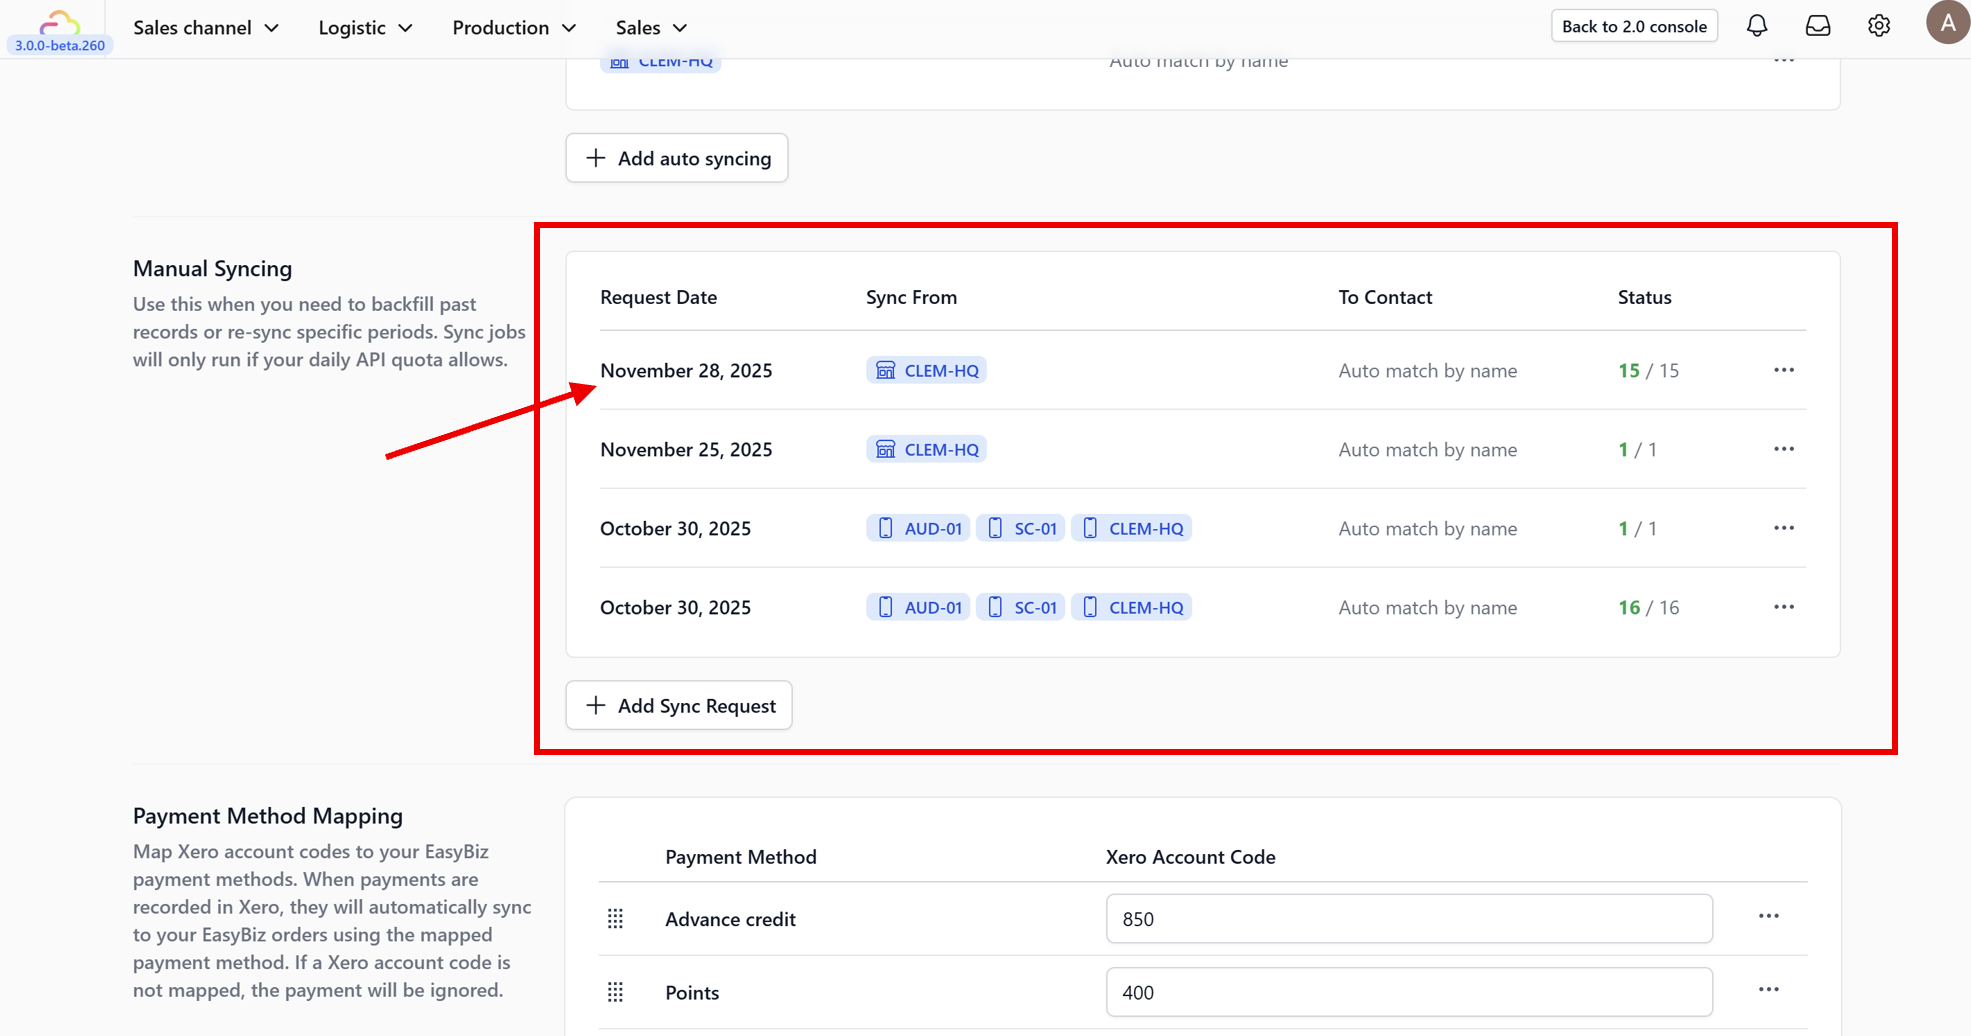
Go to **Settings → Business Portfolios**. Click your business → Click the **three dots**for Xero → **Settings**. Scroll down to the **Manual Syncing**section.
---
## Understanding Contact Mapping
When setting this up, you have two choices for how these invoices appear in Xero:
**1. Auto-Match (Dynamic)**
The system looks for a contact in Xero with the exact same name.
- **For Online Stores/B2B:** It looks for the **Customer's Name** (e.g., "John Doe"). If "John Doe" doesn't exist, it creates him.
- **For POS:** It looks for the **Location Name:** (e.g., "Clementi Branch"). This groups all sales from that store under one Xero contact.
- **Auto match by Customer Phone Number.:**A separate Xero contact will be created for each customer using their phone number as a unique identifier. This means two customers with the same name but different phone numbers will become separate contacts in Xero. This is useful if your customers share common names and you need a reliable way to tell them apart.
- **Auto match by Customer ID:** A separate Xero contact will be created for each customer using their customer ID (e.g., 1001) as a unique identifier. This is best for B2C businesses that use a customer index system.
**2. Manual Select (Generic Contact)**
This acts as a "Catch-All." You force all sales from a specific channel to go into a single, generic Xero contact of your choice.
- _Why use this?_ Perfect for **"Walk-in"** POS customers. Instead of creating thousands of contacts, you can map everything to a single Xero contact named **"Walk-in Customer"** to keep your accounting clean.
---
## When should I use Manual Sync?
- **Historical Data:** You just installed Xero today, but you want to sync your sales from last month.
- **Xero Sync Recovery:** If an existing saved EasyBiz order did not auto-sync to Xero, you can use Manual Sync to push it through later.
---
## How to use Manual Sync
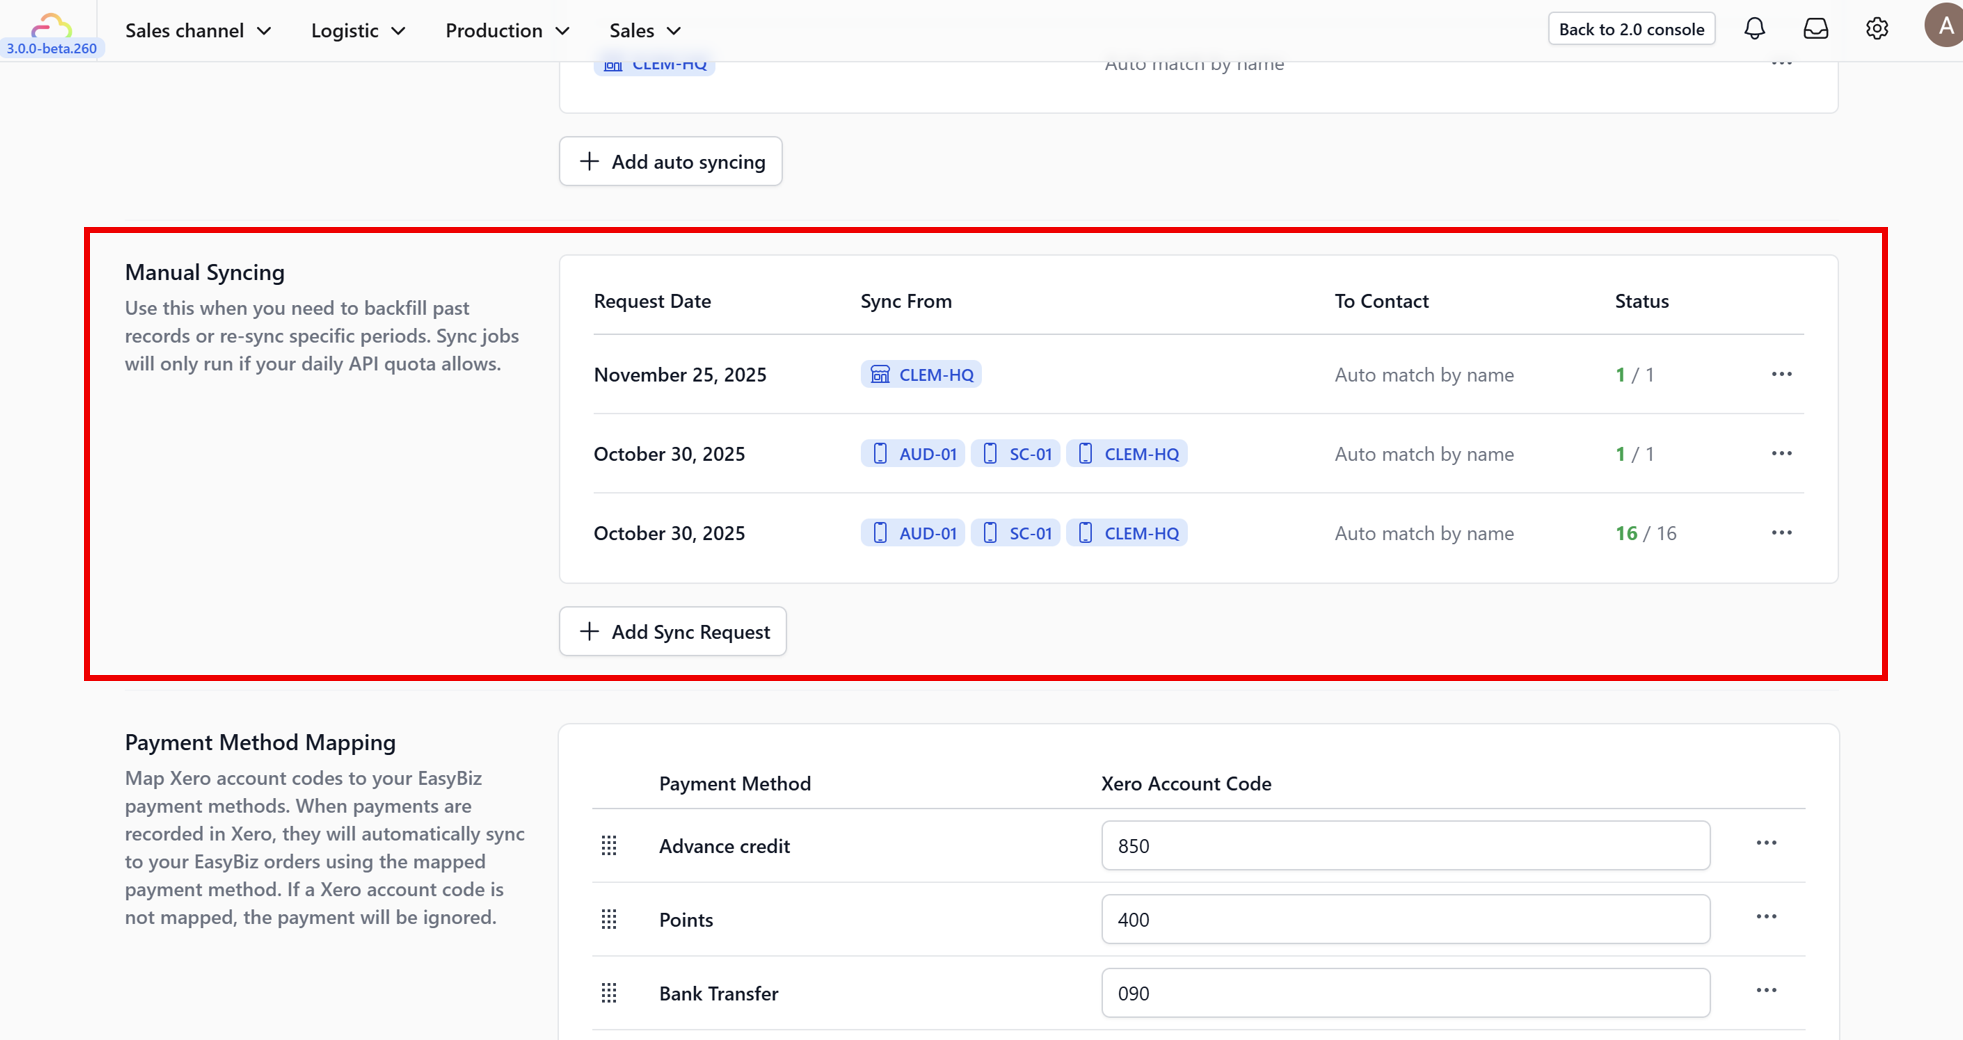
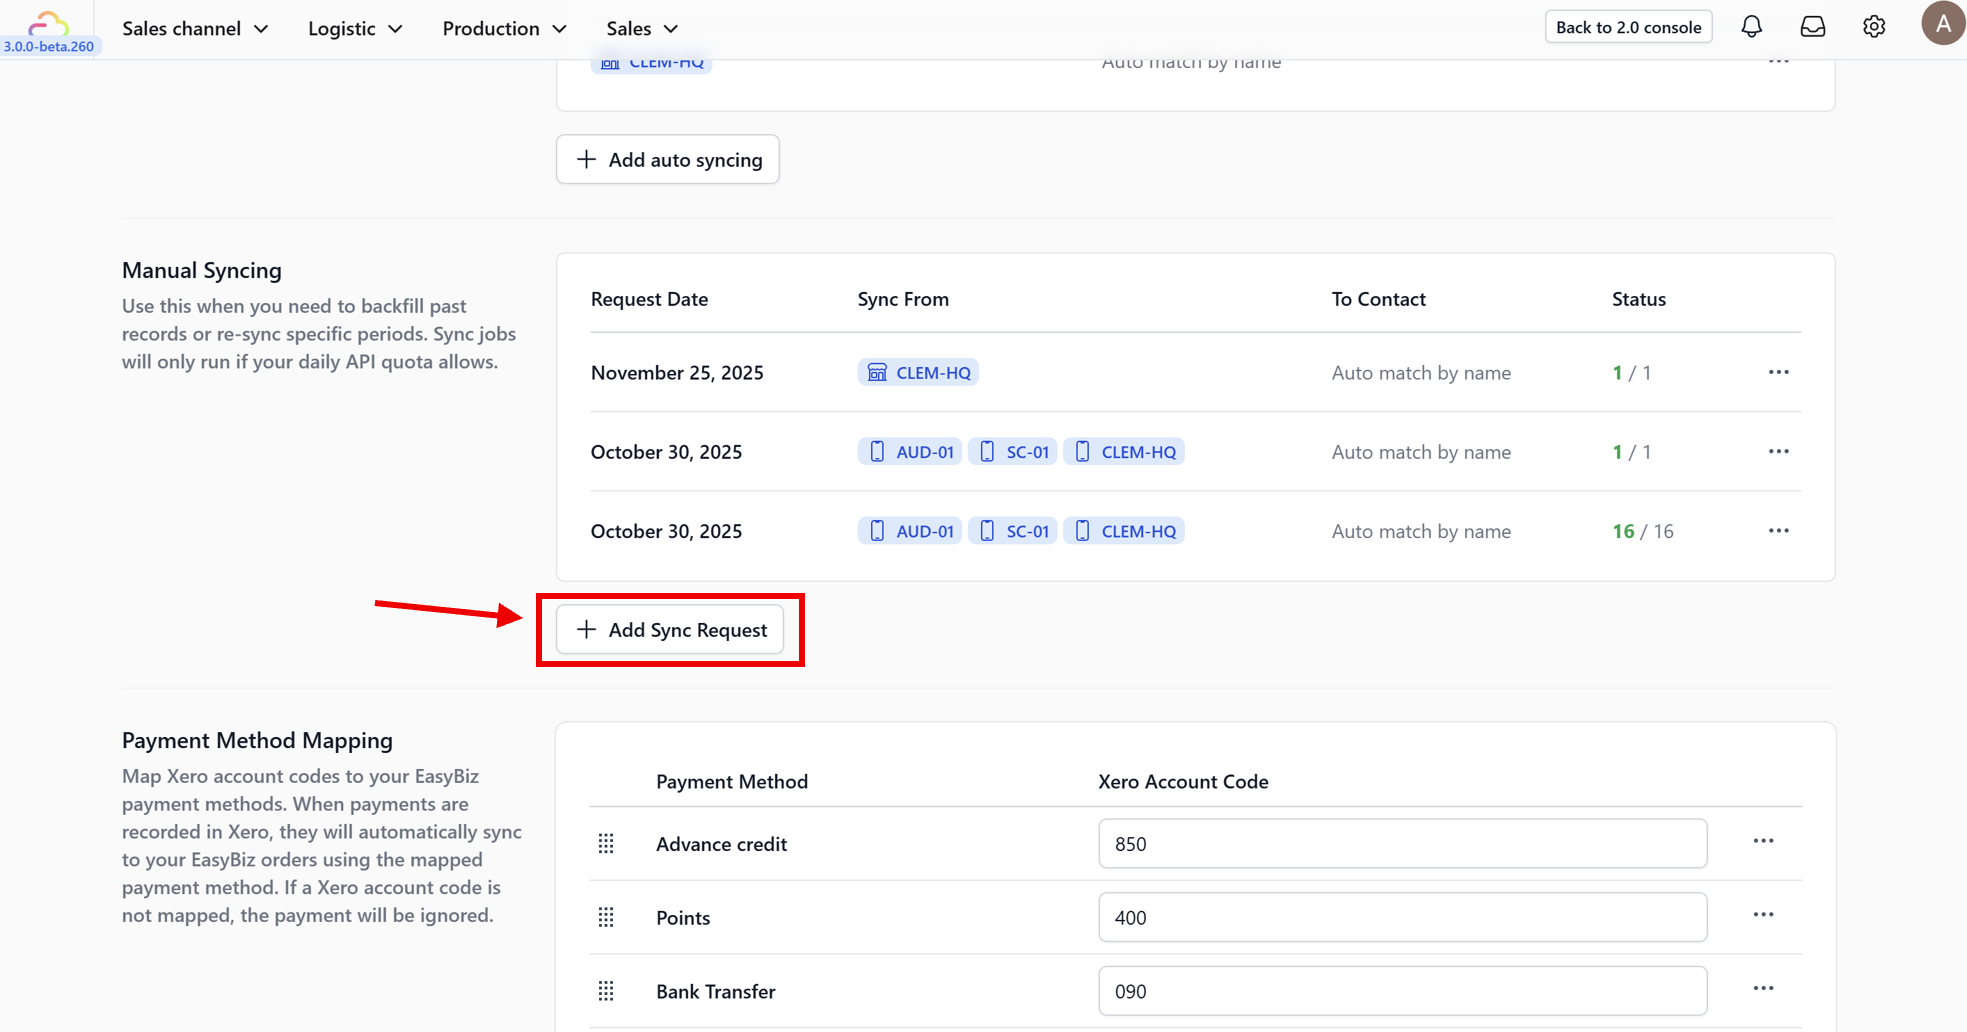
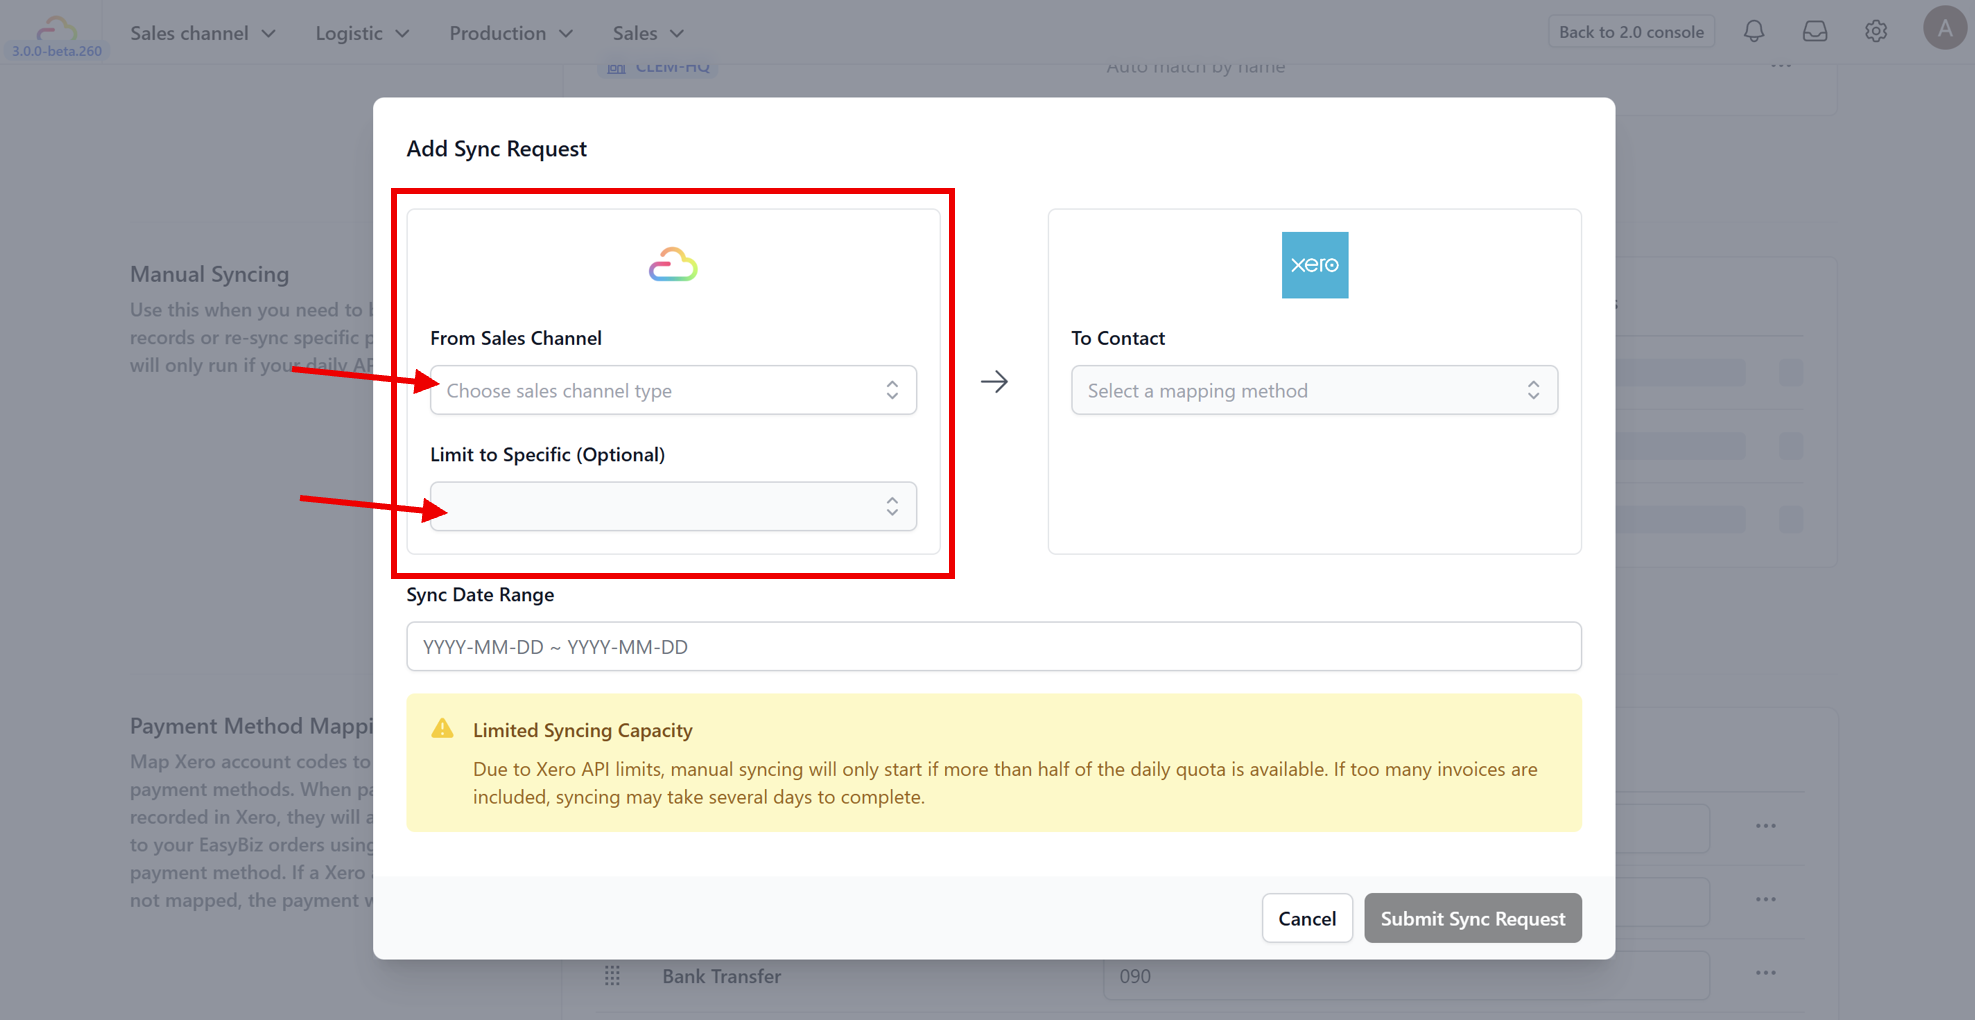
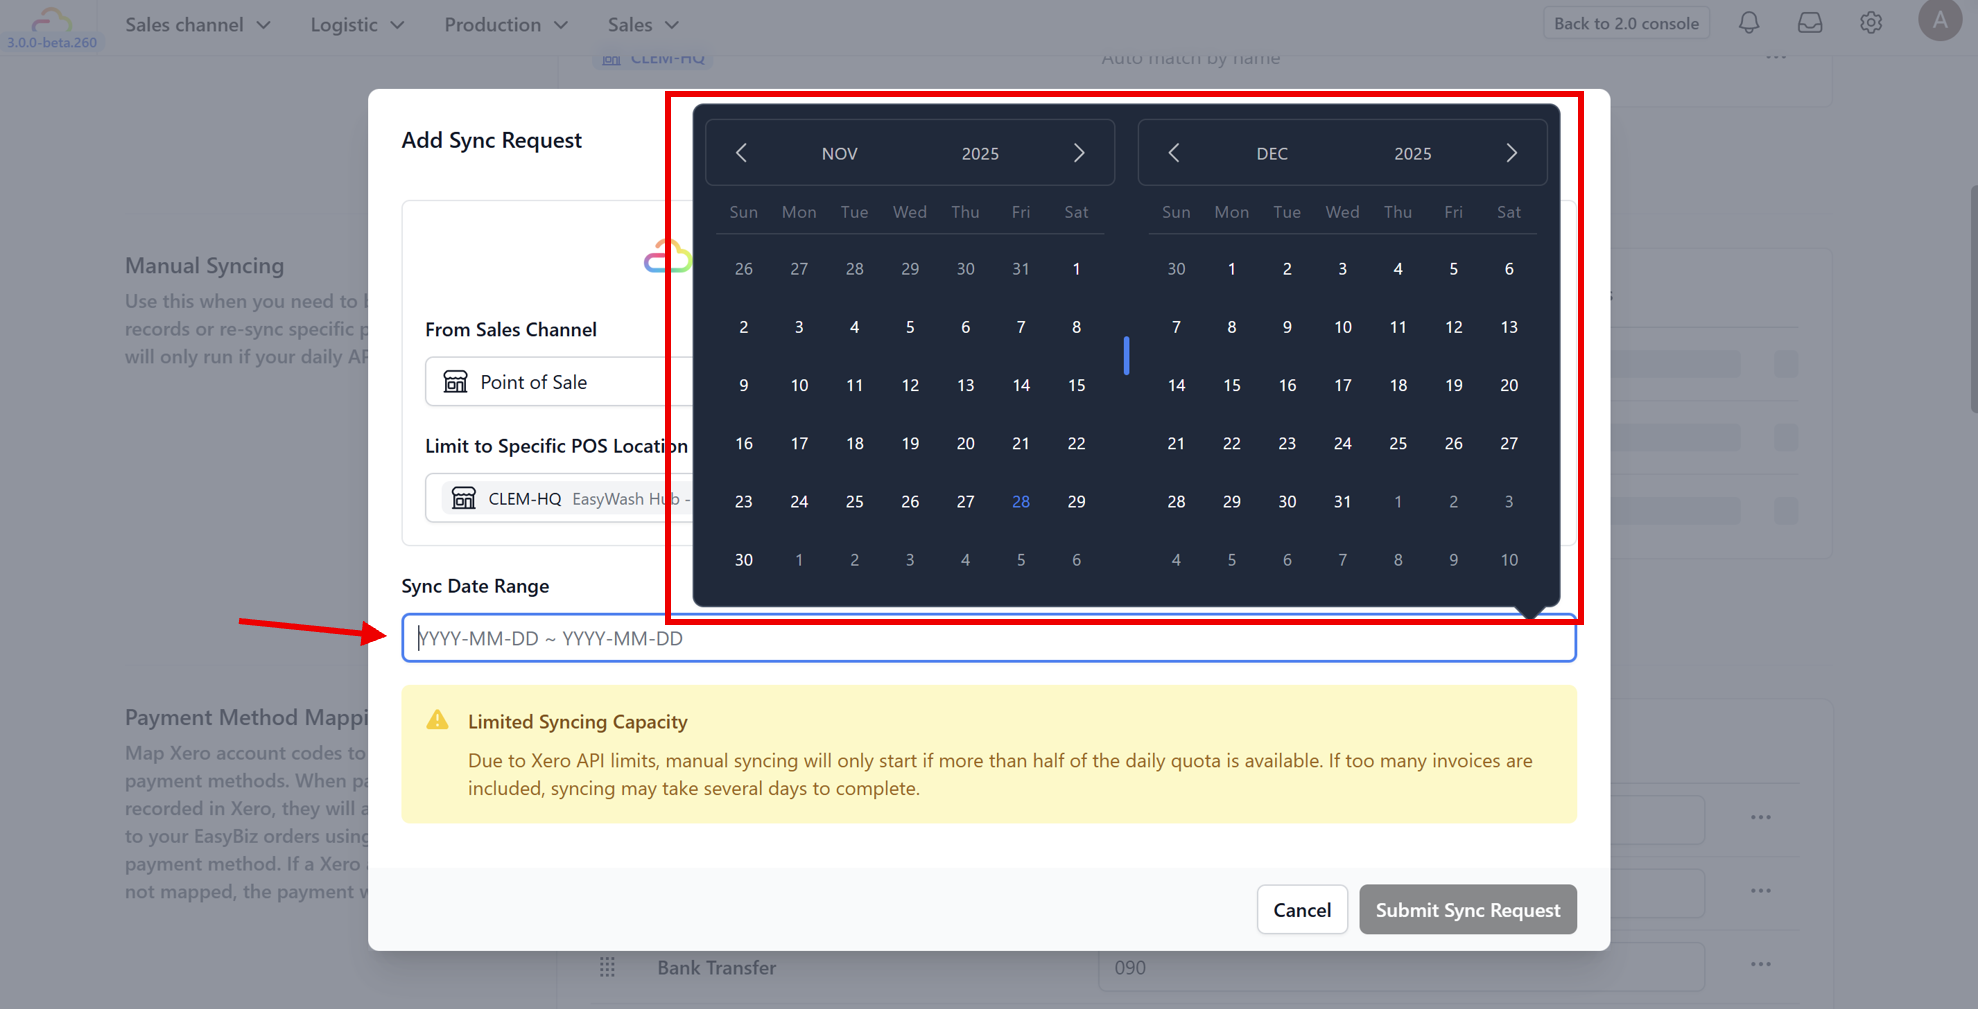
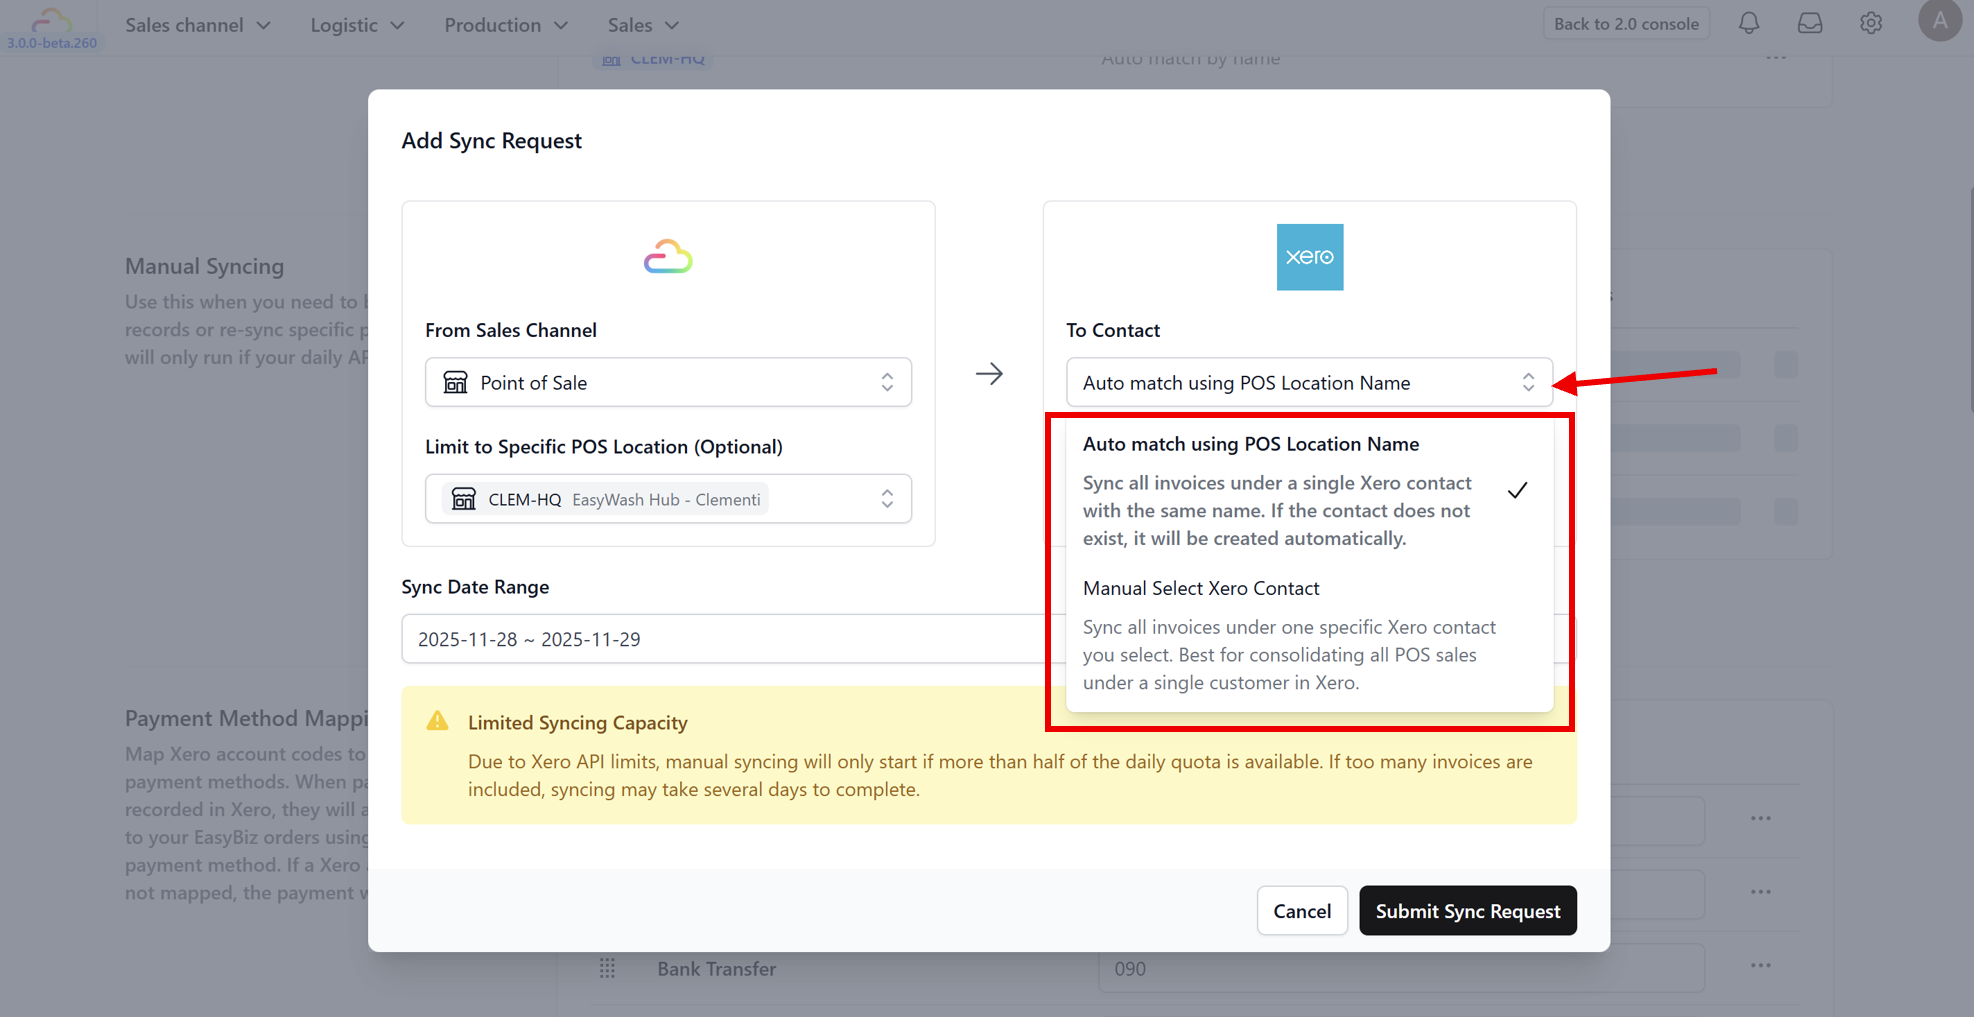
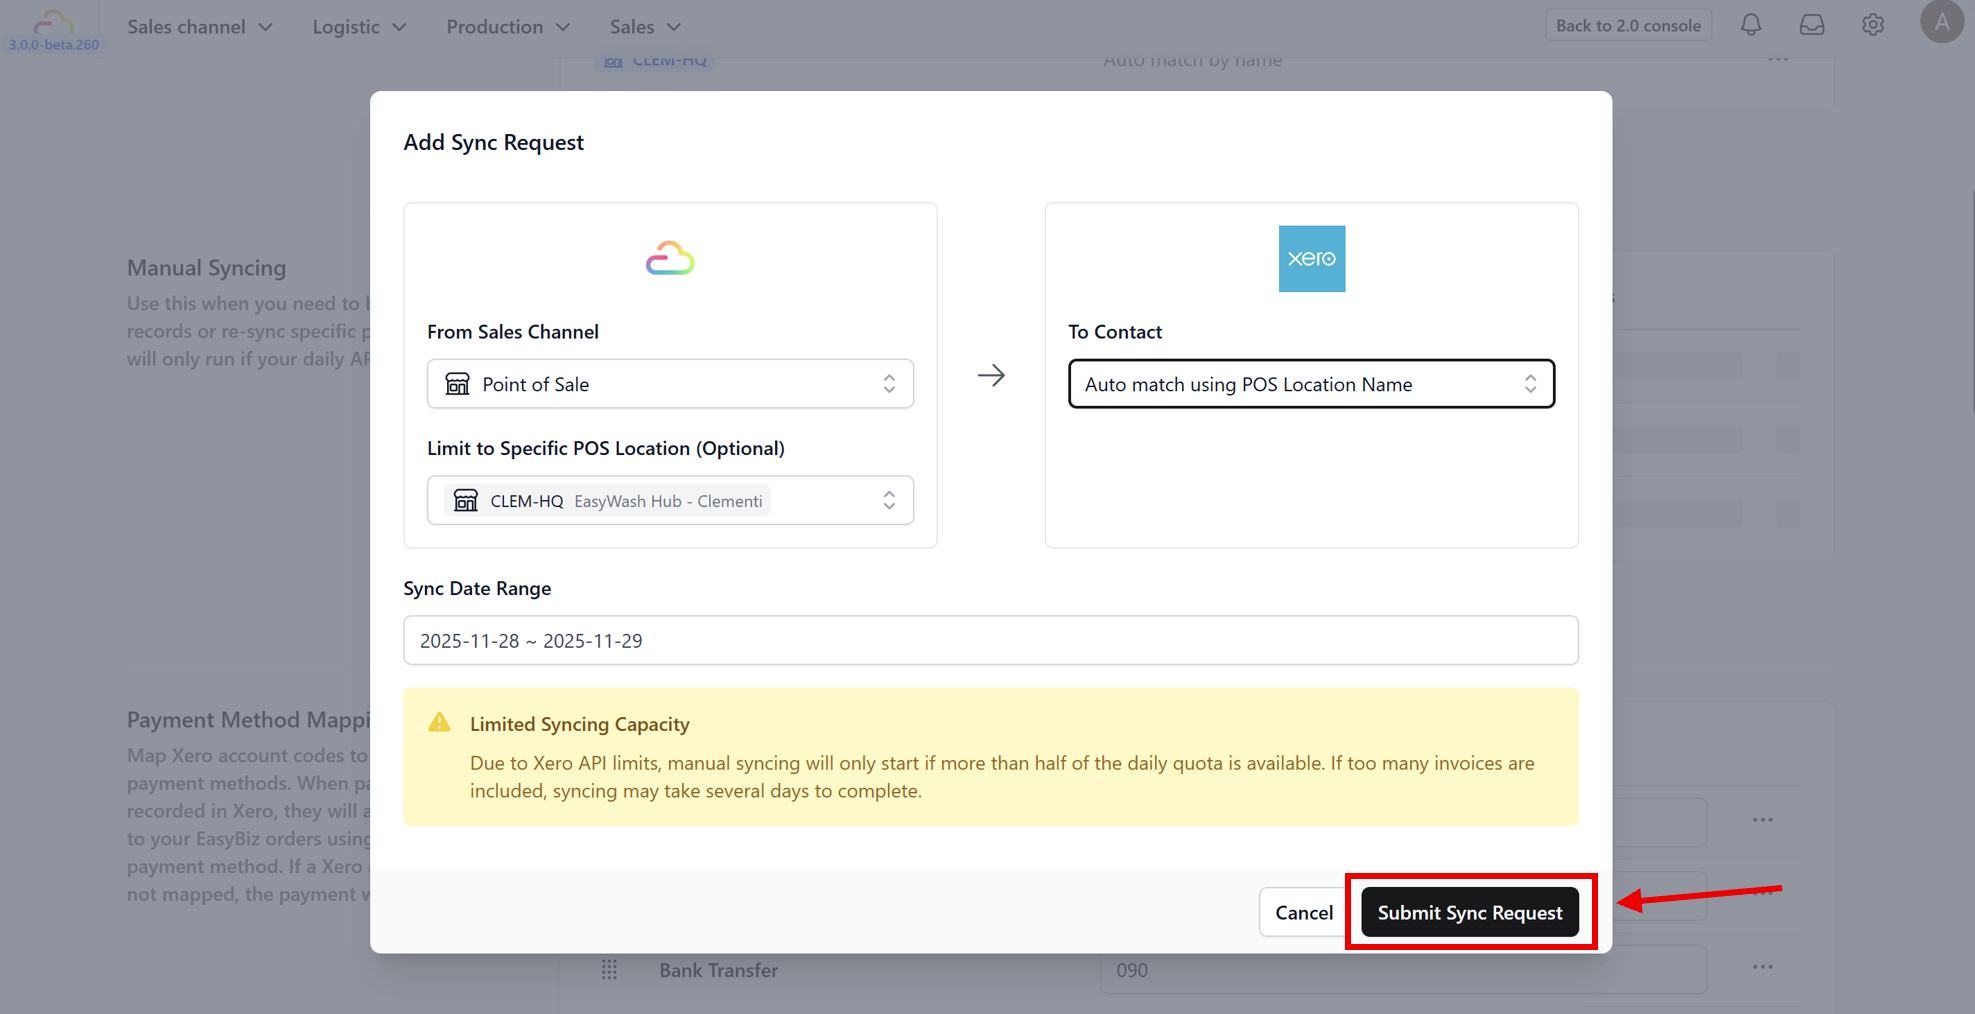
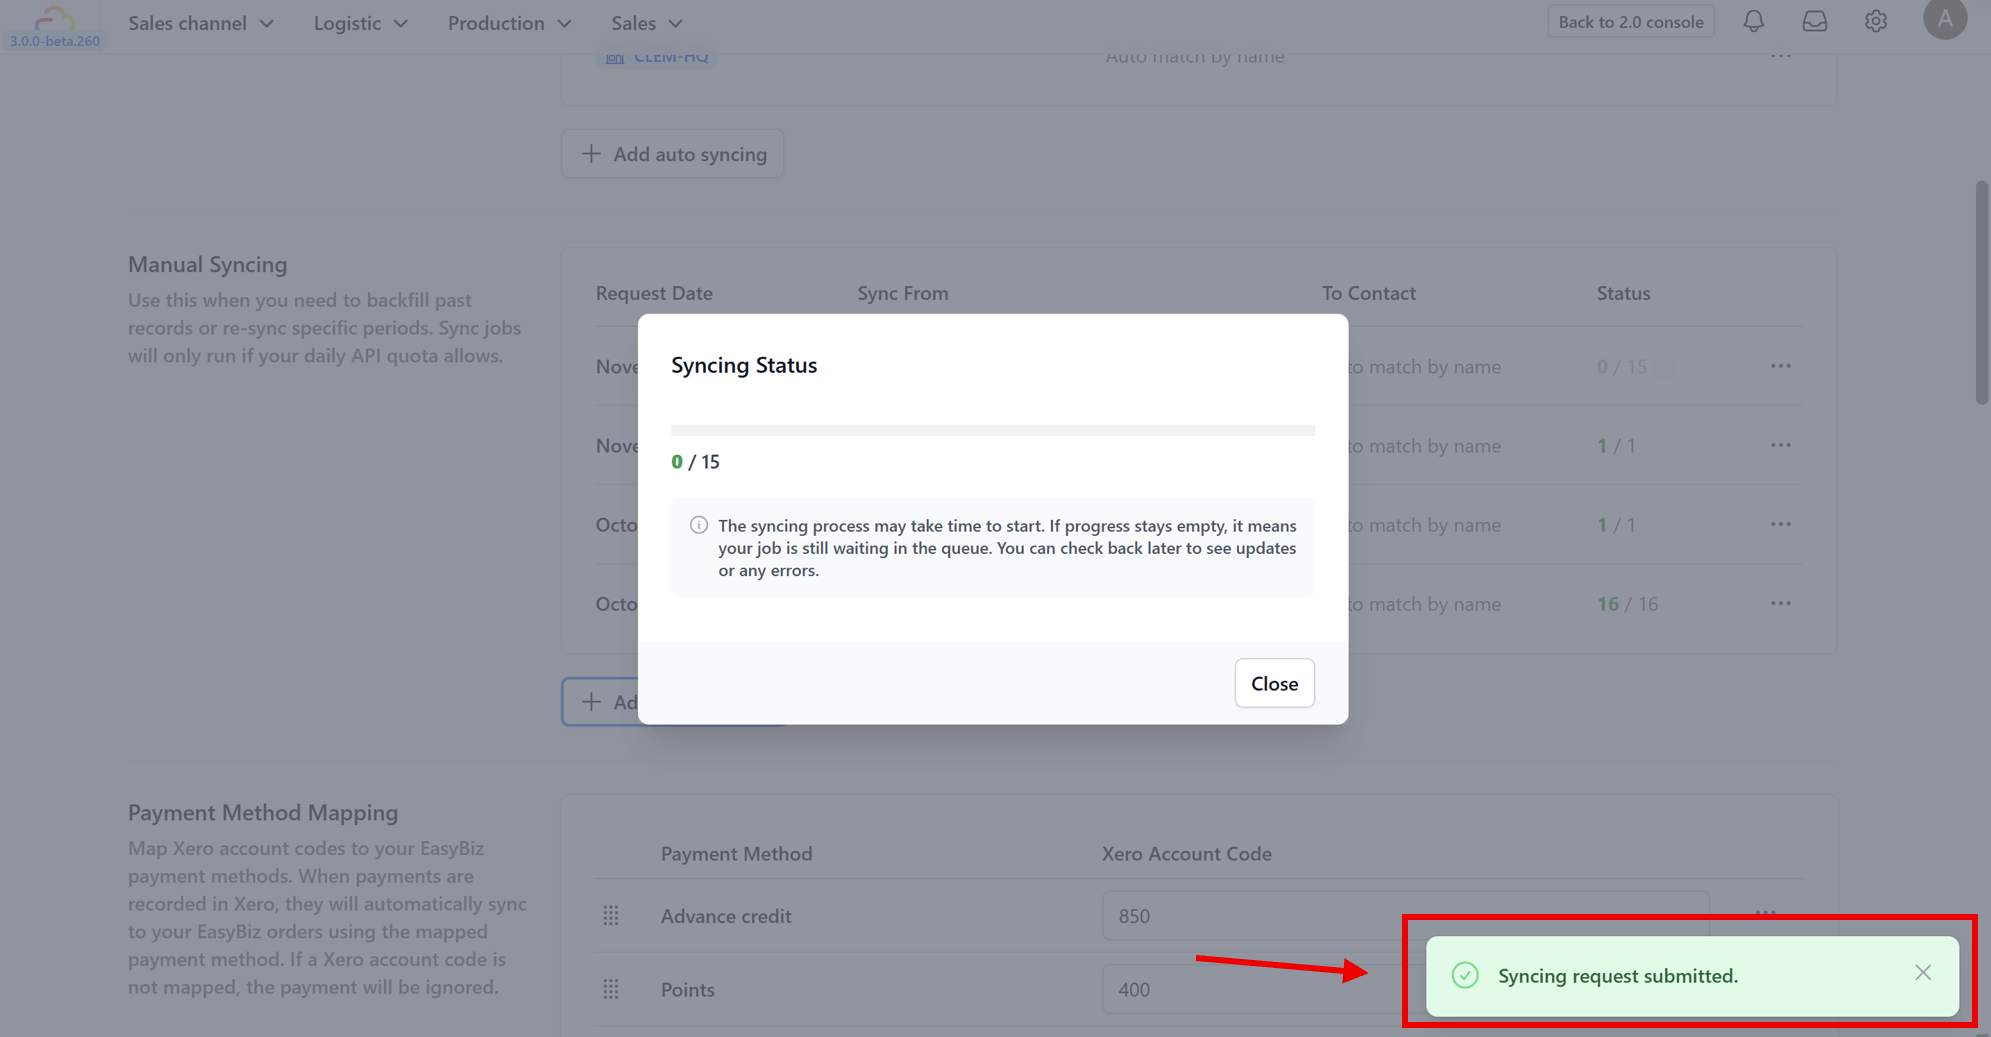
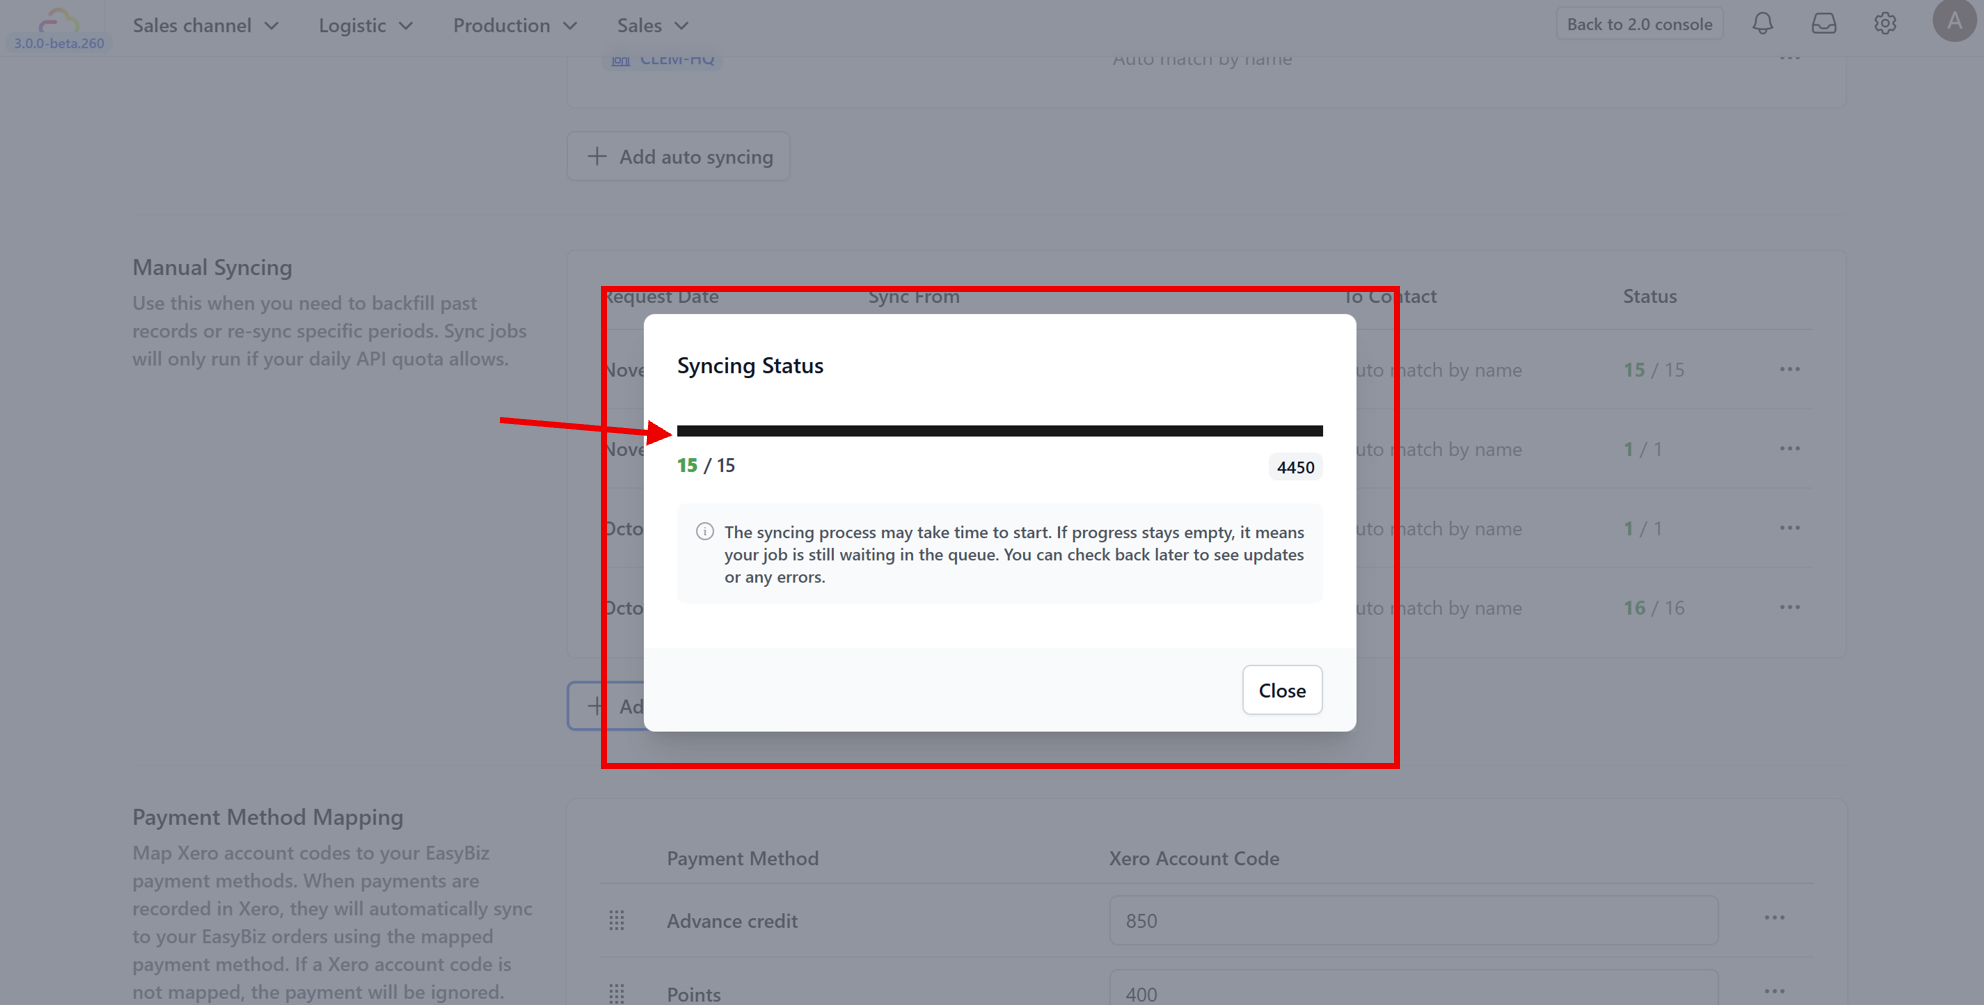
API Limits Xero limits how much data can be sent at once. If you need to sync a large timeframe (e.g., a full year of sales), please break it down into smaller batches (e.g., month by month) to prevent the sync from timing out or failing.
---
## The Workflow
Once active, the process is seamless:
1. Create and save an order on your sales channel. (In the video guide above, we demonstrated this using the POS).
2. Add a manual sync request for the specific sales channel and select the date range.
3. You can check the status in the history log. Once it says "Completed," your data is in Xero.
---
## What's Next?
Now that you have both auto and manual sync covered, continue to [Customizing Invoice Numbers](/docs/customizing-invoice-numbers) to control how invoice numbers are generated so they match your accounting conventions.