Now that your design is complete and your booking system is linked, it is time to perform a final check. This ensures your site is polished, professional, and easy to navigate on all devices.
## Enter Preview Mode
To see exactly what your customers see, without the editor sidebars or grid lines, use the Preview mode.
- Click the Preview button at the top right of your visual builder.
- **Test the Flow:** Click your menu links, open your service info pop-ups, and walk through the booking flow to ensure every step is logical.
## Check Mobile Responsiveness
Since most customers book via smartphone, checking the mobile experience is the most important part of your review.
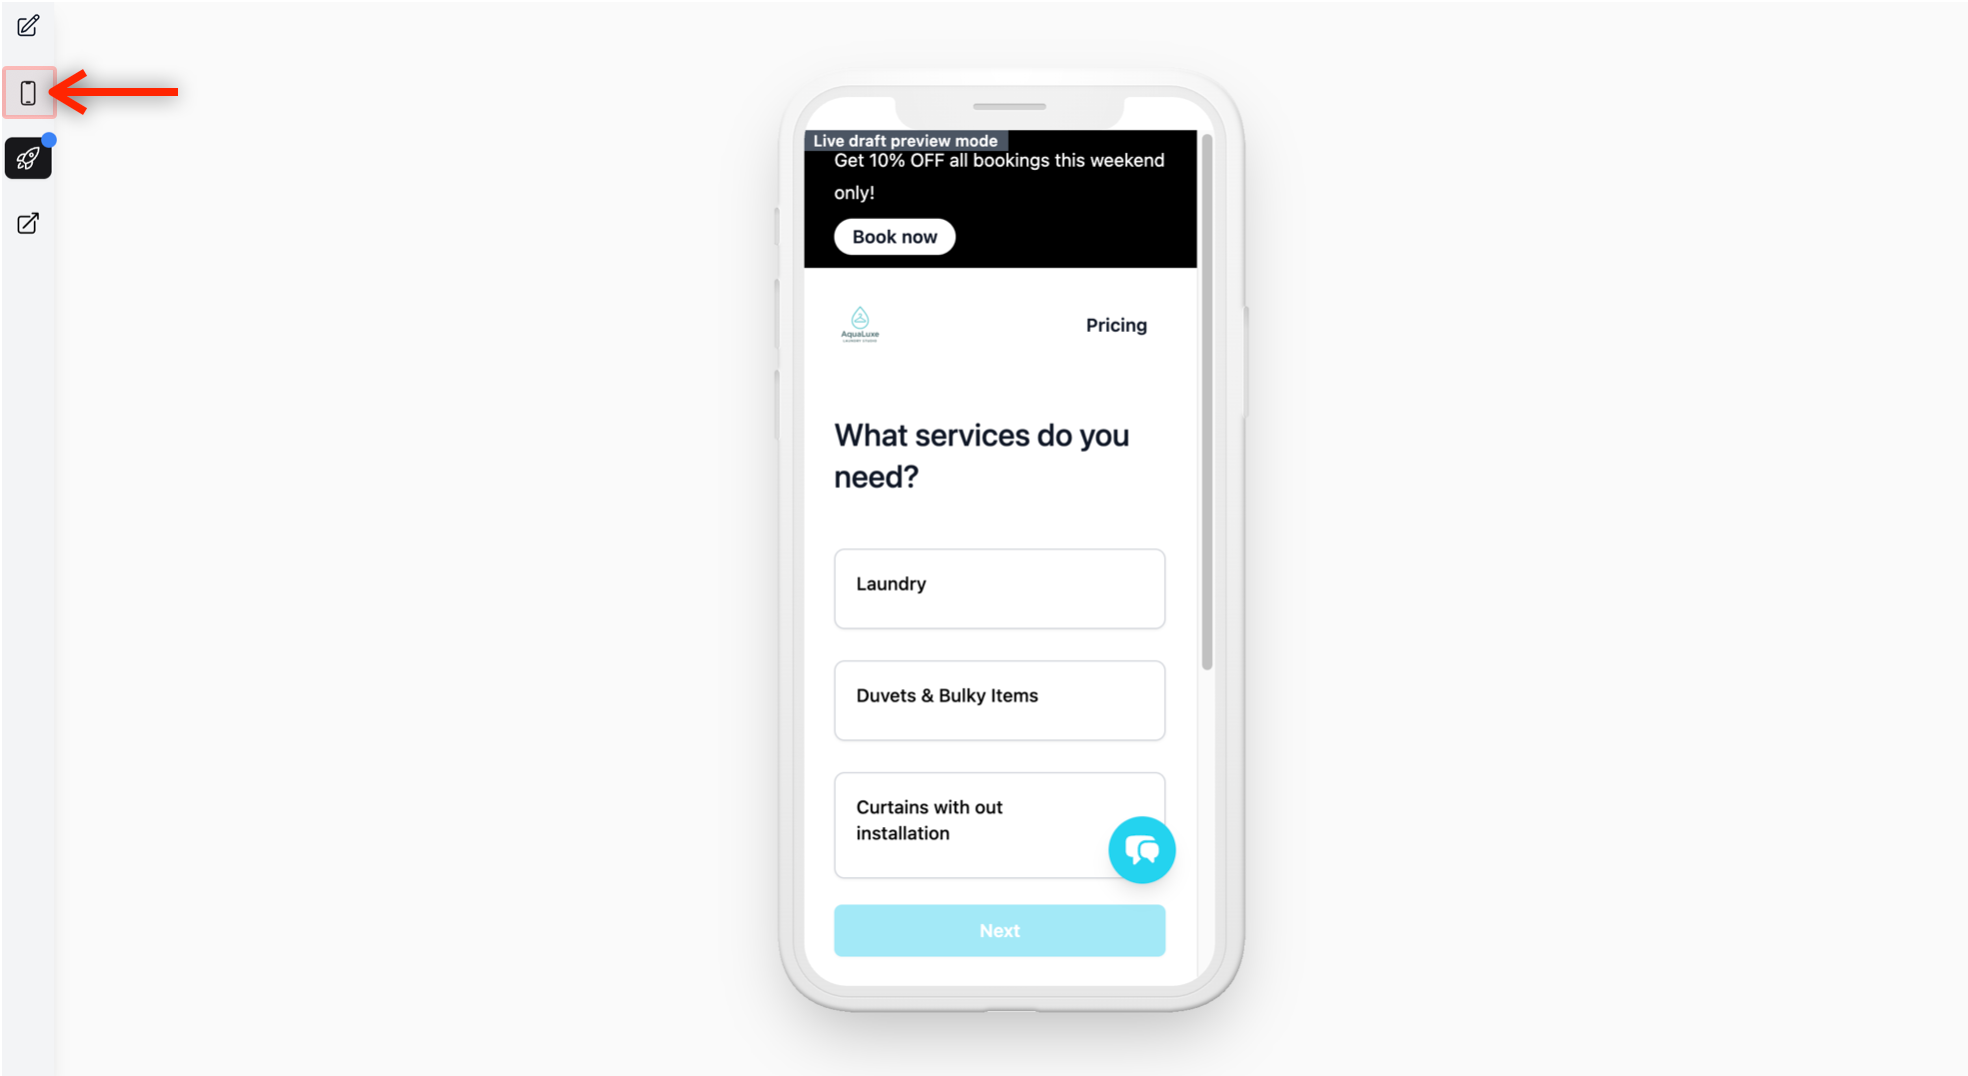
1. While in **Preview Mode**, look at the left side of your screen.
2. Click on the Mobile icon to enter the mobile view. Click again to return to the desktop view
3. **Verification:** Ensure that text is readable, buttons are easy to tap, and your service grid looks clean on the smaller screen.
## Publish Your Store
Once you are satisfied with the preview, it’s time to take your site live.
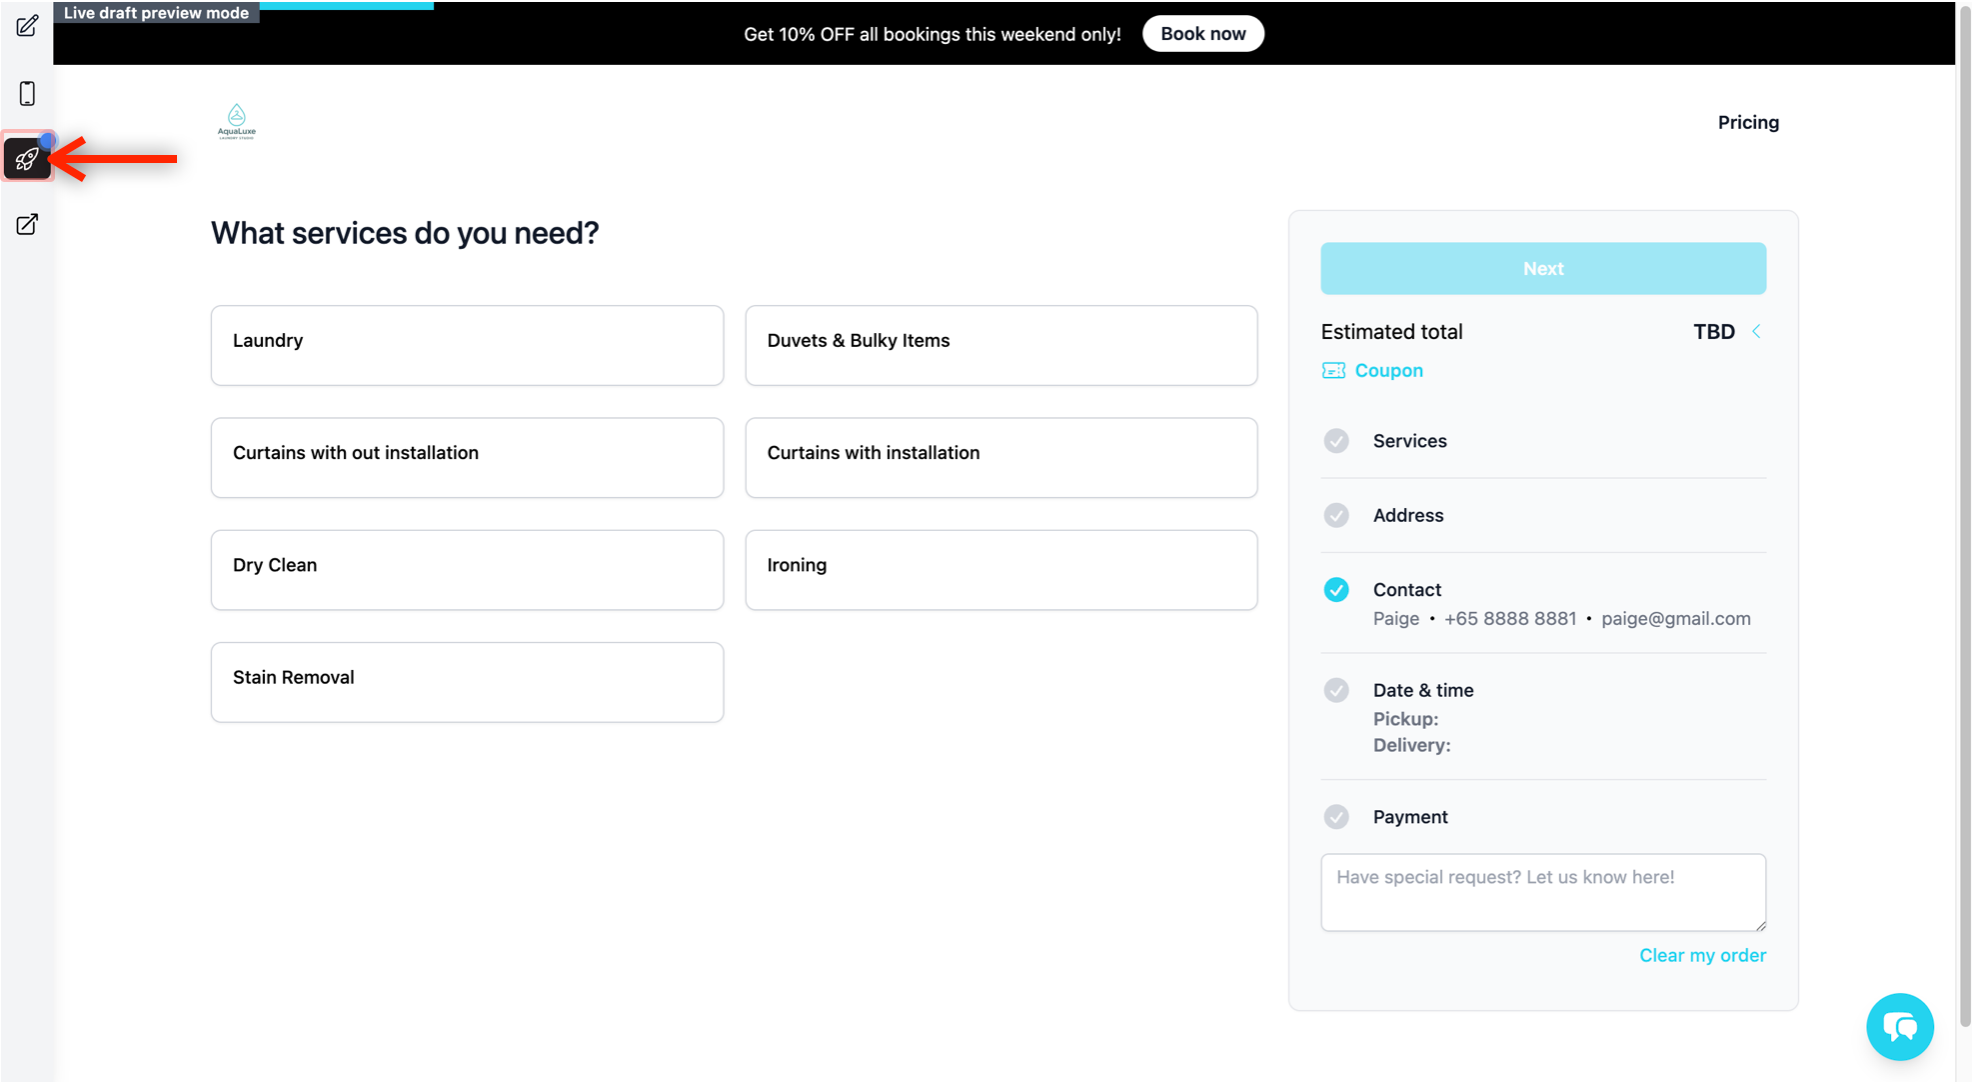
- In the preview mode, click on the Rocket icon to publish your site.
Head back to the Online Store page in your dashboard. Your store status should now indicate that the website is **Published**. This means it is officially accessible to the public.
## Locate Your Website Link
To drive traffic to your new store, you will need to retrieve your live URL.
1. **Find your Link:** Head back to the main Online Store page.
2. **Identify the Domain:** Locate your website in the list. You will see a section labeled Domain: followed by your unique address (e.g., `yourbusinessname.easybiz.cloud`).
3. **Copy and Share:** Copy the link provided after Domain:. This is your live website link. You can now use it to connect your online store to your existing website, social media profiles, or any other digital platforms.