## When to use a Site Banner
The Site Banner is a versatile tool that sits at the top of your website. While not every business needs one active at all times, it is a very convenient way to keep your customers in the loop without changing your main website design.
Think of it as a "Quick Announcement" bar for whenever you need to:
- **Answer Common Questions:** If you are closed for a holiday, fully booked for the month, or have updated your contact details, the banner is the easiest place to let everyone know at once.
- **Add a Professional Touch:** A simple greeting or a "Welcome to our new website!" message makes your business feel active and managed.
- **Highlight a "Special":** If you want to fill up a quiet week, you can quickly add a discount or a "Limited Time Offer" to grab attention as soon as the page loads.
- **Promote a Call-to-Action:** You can use it to lead people directly to your booking page or a specific service with just one click.
Whether you keep it up year-round or just use it for occasional updates, it’s a handy "shortcut" for communicating with your visitors.
## How to Set Up Your Site Banner
### Choose Your Template
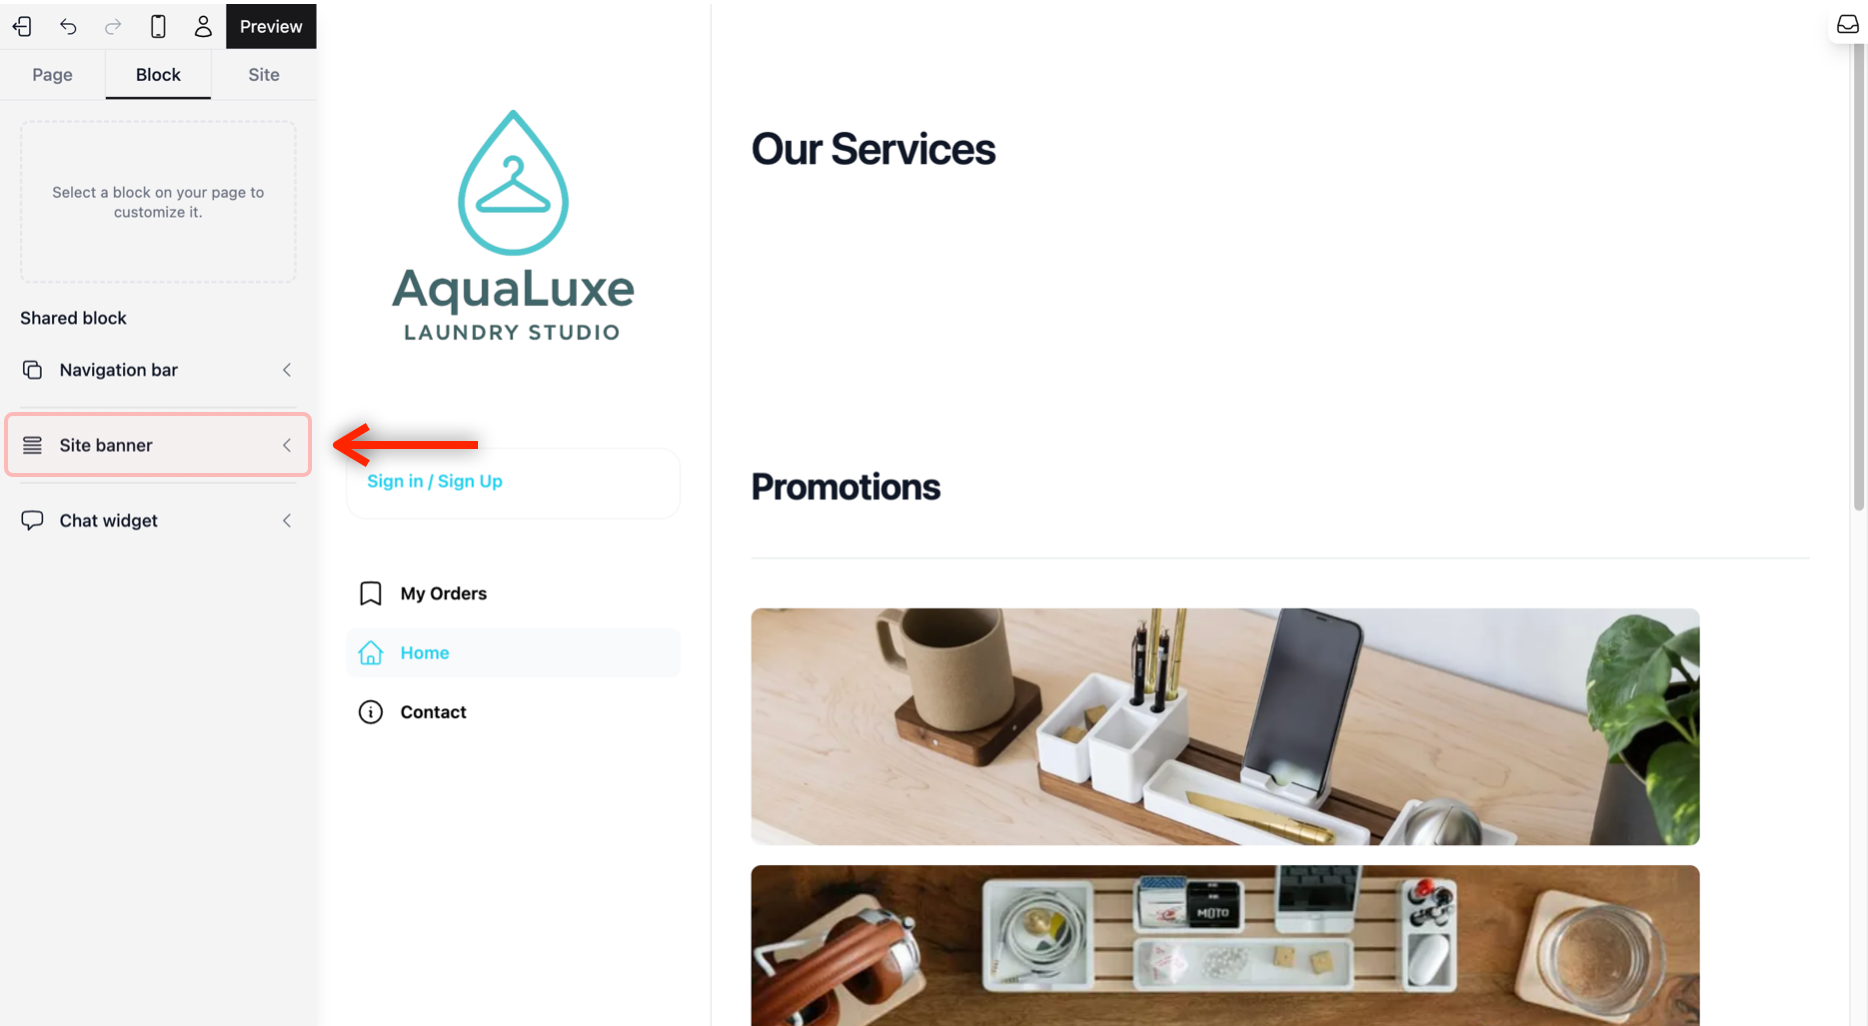
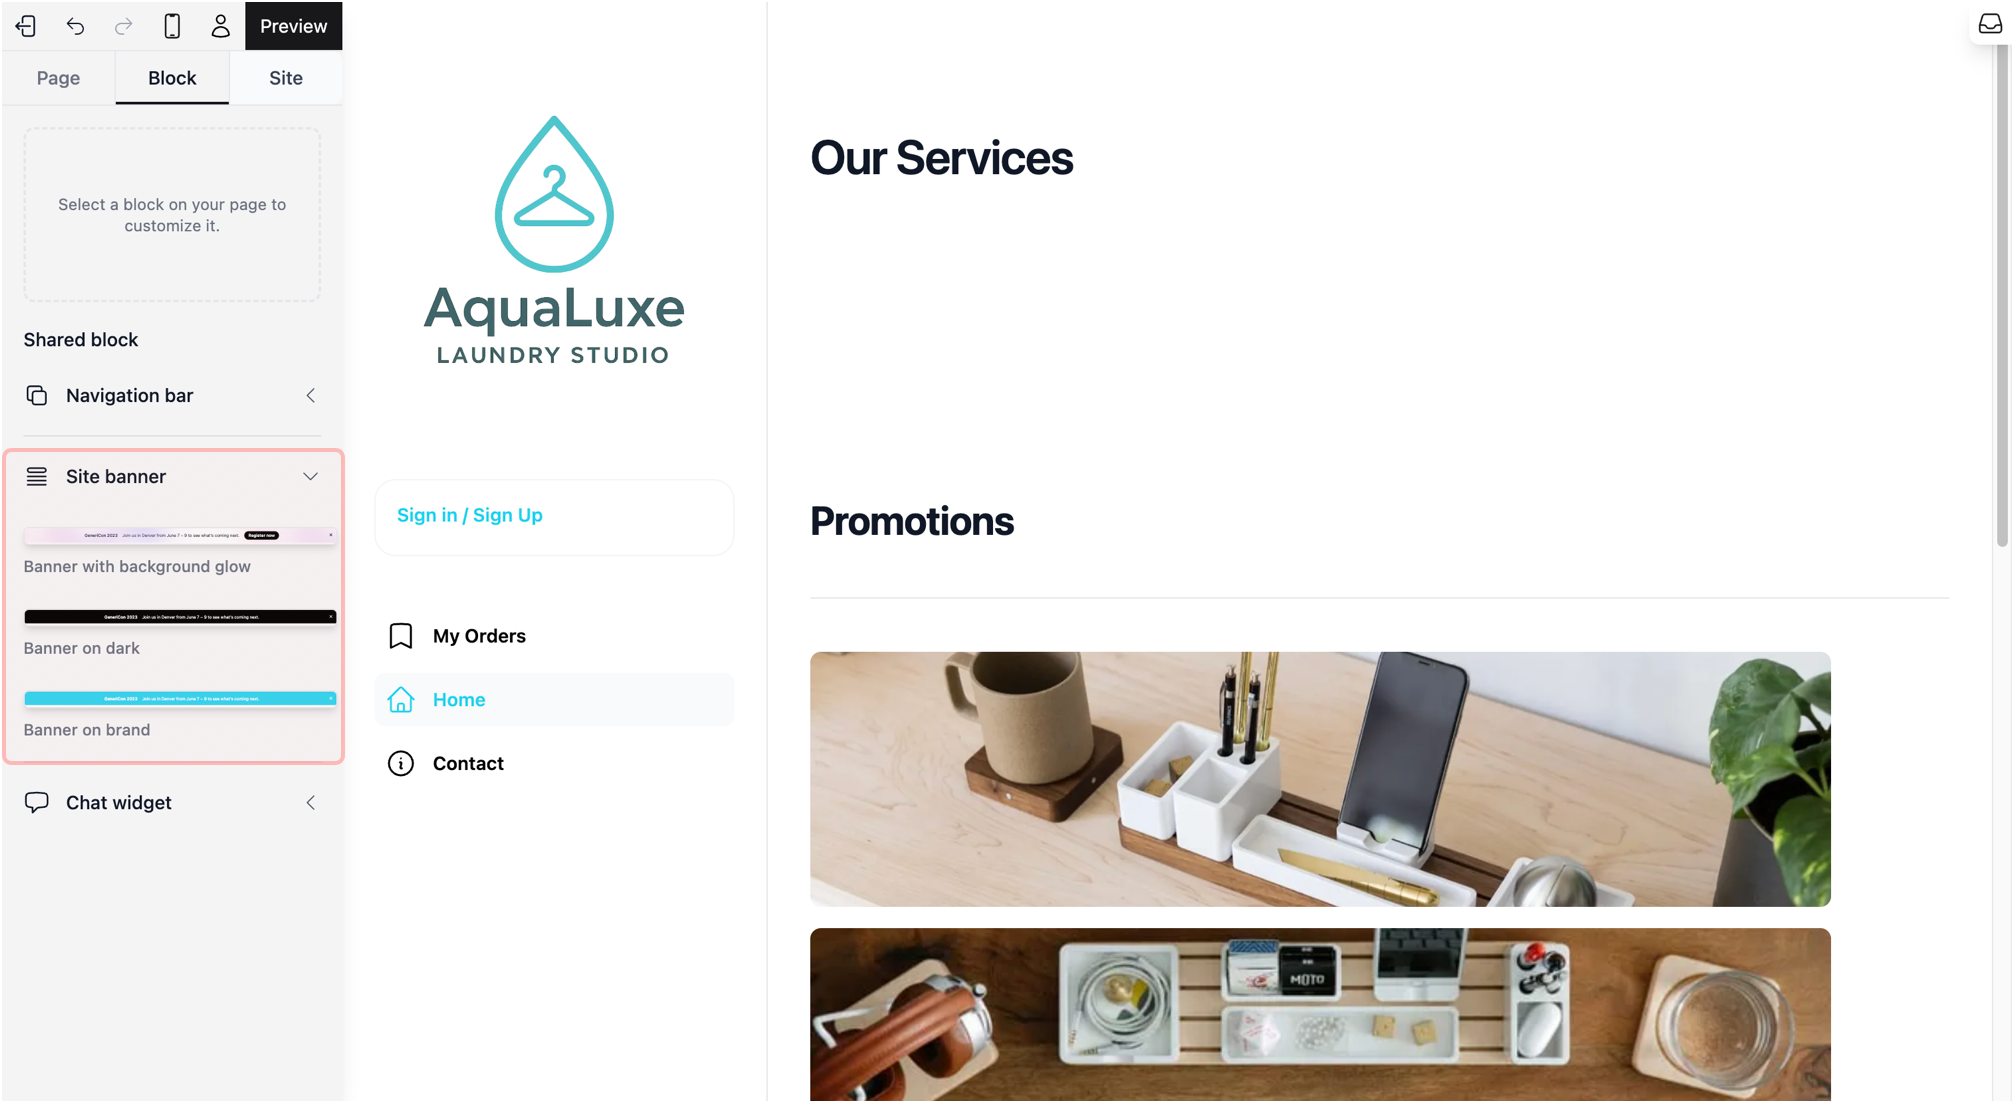
Under the Block tab, click on Site banner. Select the one you like, and it will appear at the top of your website.
This opens a list of different banner designs.
Select the one you like, and it will appear at the top of your website.
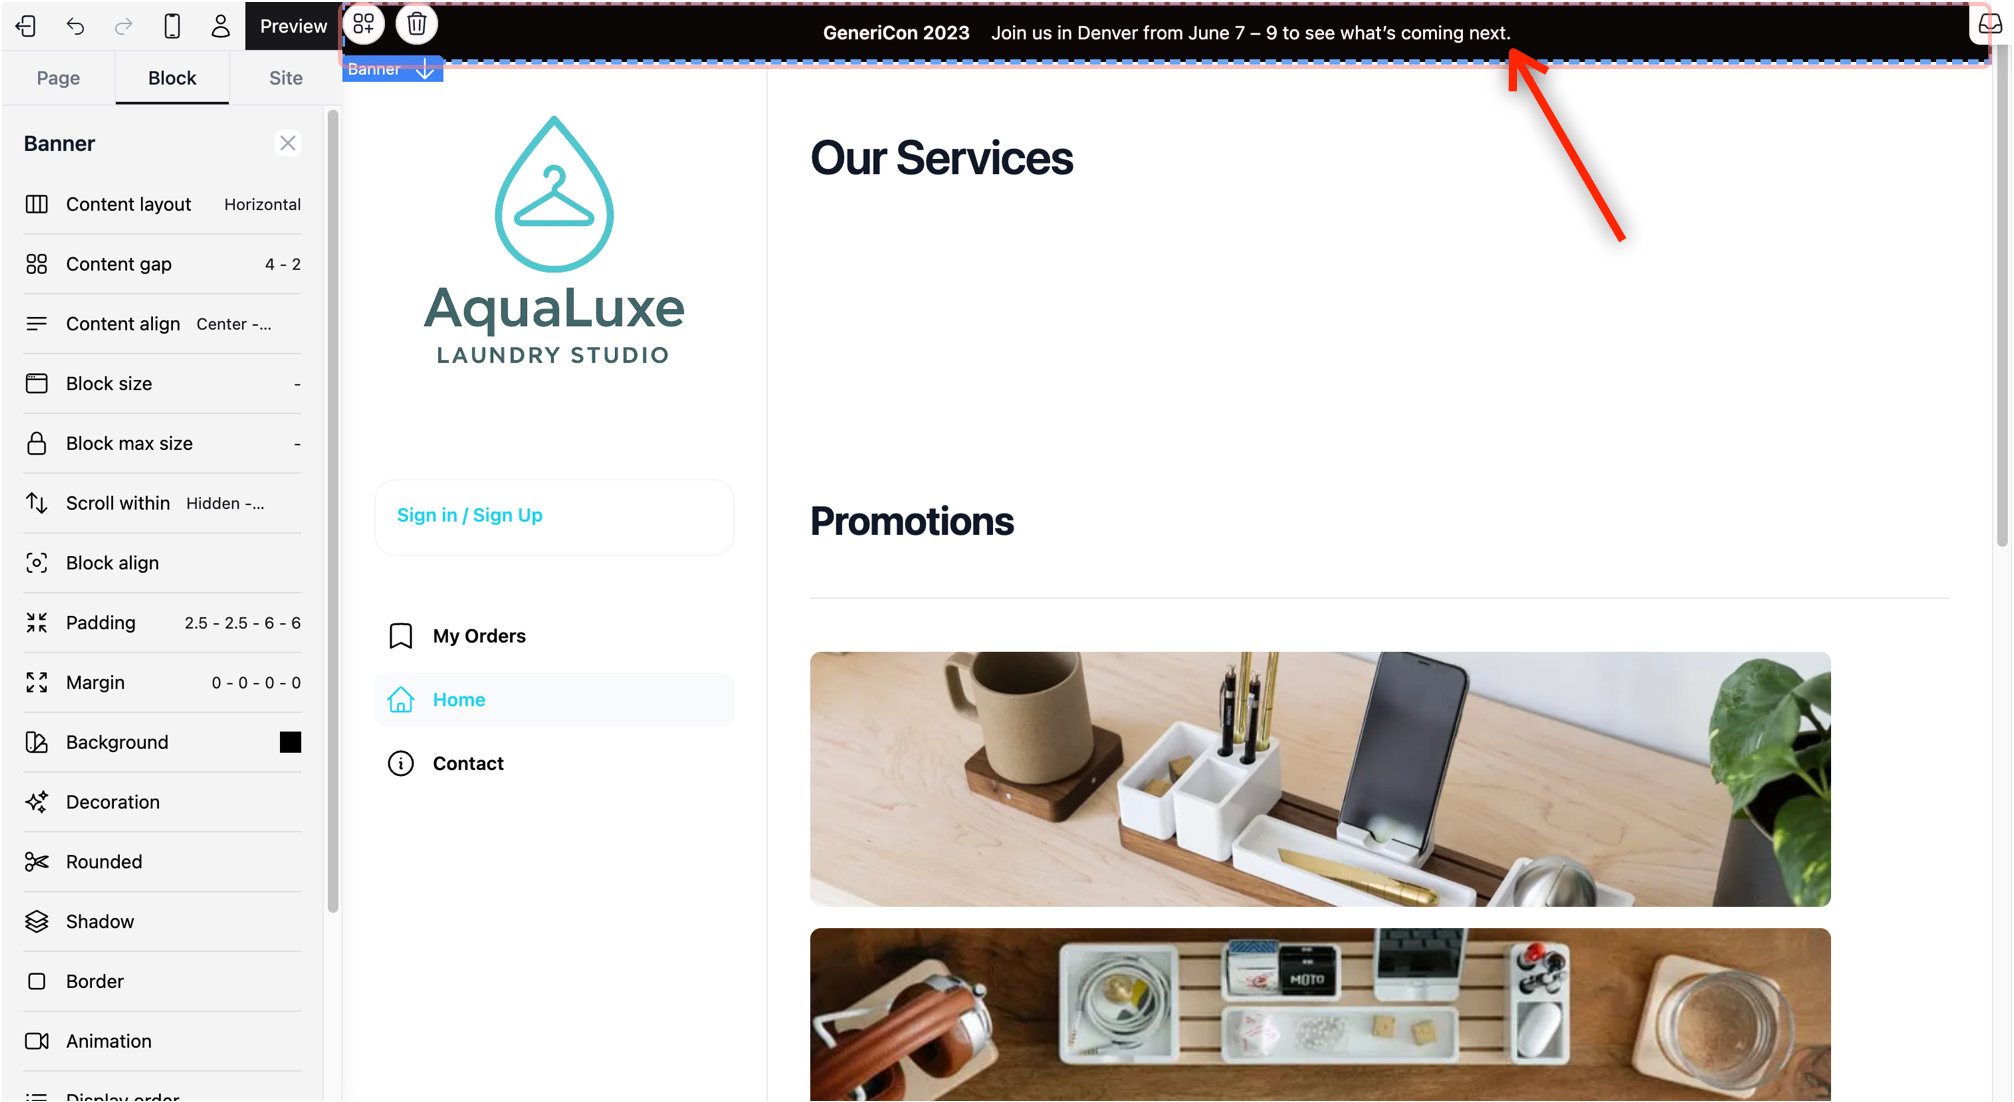
If you switch to another page, you will notice that the banner stays on the other pages as well.
### Change the Text
For demo purposes, we will use a typical discount: "Get 10% OFF all bookings this weekend only!"
If you noticed, a small formatting menu appeared as soon as the text was highlighted. If you want to learn more about how you can style your text using those options, find out more in [this article →](/docs/block-tab-getting-started-with-the-visual-builder#edit-and-style-your-text)
### Add a "Call to Action" Button
A great offer needs a way for customers to act on it. Here is how you can add a call-to-action button right next to your text.
Click on the text block inside the banner where you want the button to appear next to. In the [Quick Action Toolbar,](/docs/block-tab-getting-started-with-the-visual-builder#the-quick-action-toolbar) select the Insert icon.
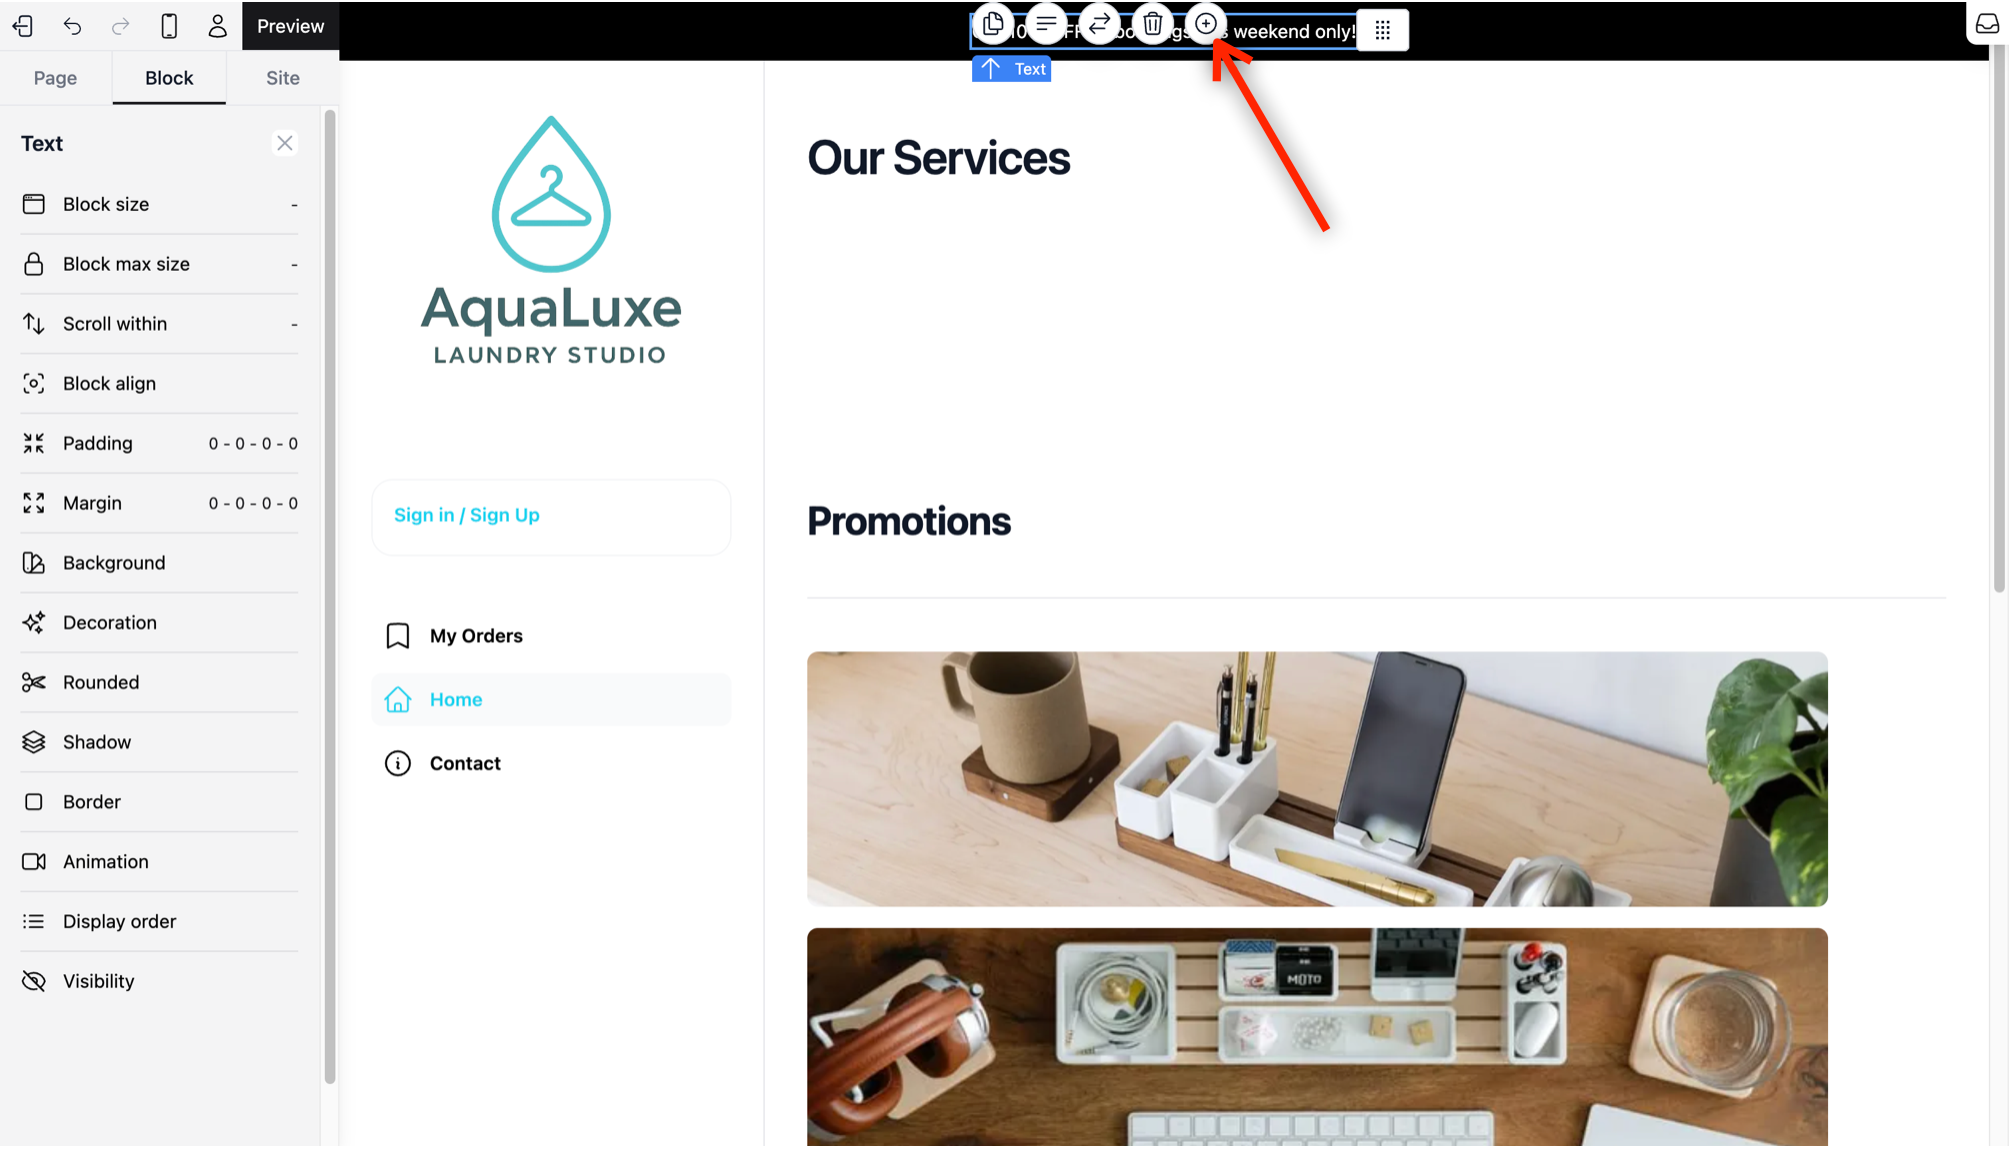
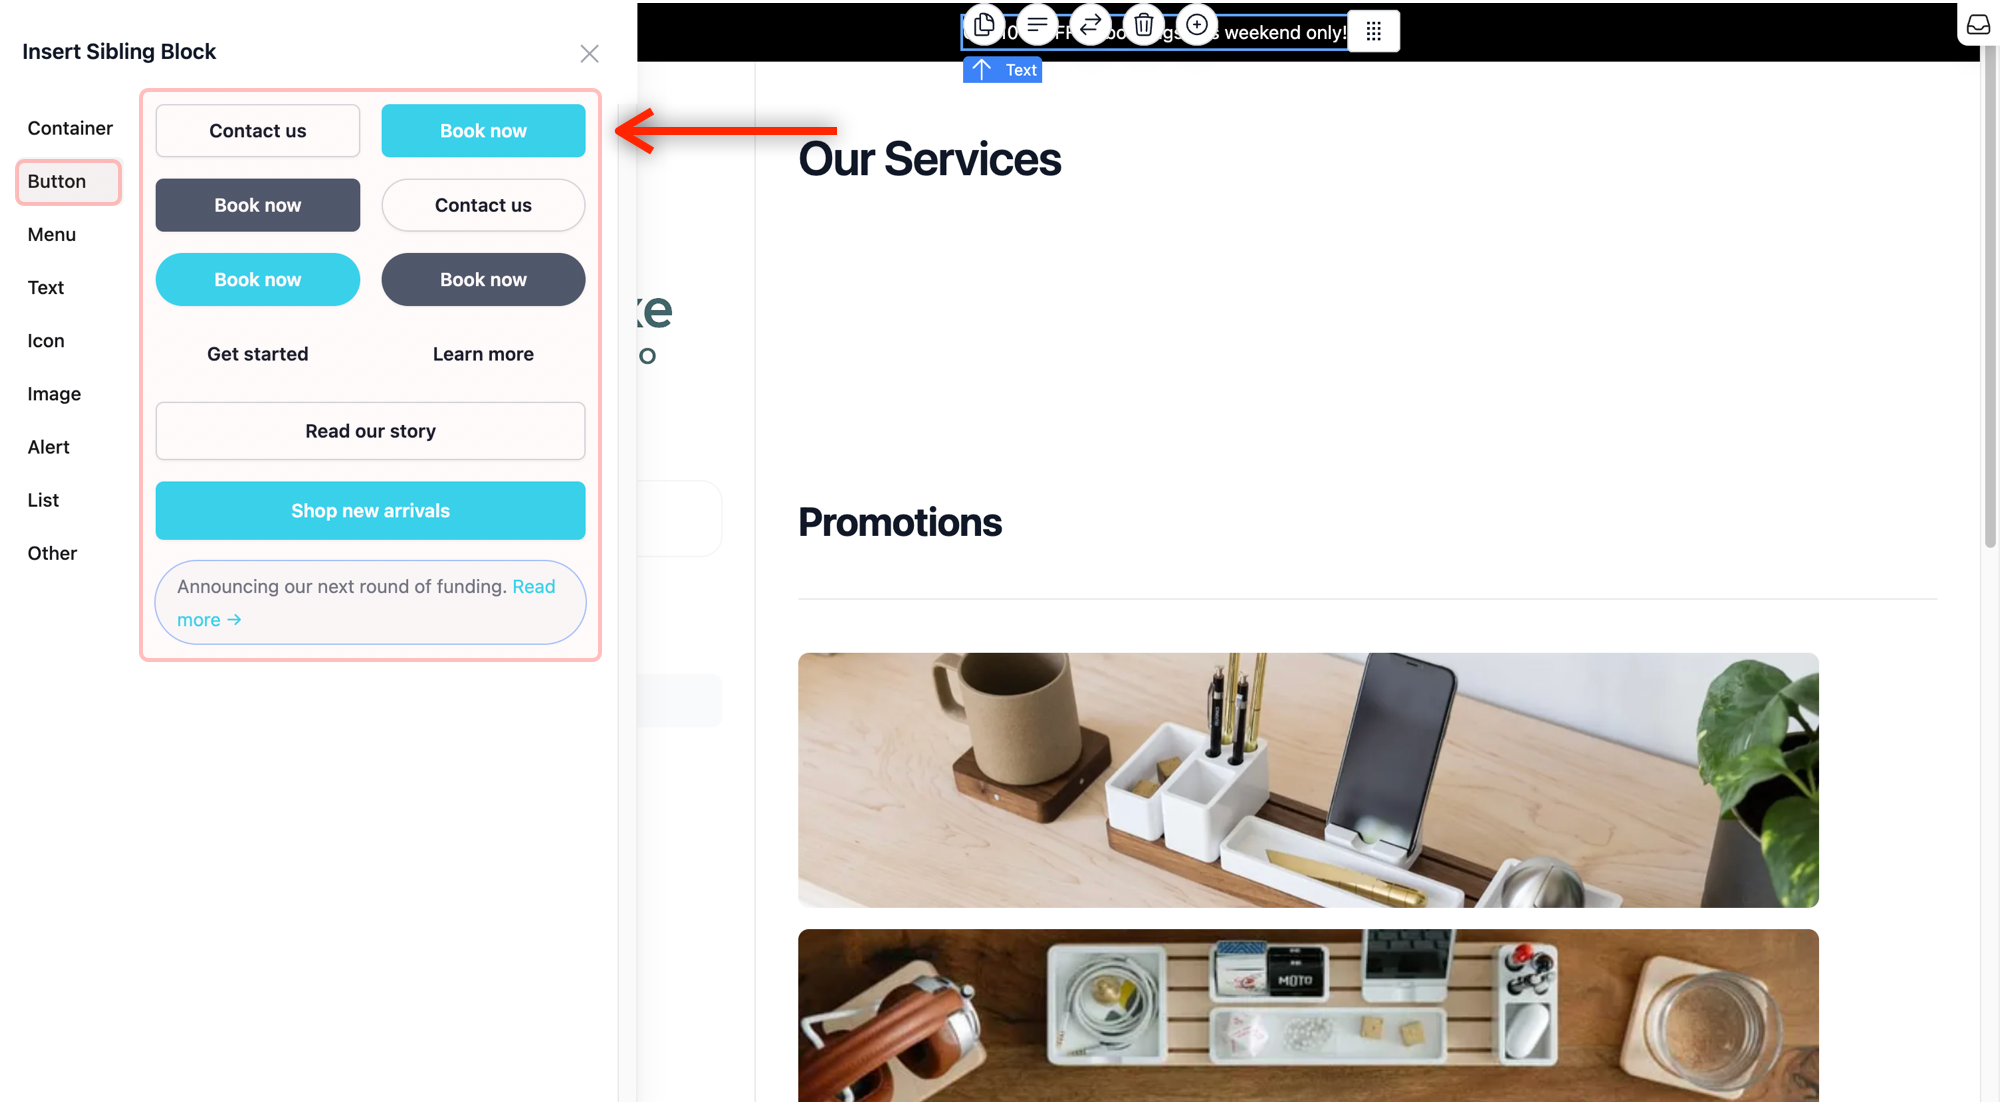
A window will pop up on the left, where you can choose the type of block you want from the sidebar in the pop-up window, and the templates will appear on the right.
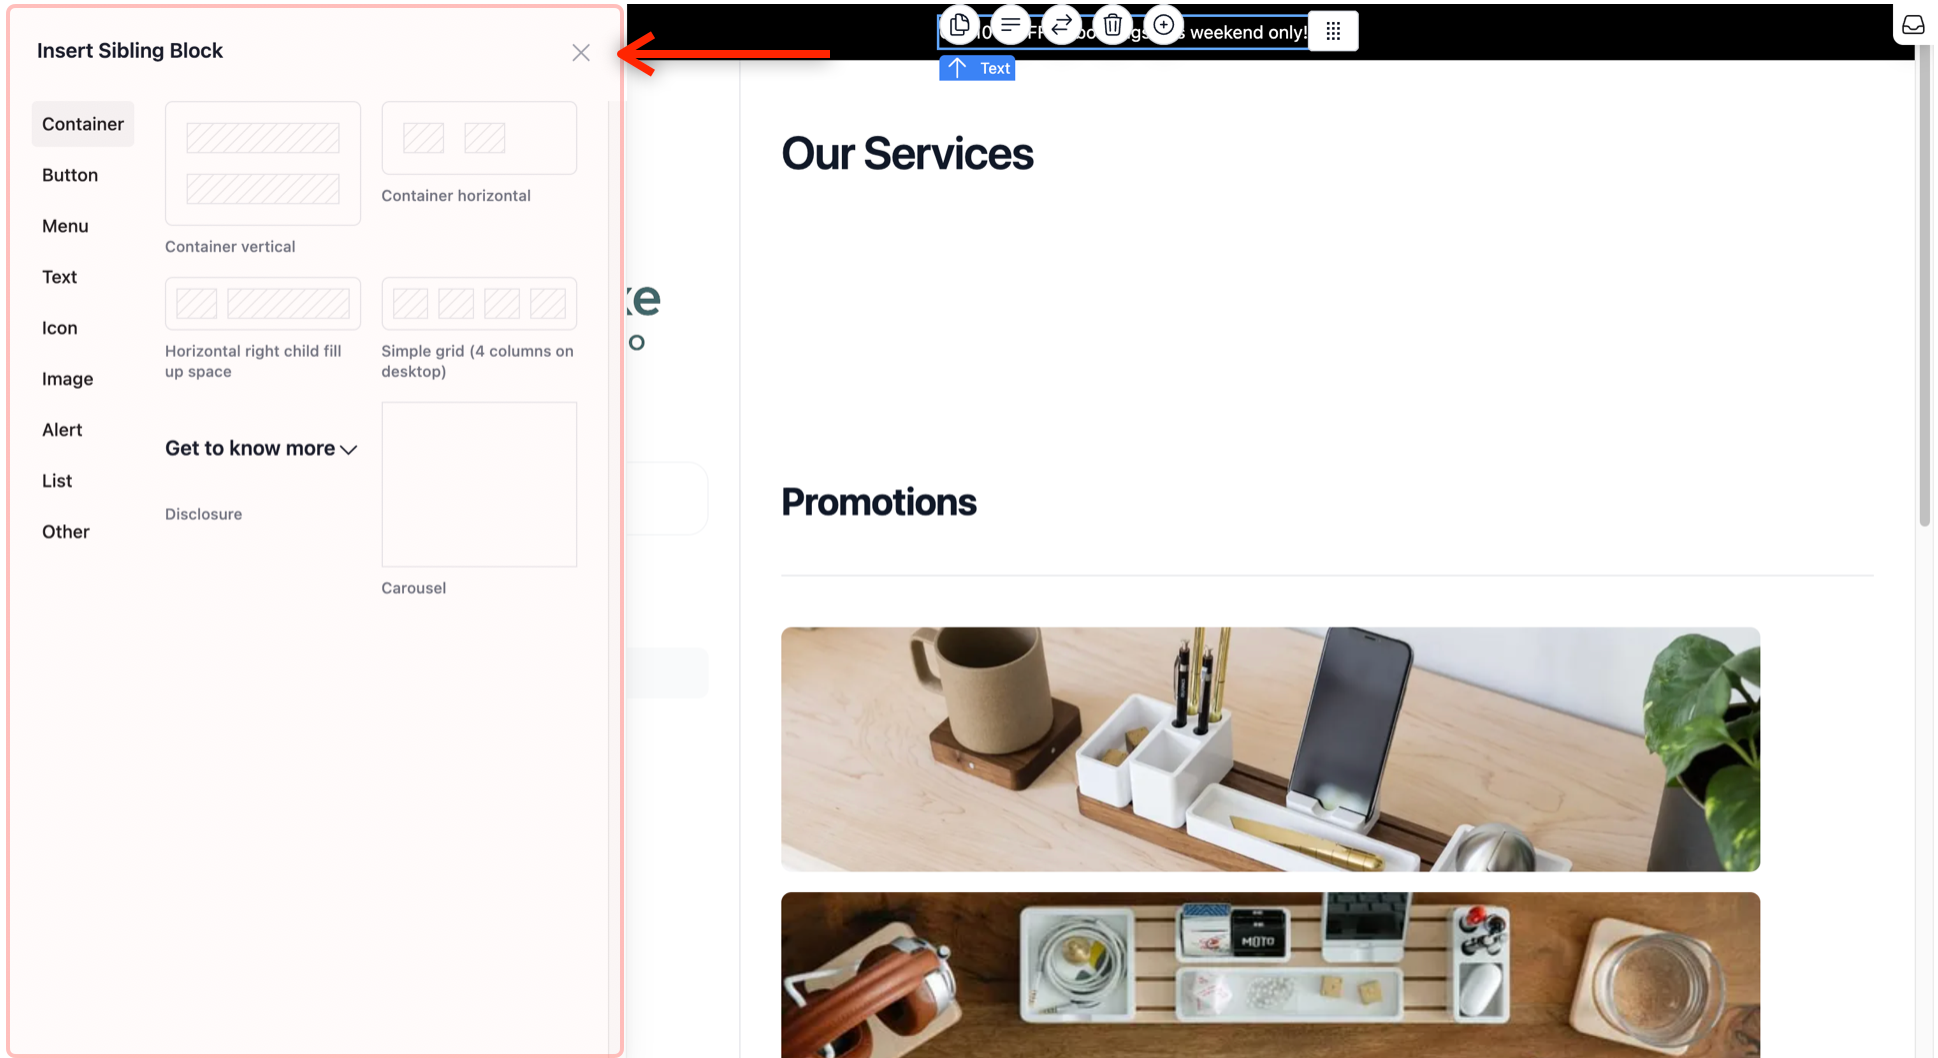
Click on Button as the type of block from the sidebar and choose a button that will fit your business look.
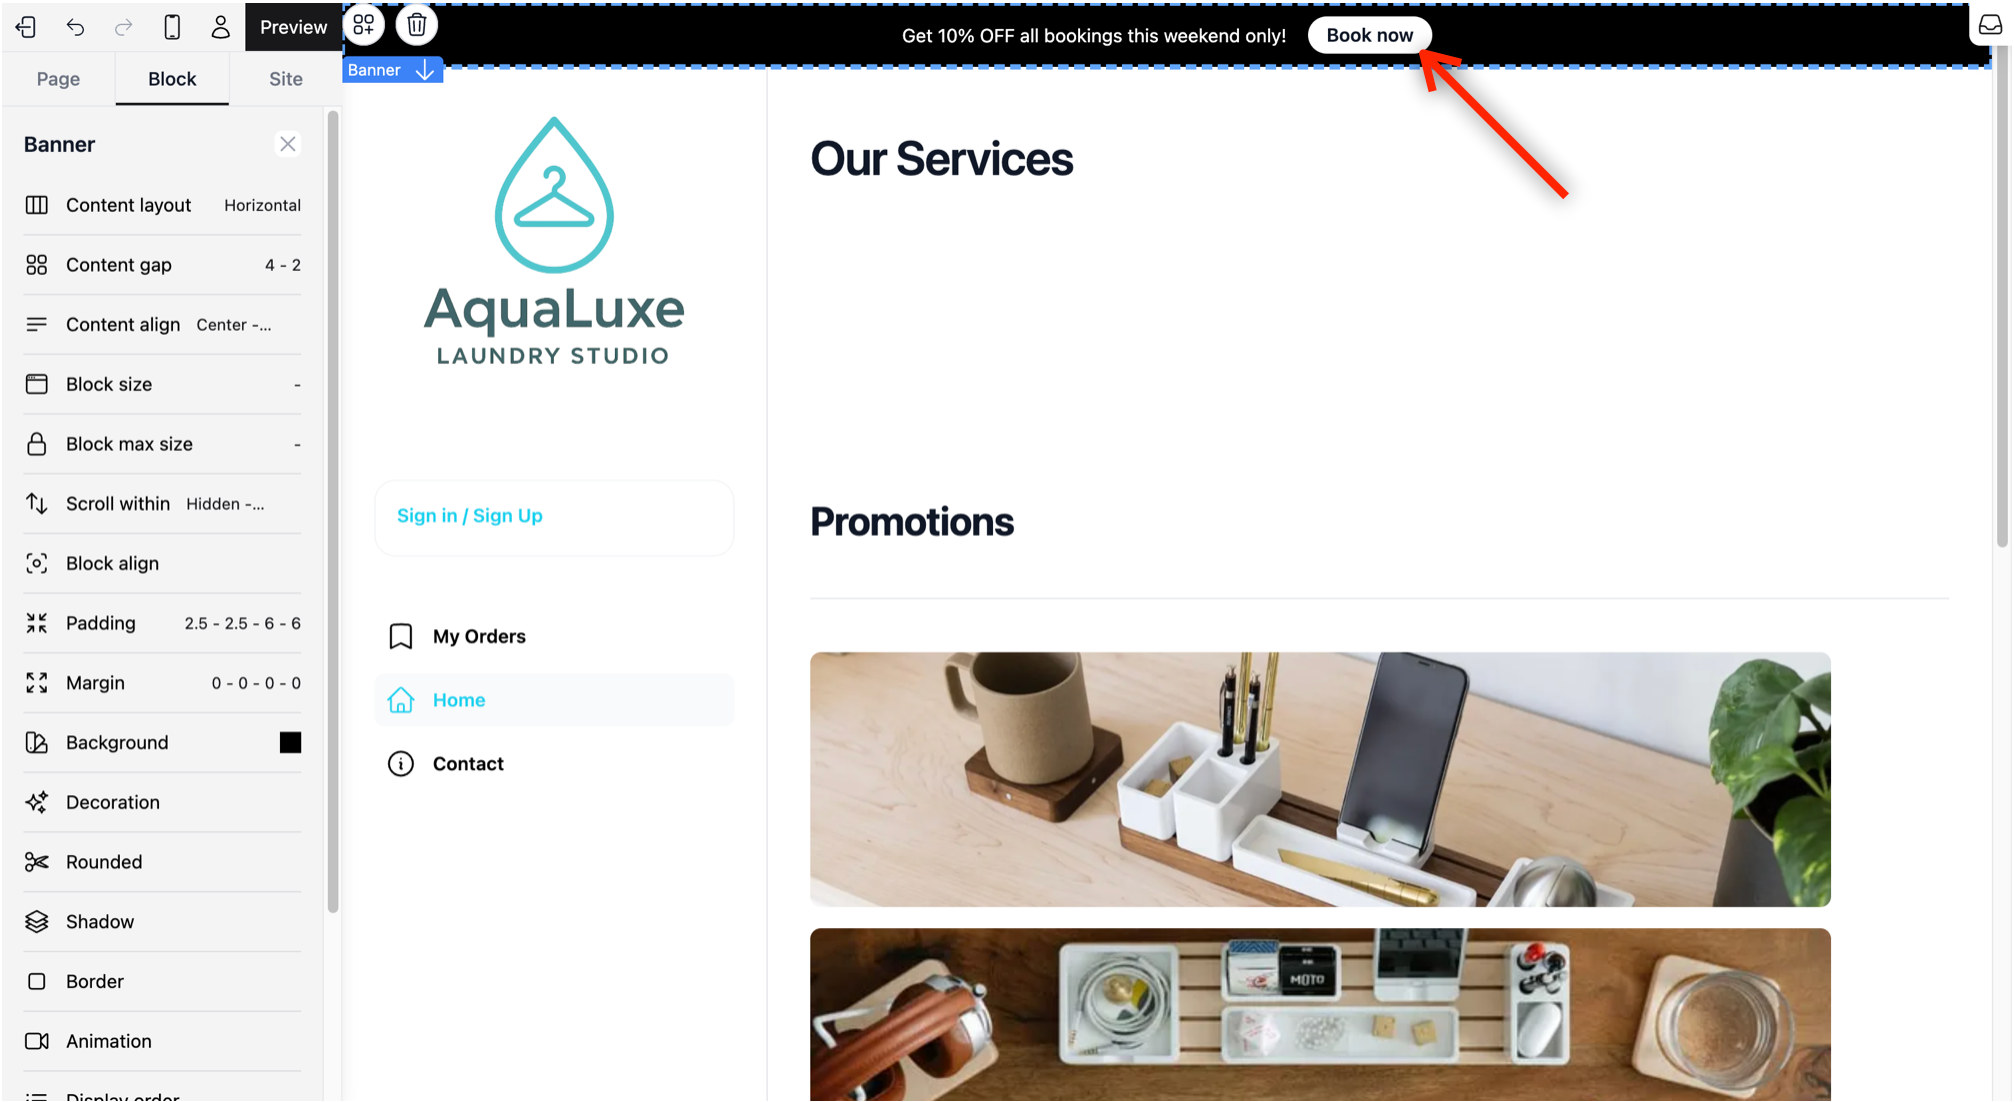
Once the button appears, you can start customizing it. If the padding is too big or the color of the button is not to your liking, you can adjust it from the visual builder sidebar on the right.
### Link the Call to Action Button
To make the button actually work, you need to tell it where to go:
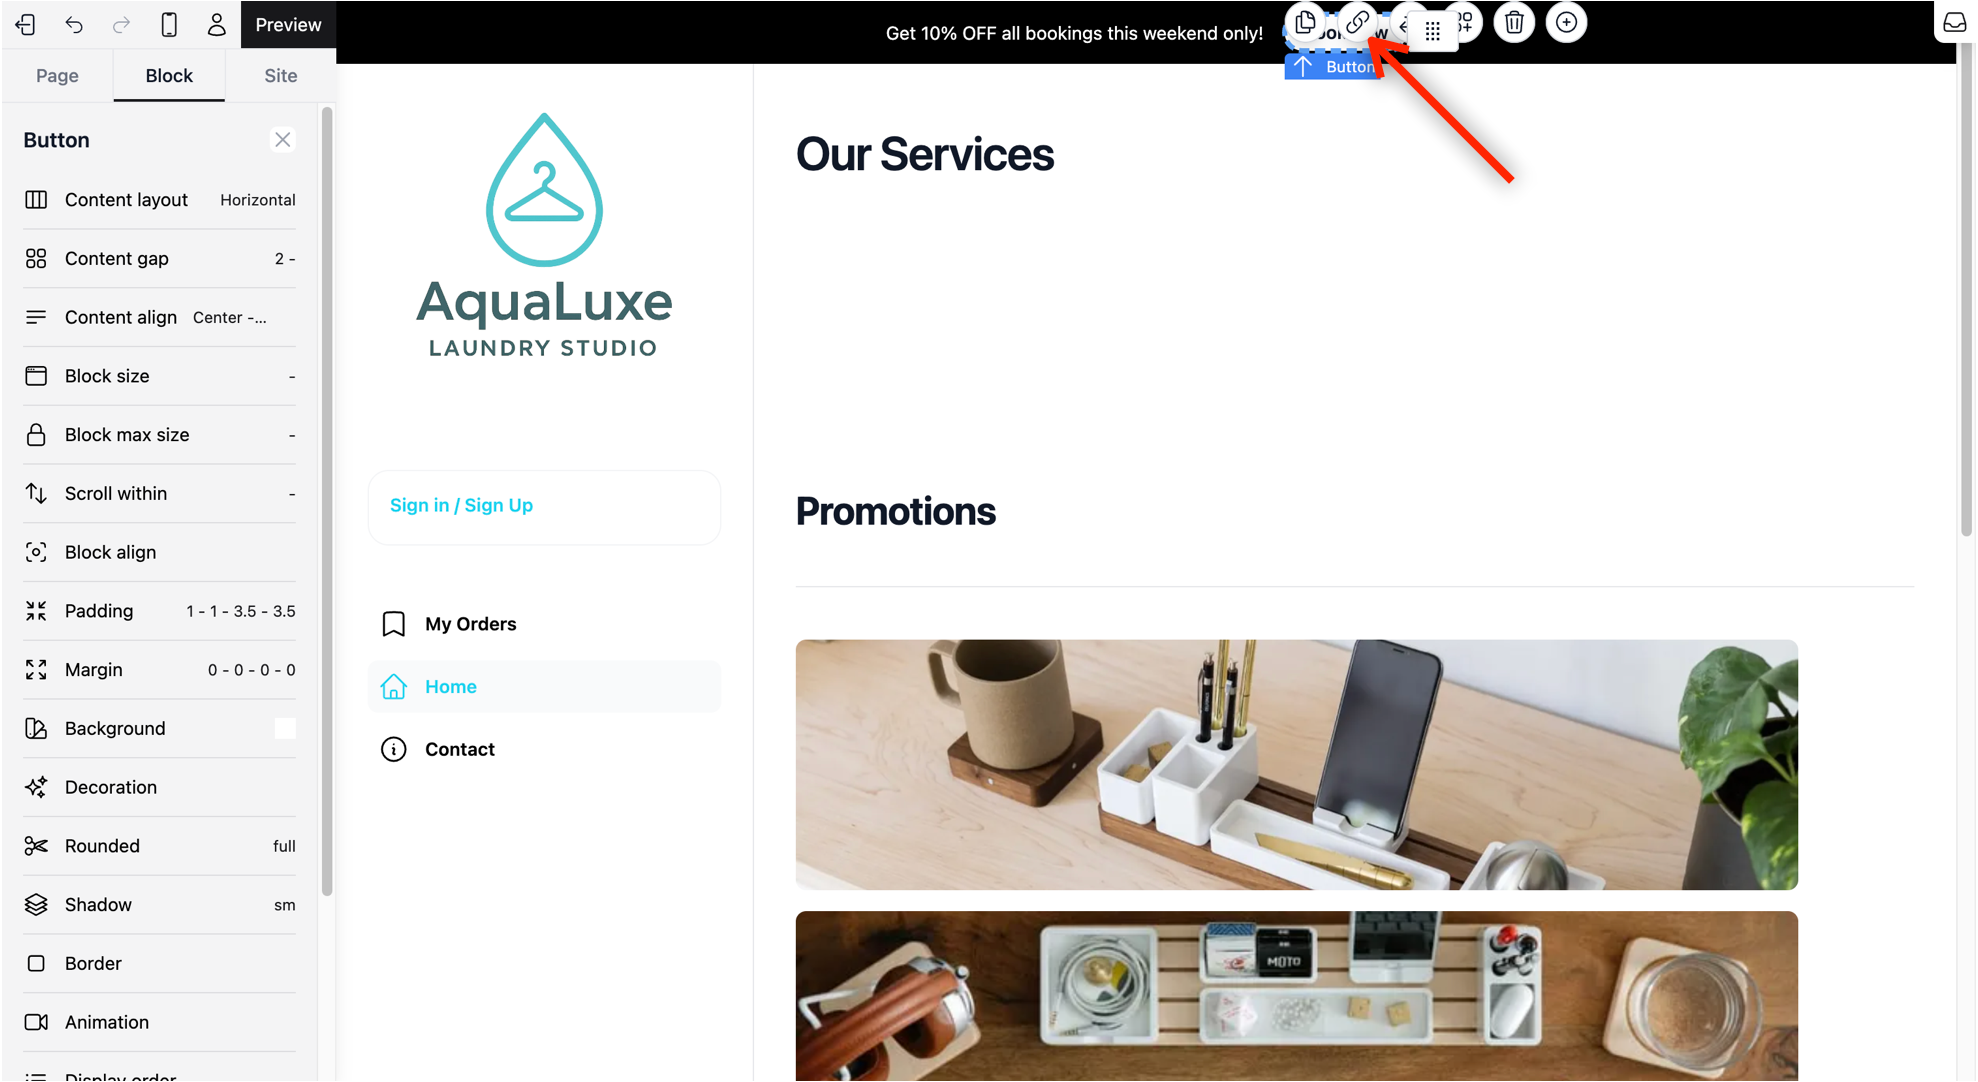
1. **Open the Link Settings:** Click on the button, and from the Quick Action Toolbar, click on the Chain Link icon.
2. **Choose Your Link Type:** A window will pop up. On the left side of the window, you can choose where the button leads (like a phone number, email, or another page). For this demo, we will link the button to your **Booking Page**.
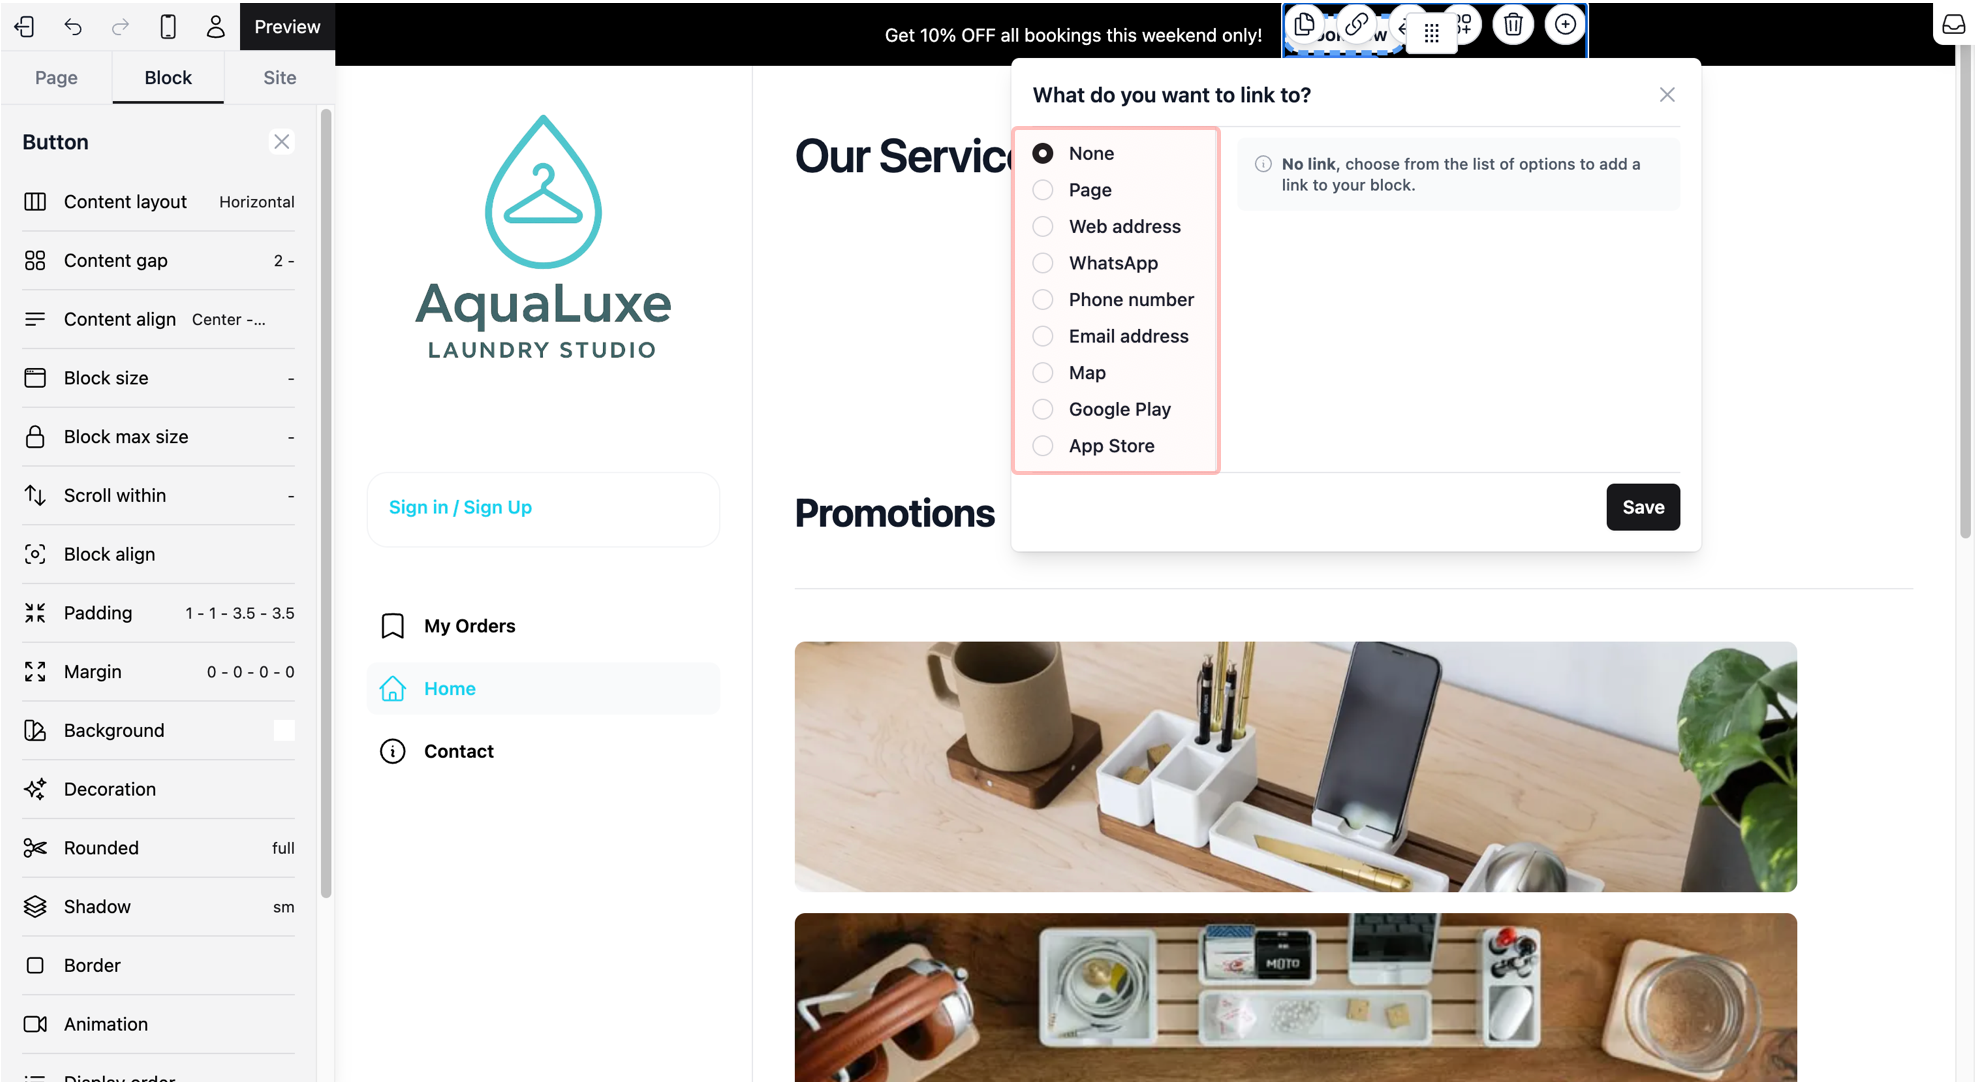
3. Select Page from the sidebar. You will see two fields appear on the right:
- Which page?: A dropdown field for you to select your destination
- Continue Arrow: A checkbox that adds a small arrow → next to your button text.
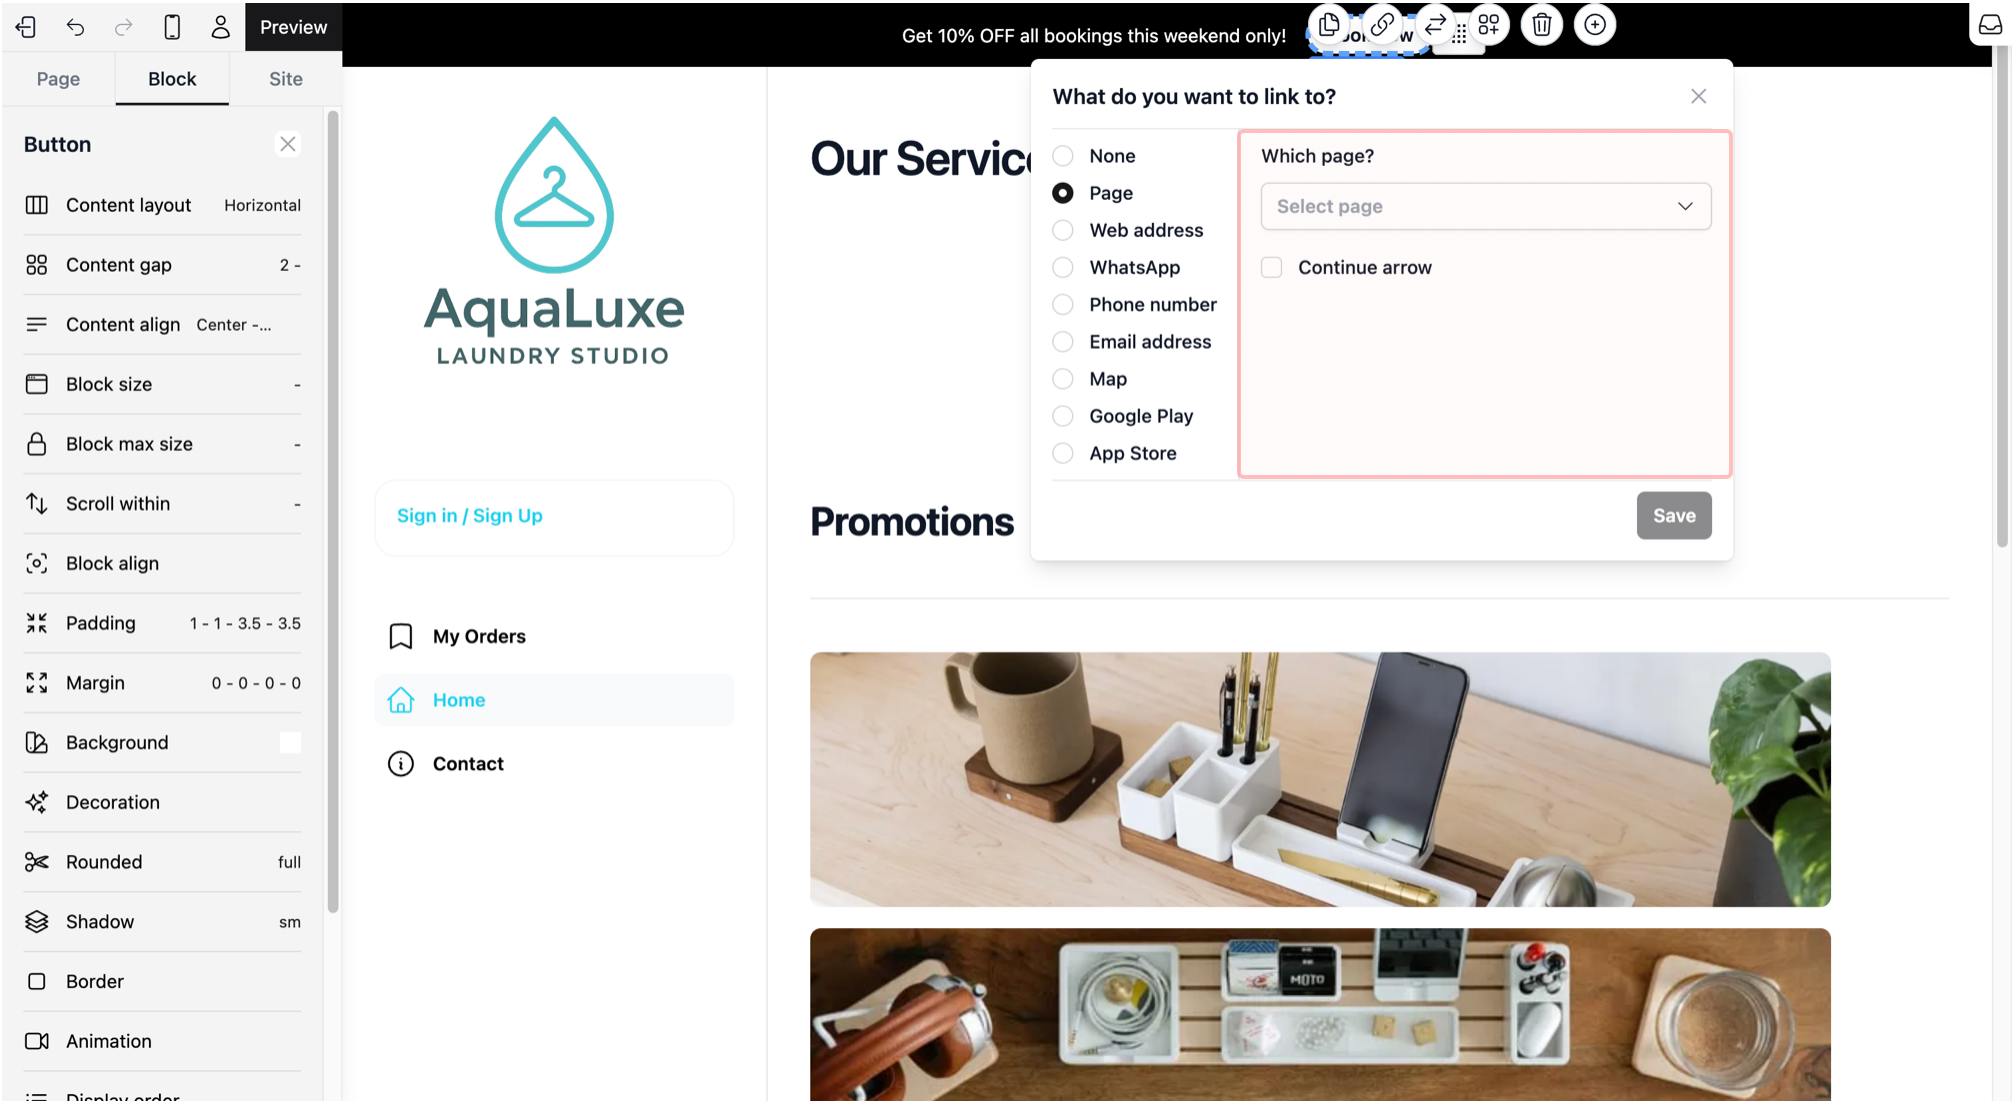
4. **Enable your price list:** Click on the dropdown field under Which page?. Under the Checkout Tab, you will see an option to enable your price list.
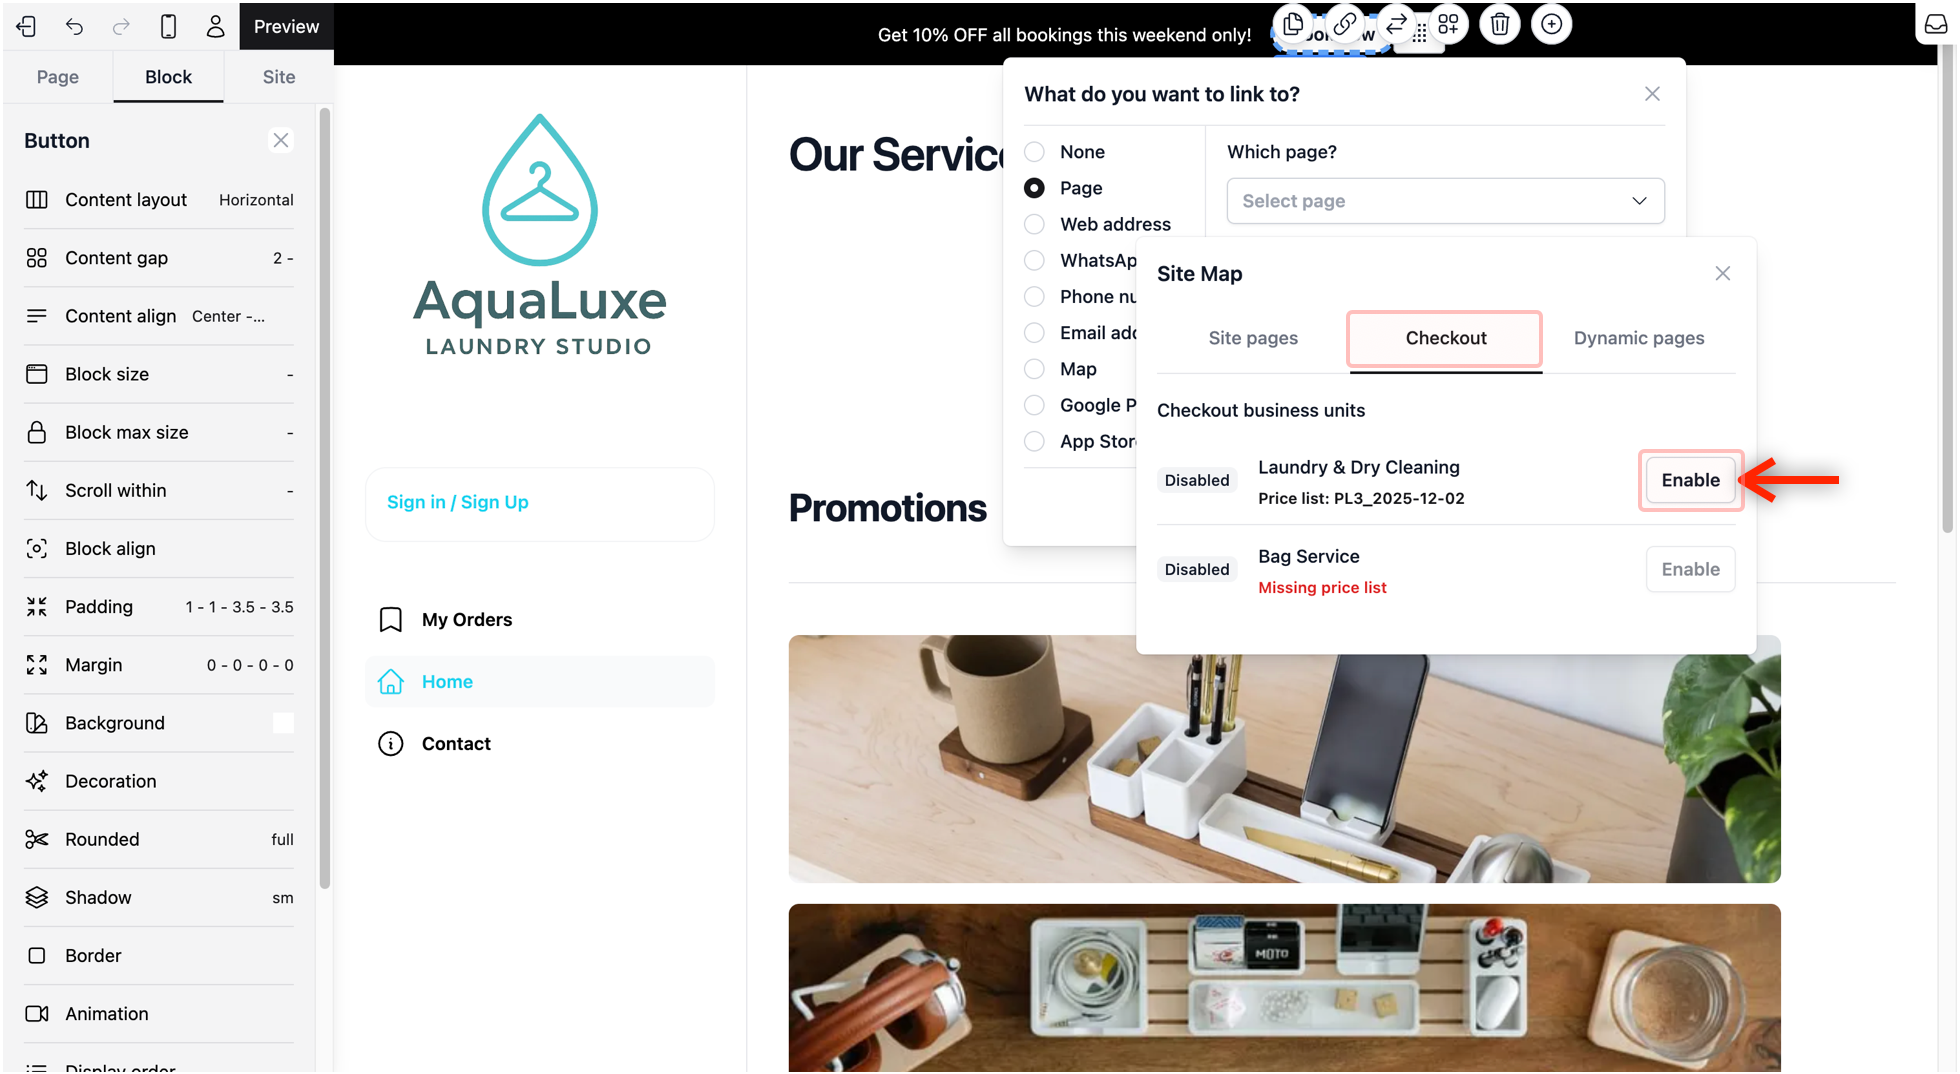
You will need to set up your price list for it to appear here. If you haven't done that yet, check out [this article →](/docs/create-price-lists)
If you enable your Price List here, you've already finished one of the steps for setting up your Checkout! You won't need to do it again when you reach that part of the guide later.
5. **Finalize:** Once enabled, select Checkout. This will show up in the dropdown field as the destination. When done with your selection, click on the Save button.
6. **Verify Your Link:** You should now see that the Chain Link icon has a **black background** instead of white; this indicates that the button is successfully linked. To test it out and enter the booking page (or whichever page you linked), simply click on the Enter Page icon. This will take you directly to the destination so you can see exactly what your customers will experience.